


目录
Bootstrap 5 提供了不同样式的按钮。
<button type="button" class="btn">基本按钮</button>
<button type="button" class="btn btn-primary">主要按钮</button>
<button type="button" class="btn btn-secondary">次要按钮</button>
<button type="button" class="btn btn-success">成功</button>
<button type="button" class="btn btn-info">信息</button>
<button type="button" class="btn btn-warning">警告</button>
<button type="button" class="btn btn-danger">危险</button>
<button type="button" class="btn btn-dark">黑色</button>
<button type="button" class="btn btn-light">浅色</button>
<button type="button" class="btn btn-link">链接</button>
按钮类可用于 <a>, <button>, 或 <input> 元素上:
<a href="#" class="btn btn-info" role="button">链接按钮</a>
<button type="button" class="btn btn-info">按钮</button>
<input type="button" class="btn btn-info" value="输入框按钮">
<input type="submit" class="btn btn-info" value="提交按钮">
<input type="reset" class="btn btn-info" value="重置按钮">
按钮设置边框
Bootstrap 5 也可以设置按钮多边框,鼠标移动到按钮上添加突出到效果:
<button type="button" class="btn btn-outline-primary">主要按钮</button>
<button type="button" class="btn btn-outline-secondary">次要按钮</button>
<button type="button" class="btn btn-outline-success">成功</button>
<button type="button" class="btn btn-outline-info">信息</button>
<button type="button" class="btn btn-outline-warning">警告</button>
<button type="button" class="btn btn-outline-danger">危险</button>
<button type="button" class="btn btn-outline-dark">黑色</button>
<button type="button" class="btn btn-outline-light text-dark">浅色</button>
不同大小的按钮
Bootstrap 5 可以设置按钮的大小,使用 .btn-lg 类设置大按钮,使用 .btn-sm 类设置小按钮:
<button type="button" class="btn btn-primary btn-lg">大号按钮</button>
<button type="button" class="btn btn-primary">默认按钮</button>
<button type="button" class="btn btn-primary btn-sm">小号按钮</button>
块级按钮
通过添加 .btn-block 类可以设置块级按钮,.d-grid 类设置在父级元素中:
<div class="d-grid">
    <button type="button" class="btn btn-primary btn-block">按钮 1</button>
</div>
如果有多个块级按钮,你可以使用用 .gap-* 类来设置:
<div class="d-grid gap-3">
  <button type="button" class="btn btn-primary btn-block">100% 宽度的按钮</button>
  <button type="button" class="btn btn-primary btn-block">100% 宽度的按钮</button>
  <button type="button" class="btn btn-primary btn-block">100% 宽度的按钮</button>
</div>
激活和禁用的按钮
按钮可设置为激活或者禁止点击的状态。
.active 类可以设置按钮是可用的, disabled 属性可以设置按钮是不可点击的。 注意 <a> 元素不支持 disabled 属性,你可以通过添加 .disabled 类来禁止链接的点击。
<button type="button" class="btn btn-primary active">点击后的按钮</button>
<button type="button" class="btn btn-primary" disabled>禁止点击的按钮</button>
<a href="#" class="btn btn-primary disabled">禁止点击的链接</a>
加载按钮
我们也可以设置一个正在加载的按钮。
<button class="btn btn-primary">
  <span class="spinner-border spinner-border-sm"></span>
</button>

<button class="btn btn-primary">
  <span class="spinner-border spinner-border-sm"></span>
  Loading..
</button>

<button class="btn btn-primary" disabled>
  <span class="spinner-border spinner-border-sm"></span>
  Loading..
</button>

<button class="btn btn-primary" disabled>
  <span class="spinner-grow spinner-grow-sm"></span>
  Loading..
</button>
JavaScript 输出
JavaScript 没有任何打印或者输出的函数。
JavaScript 显示数据
JavaScript 可以通过不同的方式来输出数据:
- 使用 window.alert() 弹出警告框。
- 使用 document.write() 方法将内容写到 HTML 文档中。
- 使用 innerHTML 写入到 HTML 元素。
- 使用 console.log() 写入到浏览器的控制台。
使用 window.alert()
你可以弹出警告框来显示数据:
<!DOCTYPE html>
<html>
<body>

<h1>我的第一个页面</h1>
<p>我的第一个段落。</p>

<script>
window.alert(5 + 6);
</script>

</body>
</html>
操作 HTML 元素
如需从 JavaScript 访问某个 HTML 元素,您可以使用 document.getElementById(id) 方法。
请使用 "id" 属性来标识 HTML 元素,并 innerHTML 来获取或插入元素内容:
<!DOCTYPE html>
<html>
<body>

<h1>我的第一个 Web 页面</h1>

<p id="demo">我的第一个段落</p>

<script>
document.getElementById("demo").innerHTML = "段落已修改。";
</script>

</body>
</html>
以上 JavaScript 语句(在 <script> 标签中)可以在 web 浏览器中执行:
document.getElementById("demo") 是使用 id 属性来查找 HTML 元素的 JavaScript 代码 。
innerHTML = "段落已修改。" 是用于修改元素的 HTML 内容(innerHTML)的 JavaScript 代码。
在本教程中
在大多数情况下,在本教程中,我们将使用上面描述的方法来输出:
上面的例子直接把 id="demo" 的 <p> 元素写到 HTML 文档输出中:
写到 HTML 文档
出于测试目的,您可以将JavaScript直接写在HTML 文档中:
<!DOCTYPE html>
<html>
<body>

<h1>我的第一个 Web 页面</h1>

<p>我的第一个段落。</p>

<script>
document.write(Date());
</script>

</body>
</html>|
| 使用 document.write() 可以向文档写入内容。 如果在文档已完成加载后执行 document.write,整个 HTML 页面将被覆盖。
|
|---|

<!DOCTYPE html>
<html>
<body>

<h1>我的第一个 Web 页面</h1>

<p>我的第一个段落。</p>

<button onclick="myFunction()">点我</button>

<script>
function myFunction() {
    document.write(Date());
}
</script>

</body>
</html>
写到控制台
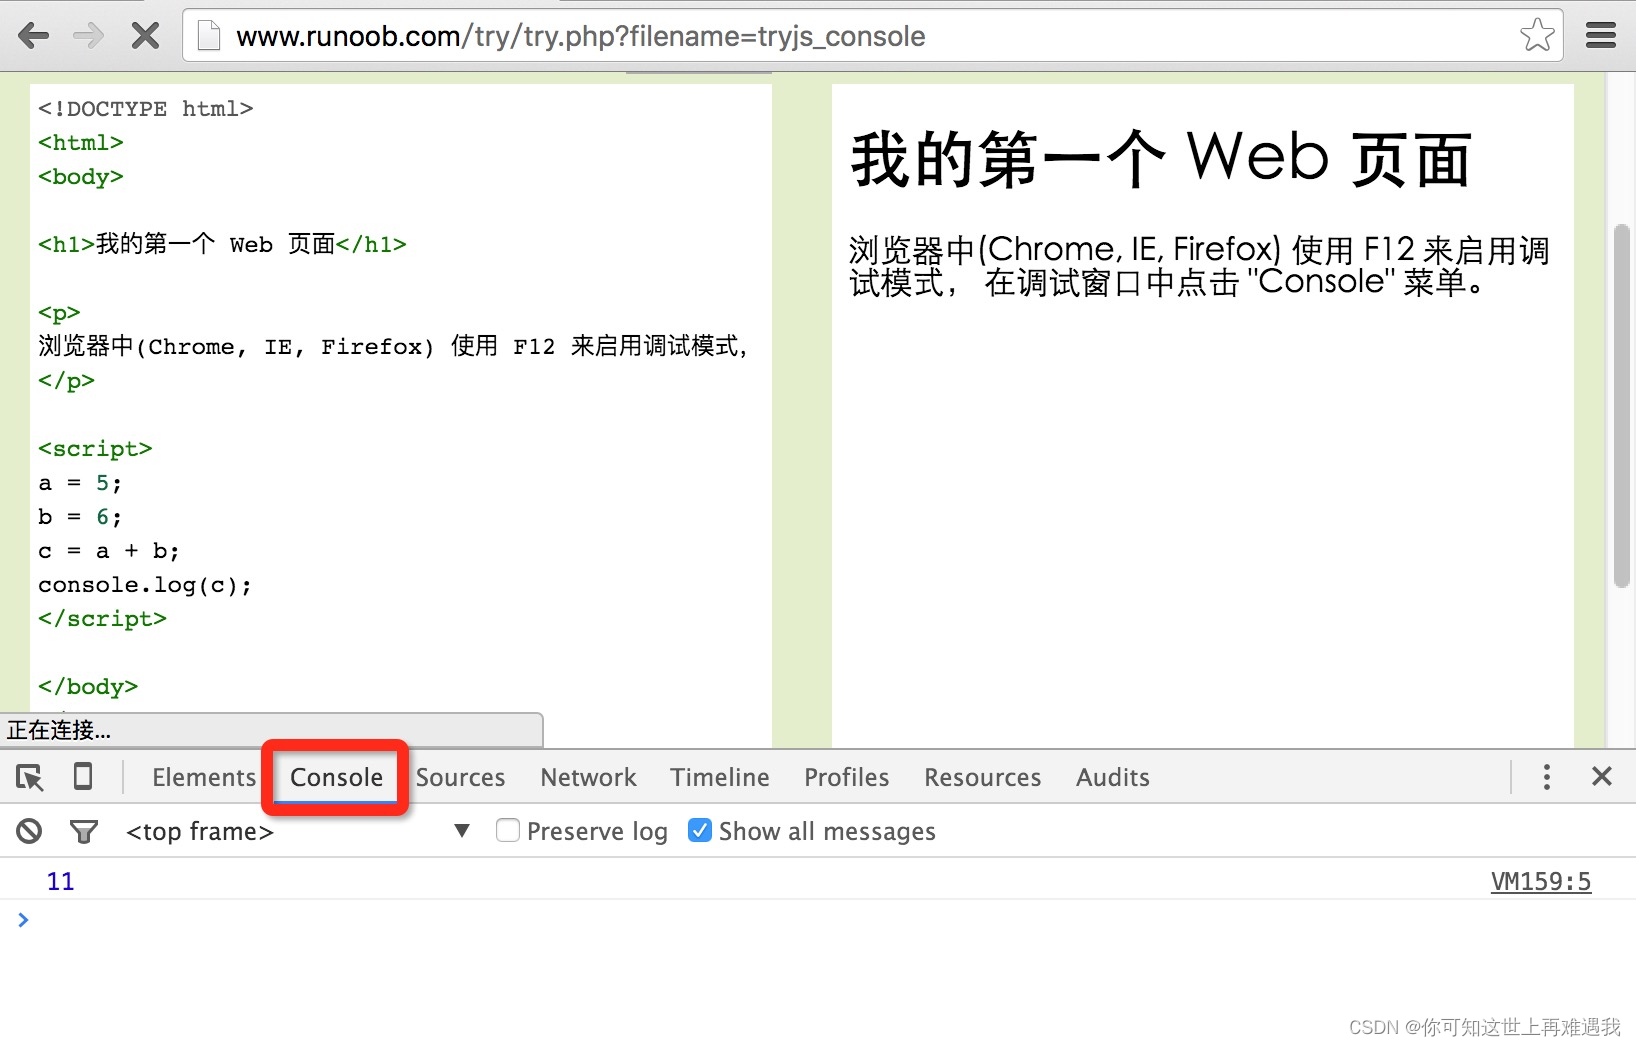
如果您的浏览器支持调试,你可以使用 console.log() 方法在浏览器中显示 JavaScript 值。
浏览器中使用 F12 来启用调试模式, 在调试窗口中点击 "Console" 菜单。
<!DOCTYPE html>
<html>
<body>

<h1>我的第一个 Web 页面</h1>

<script>
a = 5;
b = 6;
c = a + b;
console.log(c);
</script>

</body>
</html>
实例 console 截图:


 205
205


 被折叠的 条评论
为什么被折叠?
被折叠的 条评论
为什么被折叠?
 到【灌水乐园】发言


