


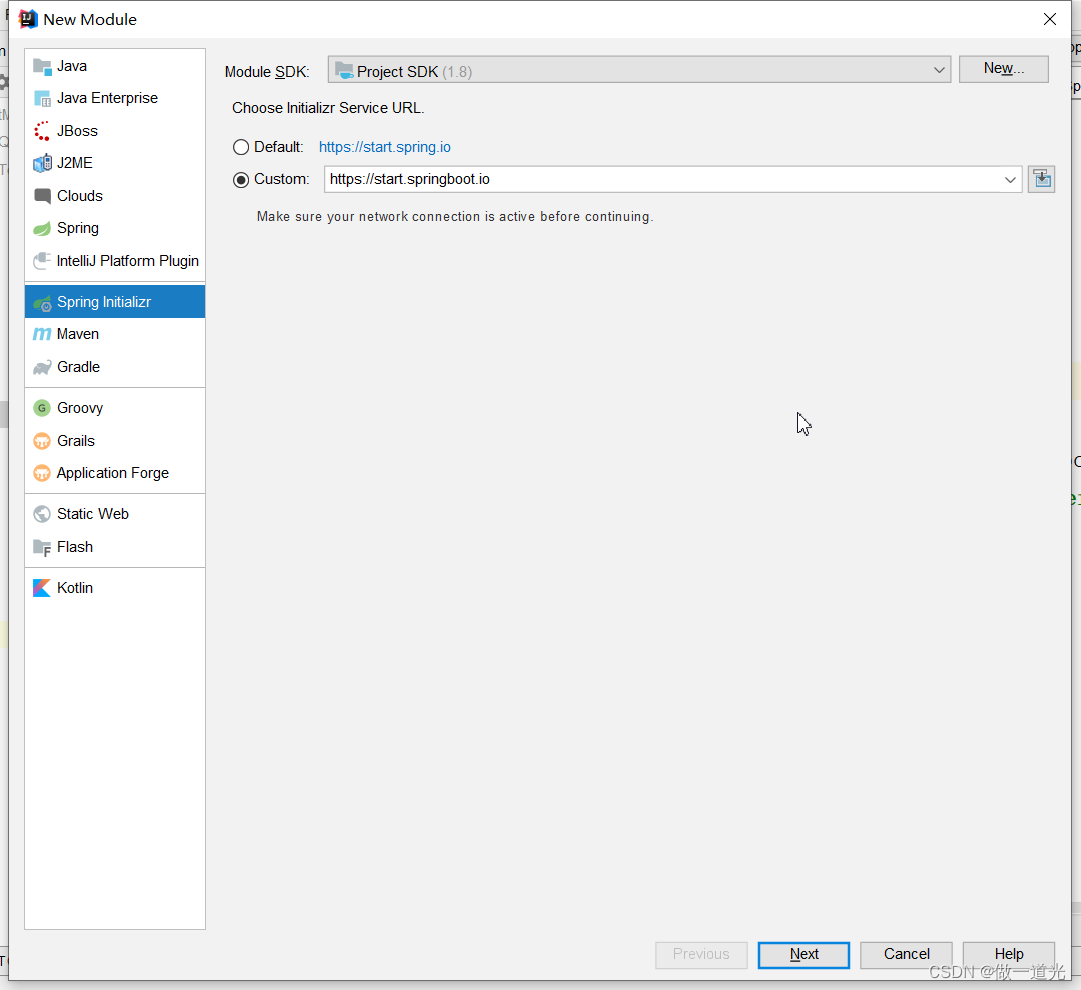
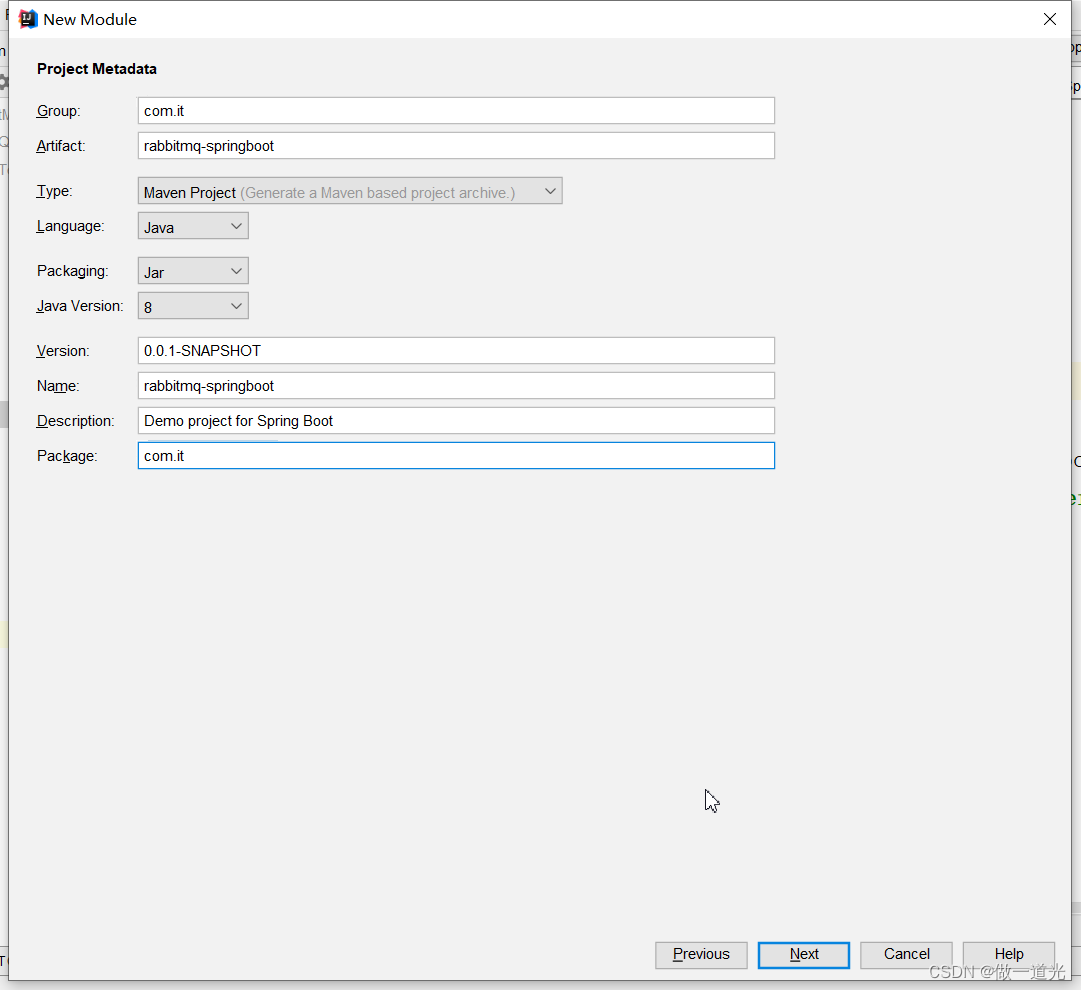
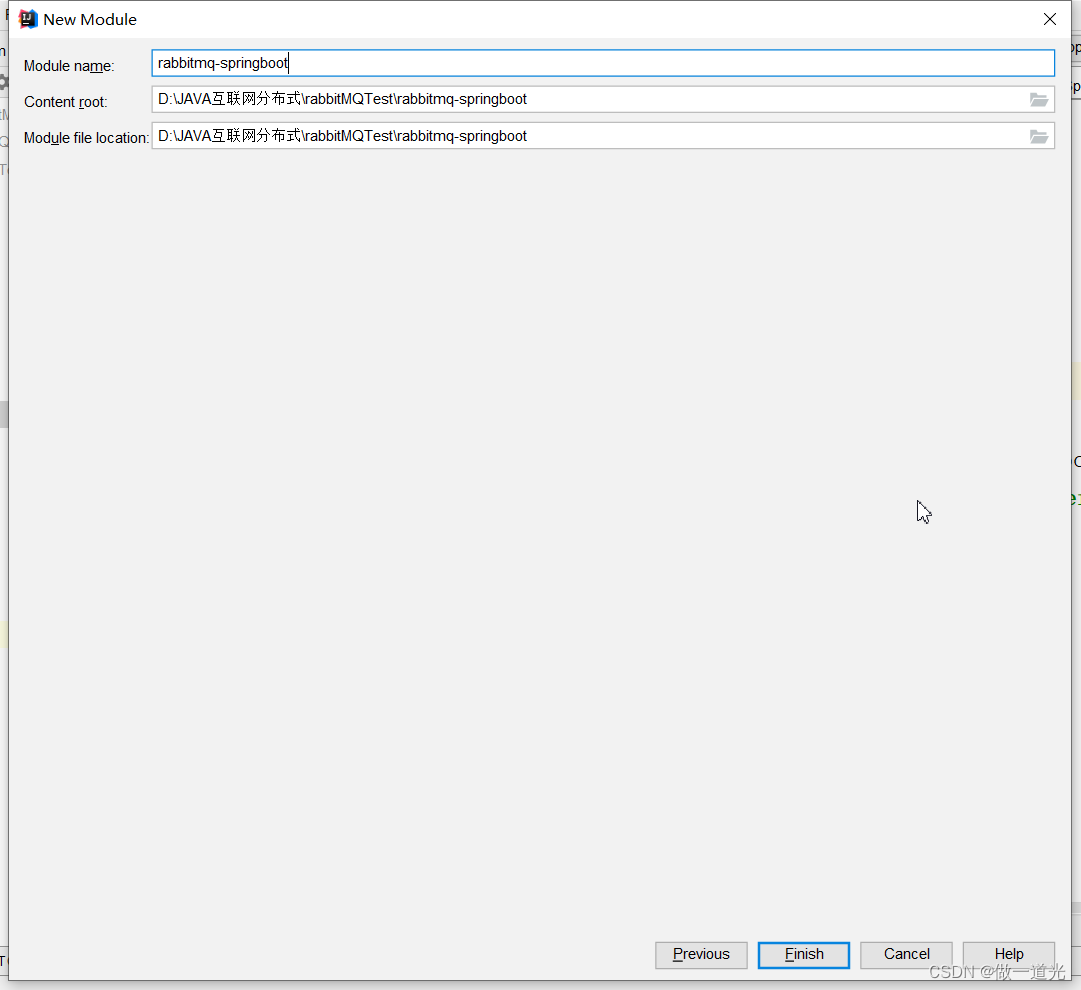
创建消息生产者工程
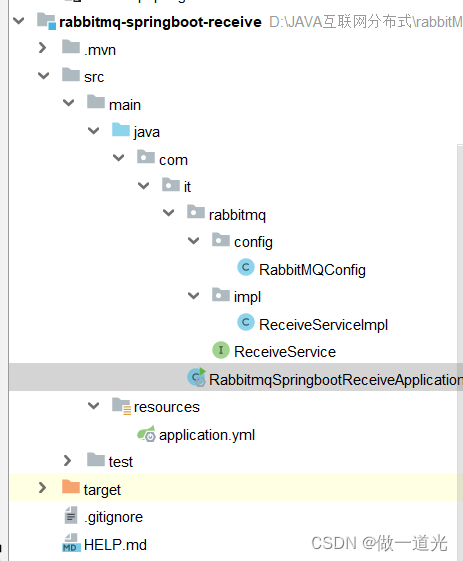
1.创建rabbitmq-springboot的model


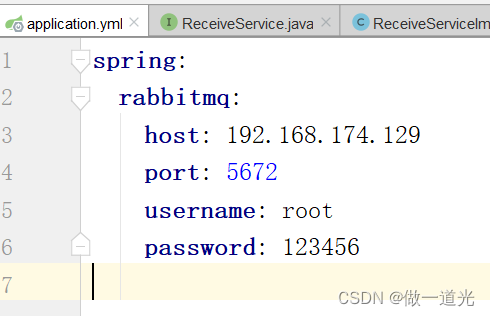
2.修改springboot的配置文件为application.yml。
编写配置文件
spring:
  rabbitmq:
    host: 192.168.174.129
    port: 5672
    username: root
    password: 123456
3.SendService接口
package com.it.rabbitmq;

public interface SendService {
    void sendMessage(String message);
}
SendServiceImpl实现类
package com.it.rabbitmq.impl;

import com.it.rabbitmq.SendService;
import org.springframework.amqp.core.AmqpTemplate;
import org.springframework.stereotype.Service;

import javax.annotation.Resource;

@Service("sendService")
public class SendServiceImpl implements SendService {
    //注入amqp的模板类,利用这个对象来发送和接收消息
    @Resource
    private AmqpTemplate amqpTemplate;

    @Override
    public void sendMessage(String message) {
        /**
         * 发送消息
         * 参数1为交换机名称
         * 参数2位RoutingKey
         * 参数3为具体发送的消息数据
         */
        amqpTemplate.convertAndSend("bootDirectExchange","bootDirectRouting",message);
    }
}
4.创建配置类
package com.it.rabbitmq.config;

import org.springframework.amqp.core.*;
import org.springframework.context.annotation.Bean;
import org.springframework.context.annotation.Configuration;

@Configuration
public class RabbitMQConfig {

    //配置一个direct类型的交换机
    @Bean
    public DirectExchange directExchange(){
        return new DirectExchange("bootDirectExchange");
    }

    //配置一个队列
    @Bean
    public Queue directQueue(){
        return new Queue("bootDirectQueue");
    }

    /**
     * 配置一个交换机和队列的绑定
     * @param directQueue 需要绑定的队列对象,参数名必须要与某个@Bean的方法名完全相同这样就会自动注入
     * @param directQueue 需要绑定的交换机对象,参数名必须要与某个@Bean的方法名完全相同这样就会自动注入
     * @return
     */
    @Bean
    public Binding directBinding(Queue directQueue,DirectExchange directExchange){
        //完成绑定:参数1为需要绑定的队列,参数2为需要绑定的交换机,参数3为需要绑定的routingkey
        return BindingBuilder.bind(directQueue).to(directExchange).with("bootDirectRouting");
    }
}
5.在入口函数中运行代码
package com.it;

import com.it.rabbitmq.SendService;
import org.springframework.boot.SpringApplication;
import org.springframework.boot.autoconfigure.SpringBootApplication;
import org.springframework.context.ApplicationContext;

@SpringBootApplication
public class RabbitmqSpringbootApplication {

    public static void main(String[] args) {

        ApplicationContext ac=SpringApplication.run(RabbitmqSpringbootApplication.class, args);
        SendService sendService= (SendService) ac.getBean("sendService");
        sendService.sendMessage("boot的测试数据");
    }

}
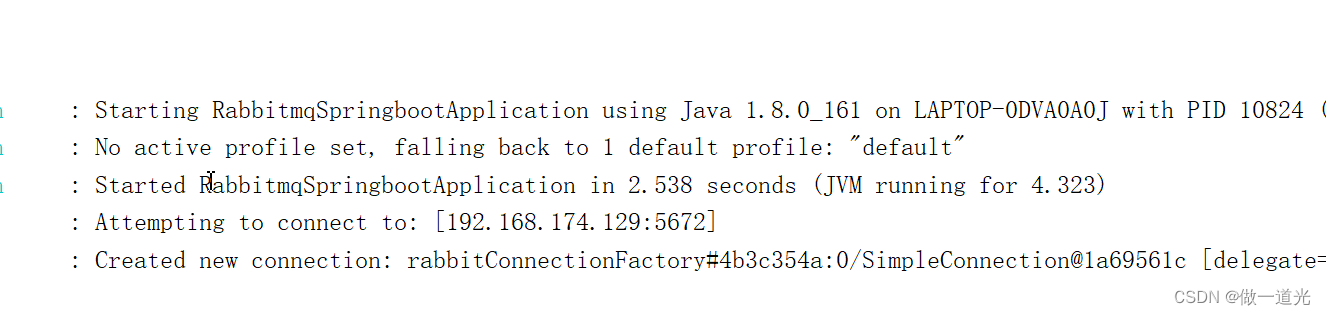
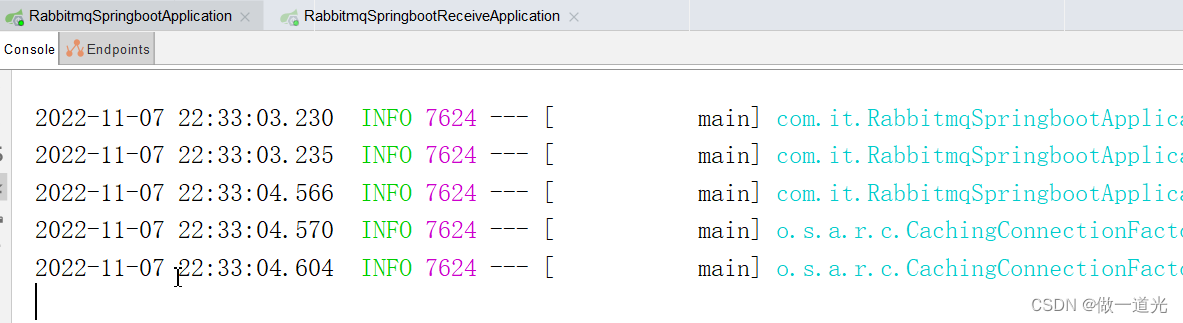
6.测试结果

创建消息消费者工程
1.创建rabbit-springboot-receive
2.application.yml
3.ReceiveService接口
package com.it.rabbitmq;

public interface ReceiveService {
    void receiveMessage();
    void directReceive(String message);
}
ReceiveServiceImpl实现类
package com.it.rabbitmq.impl;
import com.it.rabbitmq.ReceiveService;
import org.springframework.amqp.core.AmqpTemplate;
import org.springframework.amqp.rabbit.annotation.RabbitListener;
import org.springframework.stereotype.Service;
import javax.annotation.Resource;
@Service("receiveService")
public class ReceiveServiceImpl implements ReceiveService {
//注入amqp的模板类,利用这个对象来发送和接收消息
@Resource
private AmqpTemplate amqpTemplate;
@Override
public void receiveMessage() {
/**
* 发送消息
* 参数1为交换机名称
* 参数2位RoutingKey
* 参数3为具体发送的消息数据
*/
String message= (String) amqpTemplate.receiveAndConvert("bootDirectQueue");
System.out.println(message);
}
/**
* @RabbitListener:用于标记当前方法是一个rabbitmq的消息监听方法,作用是持续性的接收消息
* 这个方法不需要手动调用,spring会自动监听
* 属性queues:用于指定一个已经存在的队列名称,用于队列的监听
* @param message 参数就是接收到的具体消息数据
*/
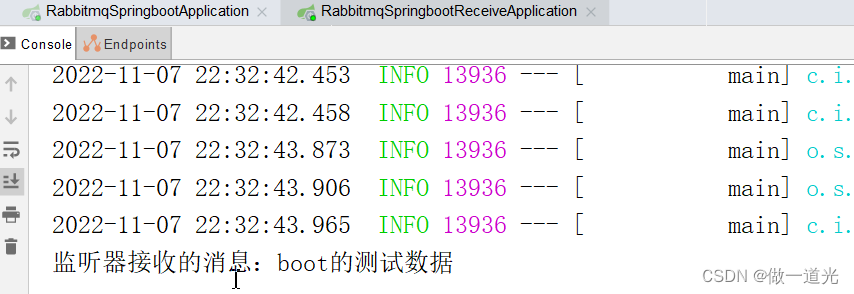
@RabbitListener(queues = {"bootDirectQueue"})
public void directReceive(String message) {
System.out.println("监听器接收的消息:"+message);
}
}
4.配置类
package com.it.rabbitmq.config;

import org.springframework.amqp.core.Binding;
import org.springframework.amqp.core.BindingBuilder;
import org.springframework.amqp.core.DirectExchange;
import org.springframework.amqp.core.Queue;
import org.springframework.context.annotation.Bean;
import org.springframework.context.annotation.Configuration;

@Configuration
public class RabbitMQConfig {

    //配置一个direct类型的交换机
    @Bean
    public DirectExchange directExchange() {
        return new DirectExchange("bootDirectExchange");
    }

    //配置一个队列
    @Bean
    public Queue directQueue() {
        return new Queue("bootDirectQueue");
    }

    /**
     * 配置一个交换机和队列的绑定
     *
     * @param directQueue 需要绑定的队列对象,参数名必须要与某个@Bean的方法名完全相同这样就会自动注入
     * @param directQueue 需要绑定的交换机对象,参数名必须要与某个@Bean的方法名完全相同这样就会自动注入
     * @return
     */
    @Bean
    public Binding directBinding(Queue directQueue, DirectExchange directExchange) {
        //完成绑定:参数1为需要绑定的队列,参数2为需要绑定的交换机,参数3为需要绑定的routingkey
        return BindingBuilder.bind(directQueue).to(directExchange).with("bootDirectRouting");
    }
}
5.启动入口函数
package com.it;

import com.it.rabbitmq.ReceiveService;
import org.springframework.boot.SpringApplication;
import org.springframework.boot.autoconfigure.SpringBootApplication;
import org.springframework.context.ApplicationContext;

@SpringBootApplication
public class RabbitmqSpringbootReceiveApplication {

    public static void main(String[] args) {
        ApplicationContext ac =SpringApplication.run(RabbitmqSpringbootReceiveApplication.class, args);
        ReceiveService service= (ReceiveService) ac.getBean("receiveService");
        //使用消息监听器接收消息,那么就不需要调用接收方法来接收消息


//        service.receiveMessage();
    }

}
6.测试


再次发送消息也可以持续的接收消息


 1831
1831


 被折叠的 条评论
为什么被折叠?
被折叠的 条评论
为什么被折叠?
 到【灌水乐园】发言


