


目录
Spring集成Junit
原始Junit测试Spring的问题
在测试类中,每个测试方法都有一下两行代码:
//获得应用上下文对象
ApplicationContext ac=new ClassPathXmlApplicationContext("bean.xml");

//获取要被测试的对象
IAccountService as=ac.getBean("accountService",IAccountService.class);
这两行代码的作用是获取容器,如果不写的话,直接会提示空指针异常,所以又不能轻易删除。
解决思路
- 让SpringJunit负责创建Spring容器,但是需要将配置文件的名称告诉他
- 将需要进行测试Bean直接在测试类中进行注入
Spring集成Junit步骤
①导入spring集成Junit的坐标(首先导入好junit)
②使用@Runwith注解替换原来的运行期
③使用@ContextConfiguration指定配置文件或配置类
④使用@Autowired注入需要测试的对象
⑤创建测试方法进行测试
在pom.xml中导入
  <dependencies>

 <dependency>
      <groupId>org.springframework</groupId>
      <artifactId>spring-context</artifactId>
      <version>5.0.5.RELEASE</version>
    </dependency>


    <dependency>
      <groupId>junit</groupId>
      <artifactId>junit</artifactId>
      <version>4.12</version>

    </dependency>

    <dependency>
      <groupId>org.springframework</groupId>
      <artifactId>spring-test</artifactId>
      <version>5.0.5.RELEASE</version>
    </dependency>

  </dependencies>
在test包下创建SpringJunitTest类
package com.test;

import com.service.UserService;
import org.junit.Test;
import org.junit.runner.RunWith;
import org.springframework.beans.factory.annotation.Autowired;
import org.springframework.test.context.ContextConfiguration;
import org.springframework.test.context.junit4.SpringJUnit4ClassRunner;

//指定Spring提供的内核去测试
@RunWith(SpringJUnit4ClassRunner.class)

//将要测试的文件告诉它
@ContextConfiguration("classpath:ApplicationContext.xml")
public class SpringJunitTest {
    @Autowired
    private UserService userService;
    @Test
    public void test1(){
        userService.save();
    }
}
测试结果

Spring与Web环境集成
在创建dao包,创建service包,创建web包,在resource资源
在创建一个UserDao和UserDaoImpl实现类
接口下
package com.dao;

public interface UserDao {
    public void save();
}
实现类
package com.dao.Impl;

import com.dao.UserDao;

public class UserDaoImpl implements UserDao {
    public void save() {
        System.out.println("save running...");
    }
}
service包下,创建UserService和UserServiceImpl
接口
package com.service;

public interface UserService {
    public void save();
}
实现类下
package com.service.Impl;

import com.dao.UserDao;
import com.service.UserService;

public class UserServiceImpl implements UserService {

    public UserDao userDao;

    public void setUserDao(UserDao userDao) {
        this.userDao = userDao;
    }

    public void save() {
        userDao.save();
    }
}
pom.xml下
 <dependencies>

    <dependency>


    <dependency>
      <groupId>junit</groupId>
      <artifactId>junit</artifactId>
      <version>4.11</version>
    </dependency>
    <dependency>
      <groupId>org.springframework</groupId>
      <artifactId>spring-test</artifactId>
      <version>5.0.5.RELEASE</version>
    </dependency>
    <dependency>
      <groupId>javax.servlet.jsp</groupId>
      <artifactId>javax.servlet.jsp-api</artifactId>
      <version>2.2.1</version>
      <scope>provided</scope>
    </dependency>

    <dependency>
      <groupId>javax.servlet.jsp</groupId>
      <artifactId>javax.servlet.jsp-api</artifactId>
      <version>2.2.1</version>
      <scope>provided</scope>
    </dependency>
    <dependency>
      <groupId>org.springframework</groupId>
      <artifactId>spring-context</artifactId>
      <version>5.3.0</version>
      <scope>compile</scope>
    </dependency>


  </dependencies>
resource资源路径下
applicationContext.xml下
<?xml version="1.0" encoding="UTF-8"?>
<beans xmlns="http://www.springframework.org/schema/beans"
       xmlns:xsi="http://www.w3.org/2001/XMLSchema-instance"
       xsi:schemaLocation="http://www.springframework.org/schema/beans http://www.springframework.org/schema/beans/spring-beans.xsd">

    <bean id="userDao" class="com.dao.Impl.UserDaoImpl"></bean>

    <bean id="userService" class="com.service.Impl.UserServiceImpl">
<!-- 给service注入dao的值       -->
        <property name="userDao" ref="userDao"></property>
    </bean>

</beans>
web包下,UserServlet类下,使用注解完成配置
package com.web;

import com.service.UserService;
import org.springframework.context.ApplicationContext;
import org.springframework.context.support.ClassPathXmlApplicationContext;

import javax.servlet.ServletException;
import javax.servlet.annotation.WebServlet;
import javax.servlet.http.HttpServlet;
import javax.servlet.http.HttpServletRequest;
import javax.servlet.http.HttpServletResponse;
import java.io.IOException;


//使用注解代替web.xml中的配置
@WebServlet("/user")
public class UserServlet extends HttpServlet  {
    @Override
    protected void service(HttpServletRequest req, HttpServletResponse resp) throws ServletException, IOException {
        ApplicationContext app= new ClassPathXmlApplicationContext("applicationContext.xml");
        UserService userService = app.getBean(UserService.class);
        userService.save();
        System.out.println("jin");

    }
}
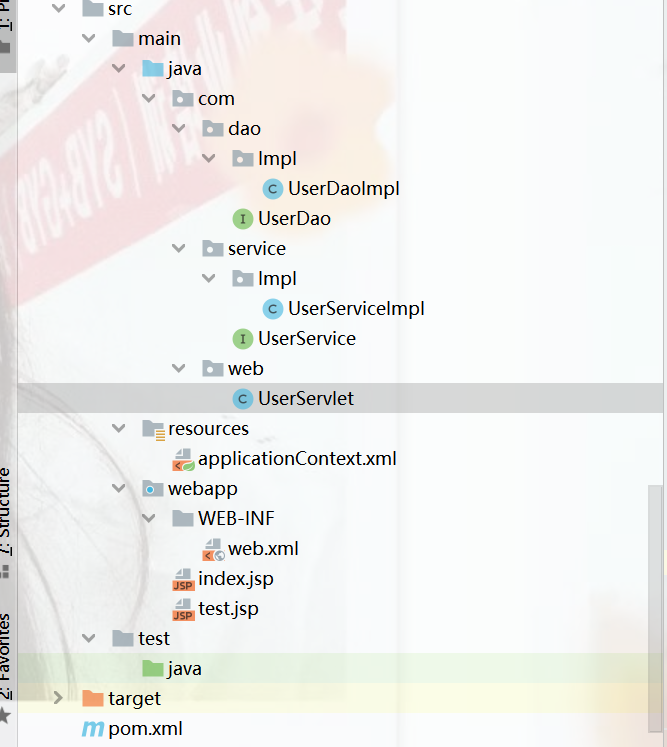
项目结构总览


 882
882


 被折叠的 条评论
为什么被折叠?
被折叠的 条评论
为什么被折叠?
 到【灌水乐园】发言


