


 本文档详细介绍了如何在C++ MFC应用程序中添加并实现工具栏按钮功能,包括模型的线框模式和实体模式切换,以及上、下、左、右、前、后六个不同视角的切换。通过设置特定的命令处理程序代码,实现了视角和显示模式的即时改变,所有功能经过验证,已成功运行。
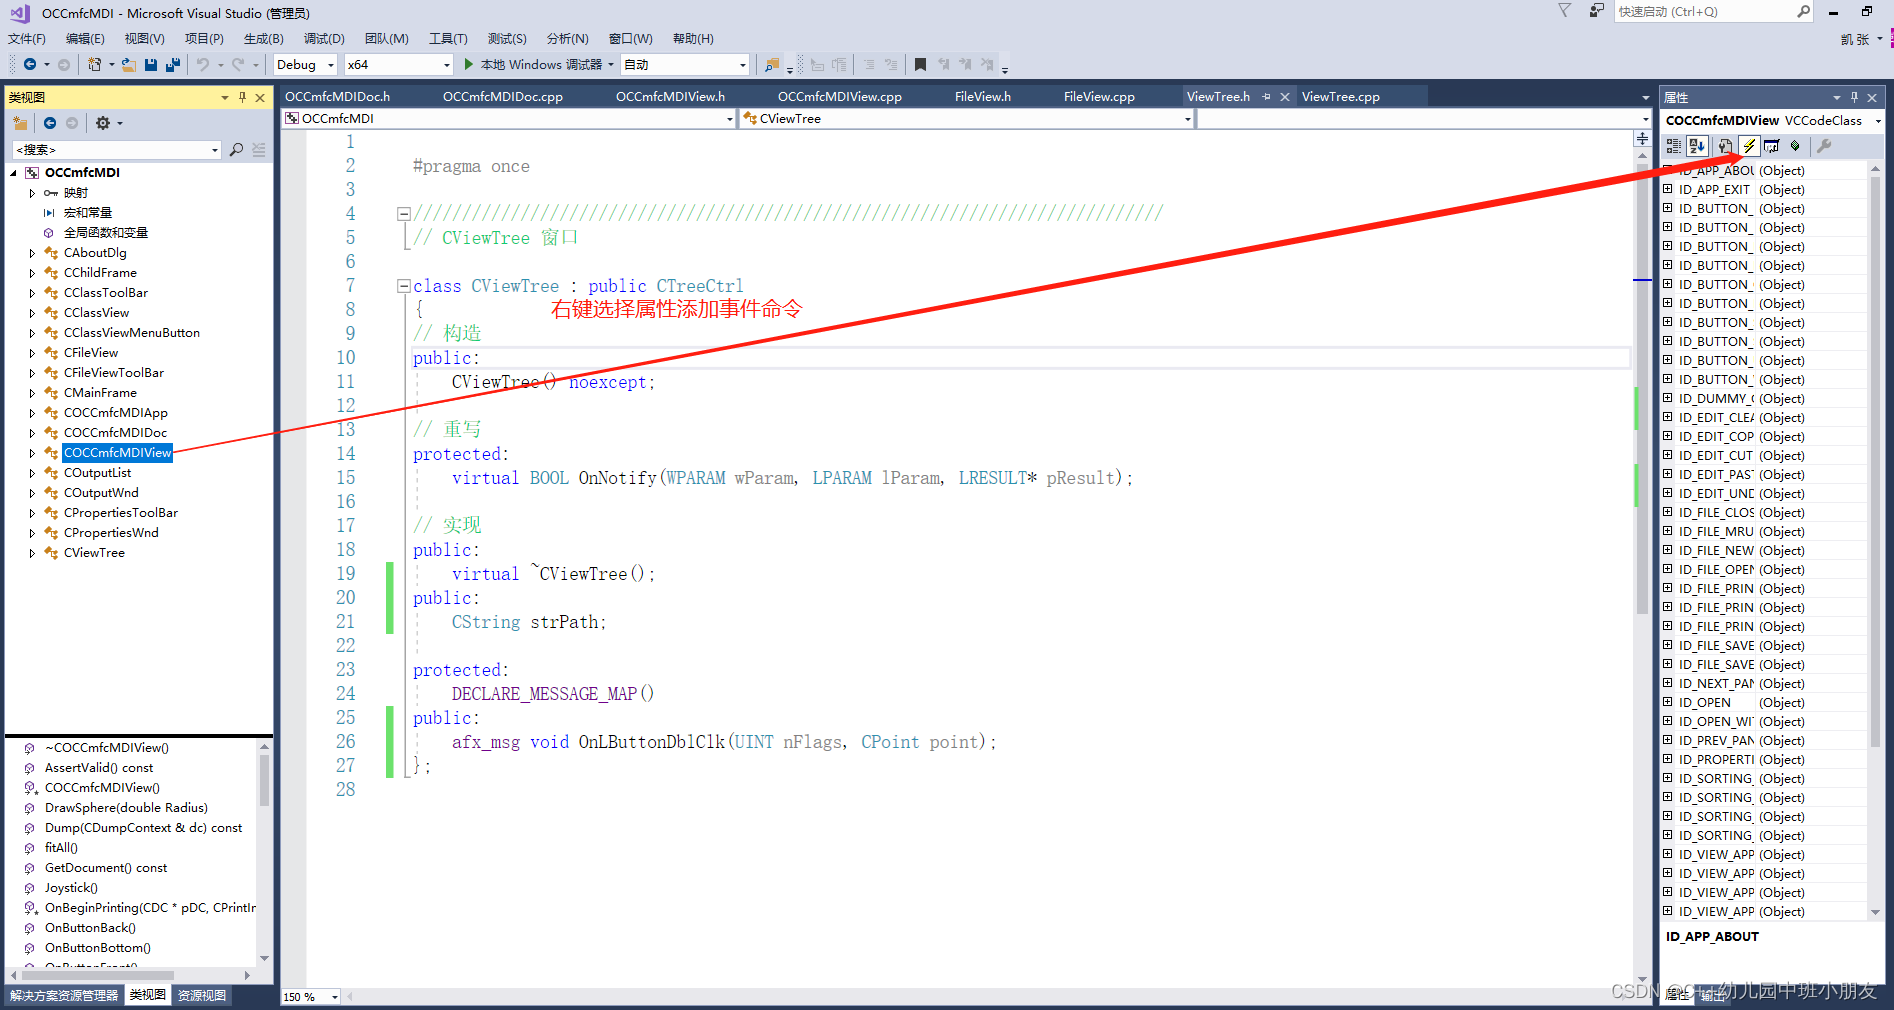
添加按钮事件
找到*****View类,右击属性,添加之前定义好的按钮命令函数(add Command):
逐个添加完命令之后,*****View.h中会出现这几个消息函数:
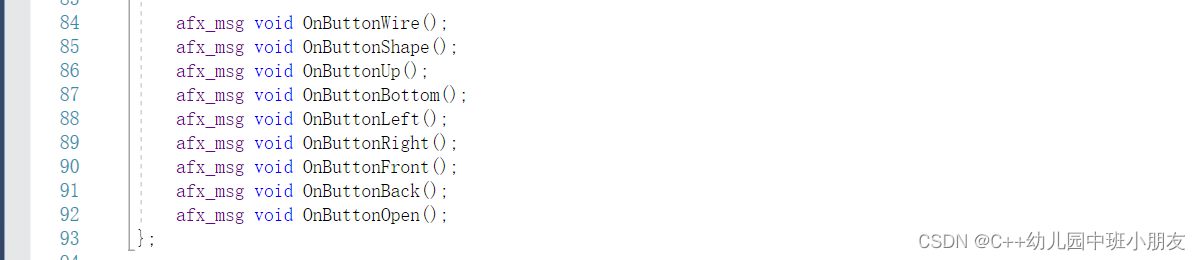
分别对它们进行实现;
//模型切换为线框模式
void COCCmfcMDIView::OnButtonWire()
{
// TODO: 在此添加命令处理程序代码
//AfxMessageBox(_T("您按下了 ButtonWire 按钮"));
COCCmfcMDIDoc* pDoc = GetDocument();
pDoc->myAISContext->SetDisplayMode(AIS_WireFrame, true); //设置显示模式为网状体
}
//模型切换为实体模式
void COCCmfcMDIView::OnButtonShape()
{
// TODO: 在此添加命令处理程序代码
//AfxMessageBox(_T("您按下了 ButtonShape 按钮"));
COCCmfcMDIDoc* pDoc = GetDocument();
pDoc->myAISContext->SetDisplayMode(AIS_Shaded, true); //设置显示模式为实体
}
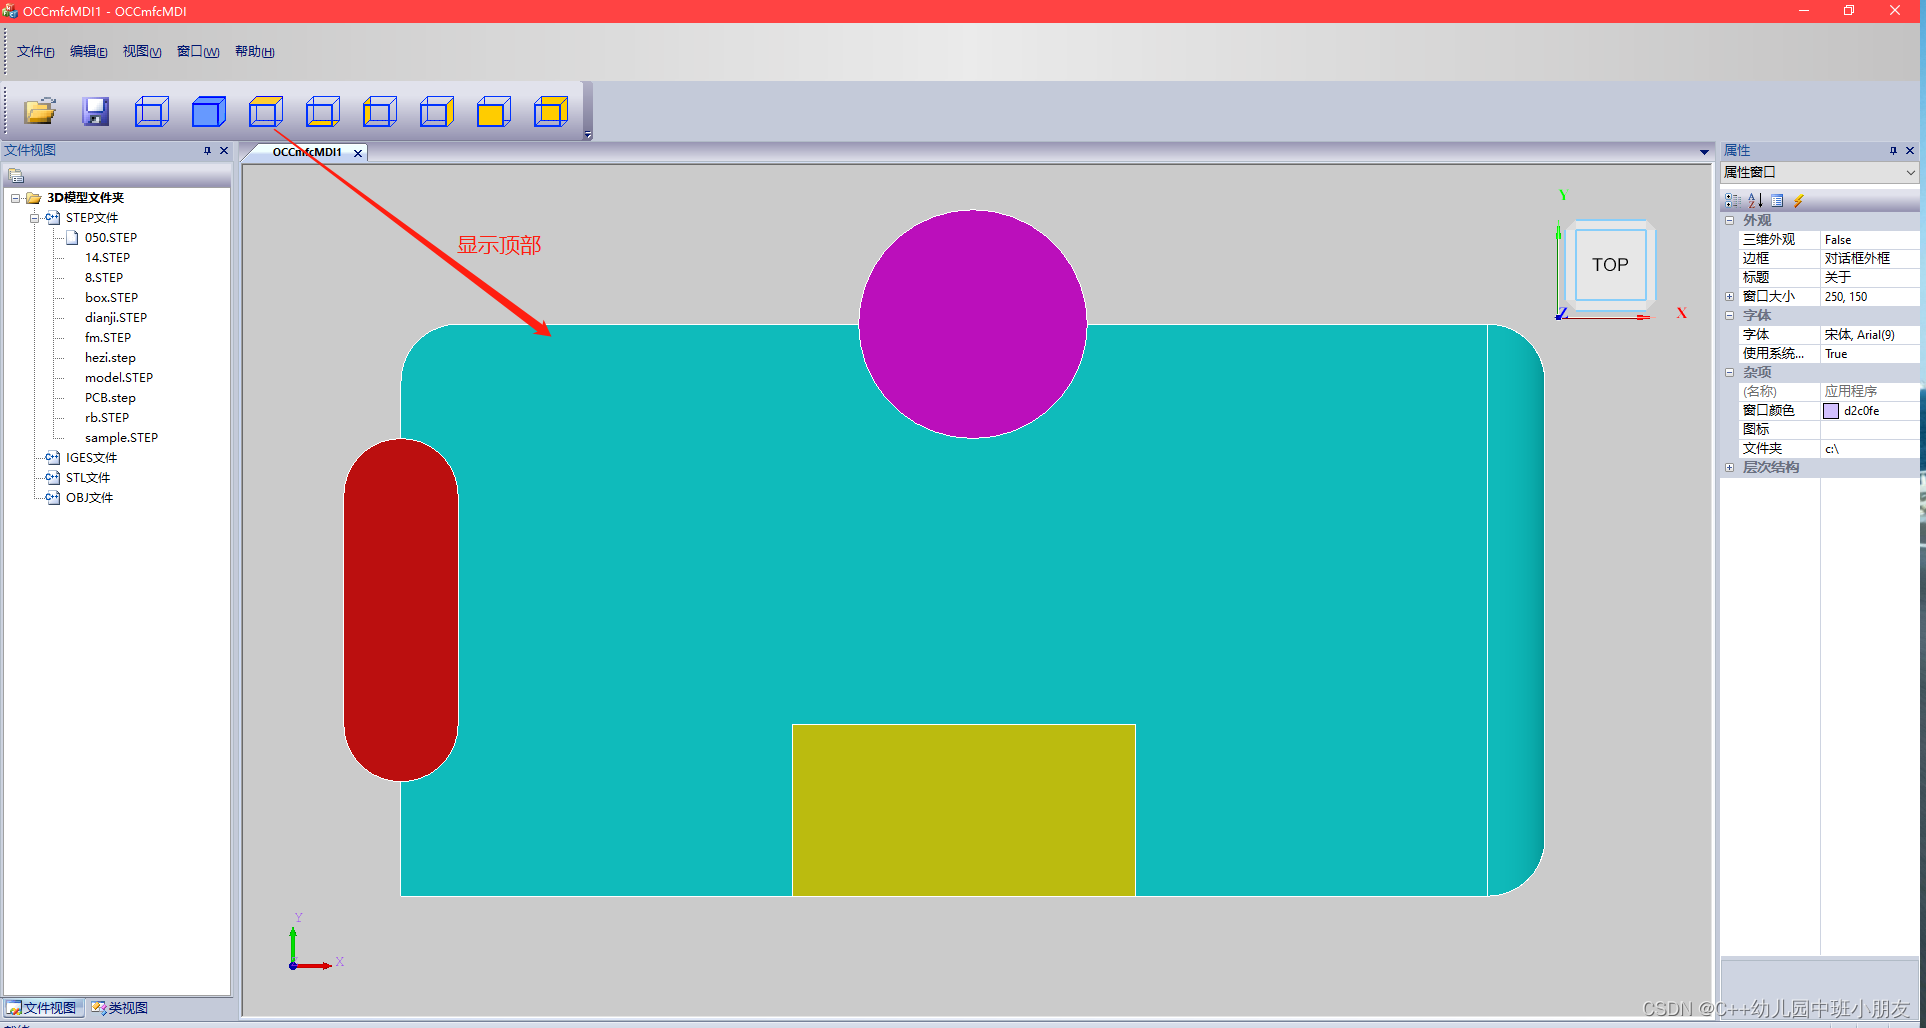
//切换为模型的上部视角
void COCCmfcMDIView::OnButtonUp()
{
// TODO: 在此添加命令处理程序代码
myView->SetProj(V3d_Zpos);
myView->FitAll();
}
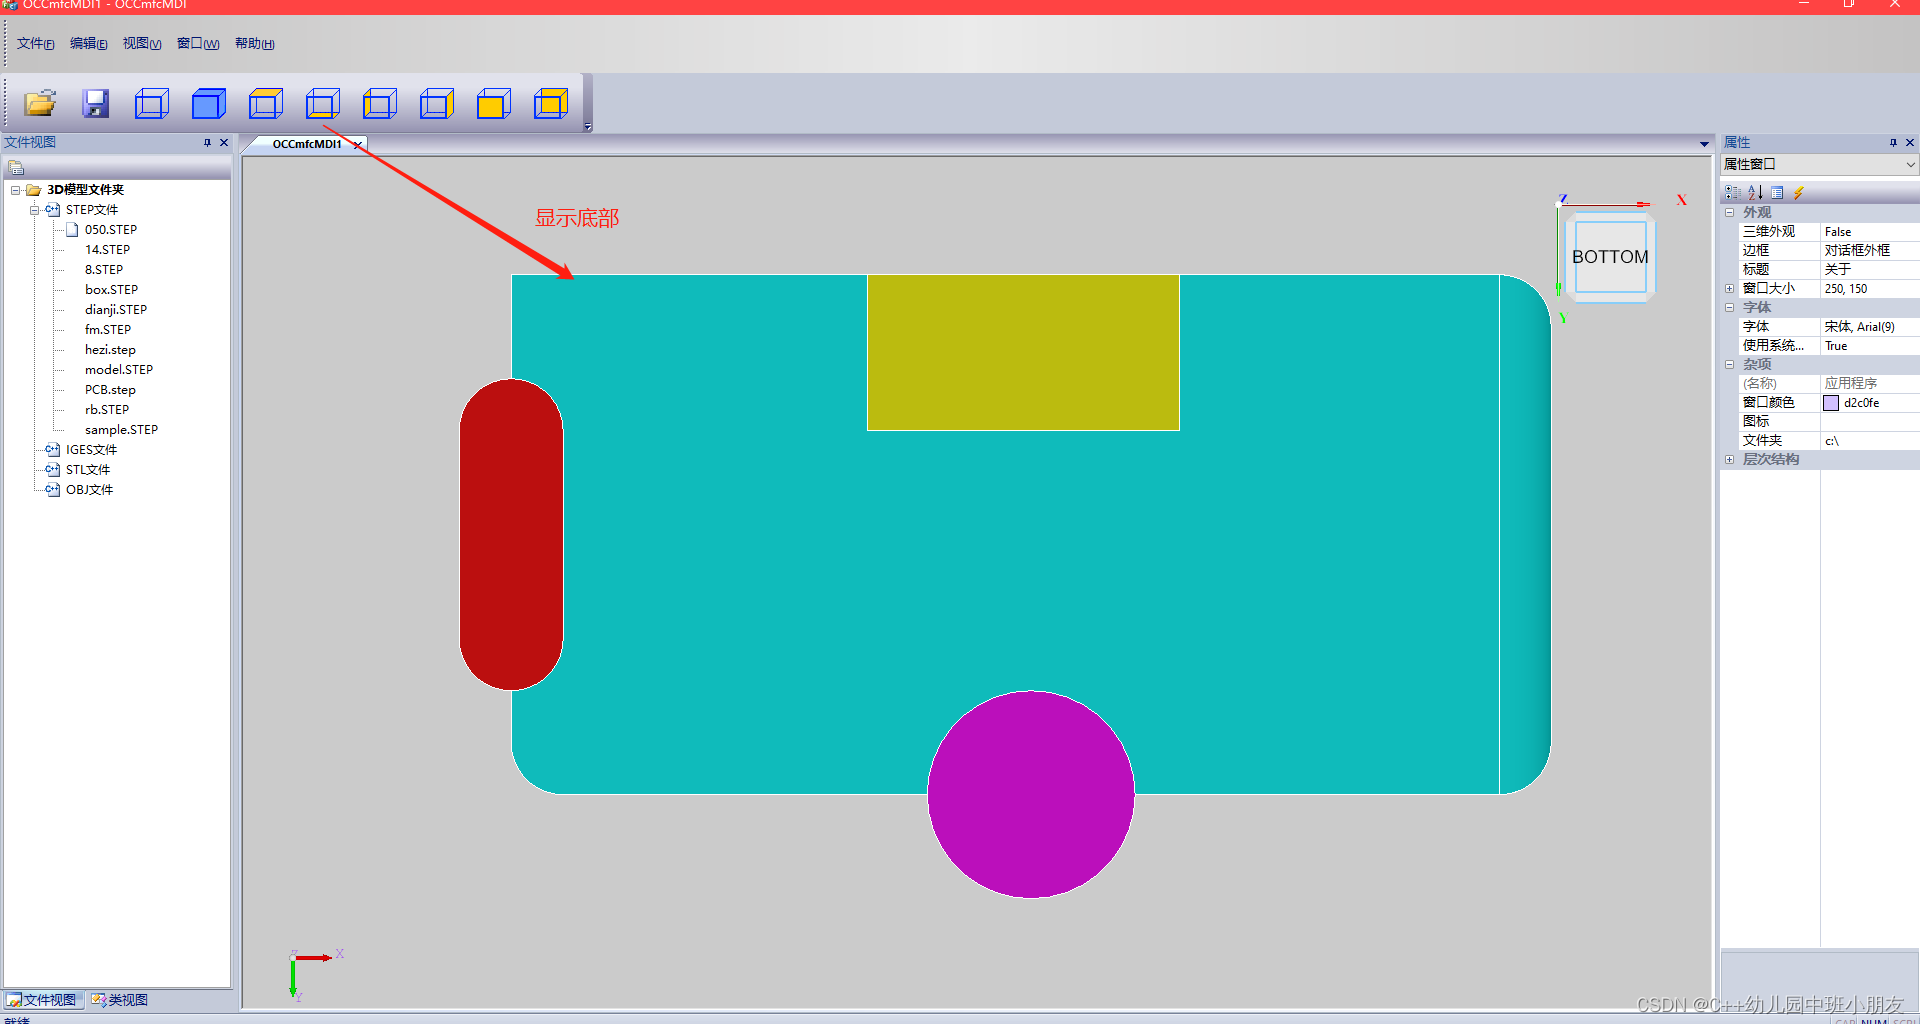
//切换为模型的底部视角
void COCCmfcMDIView::OnButtonBottom()
{
// TODO: 在此添加命令处理程序代码
myView->SetProj(V3d_Zneg);
myView->FitAll();
}
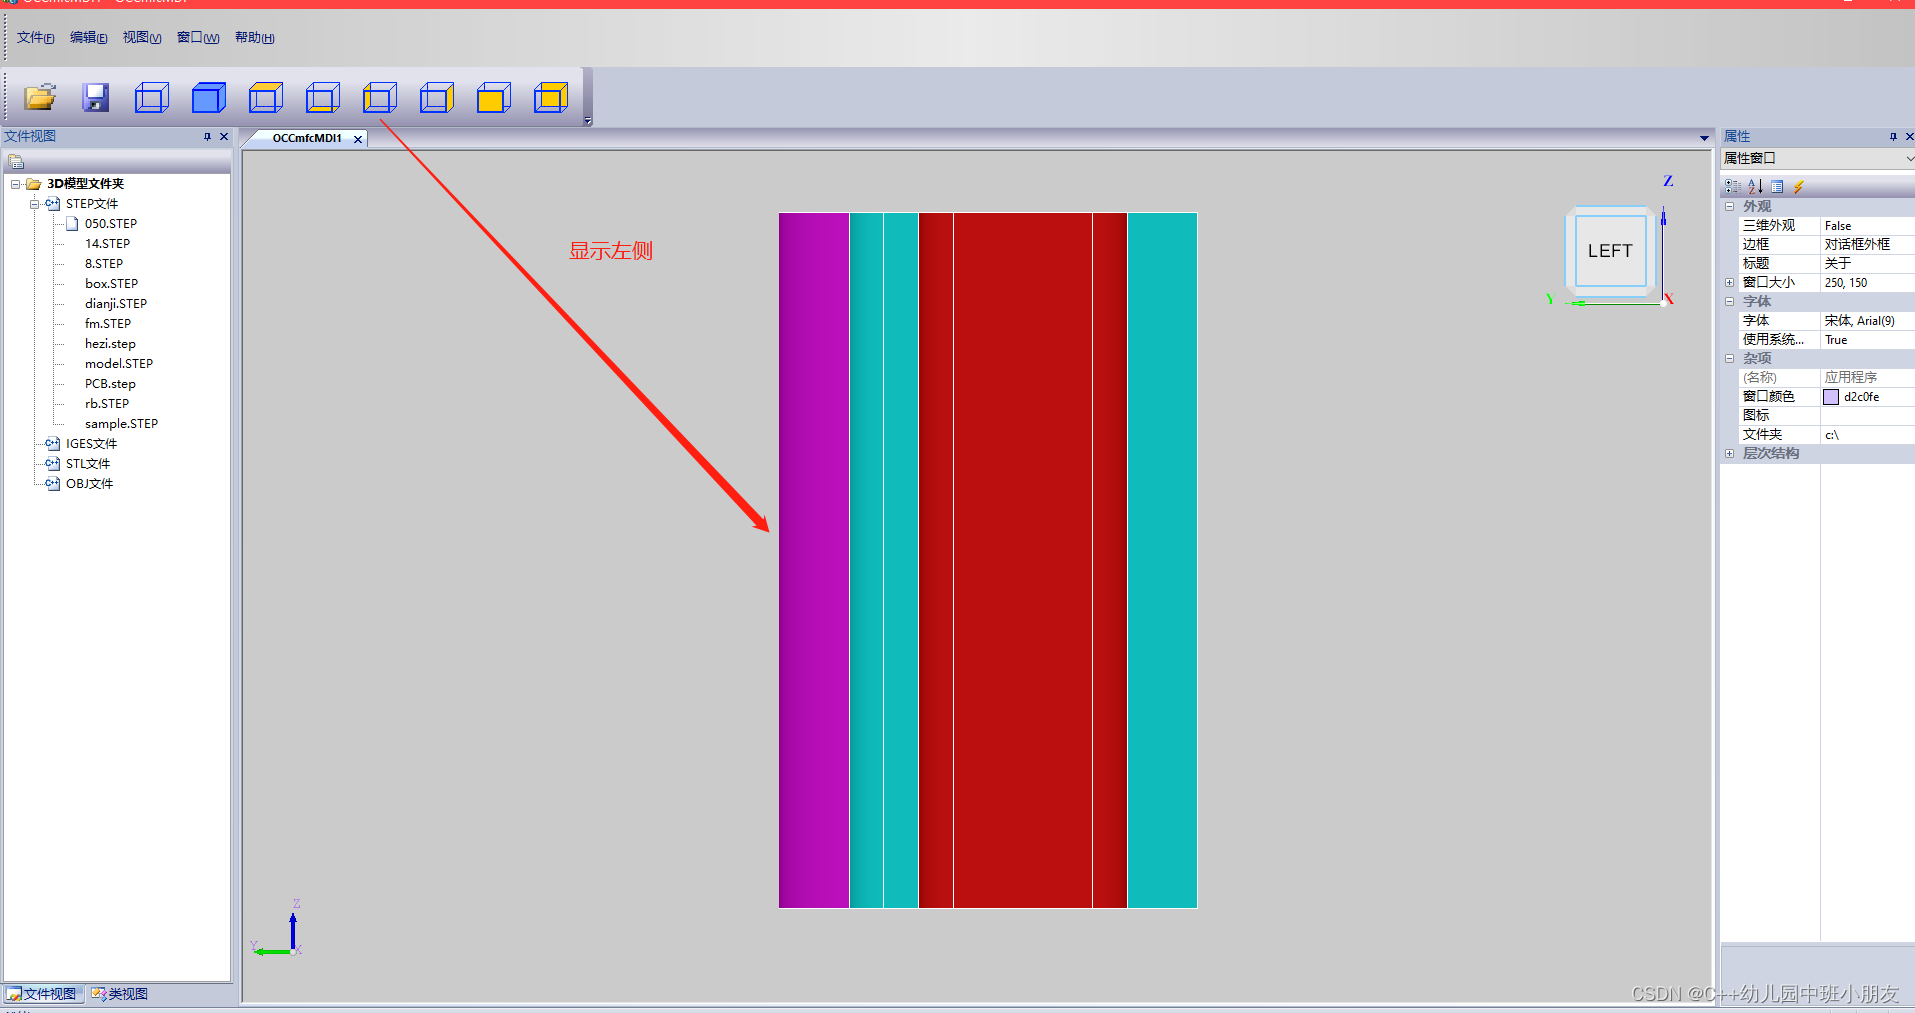
//切换为模型的左侧视角
void COCCmfcMDIView::OnButtonLeft()
{
// TODO: 在此添加命令处理程序代码
myView->SetProj(V3d_Xneg);
myView->FitAll();
}
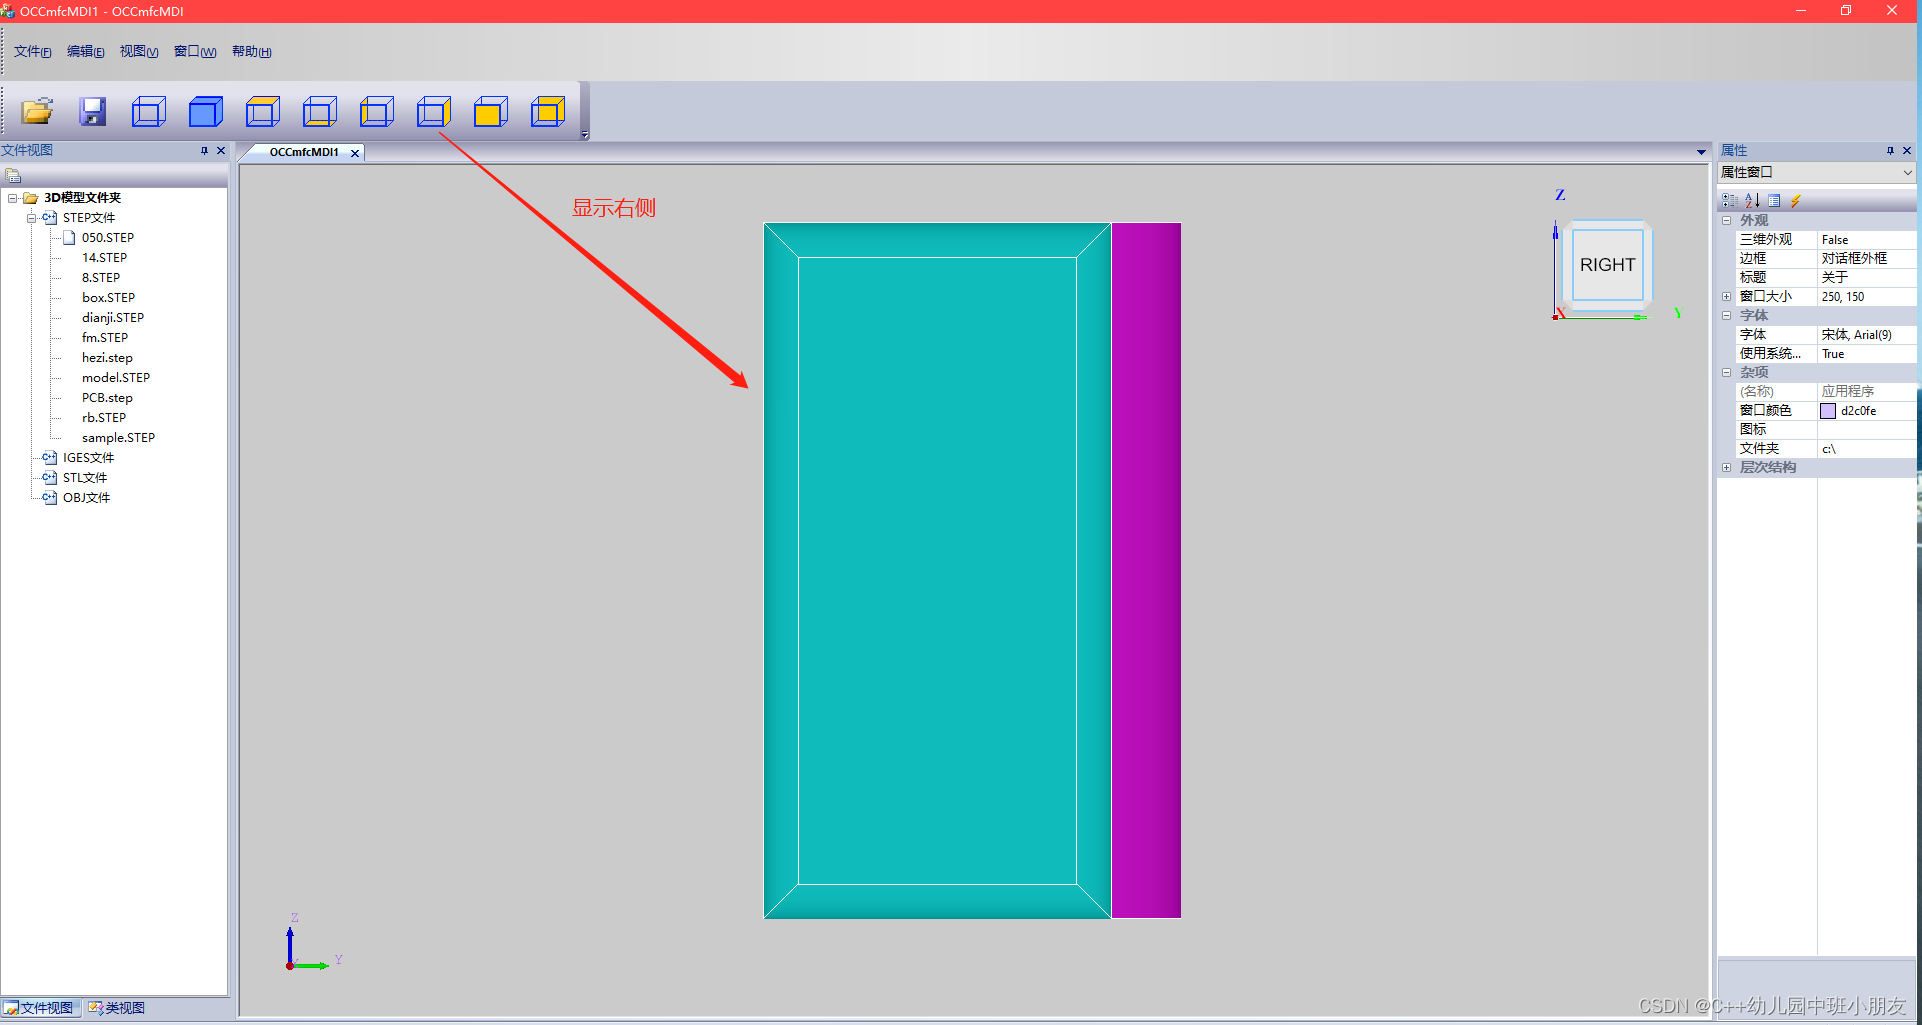
//切换为模型的右侧视角
void COCCmfcMDIView::OnButtonRight()
{
// TODO: 在此添加命令处理程序代码
myView->SetProj(V3d_Xpos);
myView->FitAll();
}
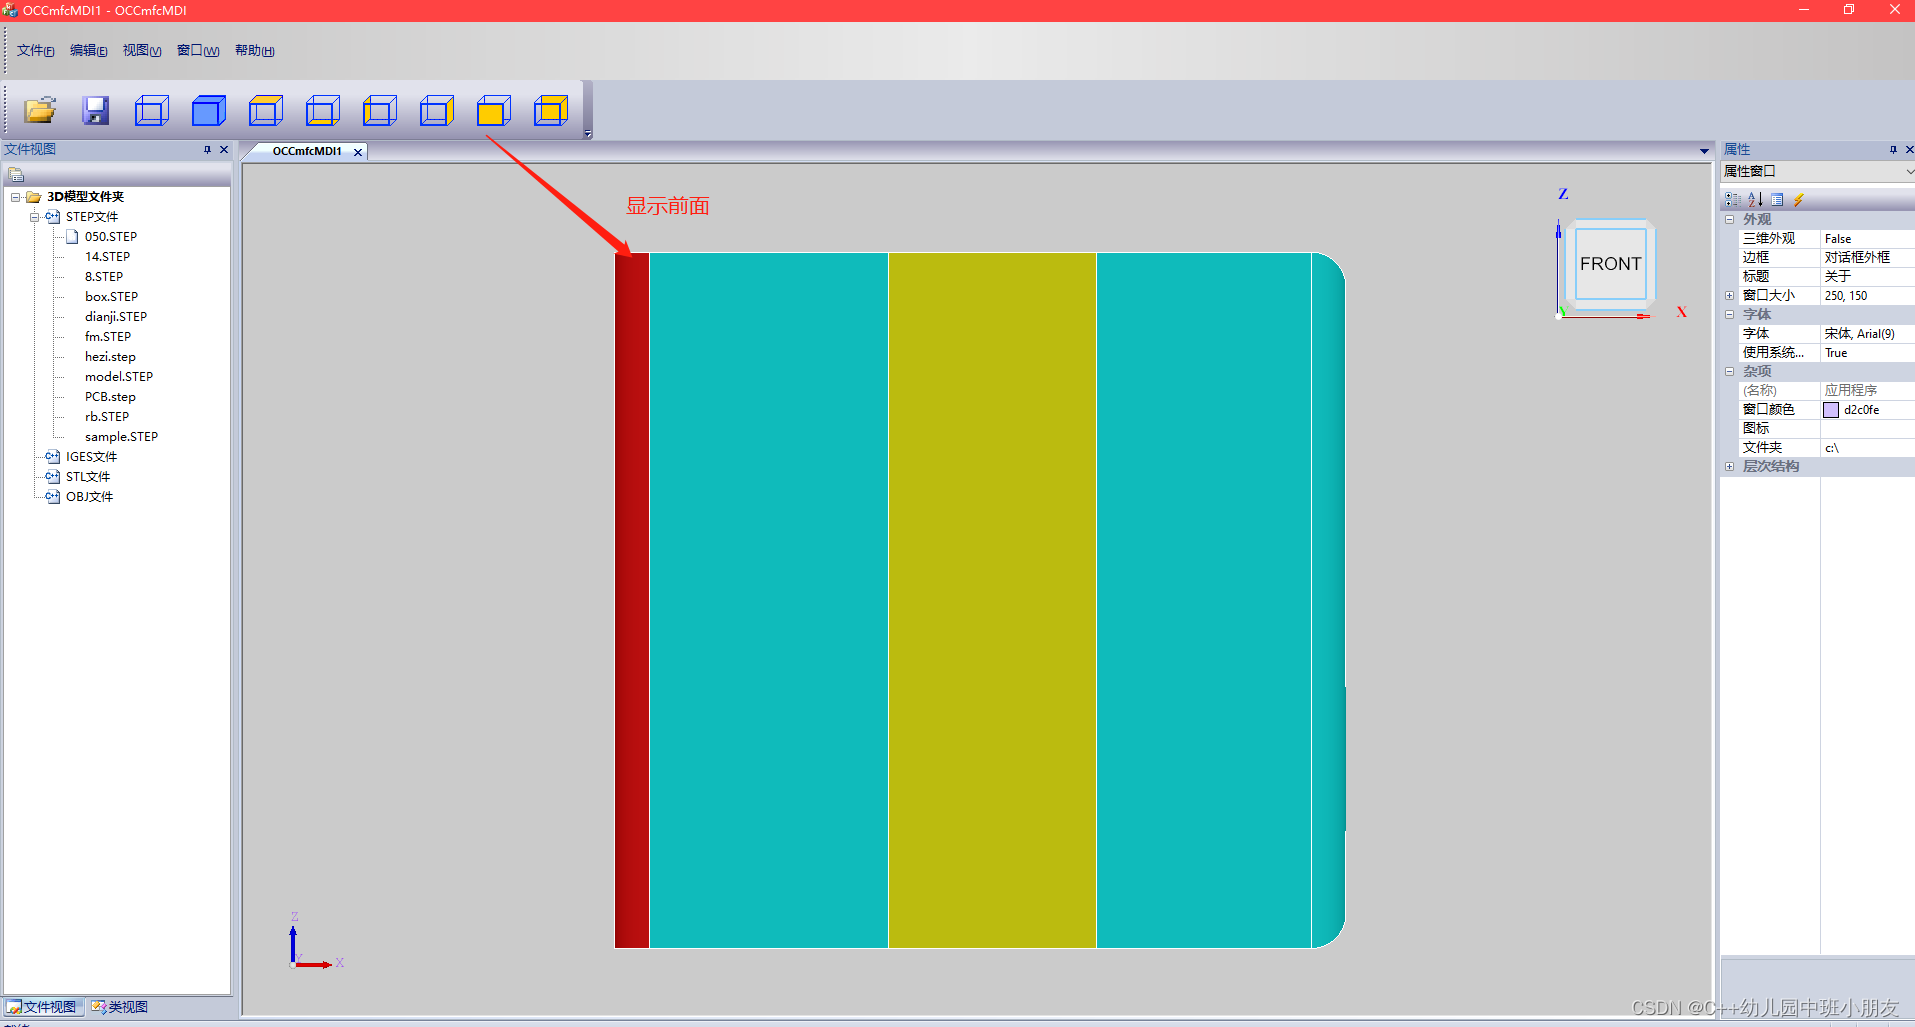
//切换为模型的前面视角
void COCCmfcMDIView::OnButtonFront()
{
// TODO: 在此添加命令处理程序代码
myView->SetProj(V3d_Yneg);
myView->FitAll();
}
//切换为模型的后面视角
void COCCmfcMDIView::OnButtonBack()
{
// TODO: 在此添加命令处理程序代码
myView->SetProj(V3d_Ypos);
myView->FitAll();
}运行结果》》

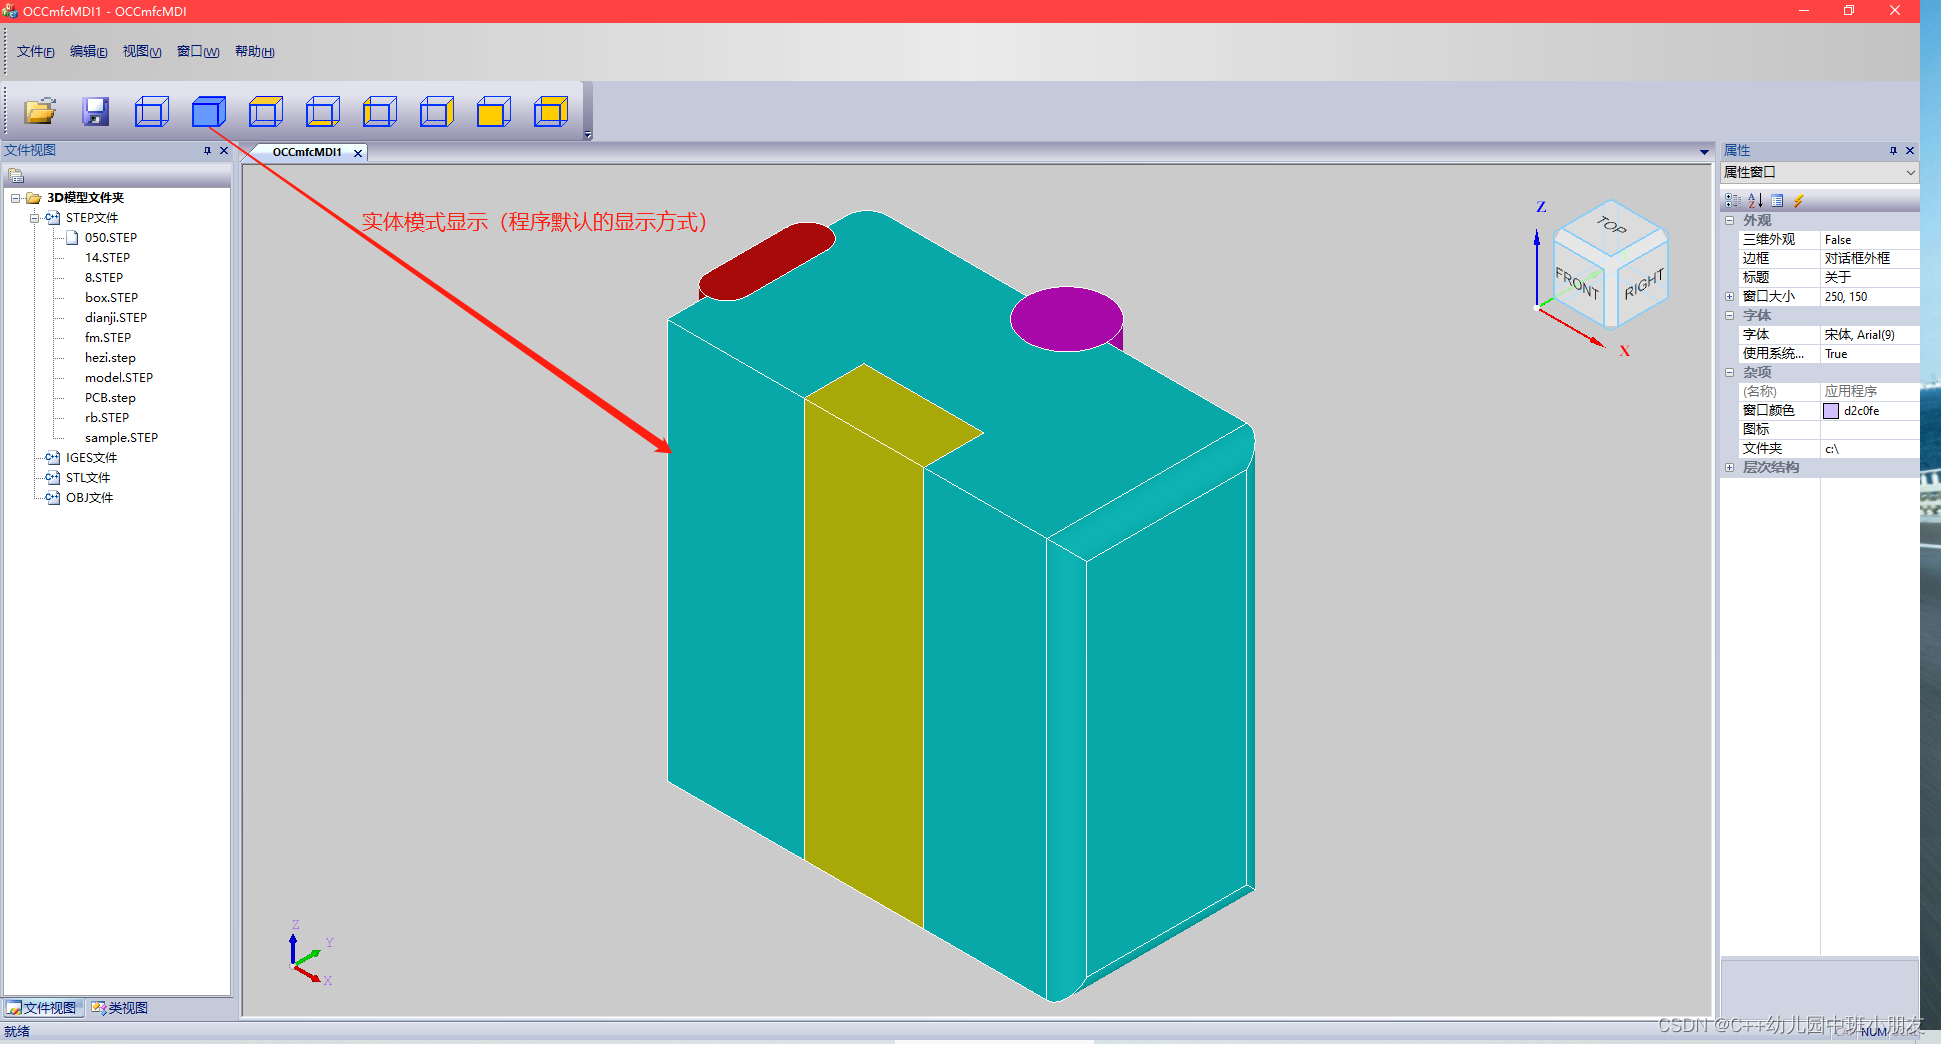
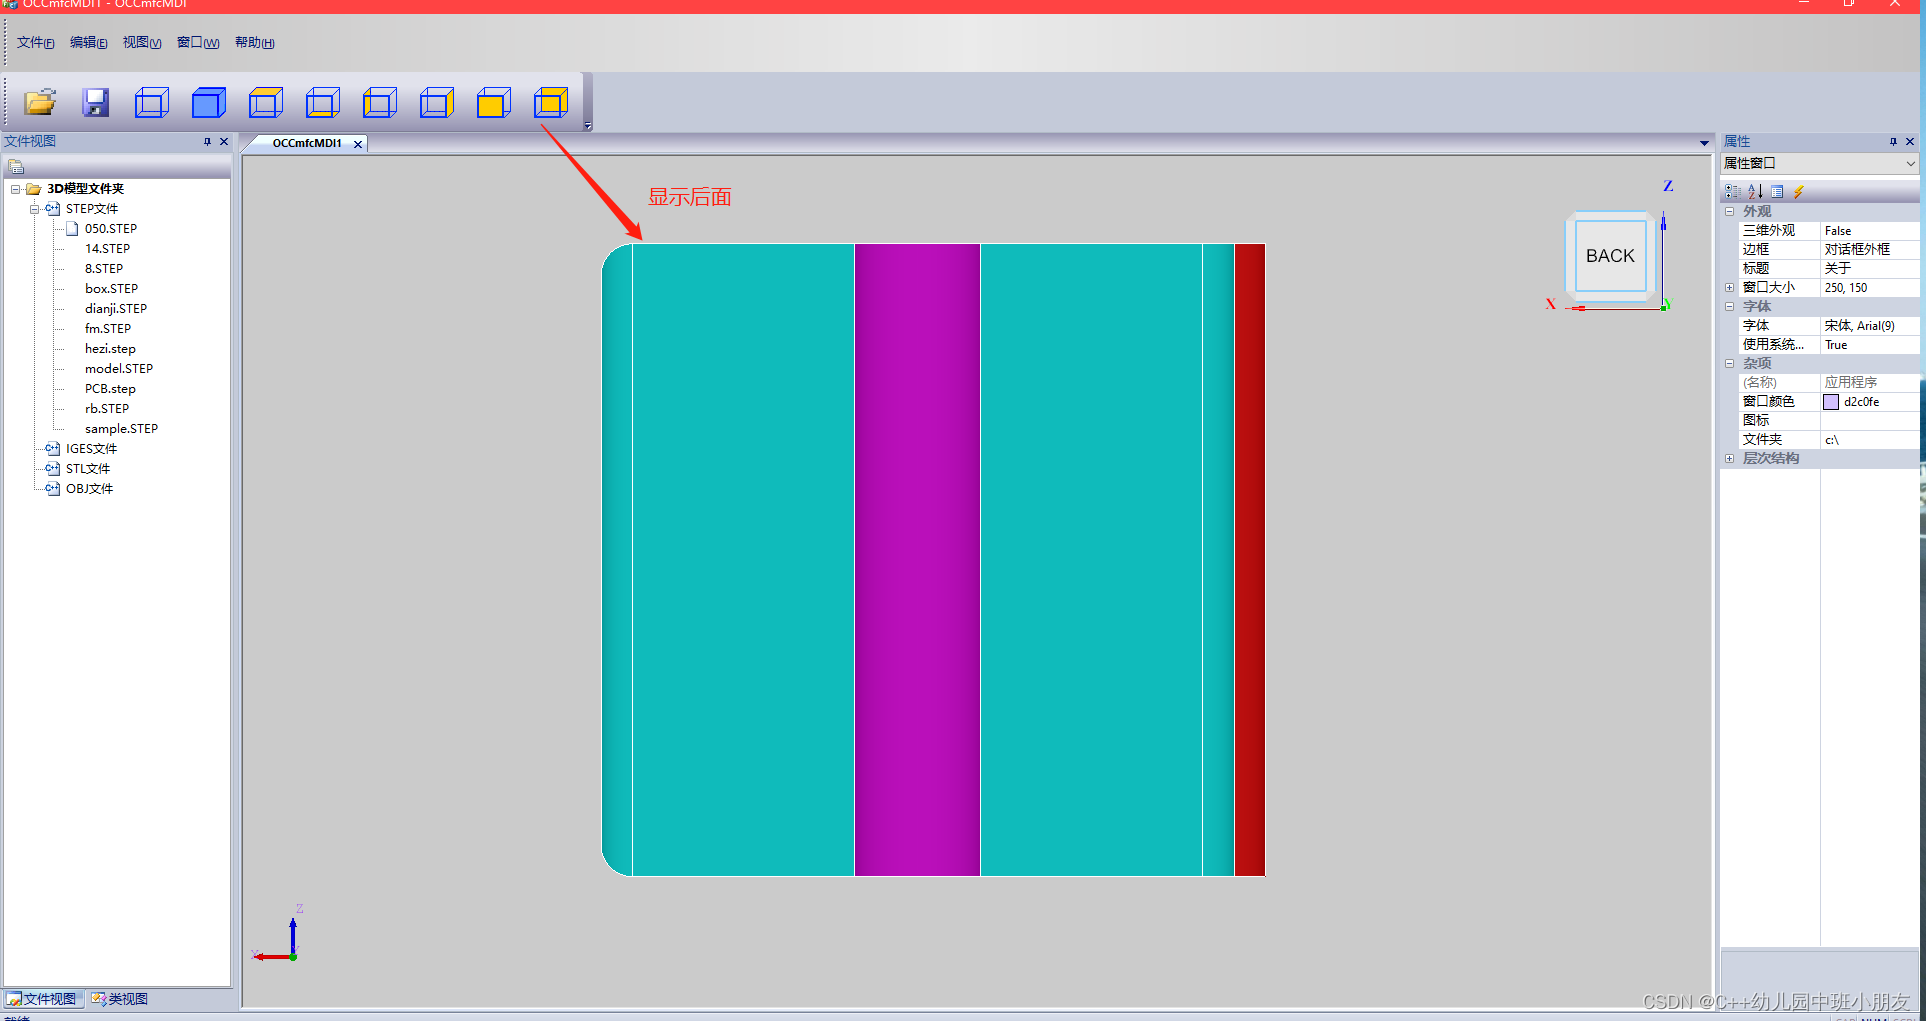
至此,我自定义的八个工具栏按钮功能全部实现,并且亲测成果!!!!


 751
751

 被折叠的 条评论
为什么被折叠?
被折叠的 条评论
为什么被折叠?
 到【灌水乐园】发言


