


在创建SpringBoot项目之前要先把上一篇文档搭建的集群打开,然后再创建SpringBoot项目,不会创建的可以访问这里
提前准备:
1.导入pom依赖
  <parent>
        <groupId>org.springframework.boot</groupId>
        <artifactId>spring-boot-starter-parent</artifactId>
        <version>2.4.4</version>
        <relativePath/> <!-- lookup parent from repository -->
    </parent>
<dependencies> <dependency> <groupId>org.springframework.boot</groupId> <artifactId>spring-boot-starter-web</artifactId> </dependency> <dependency> <groupId>org.springframework.boot</groupId> <artifactId>spring-boot-devtools</artifactId> <scope>runtime</scope> <optional>true</optional> </dependency> <dependency> <groupId>org.projectlombok</groupId> <artifactId>lombok</artifactId> <optional>true</optional> </dependency> <dependency> <groupId>org.springframework.boot</groupId> <artifactId>spring-boot-starter-test</artifactId> <scope>test</scope> </dependency> <dependency> <groupId>junit</groupId> <artifactId>junit</artifactId> <version>4.13.2</version> <scope>test</scope> </dependency> <dependency> <groupId>org.springframework.boot</groupId> <artifactId>spring-boot-starter-logging</artifactId> </dependency> <dependency> <groupId>com.google.code.gson</groupId> <artifactId>gson</artifactId> <version>2.8.5</version> </dependency> <dependency> <groupId>org.apache.commons</groupId> <artifactId>commons-lang3</artifactId> <version>3.8.1</version> </dependency> <!-- Apache开源组织提供的用于操作Java Bean的工具包 --> <dependency> <groupId>commons-beanutils</groupId> <artifactId>commons-beanutils</artifactId> <version>1.9.1</version> </dependency> <!-- ES高级Rest Client --> <dependency> <groupId>org.elasticsearch.client</groupId> <artifactId>elasticsearch-rest-high-level-client</artifactId> <version>6.4.3</version> </dependency> <dependency> <groupId>org.elasticsearch</groupId> <artifactId>elasticsearch</artifactId> <version>6.4.3</version> </dependency> </dependencies>2.创建实体类
        import lombok.AllArgsConstructor;
        import lombok.Data;
        import lombok.NoArgsConstructor;

        @Data
        @NoArgsConstructor
        @AllArgsConstructor
        public class Producter {
            private Long id; // 主键
            private String title; // 标题
            private String category; // 分类
            private String brand; // 品牌
            private Double price; // 价格
            private String images; // 图片地址
        }
3.初始化es对象
  private RestHighLevelClient restHighLevelClient;

    private Gson gson =new Gson();

    @Before
    public void init(){ //初始化方法:设置连接的ES集群配置信息
        //构建连接ES服务器的一个客户端对象
        RestClientBuilder restClientBuilder = RestClient.builder(
                //通过IP,PORT,协议来连接目标的ES服务器
                new HttpHost("127.0.0.1",9201,"http"),
                new HttpHost("127.0.0.1",9202,"http"),
                new HttpHost("127.0.0.1",9203,"http")

        );
        //将构建的RestClientBuilder对象交给RestHighLevelClient对象来加载
        restHighLevelClient = new RestHighLevelClient(restClientBuilder);
    }

    @After
    public void close(){
        try {
            restHighLevelClient.close();
        } catch (IOException e) {
            e.printStackTrace();
        }
    }
4.对索引进行CRUD的操作
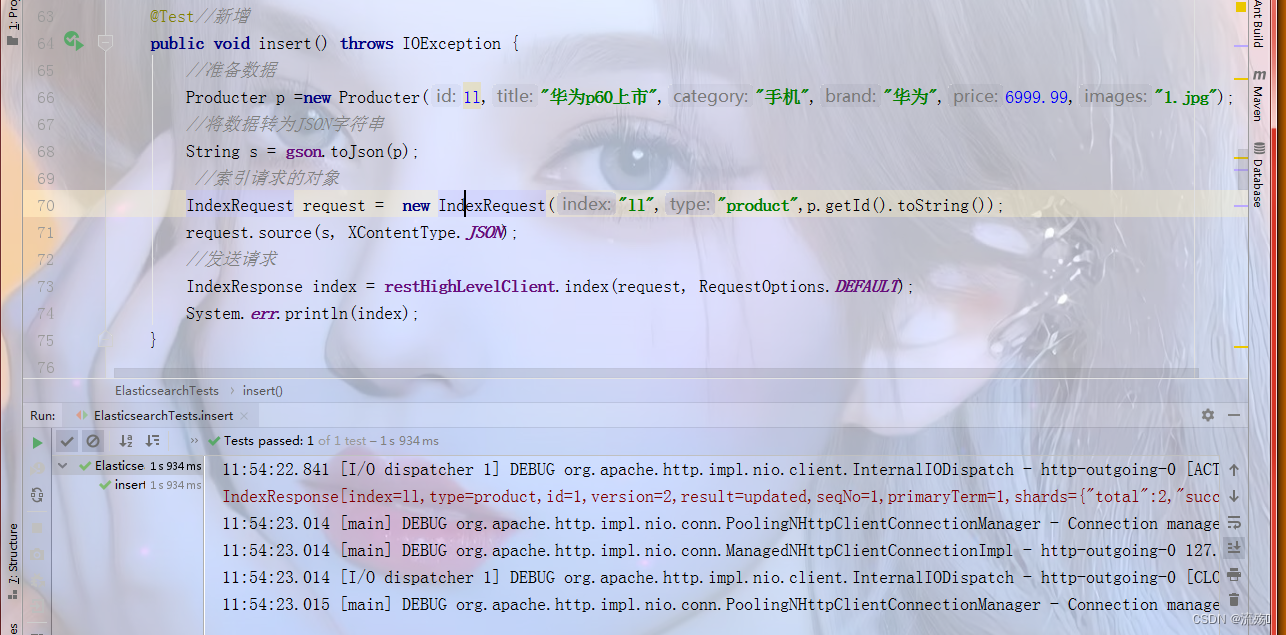
1)新增:创建实体类,添加数据,将实体对象转为json格式,然后发送请求,返回值为传递的对象
如果重复添加数据不会报错,但也不会新增
要添加的索引如果没有会自动创建
  @Test//新增
    public void insert() throws IOException {
        //准备数据
        Producter p =new Producter(1l,"华为p60上市","手机","华为",6999.99,"1.jpg");
        //将数据转为JSON字符串
        String s = gson.toJson(p);
         //索引请求的对象
        IndexRequest request =  new IndexRequest("ll","product",p.getId().toString());
        request.source(s, XContentType.JSON);
        //发送请求
        IndexResponse index = restHighLevelClient.index(request, RequestOptions.DEFAULT);
        System.err.println(index);
    }
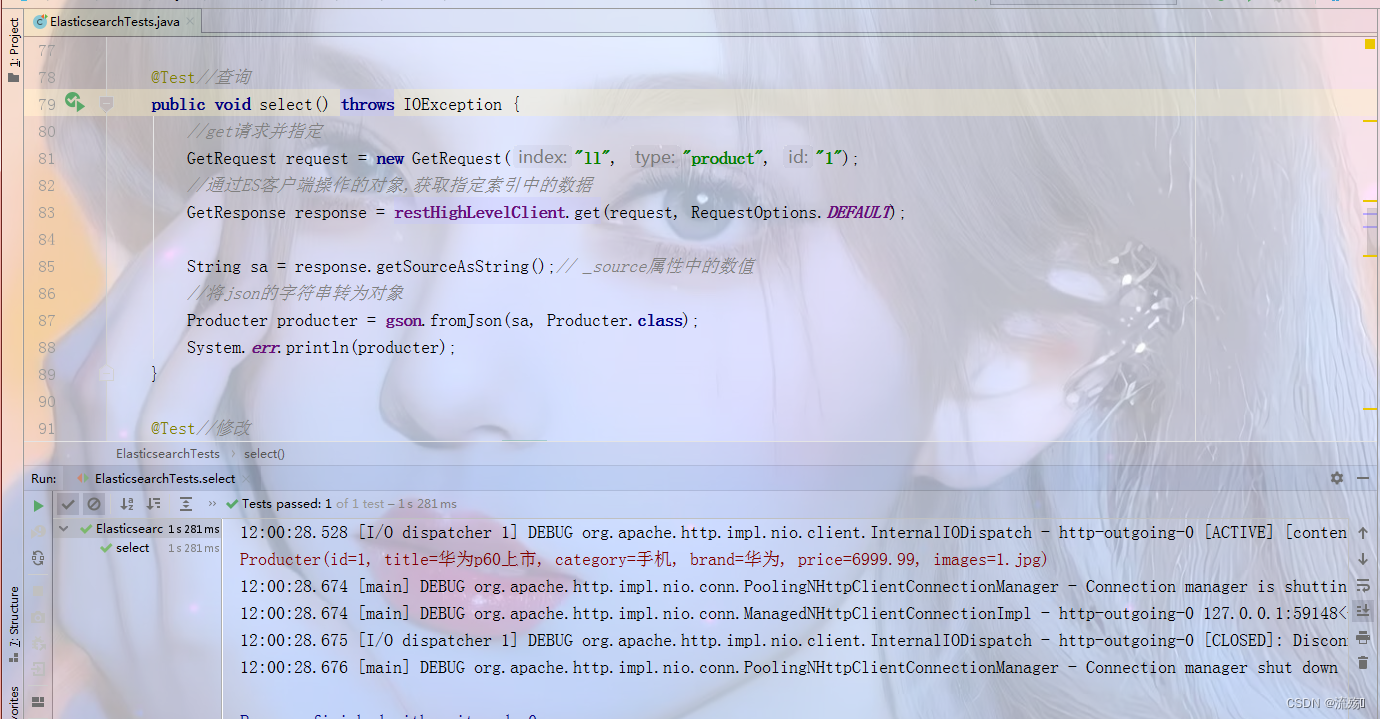
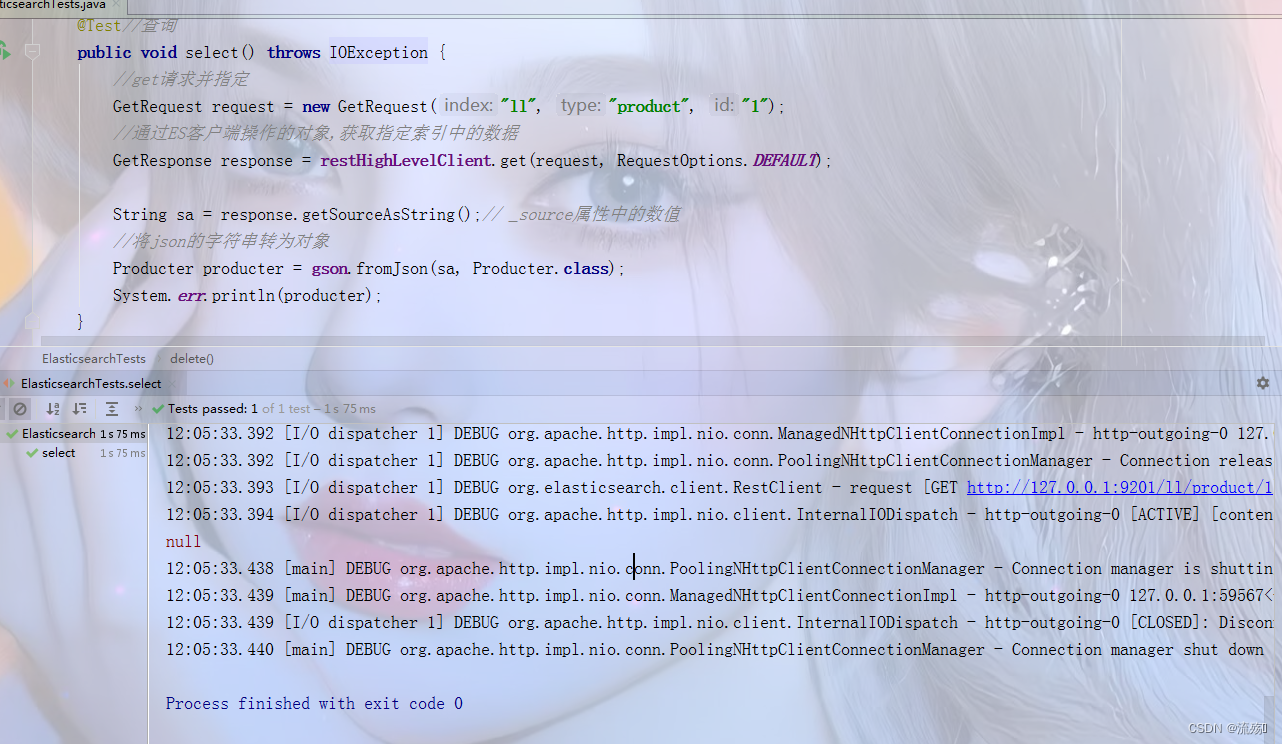
2.查询: 可以查到我们刚刚添加的数据
 @Test//查询
    public void select() throws IOException {
        //get请求并指定
        GetRequest request = new GetRequest("ll", "product", "1");
        //通过ES客户端操作的对象,获取指定索引中的数据
        GetResponse response = restHighLevelClient.get(request, RequestOptions.DEFAULT);

        String sa = response.getSourceAsString();// _source属性中的数值
        //将json的字符串转为对象
        Producter producter = gson.fromJson(sa, Producter.class);
        System.err.println(producter);
    }
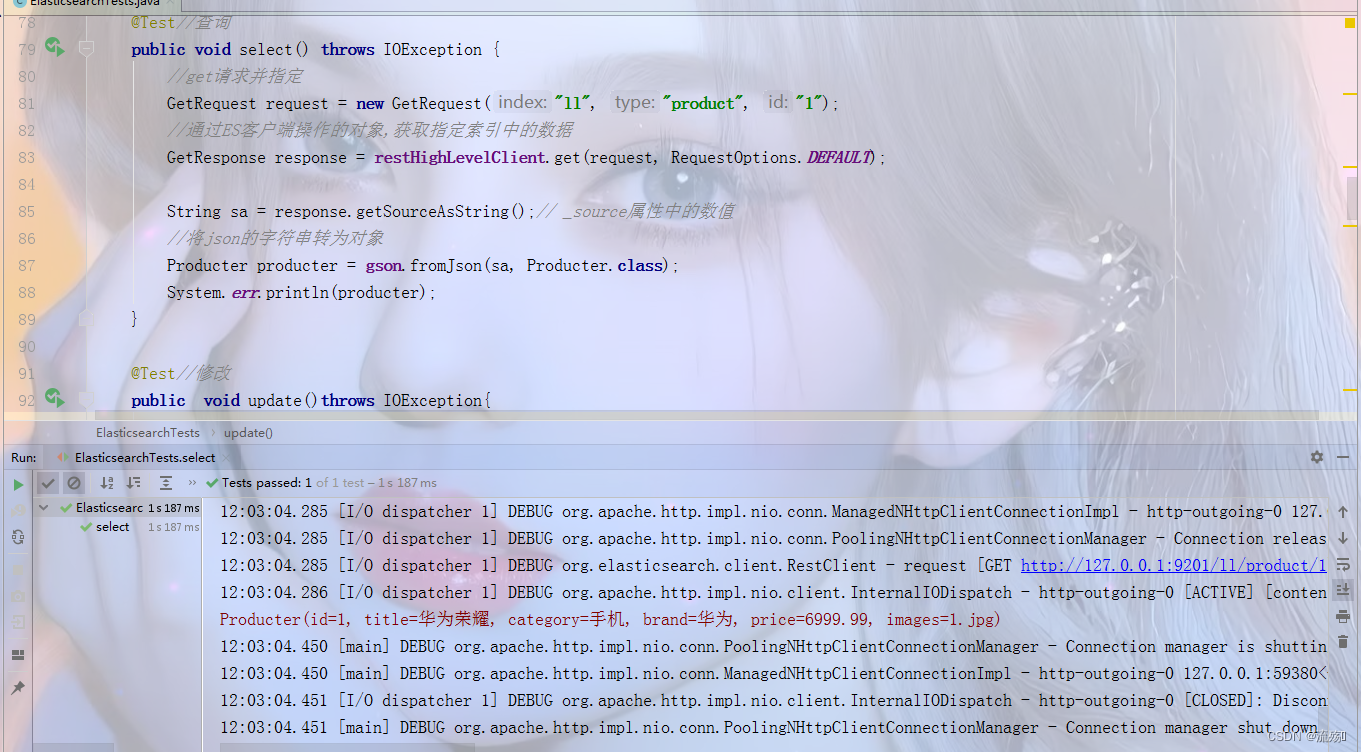
3. 修改:修改在result上是update
   @Test//修改
    public  void update()throws IOException{

        //将数据转为JSON字符串
        String s = gson.toJson(new Producter(1l, "华为荣耀", "手机", "华为", 6999.99, "1.jpg"));
        //创建索引请求对象
        IndexRequest request = new IndexRequest("ll", "product", "1");
       //执行请求
        request.source(s,XContentType.JSON);
        //发送请求
        IndexResponse index = restHighLevelClient.index(request, RequestOptions.DEFAULT);
        System.err.println(index);
    }
修改后再次查询就会看到我们刚刚修改的信息
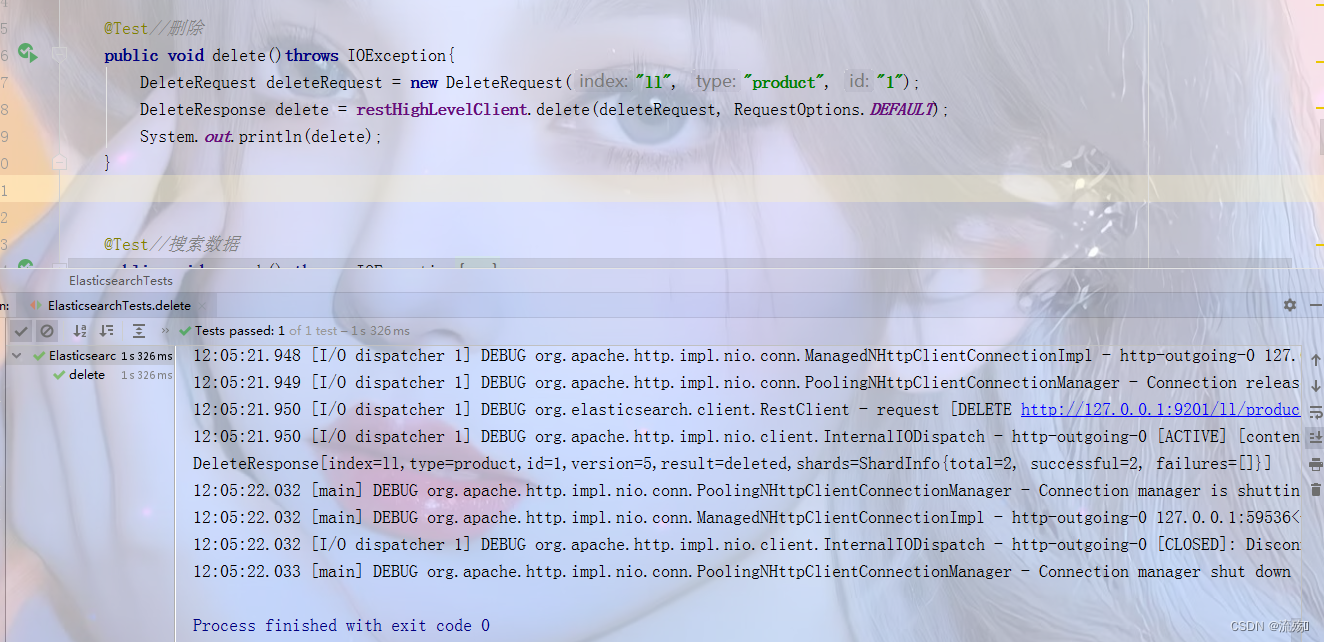
4.删除:删除在result上是delete
 @Test//删除
    public void delete()throws IOException{
        DeleteRequest deleteRequest = new DeleteRequest("ll", "product", "1");
        DeleteResponse delete = restHighLevelClient.delete(deleteRequest, RequestOptions.DEFAULT);
        System.out.println(delete);
    }
删除后我们再次查询就查询不到数据


 4644
4644


 被折叠的 条评论
为什么被折叠?
被折叠的 条评论
为什么被折叠?
 到【灌水乐园】发言


