


web服务器
能够提供web服务,使用浏览器,通过http 协议,就能访问的网页
-
apache httpd
-
IIS
- asp/aspx
-
Nginx
- 高并发
- 反向代理
-
Tomcat
- java/jsp
虚拟化技术
Vmware Workstation
比较成熟
Virtual Box
docker
- 容器技术,相当于虚拟机轻量级,几十M 或几百M
- 只能装Linux系统装不了windows
Hyper-V
- 微软的虚拟机
win11 基于hyper-v 虚拟机
Nginx
Nginx是中间件
特点:高并发 ,免费开源的 部署简单,负载均衡
负载均衡:根据一定的算法或者平均分配达到负载均衡
高并发的意思:支持大量用户访问

LNMP
L 代表Linux
N 代表 Nginx 代理服务器
M 代表MySQL数据库
P 代表 PHP语言
Nginx 继Apache HTTPD 之后的另一款在Linux 下被大量使用的Web 服务软件。Nginx 的优势在于:
- 稳定性
- 低系统资源损耗
- “小巧”,软件安装包小
- “简陋”,定制化强
- 高并发能力,一台物理服务器可处理30000 ~ 50000 个并发请求。
部署Nginx
部署nginx分为三步
第一步
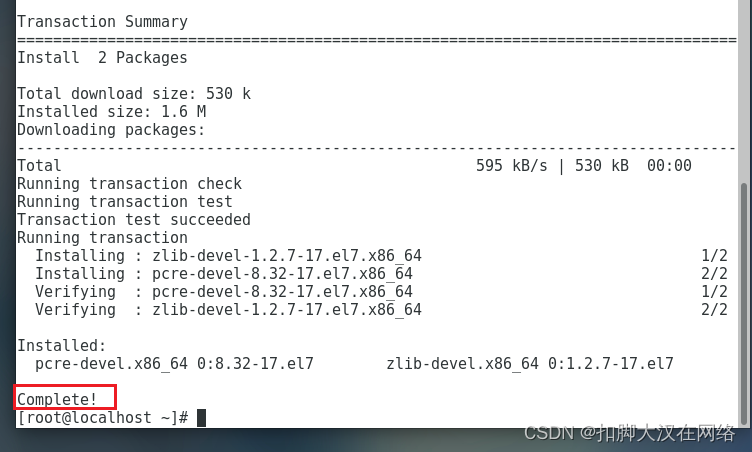
安装Nginx的开发环境
yum install pcre-devel zlib-devel -y
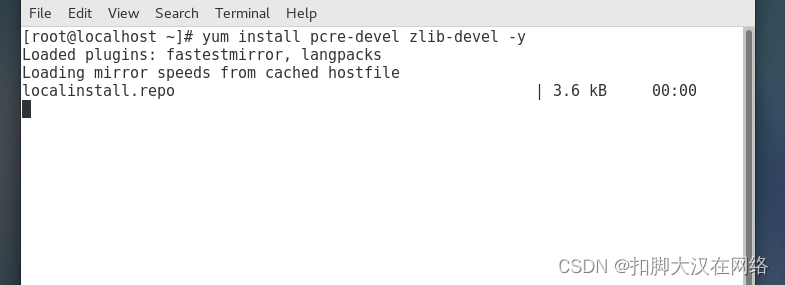
出现complete就安装好了
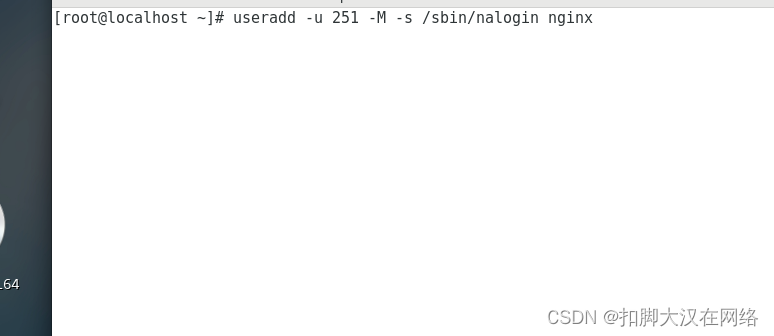
第二步
创建一个系统程序用户赋予nginx这个用户只能执行某个程序的权限而不能登录
useradd -u 251 -M -s /sbin/nologin nginx
-s 指定用户登入后所使用的shell -u 用户uid -M 不要自动建立用户的登入目录家目录 要拒绝系统用户登录,可以将其 shell 设置为 /usr/sbin/nologin 或者 /bin/false。
第三步
对下载好的Nginx压缩包放进服务器里进行解压缩编译
进行解压tar xf nginx-1.6.0.tar.gz
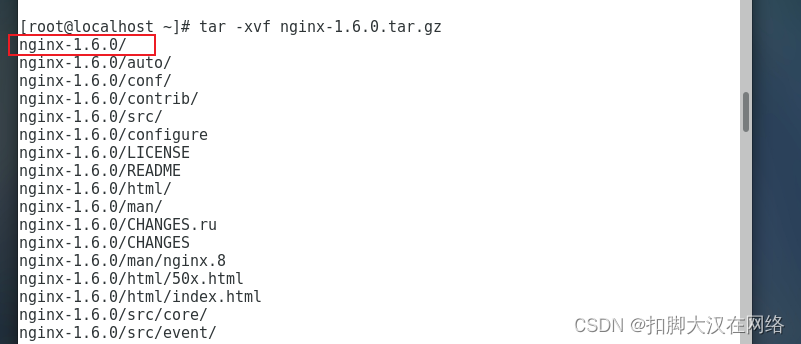
nginx-1.6.0就是文件所在的目录了
进入目录就进行预编译./configure --prefix=/usr/local/nginx_1.6.0 --user=nginx --group=nginx
/usr/local是安装路径一般用户自己安装的程序都在该目录下
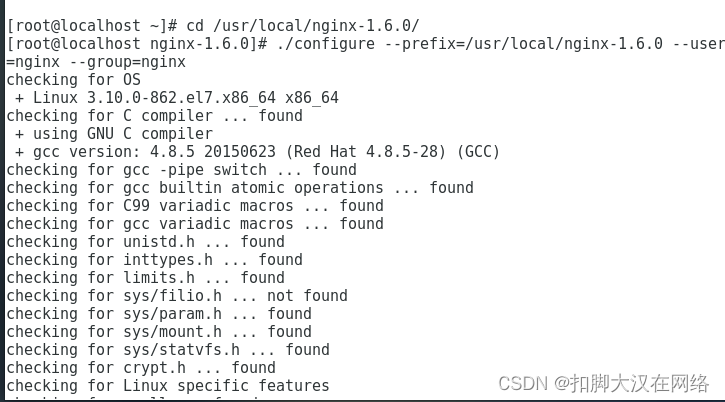
一定要在该目录下
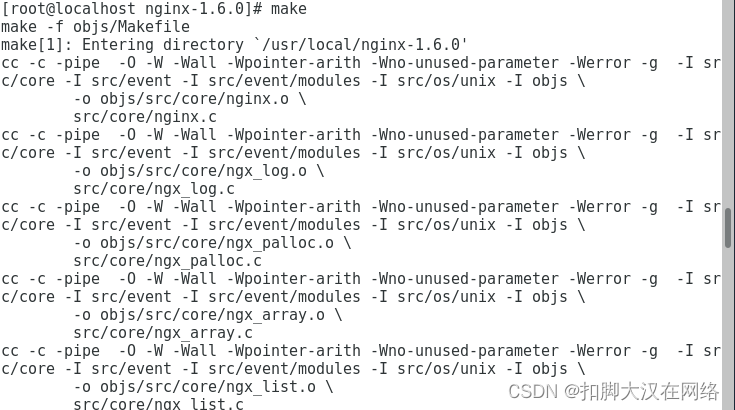
用make进行编译
编译完成之后使用make install进行安装
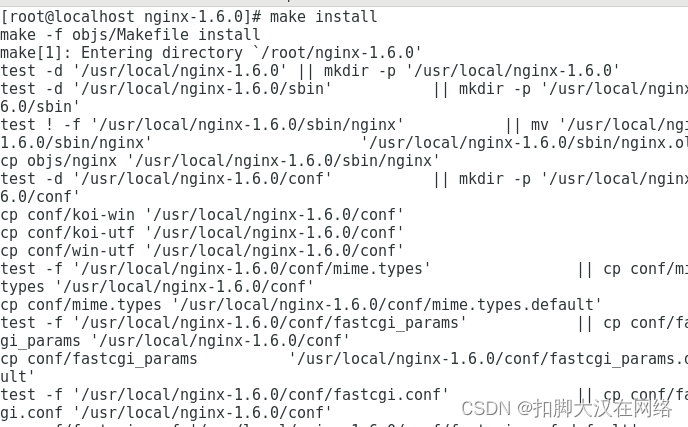
安装完成
安装php环境
要实现动态脚本需要安装php
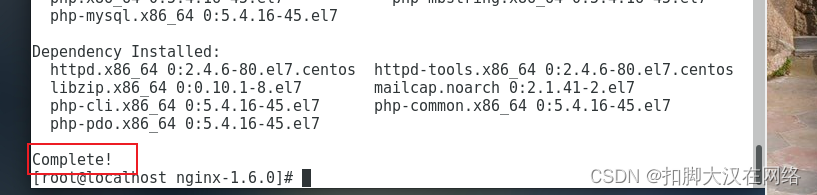
yum install php php-mysql php-mbstring -y
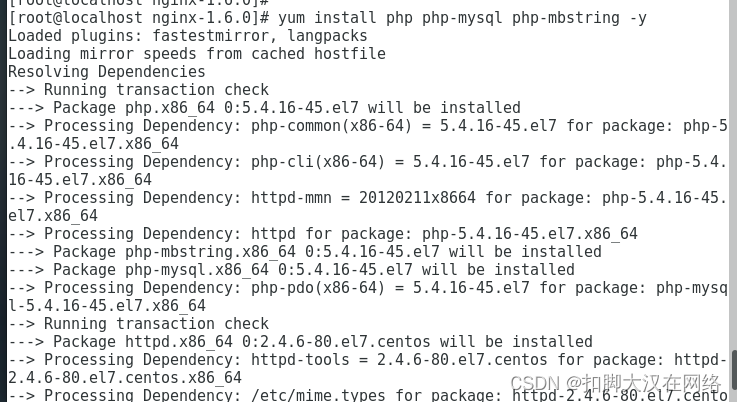
安装完成
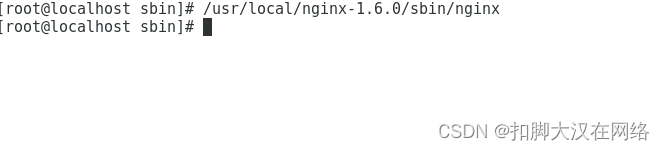
启动Nginx
nginx命令因为未设置环境变量所以要用绝对路径启动/usr/local/nginx-1.6.0/sbin/nginx
以下的所有参数
 -?,-h        		 this help
  -v            	 show version and exit
  -V             	 show version and configure options then exit
  -t            	 test configuration and exit
  -q          		 suppress non-error messages during configuration testing
  -s signal  	     send signal to a master process: stop, quit, reopen, reload
  -p prefix    		 set prefix path (default: /usr/local/nginx_1.6.0/)
  -c filename  		 set configuration file (default: conf/nginx.conf)
  -g directives 	 set global directives out of configuration file
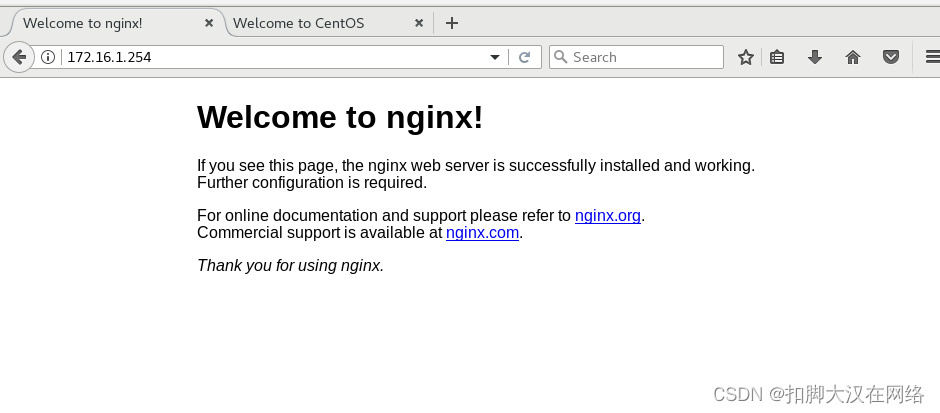
nginx安装成功
停止服务
/usr/local/nginx_1.6.0/sbin/nginx -s stop
Nginx和php
Nginx默认是不支持php的要想使用是需要进行配置的
Nginx和php是两个程序
两个应用程序想要交互需要通信
CGI是一种标准的协议
通过CGI这种协议进行通信
Nginx 本身并不会对PHP 文件进行解析,不具备将PHP 作为自身模块的功能。Nginx 负责找到文件,PHP 负责处理文件,所以需要开启Nginx 与PHP 进程间通信。如何实现呢?要求PHP 开启一个进程,来监听请求,处理PHP 脚本。Nginx 把对PHP 页面的请求交给PHP 监听的进程来处理,这个进程就是FastCGI,FastCGI 是一种技术,会监听一个IP 地址及端口,如,127.0.0.1:9000。
PHP 使用php-fpm 对FastCGI 技术进行实现与管理,php-fpm 作为动态解析PHP 的服务器。php-fpm 将处理后的结果交给Nginx。
Nginx 通过反向代理功能将动态请求转向后端php-fpm,从而实现对PHP 的解析支持。
php-fpm
要想让nginx可以使用php需要安装fpm模块
安装php-fpm
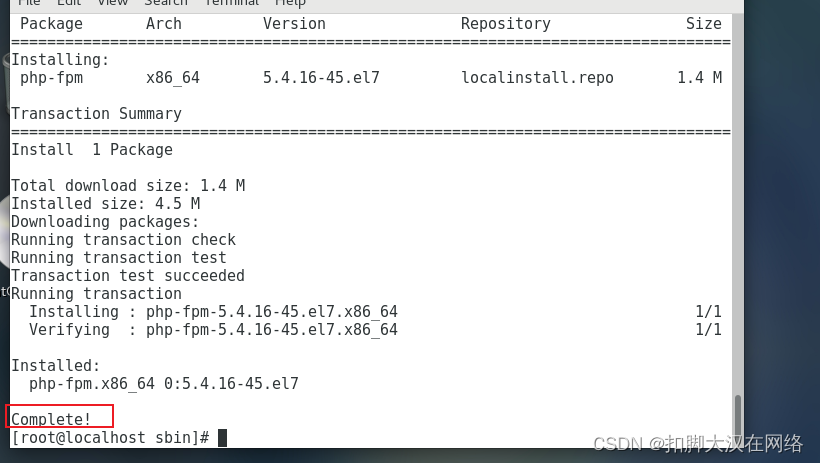
yum install php-fpm -y
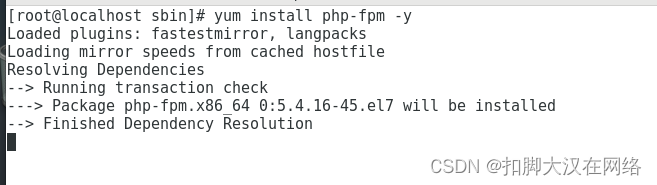
安装成功
启动服务
systemctl start php-fpm
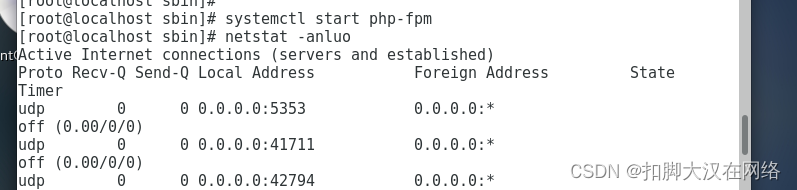
该服务监听的是9000端口

Nginx解析php
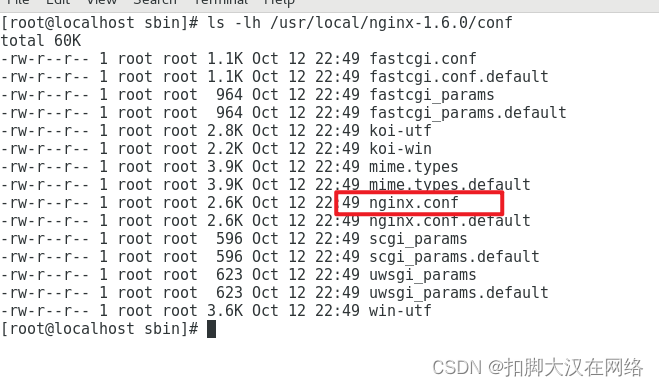
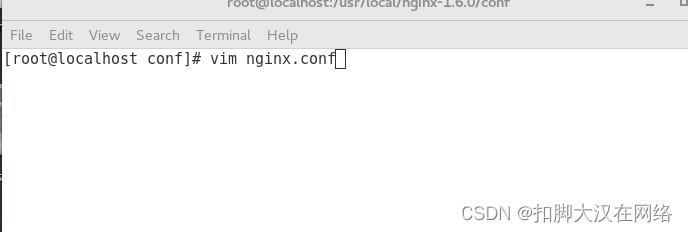
Nginx的配置文件在/usr/local/nginx-1.6.0/conf下的nginx.conf
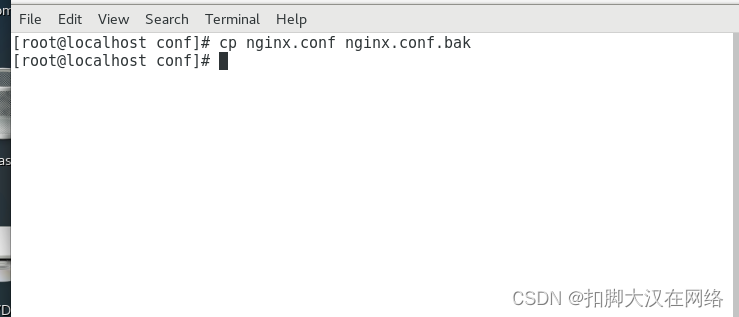
先将配置文件进行备份以免配置错误后可恢复
先cd到/usr/local/nginx-1.6.0/conf下
进行备份cp nginx.conf nginx.conf.bak
配置文件解析
# 全局配置
#user nobody; # Nginx 进程所使用的用户
worker_processes 1; # Nginx 运行的work 进程数量(建议与CPU 数量一致或auto)
#error_log logs/error.log; # Nginx 错误日志存放路径
#error_log logs/error.log notice;
#error_log logs/error.log info;
#pid logs/nginx.pid; # Nginx 服务运行后产生的pid 进程号
# I/O 事件配置
events {
use epoll; # 事件驱动模型,select|poll|kqueue|epoll|resig|/dev/poll|eventport
# linux - epoll,FreeBSD - kqueue,window下不指定。
worker_connections 1024; # 每个进程最大连接数。
}
# HTTP 配置模块
http {
include mime.types; # 文件扩展名与文件类型映射表
default_type application/octet-stream; # 默认文件类型
#log_format main '$remote_addr - $remote_user [$time_local] "$request" '
# '$status $body_bytes_sent "$http_referer" '
# '"$http_user_agent" "$http_x_forwarded_for"';
#access_log logs/access.log main;
sendfile on; # 支持文件发送(下载)
#tcp_nopush on;
#keepalive_timeout 0;
keepalive_timeout 65; # 连接保持超时时间,单位是秒
#gzip on;
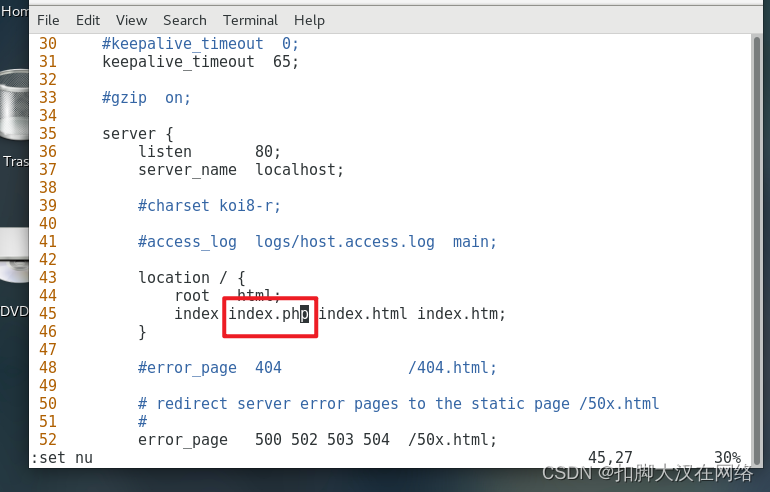
server { # web服务监听配置
listen 80; # 监听端口
server_name localhost; # 网站名称
#charset koi8-r;
#access_log logs/host.access.log main;
location / { # 定义安装目录为软件根目录
root html;
index index.html index.htm;
}
#error_page 404 /404.html;
# redirect server error pages to the static page /50x.html
#
error_page 500 502 503 504 /50x.html; # 内部错误页面
location = /50x.html { # 错误页面配置
root html;
}
# proxy the PHP scripts to Apache listening on 127.0.0.1:80
#
#location ~ \.php$ {
# proxy_pass http://127.0.0.1;
#}
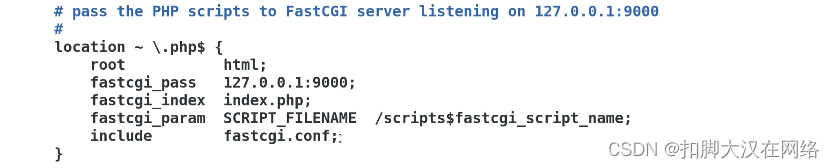
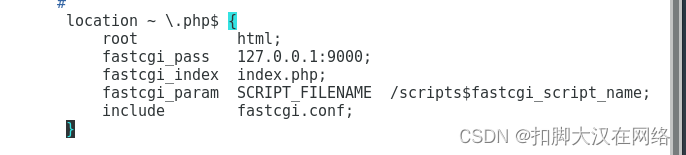
# pass the PHP scripts to FastCGI server listening on 127.0.0.1:9000
#
#location ~ \.php$ {
# root html;
# fastcgi_pass 127.0.0.1:9000;
# fastcgi_index index.php;
# fastcgi_param SCRIPT_FILENAME /scripts$fastcgi_script_name;
# include fastcgi_params;
#}
# deny access to .htaccess files, if Apache's document root
# concurs with nginx's one
#
#location ~ /\.ht {
# deny all;
#}
}
# another virtual host using mix of IP-, name-, and port-based configuration
#
#server {
# listen 8000;
# listen somename:8080;
# server_name somename alias another.alias;
# location / {
# root html;
# index index.html index.htm;
# }
#}
# HTTPS server
#
#server {
# listen 443 ssl;
# server_name localhost;
# ssl_certificate cert.pem;
# ssl_certificate_key cert.key;
# ssl_session_cache shared:SSL:1m;
# ssl_session_timeout 5m;
# ssl_ciphers HIGH:!aNULL:!MD5;
# ssl_prefer_server_ciphers on;
# location / {
# root html;
# index index.html index.htm;
# }
#}
}
在配置文件的server里的配置 可以配置监听端口,首页网站等信息
php的配置在64行中
对文件进行编辑vim nginx.conf
在45行加入php的主页
将65-71行的注释#号删除并将70行的fastcgi_params改为fastcgi.conf
进行保存重启nginx服务/usr/local/nginx-1.6.0/sbin/nginx -s stop
/usr/local/nginx-1.6.0/sbin/nginx

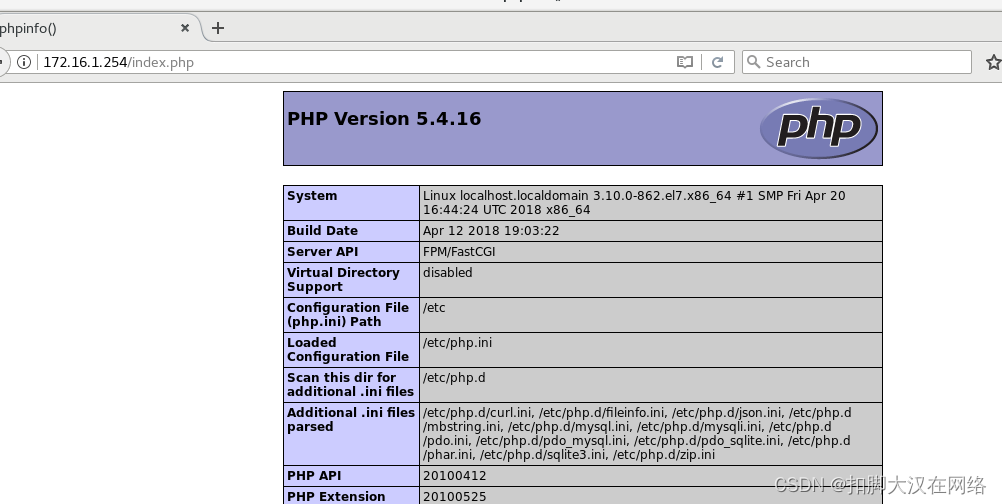
成功访问


 1万+
1万+


 被折叠的 条评论
为什么被折叠?
被折叠的 条评论
为什么被折叠?
 到【灌水乐园】发言


