


写在前面
Python是一种通用编程语言,被广泛用于Web开发、数据分析、机器学习和自动化。提高Python技能的最佳方式之一是从事实际项目。在这篇文章中,我们将探索10个带有代码的Python项目,这些项目将帮助你增强编程能力。这些项目涵盖了各种主题和难度级别,可以让你成长为一个Python开发者。那么,让我们深入探讨这些令人兴奋的项目吧!
1. URL缩短器
URL缩短器是将长网站链接缩短的方便工具。在这个项目中,你将使用Python和Flask(一个流行的Web框架)来构建一个URL缩短器。通过利用Flask的强大功能,你将学习如何处理HTTP请求、生成唯一的短代码和重定向用户到原始URL。
from flask import Flask, redirect, render_template, requestimport stringimport randomapp = Flask(__name__)# Dictionary to store the mappings of short codes to original URLsurl_mapping = {}def generate_short_code(): """Generate a random short code.""" characters = string.ascii_letters + string.digits short_code = ''.join(random.choice(characters) for _ in range(6)) return short_code@app.route('/', methods=['GET', 'POST'])def home(): if request.method == 'POST': original_url = request.form['url'] short_code = generate_short_code() url_mapping[short_code] = original_url short_url = request.host_url + short_code return render_template('index.html', short_url=short_url) return render_template('index.html')@app.route('/<short_code>')def redirect_to_original_url(short_code): if short_code in url_mapping: original_url = url_mapping[short_code] return redirect(original_url) else: return "Short URL not found."if __name__ == '__main__': app.run(debug=True)
2. 图像字幕生成器
图像字幕是深度学习的一个迷人应用。在这个项目中,你将使用Python和TensorFlow库来创建一个图像字幕生成器。通过组合计算机视觉和自然语言处理技术,你的程序将能够自动为图像生成描述性的字幕。
import tensorflow as tfimport matplotlib.pyplot as pltimport numpy as npfrom PIL import Imageimport os# Load the pre-trained InceptionV3 modelinception_model = tf.keras.applications.InceptionV3(include_top=True, weights='imagenet')# Load the tokenizertokenizer = tf.keras.preprocessing.text.Tokenizer()tokenizer_path = 'tokenizer.pkl'tokenizer = tf.keras.preprocessing.text.tokenizer_from_json(tokenizer_path)# Define the maximum sequence length (number of words) for captionsmax_sequence_length = 20# Load the pre-trained caption generation modelmodel_path = 'caption_generator_model.h5'model = tf.keras.models.load_model(model_path)# Load the word-to-index and index-to-word mappingsword_to_index = tokenizer.word_indexindex_to_word = {index: word for word, index in word_to_index.items()}# Load the pre-trained InceptionV3 modelinception_model = tf.keras.applications.InceptionV3(include_top=True, weights='imagenet')def preprocess_image(image_path): """Preprocess the image for input to the InceptionV3 model.""" img = Image.open(image_path) img = img.resize((299, 299)) img = np.array(img) img = img / 255.0 img = img.reshape(1, 299, 299, 3) return imgdef generate_caption(image_path): """Generate a caption for the given image.""" img = preprocess_image(image_path) features = inception_model.predict(img) features = features.reshape(1, -1) start_token = tokenizer.word_index['<start>'] end_token = tokenizer.word_index['<end>'] caption = [] input_sequence = [start_token] for _ in range(max_sequence_length): sequence = np.array(input_sequence) y_pred = model.predict([features, sequence]) y_pred = np.argmax(y_pred) if index_to_word[y_pred] == '<end>': break caption.append(index_to_word[y_pred]) input_sequence.append(y_pred) generated_caption = ' '.join(caption) return generated_caption# Path to the image for caption generationimage_path = 'example_image.jpg'# Generate caption for the imagecaption = generate_caption(image_path)print('Generated Caption:', caption)# Display the imageimg = Image.open(image_path)plt.imshow(img)plt.axis('off')plt.show()
3. 天气预报App
构建一个天气预报App将为你使用API提供宝贵经验。你将使用Python和OpenWeatherMap API来获取给定位置的天气数据并向用户显示。这个项目将涉及发出HTTP请求、解析JSON响应以及以用户友好的方式呈现数据。
import requestsimport jsondef get_weather_data(api_key, city): """Get weather data for a specific city using the OpenWeatherMap API.""" base_url = "http://api.openweathermap.org/data/2.5/weather" params = { "q": city, "appid": api_key, "units": "metric" } response = requests.get(base_url, params=params) data = response.json() return datadef display_weather(data): """Display weather information.""" if data["cod"] != "404": city = data["name"] country = data["sys"]["country"] temperature = data["main"]["temp"] description = data["weather"][0]["description"] humidity = data["main"]["humidity"] wind_speed = data["wind"]["speed"] print(f"Weather in {city}, {country}:") print(f"Temperature: {temperature}°C") print(f"Description: {description}") print(f"Humidity: {humidity}%") print(f"Wind Speed: {wind_speed} km/h") else: print("City not found. Please try again.")def main(): # API key from OpenWeatherMap api_key = "YOUR_API_KEY" # Get the city name from the user city = input("Enter the city name: ") # Get weather data for the city weather_data = get_weather_data(api_key, city) # Display weather information display_weather(weather_data)if __name__ == "__main__": main()
4. 音乐播放器
在Python中创建音乐播放器是探索图形用户界面(GUI)的绝佳方式。你可以使用Tkinter库设计一个基本的音乐播放器,允许用户浏览音乐库、播放音乐、暂停、停止和调整音量。这个项目将帮助你对面向事件编程和GUI开发有更深的理解。
import tkinter as tkimport osfrom pygame import mixerclass MusicPlayer: def __init__(self, root): self.root = root self.root.title("Music Player") self.root.geometry("300x100") # Initialize Pygame mixer mixer.init() # Create a variable to store the current playing status self.playing = False # Create a variable to store the current selected song self.current_song = None # Create the UI elements self.label = tk.Label(root, text="Music Player") self.label.pack() self.play_button = tk.Button(root, text="Play", command=self.play_music) self.play_button.pack() self.stop_button = tk.Button(root, text="Stop", command=self.stop_music) self.stop_button.pack() self.browse_button = tk.Button(root, text="Browse", command=self.browse_music) self.browse_button.pack() def play_music(self): if self.current_song: if not self.playing: mixer.music.load(self.current_song) mixer.music.play() self.play_button.config(text="Pause") self.playing = True else: mixer.music.pause() self.play_button.config(text="Play") self.playing = False def stop_music(self): mixer.music.stop() self.play_button.config(text="Play") self.playing = False def browse_music(self): self.current_song = tk.filedialog.askopenfilename(initialdir=os.getcwd(), title="Select Song", filetypes=(("Audio Files", "*.mp3"), ("All Files", "*.*"))) self.label.config(text=os.path.basename(self.current_song))if __name__ == '__main__': root = tk.Tk() music_player = MusicPlayer(root) root.mainloop()
5. 数独求解器
解决数独难题是测试你问题解决能力的经典编程挑战。在这个项目中,你将使用Python和回溯算法构建一个数独求解器。你将学习如何表示难题、实现求解器以及使用图形界面可视化解决方案。
def is_valid(board, row, col, num): # Check if the number already exists in the row for i in range(9): if board[row][i] == num: return False # Check if the number already exists in the column for i in range(9): if board[i][col] == num: return False # Check if the number already exists in the 3x3 grid start_row = (row // 3) * 3 start_col = (col // 3) * 3 for i in range(3): for j in range(3): if board[start_row + i][start_col + j] == num: return False return Truedef solve_sudoku(board): for row in range(9): for col in range(9): if board[row][col] == 0: for num in range(1, 10): if is_valid(board, row, col, num): board[row][col] = num if solve_sudoku(board): return True board[row][col] = 0 return False return Truedef print_board(board): for row in range(9): for col in range(9): print(board[row][col], end=" ") print()# Example Sudoku board (0 represents empty cells)board = [ [5, 3, 0, 0, 7, 0, 0, 0, 0], [6, 0, 0, 1, 9, 5, 0, 0, 0], [0, 9, 8, 0, 0, 0, 0, 6, 0], [8, 0, 0, 0, 6, 0, 0, 0, 3], [4, 0, 0, 8, 0, 3, 0, 0, 1], [7, 0, 0, 0, 2, 0, 0, 0, 6], [0, 6, 0, 0, 0, 0, 2, 8, 0], [0, 0, 0, 4, 1, 9, 0, 0, 5], [0, 0, 0, 0, 8, 0, 0, 7, 9]]if solve_sudoku(board): print("Sudoku solved:") print_board(board)else: print("No solution exists for the given Sudoku board.")
6. 使用BeautifulSoup爬取网页
网页抓取涉及从网站中提取数据,这是各个领域有价值的技能。在这个项目中,你将使用Python和BeautifulSoup库来爬取你选择的网站的数据。你将学习如何浏览HTML结构、提取特定信息并将其保存到文件或数据库。
import requestsfrom bs4 import BeautifulSoup# Send a GET request to the websiteurl = 'https://example.com'response = requests.get(url)# Create a BeautifulSoup objectsoup = BeautifulSoup(response.text, 'html.parser')# Find and extract specific elements from the webpagetitle = soup.title.textparagraphs = soup.find_all('p')# Print the extracted dataprint('Title:', title)print('Paragraphs:')for p in paragraphs: print(p.text)
7. 聊天机器人
构建聊天机器人是结合自然语言处理和机器学习的激动人心的项目。你可以使用Python和NLTK或spaCy等库来创建一个可以理解用户查询并提供相关响应的聊天机器人。这个项目将向你介绍文本预处理、意图识别和响应生成等技术。
import random# List of sample responsesresponses = [ "Hello!", "Hi there!", "Greetings!", "Nice to meet you!", "How can I assist you?", "I'm here to help!", "How are you today?",]def get_random_response(): """Return a random response from the list of sample responses.""" return random.choice(responses)def chat(): """Main function to handle the chatbot conversation.""" print("Chatbot: " + get_random_response()) while True: user_input = input("User: ") # Check if the user wants to end the conversation if user_input.lower() == "bye": print("Chatbot: Goodbye!") break # Generate and print a random response print("Chatbot: " + get_random_response())if __name__ == "__main__": print("Chatbot: Hello! How can I assist you?") chat()
8. 密码管理器:
密码管理器是一种用于安全存储和管理密码的有用工具。在这个项目中,你将使用Python和密码学库开发一个密码管理器。你的程序将允许用户存储他们的密码,生成强密码,并对数据进行加密以确保安全性。
import hashlibimport getpasspasswords = {}def get_hashed_password(password): """Generate a SHA-256 hashed password.""" sha256_hash = hashlib.sha256() sha256_hash.update(password.encode('utf-8')) return sha256_hash.hexdigest()def create_password(): """Create a new password entry.""" website = input("Enter the website: ") username = input("Enter your username: ") password = getpass.getpass("Enter your password: ") hashed_password = get_hashed_password(password) passwords[website] = (username, hashed_password) print("Password created successfully.")def retrieve_password(): """Retrieve a password from the password manager.""" website = input("Enter the website: ") if website in passwords: username, hashed_password = passwords[website] password = getpass.getpass("Enter your password: ") if hashed_password == get_hashed_password(password): print(f"Username: {username}") print(f"Password: {password}") else: print("Incorrect password.") else: print("Website not found in the password manager.")def main(): while True: print("1. Create a new password") print("2. Retrieve a password") print("3. Quit") choice = input("Enter your choice (1-3): ") if choice == "1": create_password() elif choice == "2": retrieve_password() elif choice == "3": break else: print("Invalid choice. Please try again.")if __name__ == "__main__": main()
9. 股票价格分析器:
对于投资者和交易员来说,分析股票价格至关重要。在这个项目中,你将使用Python和Yahoo Finance API创建一个股票价格分析器。你将获取历史股票数据,计算各种财务指标,并使用图表对结果进行可视化展示。这个项目将提升你的数据分析和可视化技能。
import yfinance as yfimport matplotlib.pyplot as pltdef analyze_stock(symbol, start_date, end_date): # Fetch the stock data from Yahoo Finance stock_data = yf.download(symbol, start=start_date, end=end_date) # Calculate the daily returns stock_data['Daily Return'] = stock_data['Close'].pct_change() # Plot the closing price and daily returns plt.figure(figsize=(10, 5)) plt.subplot(2, 1, 1) plt.plot(stock_data['Close']) plt.title('Stock Price') plt.ylabel('Price') plt.subplot(2, 1, 2) plt.plot(stock_data['Daily Return']) plt.title('Daily Returns') plt.ylabel('Return') plt.tight_layout() plt.show()# Example usagesymbol = 'AAPL' # Stock symbol (e.g., Apple Inc.)start_date = '2022-01-01' # Start date of the analysisend_date = '2022-12-31' # End date of the analysisanalyze_stock(symbol, start_date, end_date)
10. 自动化邮件发送器:
自动化重复任务是Python的常见用例之一。在这个项目中,你将构建一个自动化邮件发送器,可以向一系列收件人发送个性化的电子邮件。你将使用Python内置的电子邮件库来编写和发送邮件。这个项目将提供关于电子邮件协议、处理附件以及批量发送邮件的见解。
import smtplibfrom email.mime.multipart import MIMEMultipartfrom email.mime.text import MIMETextdef send_email(sender_email, sender_password, recipient_email, subject, message): # Create a multipart message msg = MIMEMultipart() msg['From'] = sender_email msg['To'] = recipient_email msg['Subject'] = subject # Add the message body msg.attach(MIMEText(message, 'plain')) # Setup the SMTP server smtp_server = 'smtp.gmail.com' smtp_port = 587 try: # Start the SMTP server connection server = smtplib.SMTP(smtp_server, smtp_port) server.starttls() # Login to the email account server.login(sender_email, sender_password) # Send the email server.sendmail(sender_email, recipient_email, msg.as_string()) print('Email sent successfully!') except Exception as e: print('An error occurred while sending the email:', str(e)) finally: # Terminate the SMTP server connection server.quit()# Example usagesender_email = 'your-email@gmail.com' # Your Gmail email addresssender_password = 'your-password' # Your Gmail passwordrecipient_email = 'recipient-email@example.com' # Email address of the recipientsubject = 'Automated Email' # Email subjectmessage = 'Hello, this is an automated email.' # Email messagesend_email(sender_email, sender_password, recipient_email, subject, message)
-END-
学好 Python 不论是就业还是做副业赚钱都不错,但要学会 Python 还是要有一个学习规划。最后给大家分享一份全套的 Python 学习资料,给那些想学习 Python 的小伙伴们一点帮助!
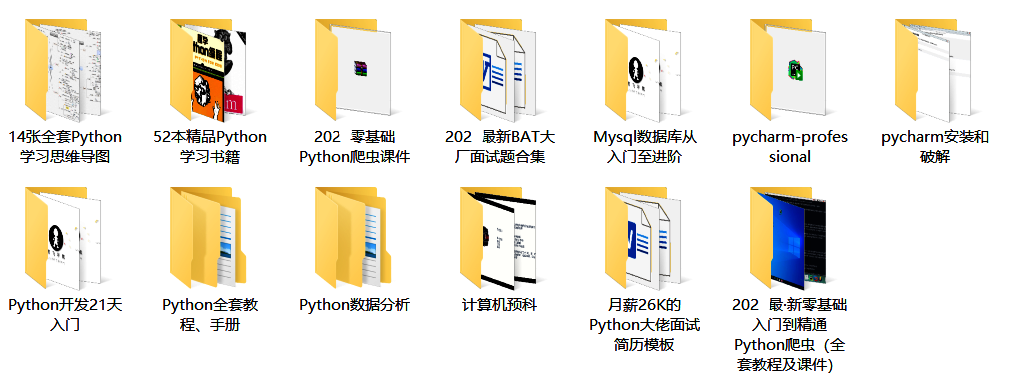
包括:Python激活码+安装包、Python web开发,Python爬虫,Python数据分析,人工智能、机器学习、自动化测试带你从零基础系统性的学好Python!
👉[CSDN大礼包:《python安装工具&全套学习资料》免费分享](安全链接,放心点击)
👉Python学习大礼包👈
👉Python学习路线汇总👈
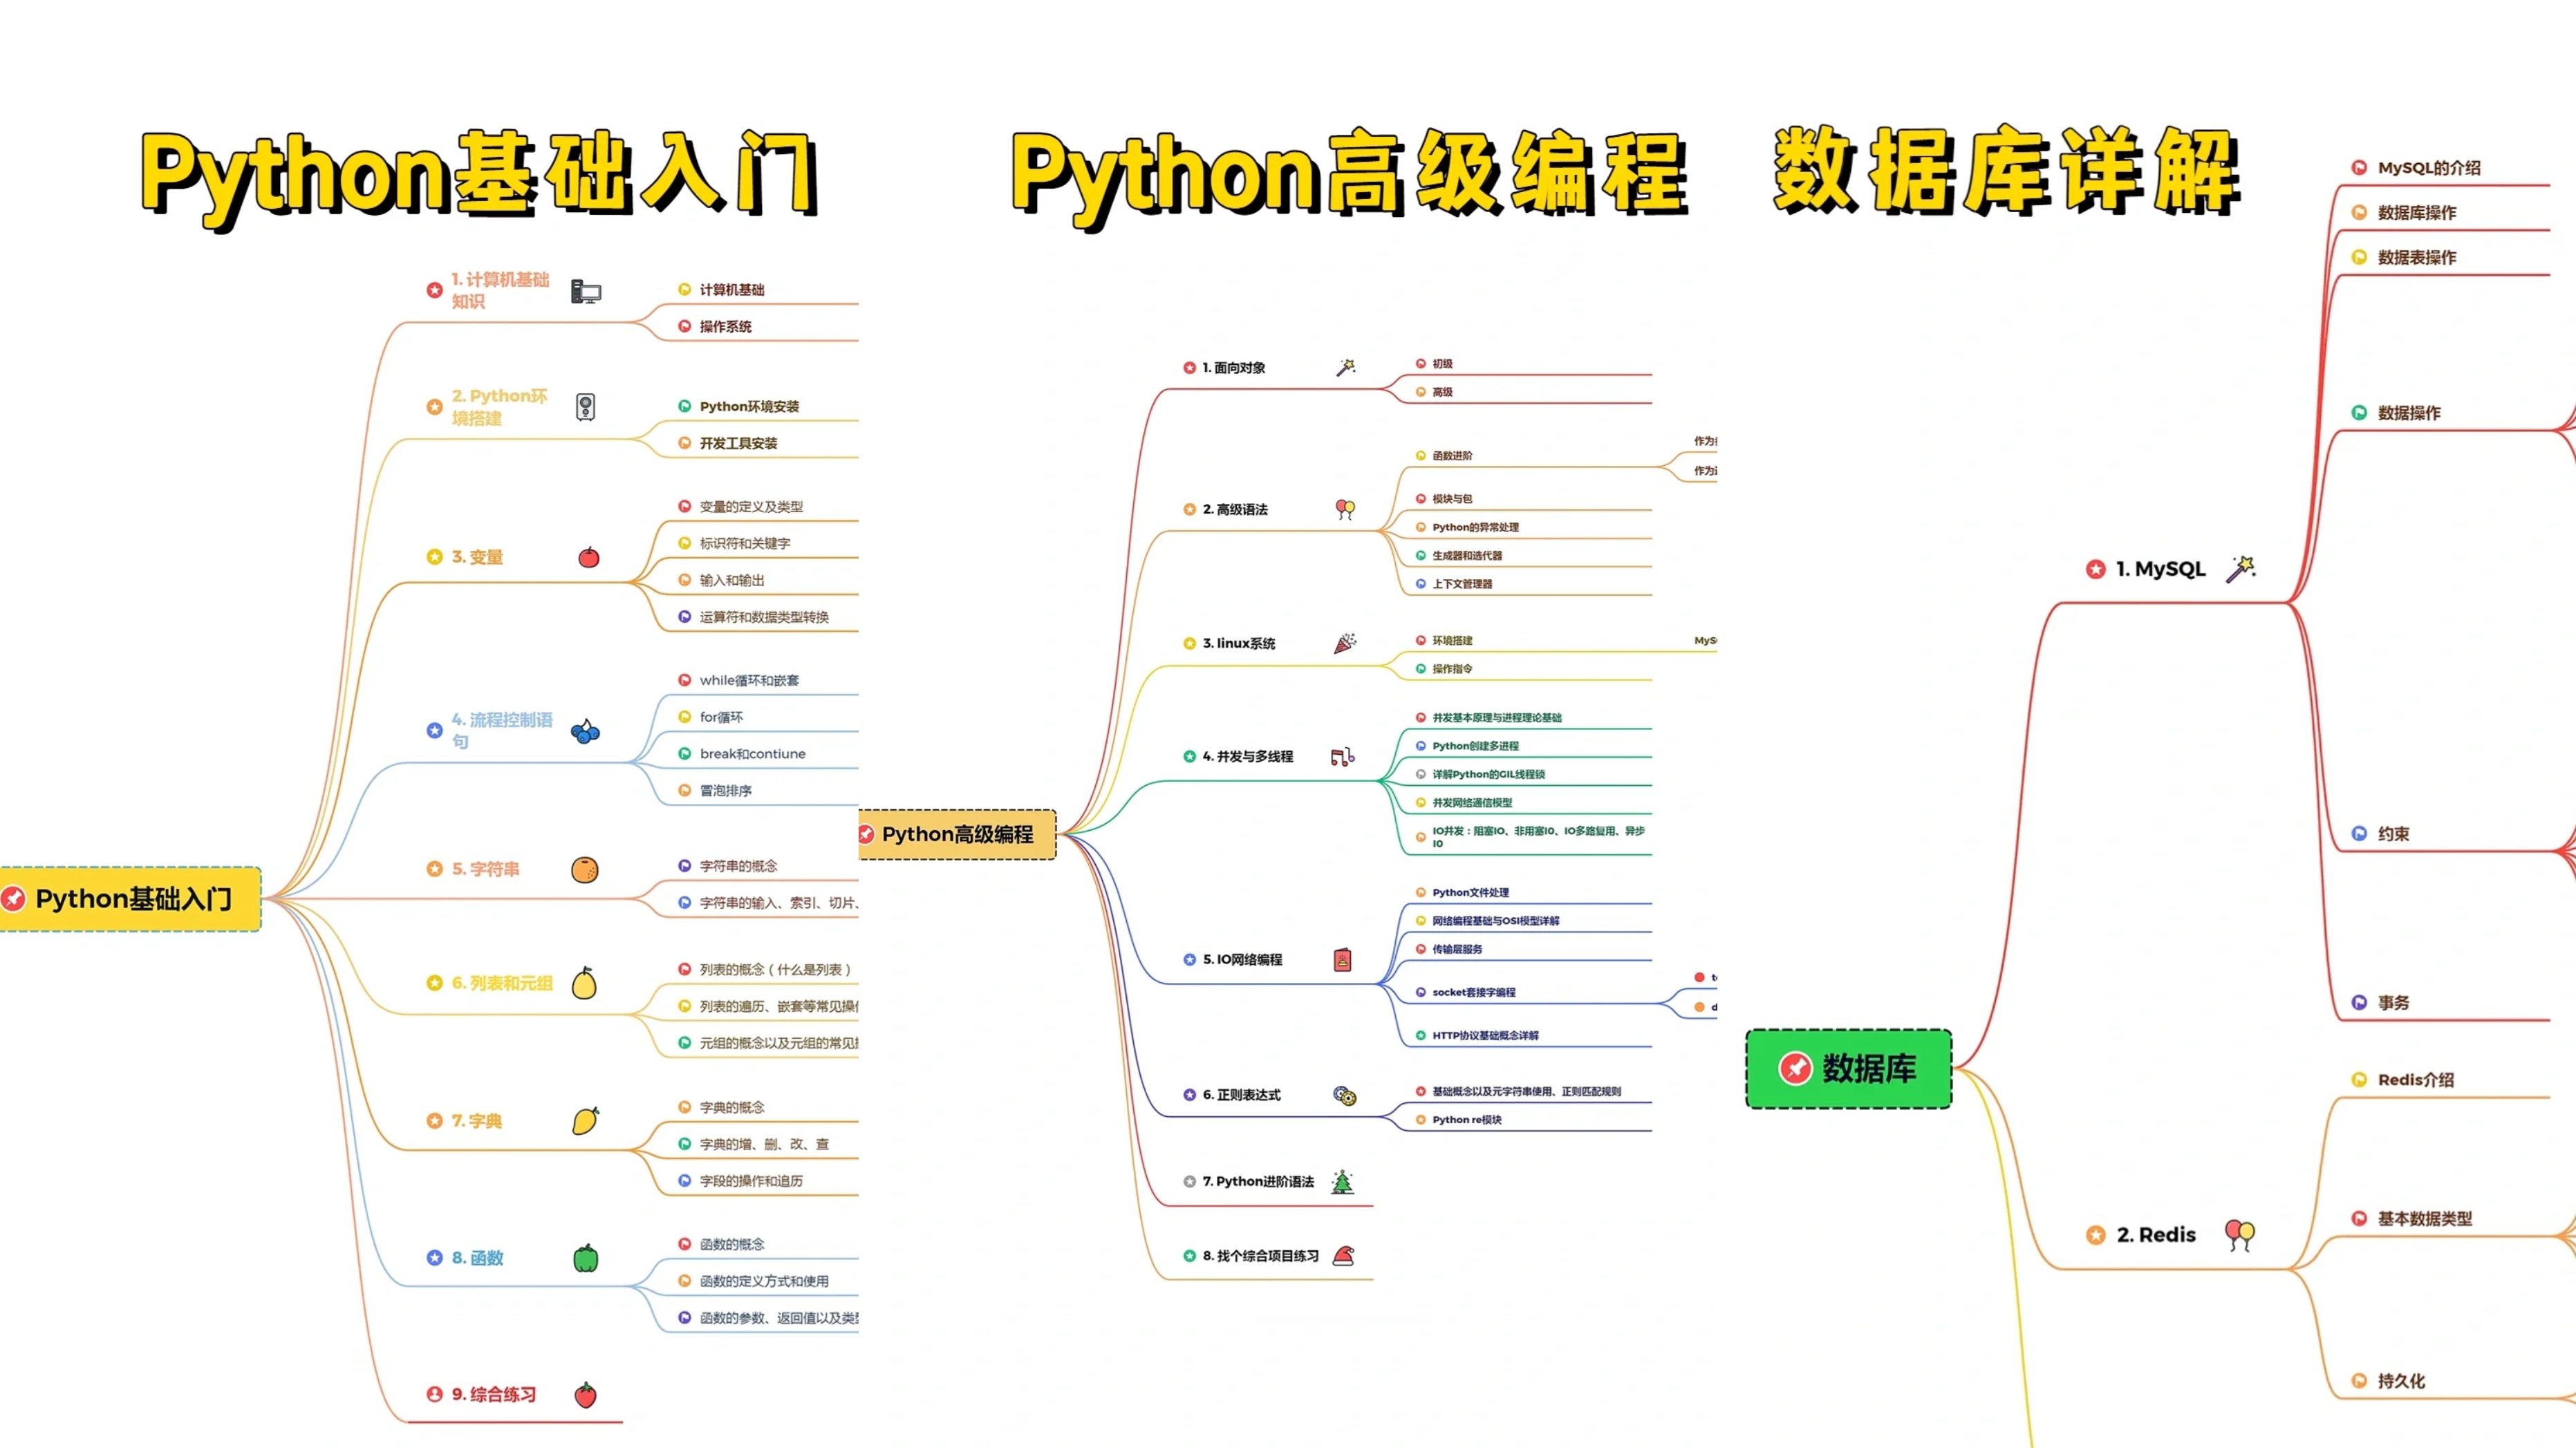
Python所有方向的技术点做的整理,形成各个领域的知识点汇总,它的用处就在于,你可以按照上面的知识点去找对应的学习资源,保证自己学得较为全面。(全套教程文末领取哈)
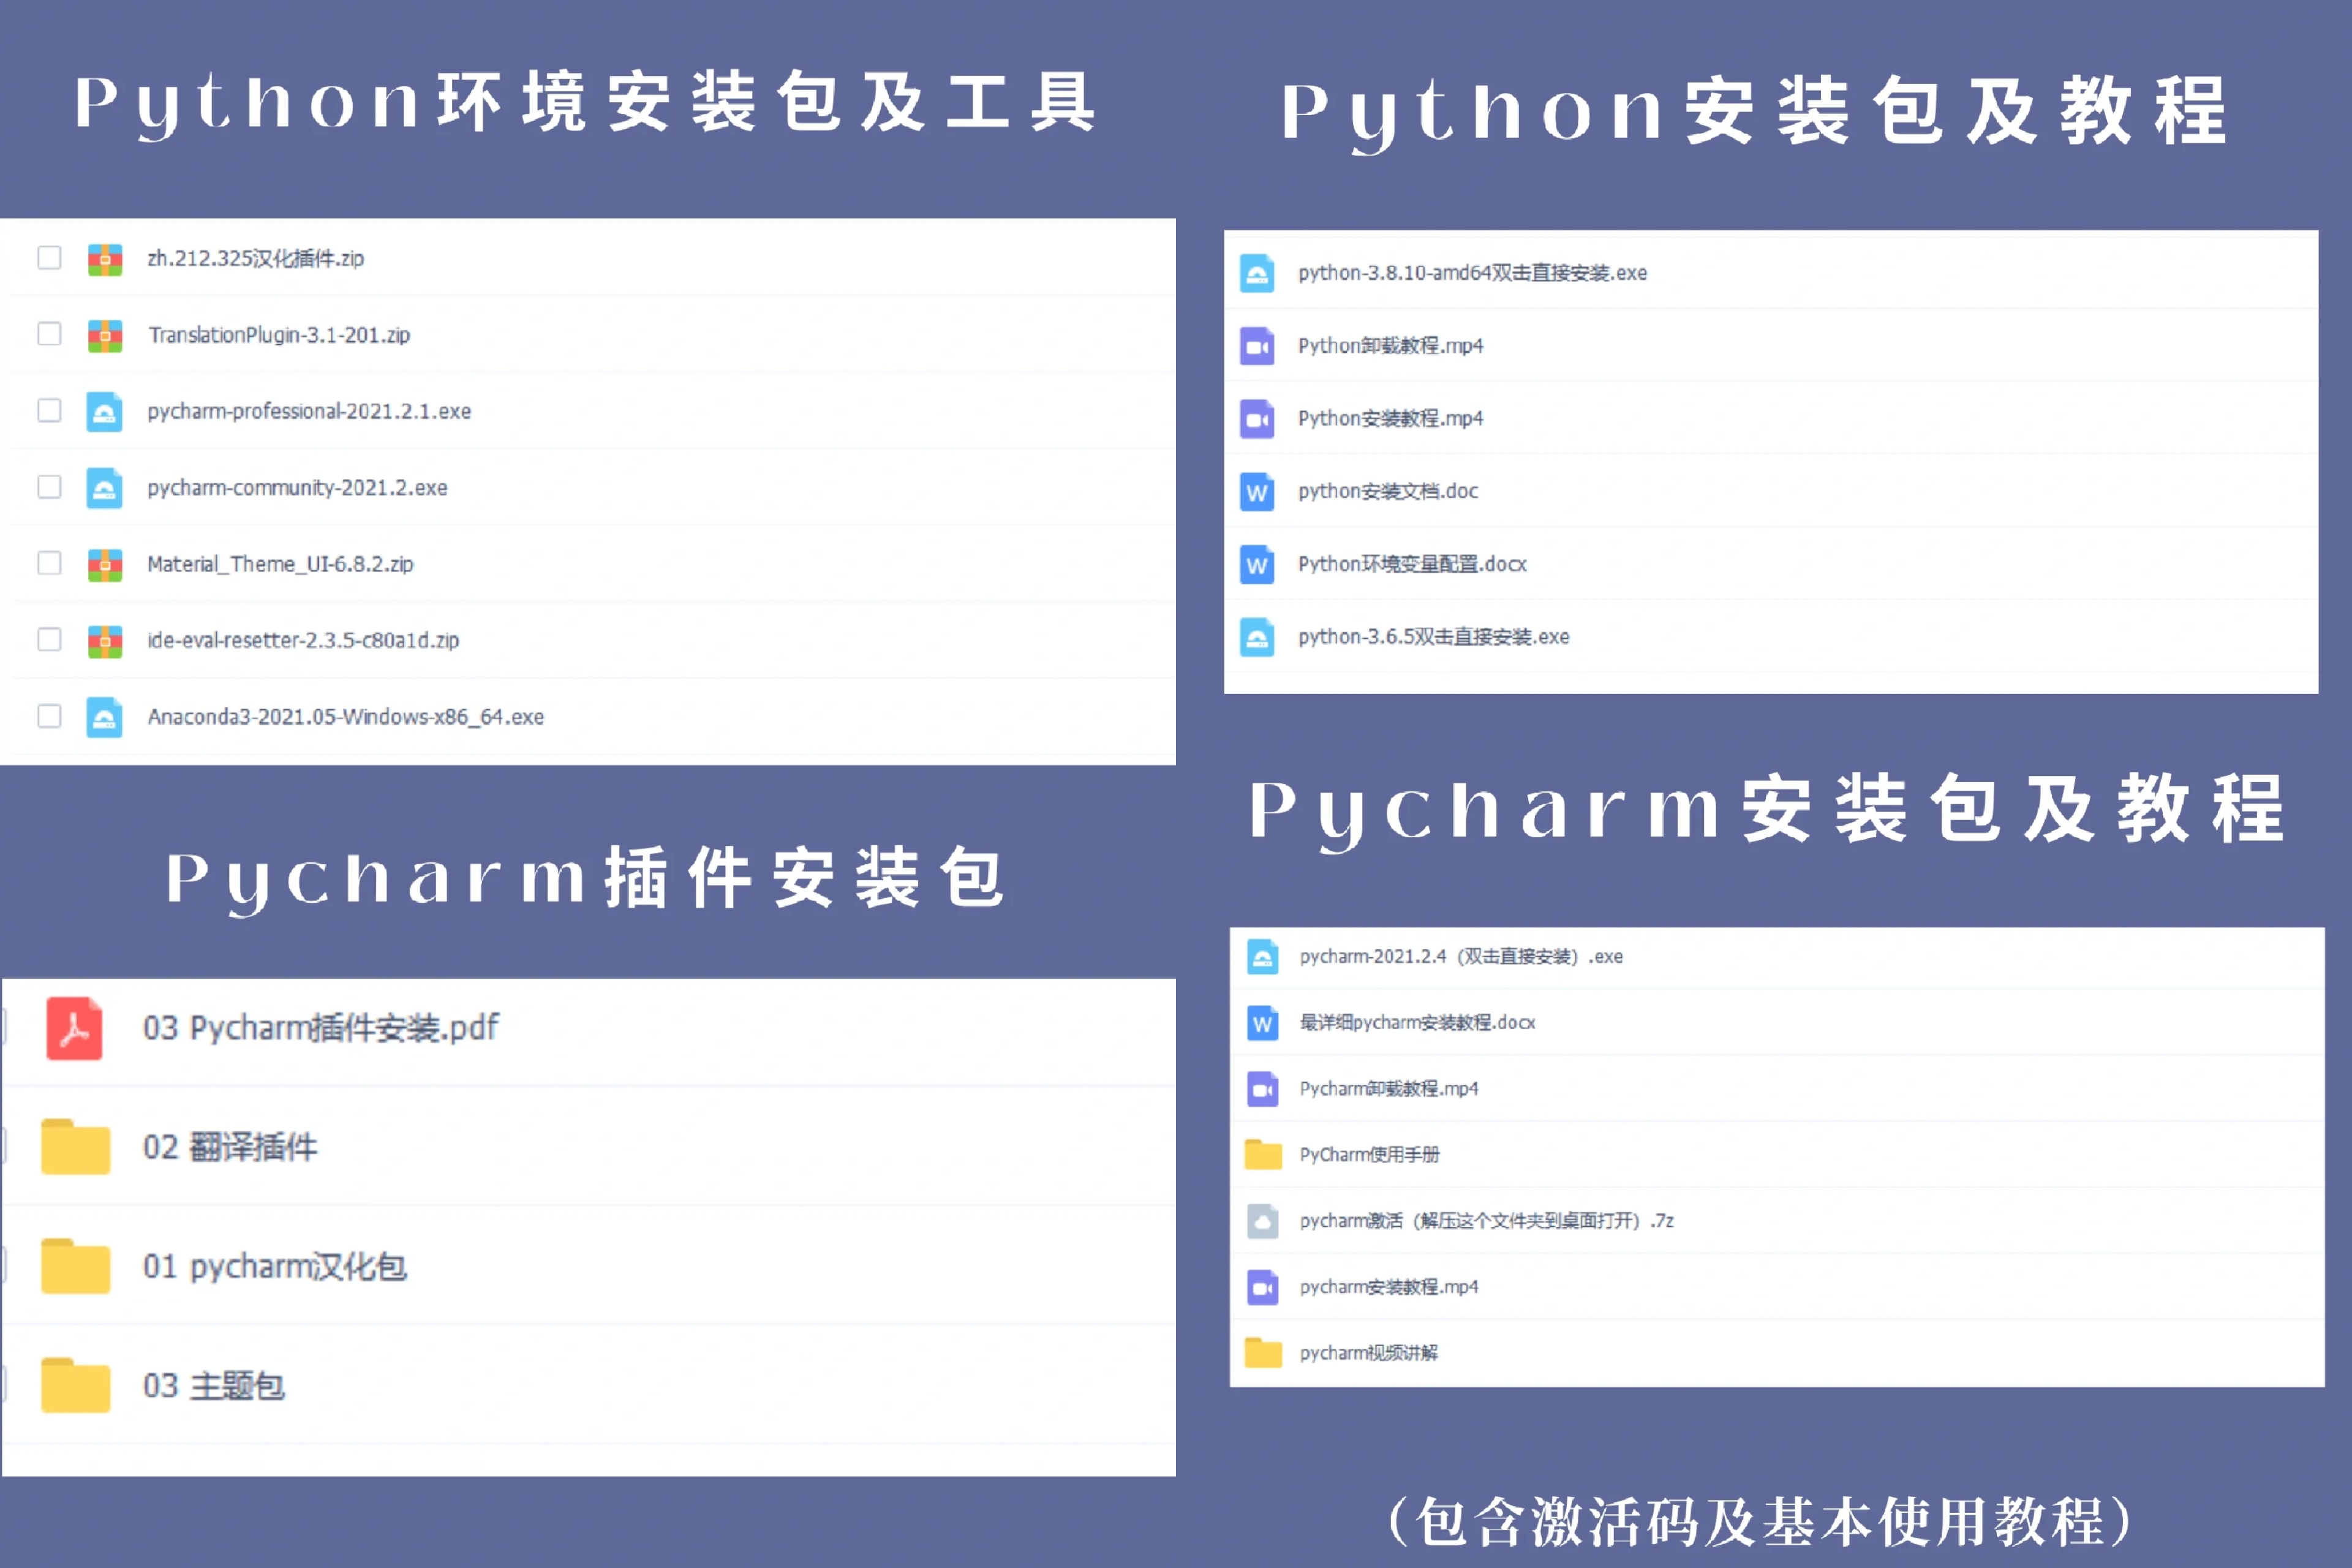
👉Python必备开发工具👈
温馨提示:篇幅有限,已打包文件夹,获取方式在:文末
👉Python实战案例👈
光学理论是没用的,要学会跟着一起敲,要动手实操,才能将自己的所学运用到实际当中去,这时候可以搞点实战案例来学习。

👉Python书籍和视频合集👈
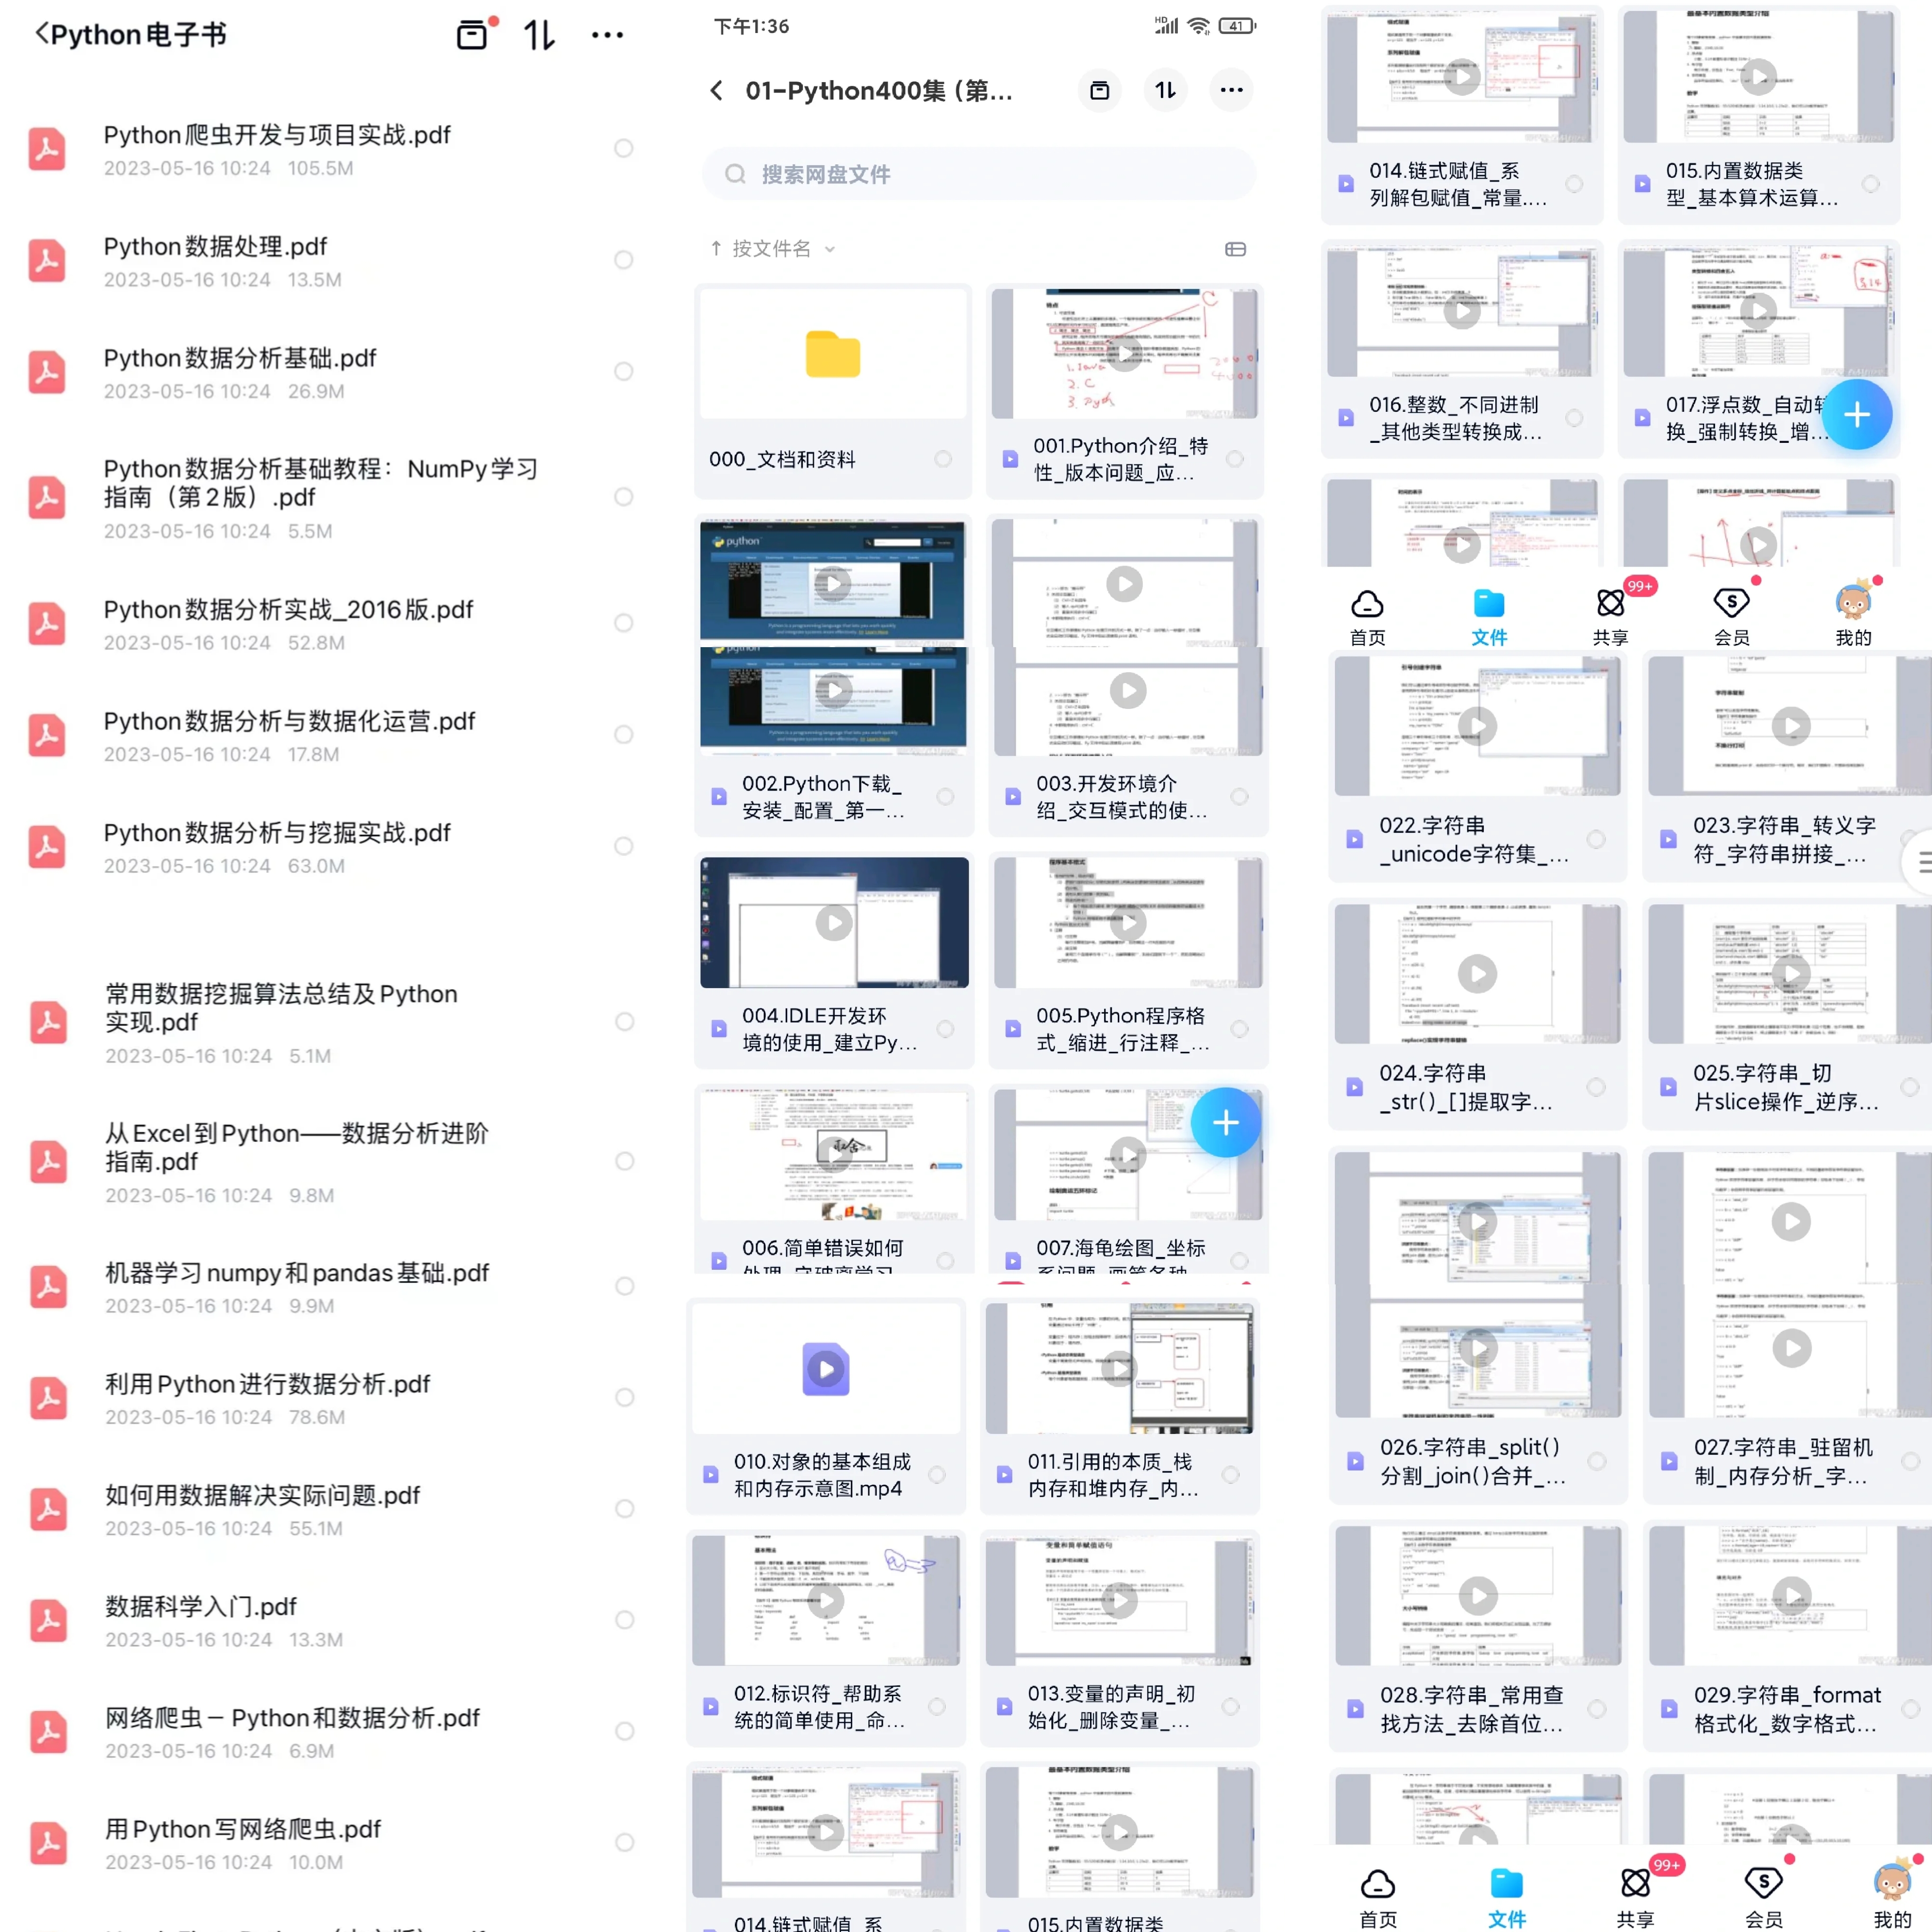
观看零基础学习书籍和视频,看书籍和视频学习是最快捷也是最有效果的方式,跟着视频中老师的思路,从基础到深入,还是很容易入门的。
👉Python面试刷题👈

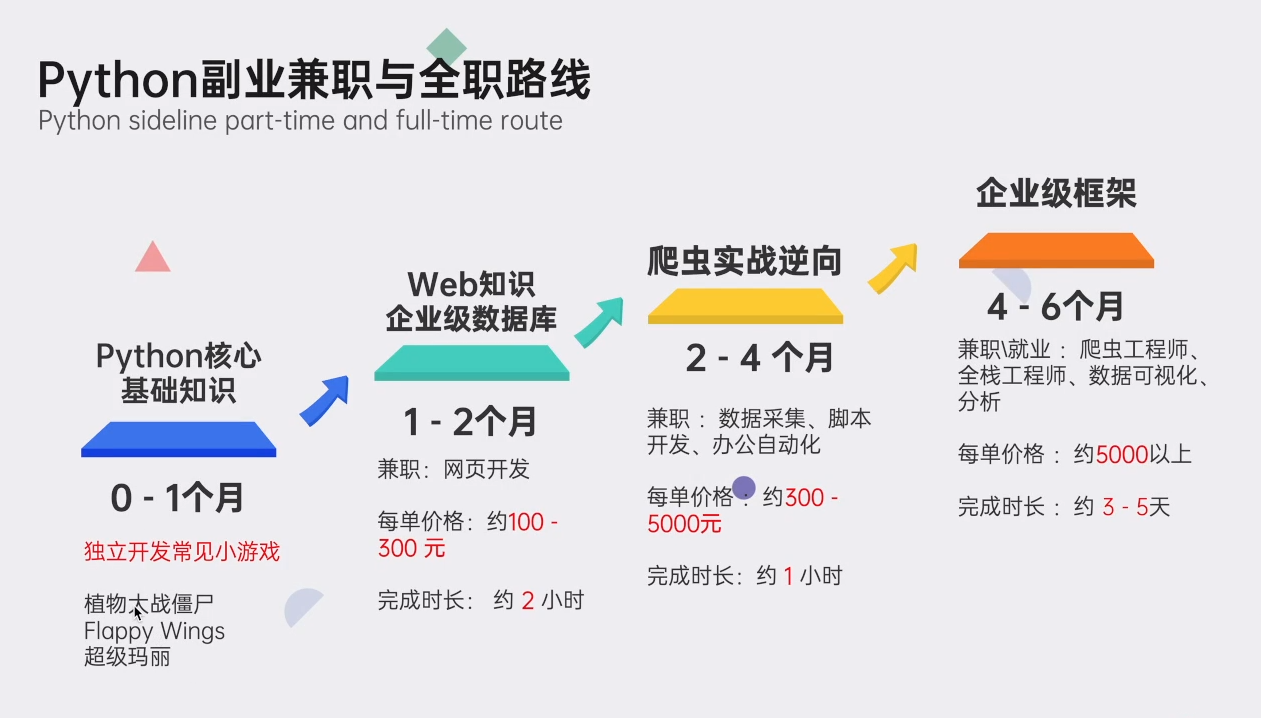
👉Python副业兼职路线👈
这份完整版的Python全套学习资料已经上传CSDN,朋友们如果需要可以点击链接免费领取或者保存图片到wx扫描二v码免费领取 【保证100%免费】
👉[CSDN大礼包:《python安装工具&全套学习资料》免费分享](安全链接,放心点击)


 1156
1156


 被折叠的 条评论
为什么被折叠?
被折叠的 条评论
为什么被折叠?
 到【灌水乐园】发言


