


一、客户邮箱激活
1、引入JavaMail的jar包坐标

2、复制邮件工具类到前台系统工具类包中

package com.itheima.bos_fore.utils;
import java.util.Properties;
import javax.mail.Message;
import javax.mail.Session;
import javax.mail.Transport;
import javax.mail.internet.InternetAddress;
import javax.mail.internet.MimeMessage;
import javax.mail.internet.MimeMessage.RecipientType;
public class MailUtils {
private static String smtp_host = "smtp.126.com";
private static String username = "itcast_server@126.com";
private static String password = "147963qP";
private static String from = "itcast_server@126.com"; // 使用当前账户
public static String activeUrl = "http://localhost:8082/bos_fore/customerAction_activeMail";
public static void sendMail(String subject, String content, String to) {
Properties props = new Properties();
props.setProperty("mail.smtp.host", smtp_host);
props.setProperty("mail.transport.protocol", "smtp");
props.setProperty("mail.smtp.auth", "true");
Session session = Session.getInstance(props);
Message message = new MimeMessage(session);
try {
message.setFrom(new InternetAddress(from));
message.setRecipient(RecipientType.TO, new InternetAddress(to));
message.setSubject(subject);
message.setContent(content, "text/html;charset=utf-8");
Transport transport = session.getTransport();
transport.connect(smtp_host, username, password);
transport.sendMessage(message, message.getAllRecipients());
} catch (Exception e) {
e.printStackTrace();
throw new RuntimeException("邮件发送失败...");
}
}
public static void main(String[] args) {
sendMail("测试邮件", "你好,传智播客", "itcast_search@163.com");
}
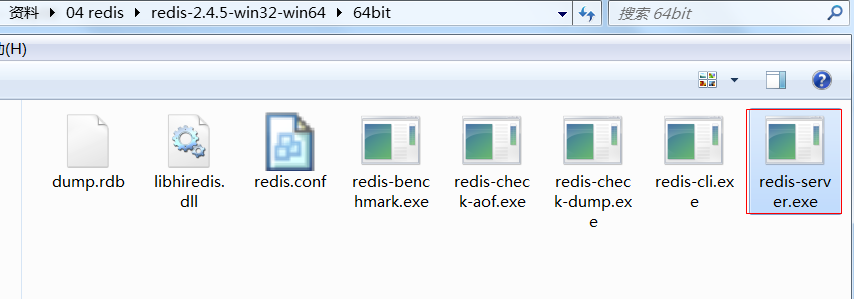
}3、redis的安装使用
(1)、解压windows版本的redis压缩包并启动

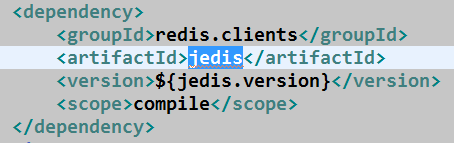
(2)、在项目中引入jedis的jar包坐标
(3)、编写测试类测试jedis
package bos_fore;
import org.junit.Test;
import redis.clients.jedis.Jedis;
public class JedisClientTest {
@Test
public void testJedis(){
Jedis jedis = new Jedis("localhost");
//存
jedis.set("key1", "value1");
jedis.set("key2", "value2");
//取
String value1 = jedis.get("key1");
System.out.println(value1);
//删
jedis.del("value1");
}
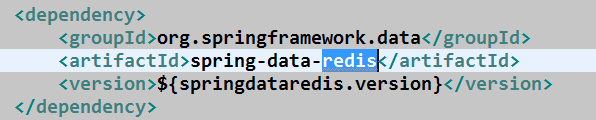
}4、spring data redis的使用
(1)、引入jar包坐标
(2)、在前台项目的spring配置文件中加入jedis的配置
	<!-- jedis 连接池配置 -->
	 <bean id="poolConfig" class="redis.clients.jedis.JedisPoolConfig">
        <property name="maxIdle" value="300" />
        <property name="maxWaitMillis" value="3000" />
        <property name="testOnBorrow" value="true" />
    </bean>

	<!-- jedis 连接工厂 -->
	<bean id="redisConnectionFactory"
        class="org.springframework.data.redis.connection.jedis.JedisConnectionFactory">
        <property name="hostName" value="localhost"/>
        <property name="port" value="6379"/>
        <property name="poolConfig" ref="poolConfig"/>
    </bean>

    <!-- spring data 提供 redis模板  -->
    <bean id="redisTemplate" class="org.springframework.data.redis.core.RedisTemplate">
        <property name="connectionFactory" ref="redisConnectionFactory" />
        <property name="keySerializer">
            <bean class="org.springframework.data.redis.serializer.StringRedisSerializer" />
        </property>
        <property name="valueSerializer">
        	<bean class="org.springframework.data.redis.serializer.StringRedisSerializer">
        	</bean>
        </property>
    </bean>
(3)、spring整合redis测试
package bos_fore;

import java.util.concurrent.TimeUnit;

import org.junit.Test;
import org.junit.runner.RunWith;
import org.springframework.beans.factory.annotation.Autowired;
import org.springframework.data.redis.core.RedisTemplate;
import org.springframework.test.context.ContextConfiguration;
import org.springframework.test.context.junit4.SpringJUnit4ClassRunner;

@RunWith(SpringJUnit4ClassRunner.class)
@ContextConfiguration("classpath:applicationContext.xml")
public class JedisClientTest {

	@Autowired
	private RedisTemplate<String, String> redisTemplate;

	@Test
	public void testJedis(){
		//增
		redisTemplate.opsForValue().set("key3", "value3");
		//增加并设置超时时间
		redisTemplate.opsForValue().set("key4", "value4", 8, TimeUnit.SECONDS);//设置超时时间为8s
		//删
		redisTemplate.delete("key3");
	}
}
5、完善CustomerAction中客户注册时发送激活邮件

6、客户端邮箱激活操作
(1)、编写CRM系统中CustomerService上激活邮件的方法
	/**
	 * 用户激活的方法
	 * @param telephone
	 */
	public void activeMail(String telephone) {
		dao.activeMail(telephone);
	}

	/**
	 * 根据手机号查询客户信息
	 */
	public Customer findCustomerByTelephone(String telephone) {
		return dao.findByTelephone(telephone);
	}
(2)、编写CRM中dao层代码
	/**
	 * 用户激活的方法
	 * @param telephone
	 */
	@Query("update Customer set type = 1 where telephone = ?")
	@Modifying
	public void activeMail(String telephone);

	/**
	 * 根据手机号查询客户信息
	 */
	public Customer findByTelephone(String telephone);
(3)、重新生成CRM的客户端代码
(4)、在CustomerAction中提供激活邮件的方法
	// 属性驱动,接收页面传递的激活码
	private String activeCode;

	public void setActiveCode(String activeCode) {
		this.activeCode = activeCode;
	}

	@Action(value="customerAction_activeMail",results={
			@Result(name="success",type="redirect", location="/active-success.html"),
			@Result(name="error",type="redirect", location="/active-fail.html"),
			@Result(name="hasBind",type="redirect", location="/active-has.html")
	})
	public String activeCode(){
		//获取手机号
		String phone = model.getTelephone();
		//从redis中获取激活吗
		String redisActiveCode = redisTemplate.opsForValue().get(phone);
		if(redisActiveCode != null && phone != null && redisActiveCode.equals(activeCode)){
			//提供的激活码正确,判断用户是否已经激活
			Customer customer = service.findCustomerByTelephone(phone);
			if(customer.getType() == null || customer.getType() != 1){
				//调用crm完成激活操作
				service.activeMail(phone);
				//清除redis中的激活码
				redisTemplate.delete(phone);
				return SUCCESS;
			}else{
				//用户已经激活,跳转到一个页面
				return "hasBind";
			}
		}
		return ERROR;
	}
二、前台系统客户登录
1、登录页面生成验证码的validatecode.jsp
<%@ page language="java" contentType="text/html; charset=UTF-8"
pageEncoding="UTF-8"%>
<%@ page import="java.util.Random"%>
<%@ page import="java.io.OutputStream"%>
<%@ page import="java.awt.Color"%>
<%@ page import="java.awt.Font"%>
<%@ page import="java.awt.Graphics"%>
<%@ page import="java.awt.image.BufferedImage"%>
<%@ page import="javax.imageio.ImageIO"%>
<%
int width = 80;
int height = 32;
//create the image
BufferedImage image = new BufferedImage(width, height, BufferedImage.TYPE_INT_RGB);
Graphics g = image.getGraphics();
// set the background color
g.setColor(new Color(0xDCDCDC));
g.fillRect(0, 0, width, height);
// draw the border
g.setColor(Color.black);
g.drawRect(0, 0, width - 1, height - 1);
// create a random instance to generate the codes
Random rdm = new Random();
String hash1 = Integer.toHexString(rdm.nextInt());
// make some confusion
for (int i = 0; i < 50; i++) {
int x = rdm.nextInt(width);
int y = rdm.nextInt(height);
g.drawOval(x, y, 0, 0);
}
// generate a random code
String capstr = hash1.substring(0, 4);
//将生成的验证码存入sesison中
session.setAttribute("validateCode", capstr);
//设置验证码的颜色
g.setColor(new Color(0, 100, 0));
//设置字体
g.setFont(new Font("Candara", Font.BOLD, 24));
g.drawString(capstr, 8, 24);
g.dispose();
response.setContentType("image/jpeg");
out.clear();
out = pageContext.pushBody();
OutputStream strm = response.getOutputStream();
ImageIO.write(image, "jpeg", strm);
strm.close();
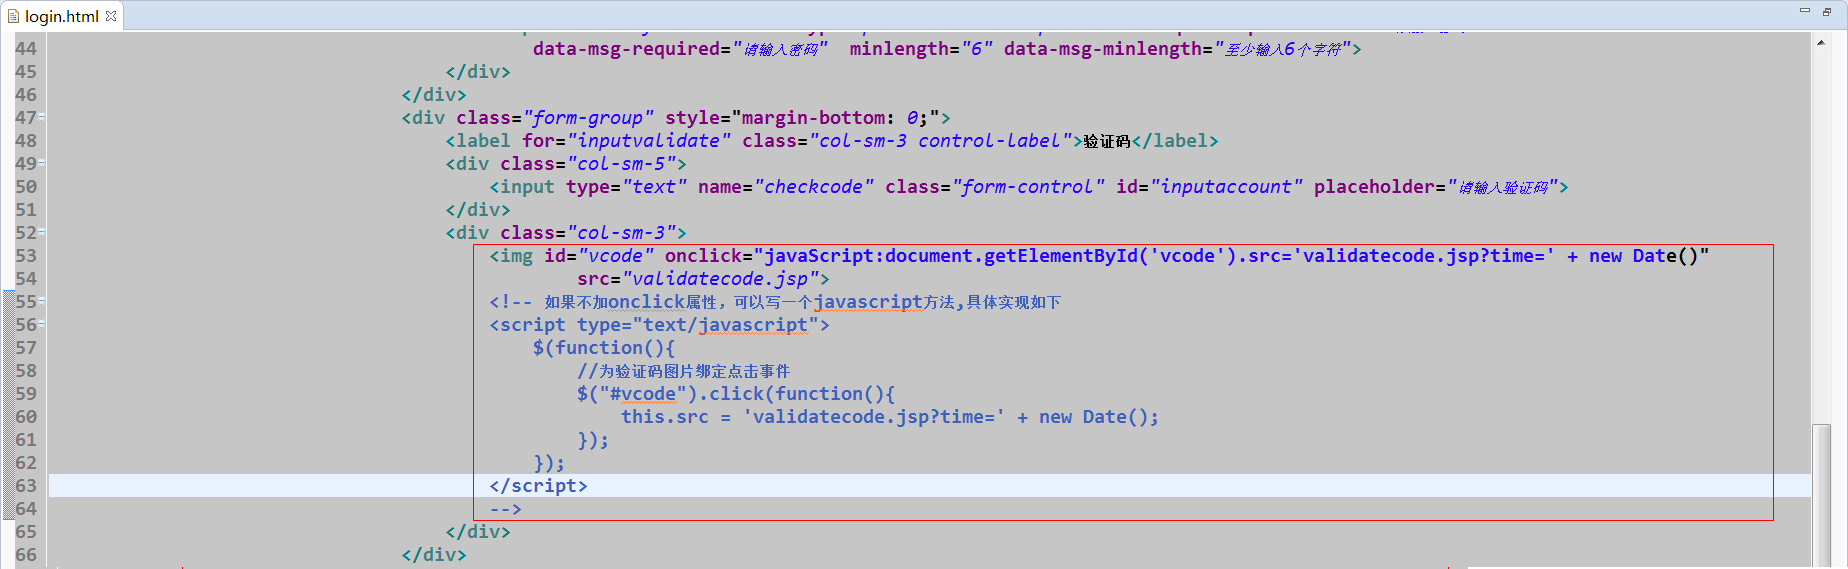
%>2、添加点击验证码图片,重新加载验证码的事件
	<div class="col-sm-3">
		<img id="vcode" οnclick="javaScript:document.getElementById('vcode').src='validatecode.jsp?time=' + new Date()"
				src="validatecode.jsp">
		<!-- 如果不加onclick属性,可以写一个javascript方法,具体实现如下
		<script type="text/javascript">
			$(function(){
				//为验证码图片绑定点击事件
				$("#vcode").click(function(){
					this.src = 'validatecode.jsp?time=' + new Date();
				});
			});
		</script>
		-->
	</div>
3、添加form表单的提交地址

4、扩展CRM系统中用户登录的方法
(1)、service层
	/**
	 * 用户登录的方法
	 * @param telephone
	 * @param password
	 * @return
	 */
	public Customer login(String telephone, String password) {
		return dao.findByTelephoneAndPassword(telephone,password);
	}
(2)、dao层
	/**
	 * 用户登录的方法
	 * @param telephone
	 * @param password
	 * @return
	 */
	public Customer findByTelephoneAndPassword(String telephone, String password);
5、编写用户登录的方法
/**
* 客户登录的方法
*/
@Action(value="customerAction_login",results={
@Result(name="home",type="redirect",location="/index.html"),
@Result(name="login",type="redirect",location="/login.html")
})
public String login(){
//获取手机号
String telephone = model.getTelephone();
//获取密码
String password = model.getPassword();
//从session中获取生成的验证码
String validateCode = (String) ServletActionContext.getRequest().getSession().getAttribute("validateCode");
//判断两个验证码是否相同
if(StringUtils.isNotBlank(validateCode) && StringUtils.isNotBlank(checkcode) && checkcode.equals(validateCode)){
//验证码相同,调用crm服务对象进行登录验证
Customer customer = service.login(telephone, password);
if(customer != null){
//登录成功,将用户信息存入session中
ServletActionContext.getRequest().getSession().setAttribute("loginCustomer", customer);
return "home";
}else{
//登录失败,跳转回登录页面
return LOGIN;
}
}
return LOGIN;
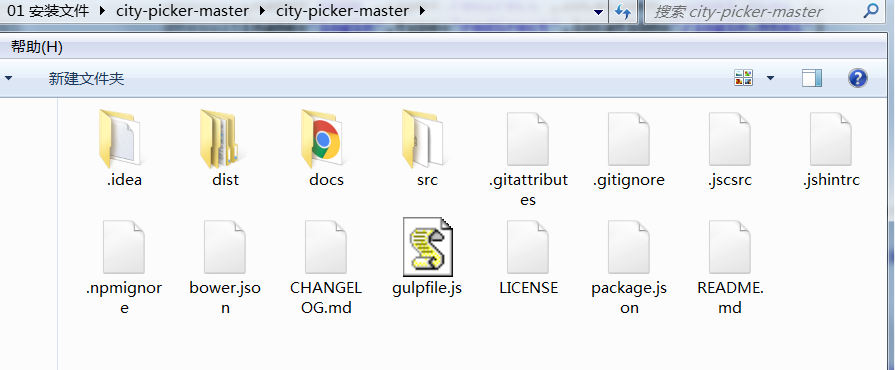
}三、使用city-picker实现省市区三级联动
1、解压city-picker的压缩包
2、编写测试之 -- 使用html的方式
<!DOCTYPE html>
<html>
<head>
<meta charset="UTF-8">
<title>Insert title here</title>
<!-- 引入city-picker及其依赖的资源文件 -->
<link rel="stylesheet" type="text/css" href="plugins/city-picker.css">
<script src="plugins/jquery.min.js"></script>
<script src="js/citypicker/js/city-picker.data.js"></script>
<script src="js/citypicker/js/city-picker.js"></script>
</head>
<body>
	<div style="position:relative;">
		<input readonly type="text" data-toggle="city-picker" placeholder="请选择省/市">
	</div>

</body>
</html>
3、编写测试之 -- 使用js动态加载
<!DOCTYPE html>
<html>
<head>
<meta charset="UTF-8">
<title>Insert title here</title>
<!-- 引入city-picker及其依赖的资源文件 -->
<link rel="stylesheet" type="text/css" href="plugins/city-picker.css">
<script src="plugins/jquery.min.js"></script>
<script src="js/citypicker/js/city-picker.data.js"></script>
<script src="js/citypicker/js/city-picker.js"></script>
<!-- 使用js动态加载city-picker -->
<script type="text/javascript">
$(function(){
//加载citypicker
$("#input1").citypicker();
//重置citypicker
$("#reset").click(function(){
$("#input1").citypicker("reset");
});
});
</script>
</head>
<body>
<div style="position:relative;">
<input id="input1" readonly type="text" placeholder="请选择省/市">
<input id="reset" type="button" value="重置">
</div>
</body>
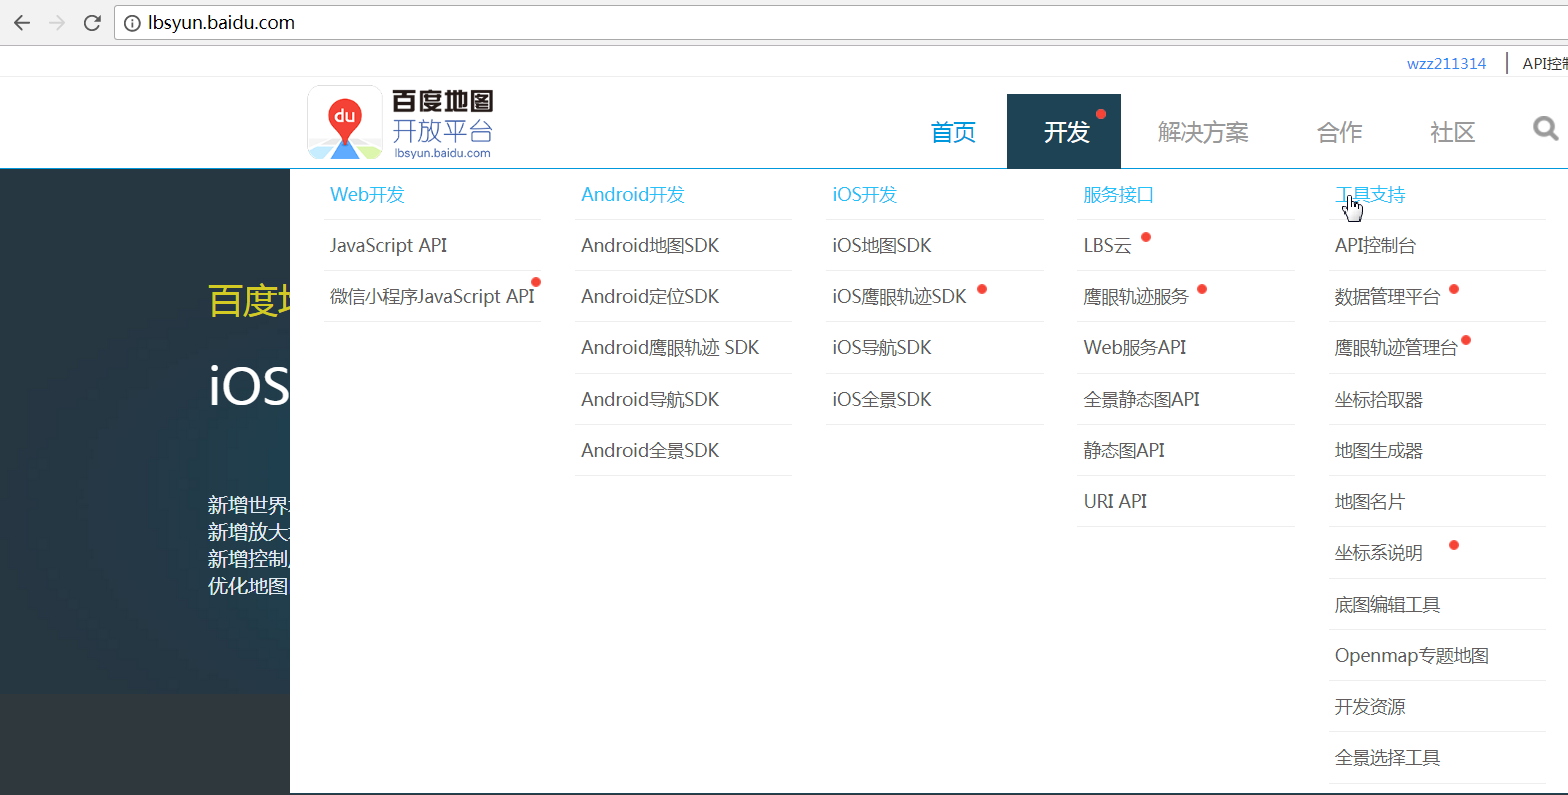
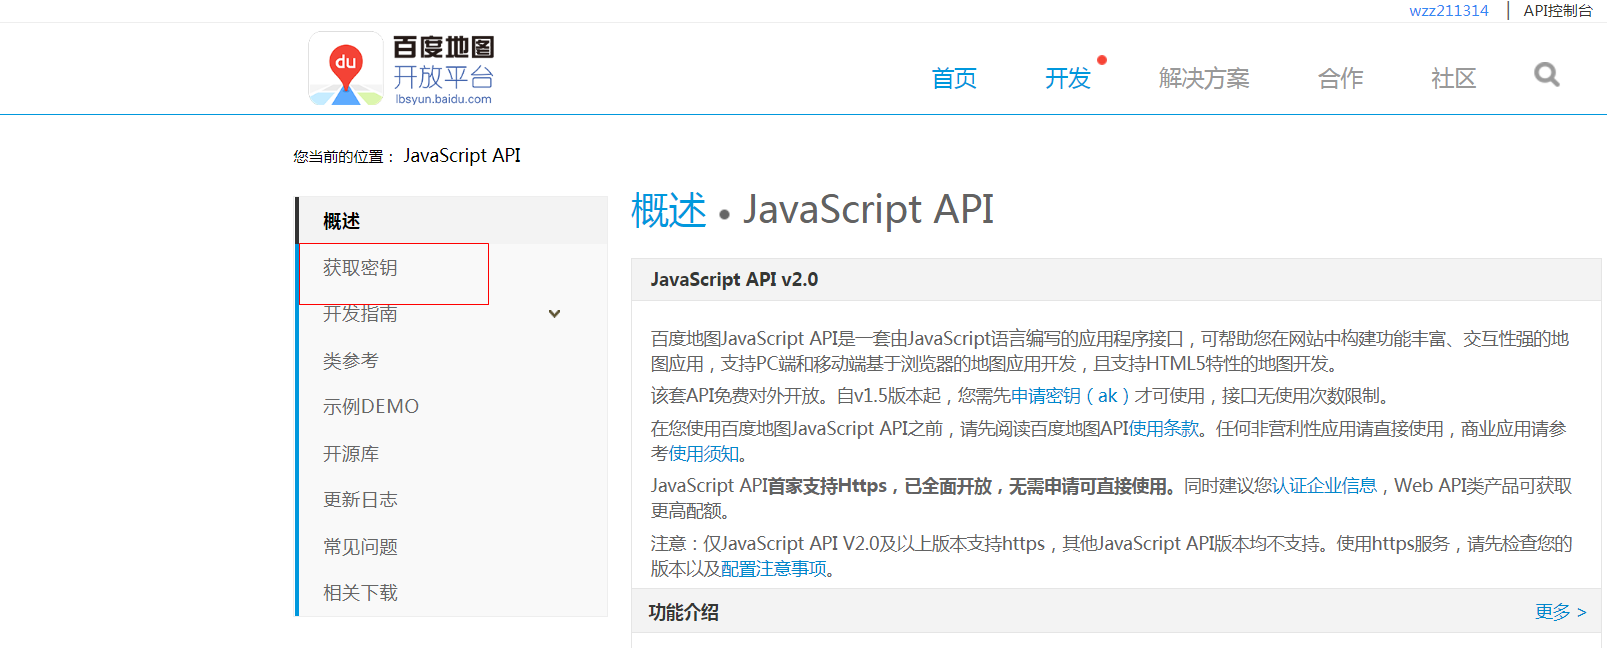
</html>四、百度地图简介
1、官网
http://lbsyun.baidu.com/


 491
491

 被折叠的 条评论
为什么被折叠?
被折叠的 条评论
为什么被折叠?
 到【灌水乐园】发言


