


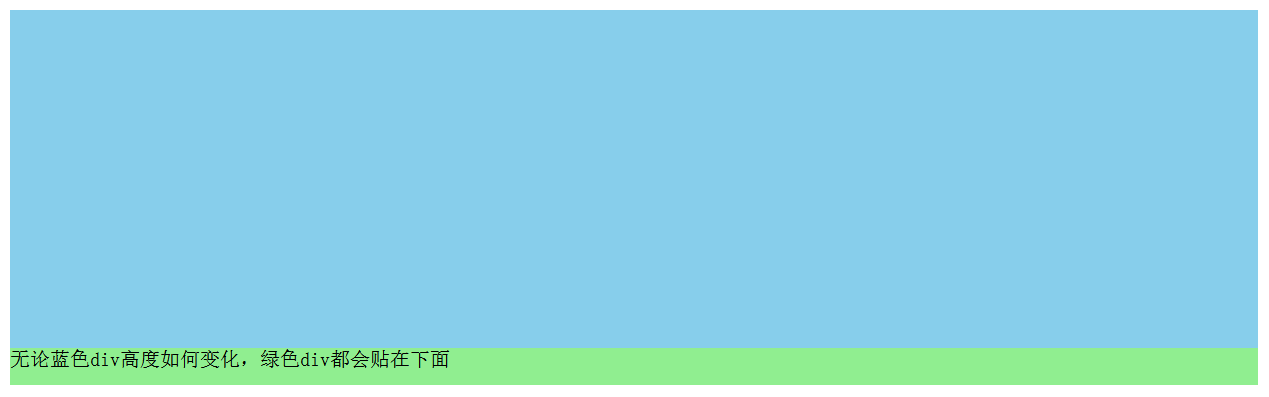
- 一个DIV始终贴在下方
首先把蓝色div设置为相对定位
然后把内部的绿色div设置为绝对定位, bottom: 0表示贴在下面
<style> #div1 { position: relative; height: 300px; width: 90%; background-color: skyblue; } #div2 { position: absolute; bottom: 0; height: 30px; width: 100%; background-color: lightgreen; } </style> <div id="div1"> <div id="div2"> 无论蓝色div高度如何变化,绿色div都会贴在下面 </div> </div> - CSS 布局 块之间的空格
1.如果多个span连续编写,像这样:
是不会有空格的<span>连续的span</span><span>连续的span</span>
但是真正开发代码的时候,一般不会连续书写span,而是不同的span之间有回车换行,比如这样:
而这样编写代码,就会导致<span>之间出现空格<span>有换行的span</span> <span>有换行的span</span> <span>有换行的span</span>
<style>
span{
border-bottom:2px solid lightgray;
}
</style>

<div class="continue">
<span>连续的span</span><span>连续的span</span><span>连续的span</span><span>连续的span</span>
</div>
<div class="nocontinue">
<span>有换行的span</span>
<span>有换行的span</span>
<span>有换行的span</span>
</div>
2.解决办法
使用float来解决。
float使用完毕之后,记得在下面加上 <div style="clear:both"></div> 用于使得后续的元素,不会和这些span重复在一起
因为浮动之后就会把<span>与<span>元素之间的回车换行“环绕” 掉
<style> div.nocontinue span{ border-bottom:2px solid lightgray; float:left; } </style> <div class="nocontinue"> <span>有换行的span</span> <span>有换行的span</span> <span>有换行的span</span> </div> <div style="clear:both"></div> <div>后续的内容</div> - CSS 应用 显示图片一部分
1.完整的图片
<img src="g.gif">
2.使用背景方式
第一种方式,使用背景的方式获取一部分图片
对div使用背景图片
等同于background:transparent url(g.gif) no-repeat scroll -83px -0px ;
设置scroll -83px -0px 把图片向左滚动83个像素,向上滚动0个像素。background-color:transparent; background-image:url(g.gif); background-repeat:no-repeat; background-attachment:scroll; background-position: -83px -0px;
再把div大小设置为和小图片大小一样,即可大小只显示部分图片的效果
<style>
div{
    width:25;
    height:25;
    background:transparent url(g.gif) no-repeat scroll -83px -0px ;
}

</style>

<div></div>
2.使用img方式
借助裁剪的方式只显示部分图片:
裁剪之后,只显示被裁剪出来的图片,所以还需要把整个图片向左移动,才看上去像拿到了想要的那部分图片clip:rect(top, right, bottom, left)
img{
    position:absolute;
    left:-83px;
    clip:rect(0px 108px 25px 83px);
}
<style> img{ position:absolute; left:-83px; clip:rect(0px 108px 25px 83px); } </style> <img src="g.gif"> - 练习
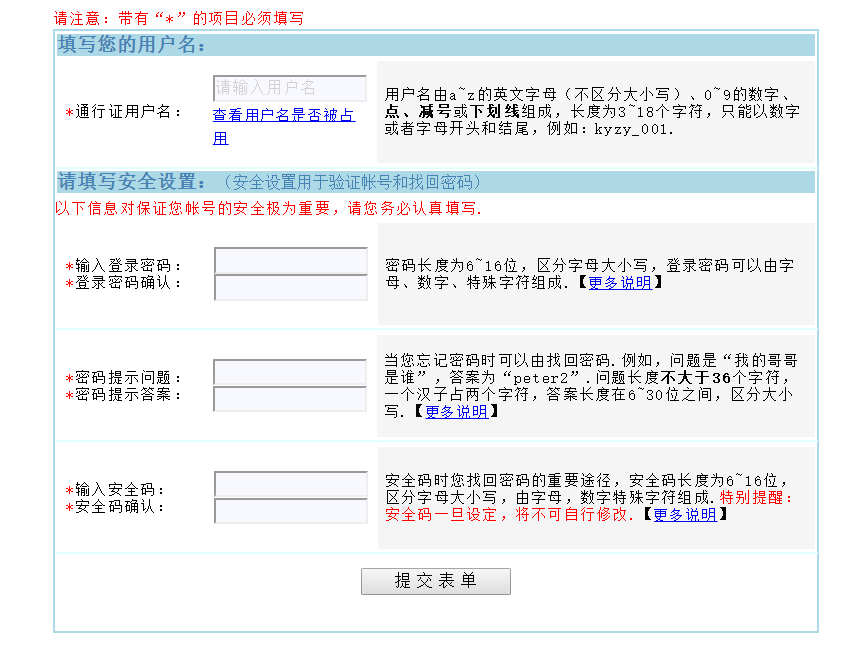
<!DOCTYPE html>


<html>
    <head>
        <meta charset="GB2312">
        <title>练习</title>
    <style>
        div.yidong{
            margin:auto;
            width:700px;
            height:600px;
            padding:20px
        }
        div.background{
            width:610px;
            height:480px;
            border:2px solid lightblue;
        }
        span.biaoti{
            display:block;
            background-color:lightblue;
            margin:2px;
            font-size:15px;
            font-weight:bold;
            color:steelblue;
        }
        .red{
            color:red;
        }
        table{
            /*border:1px solid red;*/
            width:100%;
            border-bottom:2px solid lightcyan;
            margin:1px;
            padding:1px;
        }
        td{
            height:70px;
            padding:6px;
            margin:2px;
        }
        .pt_ziti{
            font-size:12px;
            letter-spacing:1px;
        }
        a.lj_ziti{
            font-size:11px;
            letter-spacing:1.5px;
        }
        td.background{
            background-color:whitesmoke;
            width:330px;
        }
        input{
            width:120px;
        }
        tr
        td.one{
            width:20%
        }
        td.two{
            width:20%
        }
        td.thr{
            width:60%
        }
    </style>
    </head>
    <body>
        <div class="yidong">
        <span class="pt_ziti red">请注意:带有“*”的项目必须填写</span>
        <div class="background">
            <span class="biaoti">填写您的用户名:</span>
            <table class="a">
                <tr>
                    <td class="pt_ziti one"><font color="red">*</font>通行证用户名:</td>
                    <td class="two"><input type="text" value="请输入用户名" οnfοcus="if(value=='请输入用户名') {value=''}" οnblur="if (value=='') {value='请输入用户名'}" style="background-color:ghostwhite ; color:lightgray" /><br/><a class="lj_ziti" href="#";>查看用户名是否被占用</a></td>
                    <td class="pt_ziti background thr">用户名由a~z的英文字母(不区分大小写)、0~9的数字、<b>点、减号</b>或<b>下划线</b>组成,长度为3~18个字符,只能以数字或者字母开头和结尾,例如:kyzy_001.</td>
                </tr>
            </table>
            <span class="biaoti">请填写安全设置:<span style="font-size:small; font-weight:normal">(安全设置用于验证帐号和找回密码)</span></span>
            <span class="pt_ziti red">以下信息对保证您帐号的安全极为重要,请您务必认真填写.</span>
            <table>
                <tr>
                    <td class="pt_ziti one"><span class="red">*</span>输入登录密码:<br/><span class="red">*</span>登录密码确认:</td>
                    <td class="two"><input type="text"style=" background-color:ghostwhite";><br style="margin:5px"/><input type="text" style=" background-color:ghostwhite";></td>
                    <td class="pt_ziti background thr">密码长度为6~16位,区分字母大小写,登录密码可以由字母、数字、特殊字符组成.【<a class="lj_ziti" href="#";>更多说明</a>】</td>
                </tr>
            </table>
            <table>
                <tr>
                    <td class="pt_ziti one"><span class="red">*</span>密码提示问题:<br/><span class="red">*</span>密码提示答案:</td>
                    <td class="two"><input type="text" style=" background-color:ghostwhite";><br/ style="margin:5px"><input type="text" style=" background-color:ghostwhite";></td>
                    <td class="pt_ziti background thr">当您忘记密码时可以由找回密码.例如,问题是“我的哥哥是谁”,答案为“peter2”.问题长度<b>不大于36</b>个字符,一个汉子占两个字符,答案长度在6~30位之间,区分大小写.【<a class="lj_ziti" href="#">更多说明</a>】</td>
                </tr>
            </table>
            <table>
                <tr>
                    <td class="pt_ziti one"><span class="red">*</span>输入安全码:<br/><span class="red">*</span>安全码确认:</td>
                    <td class="two"><input type="text" style=" background-color:ghostwhite";><br/ style="margin:5px"><input type="text" style=" background-color:ghostwhite";></td>
                    <td class="pt_ziti background thr">安全码时您找回密码的重要途径,安全码长度为6~16位,区分字母大小写,由字母,数字特殊字符组成.<span class="red">特别提醒:安全码一旦设定,将不可自行修改.</span>【<a class="lj_ziti" href="#">更多说明</a>】</td>
                </tr>
            </table>
            <center></span><input style="margin:10px;" type="button" value="提 交 表 单"></center>
        </div>
        </div>

    </body>
</html>


11-09
 515
515
515

 被折叠的 条评论
为什么被折叠?
被折叠的 条评论
为什么被折叠?
 到【灌水乐园】发言


