


例子:
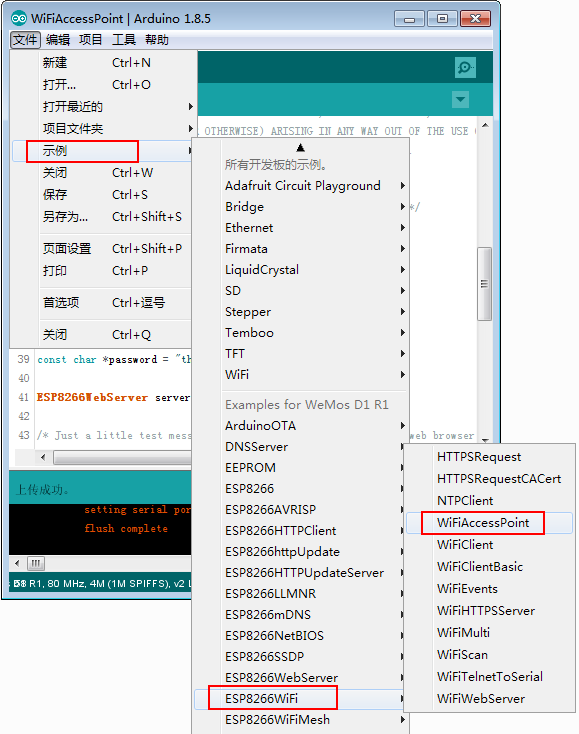
代码:
/*
* Copyright (c) 2015, Majenko Technologies
* All rights reserved.
*
* Redistribution and use in source and binary forms, with or without modification,
* are permitted provided that the following conditions are met:
*
* * Redistributions of source code must retain the above copyright notice, this
* list of conditions and the following disclaimer.
*
* * Redistributions in binary form must reproduce the above copyright notice, this
* list of conditions and the following disclaimer in the documentation and/or
* other materials provided with the distribution.
*
* * Neither the name of Majenko Technologies nor the names of its
* contributors may be used to endorse or promote products derived from
* this software without specific prior written permission.
*
* THIS SOFTWARE IS PROVIDED BY THE COPYRIGHT HOLDERS AND CONTRIBUTORS "AS IS" AND
* ANY EXPRESS OR IMPLIED WARRANTIES, INCLUDING, BUT NOT LIMITED TO, THE IMPLIED
* WARRANTIES OF MERCHANTABILITY AND FITNESS FOR A PARTICULAR PURPOSE ARE
* DISCLAIMED. IN NO EVENT SHALL THE COPYRIGHT HOLDER OR CONTRIBUTORS BE LIABLE FOR
* ANY DIRECT, INDIRECT, INCIDENTAL, SPECIAL, EXEMPLARY, OR CONSEQUENTIAL DAMAGES
* (INCLUDING, BUT NOT LIMITED TO, PROCUREMENT OF SUBSTITUTE GOODS OR SERVICES;
* LOSS OF USE, DATA, OR PROFITS; OR BUSINESS INTERRUPTION) HOWEVER CAUSED AND ON
* ANY THEORY OF LIABILITY, WHETHER IN CONTRACT, STRICT LIABILITY, OR TORT
* (INCLUDING NEGLIGENCE OR OTHERWISE) ARISING IN ANY WAY OUT OF THE USE OF THIS
* SOFTWARE, EVEN IF ADVISED OF THE POSSIBILITY OF SUCH DAMAGE.
*/
/* Create a WiFi access point and provide a web server on it. */
#include <ESP8266WiFi.h>
#include <WiFiClient.h>
#include <ESP8266WebServer.h>
/* Set these to your desired credentials. */
const char *ssid = "ESPap";
const char *password = "thereisnospoon";
ESP8266WebServer server(80);
/* Just a little test message. Go to http://192.168.4.1 in a web browser
* connected to this access point to see it.
*/
void handleRoot() {
server.send(200, "text/html", "<h1>You are connected</h1>");
}
void setup() {
delay(1000);
Serial.begin(115200);
Serial.println();
Serial.print("Configuring access point...");
/* You can remove the password parameter if you want the AP to be open. */
WiFi.softAP(ssid, password);
IPAddress myIP = WiFi.softAPIP();
Serial.print("AP IP address: ");
Serial.println(myIP);
server.on("/", handleRoot);
server.begin();
Serial.println("HTTP server started");
}
void loop() {
server.handleClient();
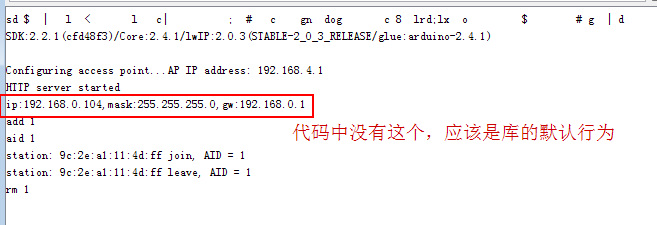
}log如下:
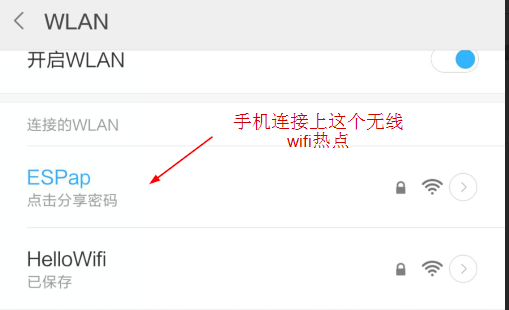
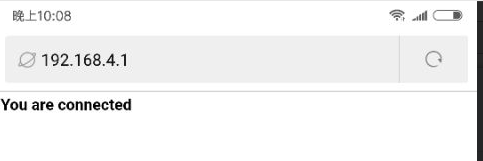
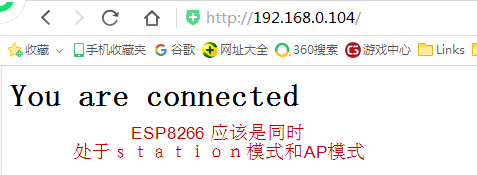
手机运行效果:
在手机的浏览器上运行:
在电脑上也可以连接:


 461
461


 被折叠的 条评论
为什么被折叠?
被折叠的 条评论
为什么被折叠?
 到【灌水乐园】发言


