


centos7搭建 jupyterLab
# 创建虚拟环境:
python3 -m venv jupyterEnv
cd jupyterEnv
# 进入虚拟环境
source ./bin/activate

# 安装
pip install jupyterlab

# 中文插件安装
pip install jupyterlab-language-pack-zh-CN

# 生成配置文件
jupyter lab --generate-config
# Writing default config to: /root/.jupyter/jupyter_lab_config.py
# 生成密码
jupyter lab password
# 两次确认
# 生成密码文件:jupyter_server_config.json
# 密码如下:

# 在配置文件中 jupyter_lab_config.py 增加如下配置
c.ServerApp.allow_remote_access = True  # 允许远程访问
c.ServerApp.allow_root = True           # 允许root运行
c.ServerApp.notebook_dir = '/home/jupyterlab/program/'  # 设置工作目录,默认为用户家目录
c.ServerApp.ip = '*'                    # 监听地址
c.ServerApp.port = 8091                 # 运行端口
c.ServerApp.password = 'argon2:$argon2id$v=19$m=10240,t=10,p=8$3l6Pnsf/c0IaxuOm01D3rw$p1vb3ryWb3uJcQhXtbWDMJBvuWStrYRkf/VOP0/Xn7Y'    # 密码
c.ServerApp.open_browser = False        # 不打开浏览器

# 如果在安装过程中遇到urllib3的问题,需要
pip uninstall urllib3
# 再安装一个低版本的,如
pip install urllib3==1.26.15

# 下面可以启动了
nohup python -m jupyterlab --allow-root > /root/.jupyter/jupyter.log 2>&1 &

# 如果直接通过端口访问的话,记得打开防火墙的端口,如:
# 打开端口
firewall-cmd –zone=public –add-port=8091/tcp –permanent
# 重启防火墙
firewall-cmd –reload
# 查询打开端口列表
firewall-cmd –list-port
# 我还配置了域名和nginx,配置如下:

server {
    listen 80;
    server_name ju.wwter.top;

    location / {
        proxy_pass http://localhost:8091;
        proxy_set_header Host $host;
        proxy_set_header X-Real-IP $remote_addr;
        proxy_set_header        X-Forwarded-For $proxy_add_x_forwarded_for;
        proxy_http_version      1.1;
        proxy_set_header        Upgrade $http_upgrade;
        proxy_set_header        Connection "upgrade";
        proxy_redirect          off;

    }
}

# 访问 http://ju.wwter.top
# 输入前面设置的密码即可打开jupyterlab
# 运行如下图
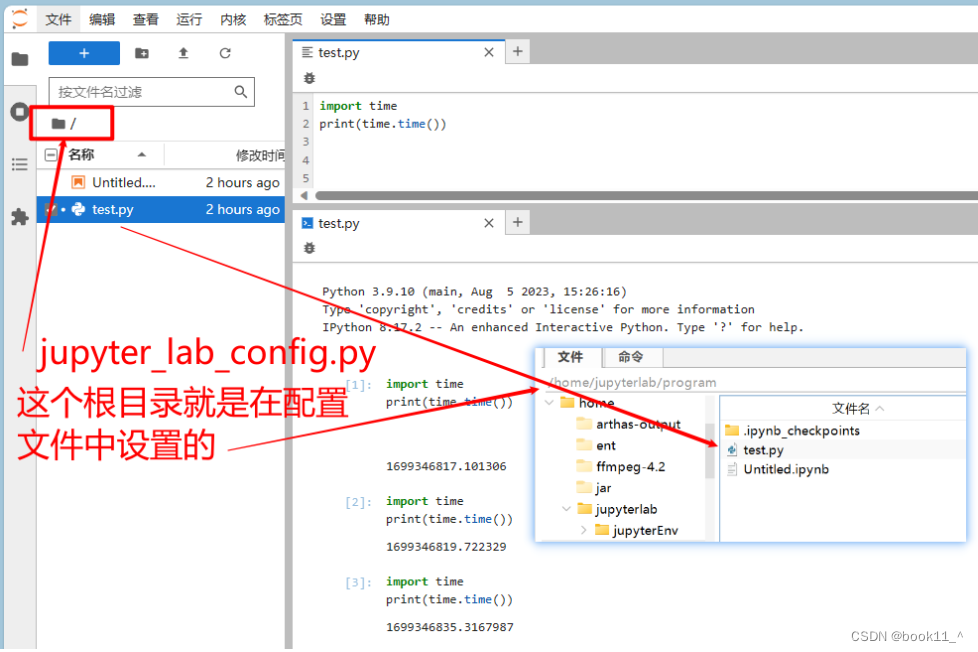
完结,撒花!


 1859
1859


 被折叠的 条评论
为什么被折叠?
被折叠的 条评论
为什么被折叠?
 到【灌水乐园】发言


