


1.建好springboot项目
2.添加依赖
        <!--thymeleaf-->
        <dependency>
            <groupId>org.springframework.boot</groupId>
            <artifactId>spring-boot-starter-thymeleaf</artifactId>
        </dependency>
3.在application.yml中配置thymeleaf路径
spring:
  thymeleaf:
    enabled: true  #开启thymeleaf视图解析
    encoding: utf-8  #编码
    prefix: classpath:/templates/  #前缀
    cache: false  #是否使用缓存
    mode: HTML  #严格的HTML语法模式
    suffix: .html  #后缀名
4.在resource下新建templates包并在该目录下新建index.html文件
<!doctype html>

<!--注意:引入thymeleaf的名称空间-->
<html lang="en" xmlns:th="http://www.thymeleaf.org">
<head>
    <meta charset="UTF-8">
    <meta name="viewport"
          content="width=device-width, user-scalable=no, initial-scale=1.0, maximum-scale=1.0, minimum-scale=1.0">
    <meta http-equiv="X-UA-Compatible" content="ie=edge">
    <title>Document</title>
</head>
<body>
<p th:text="'hello SpringBoot'">hello thymeleaf</p>
</body>
</html>
5.在controller中新建接口
这里需要注意:在类上不能使用@RestController注解,否则获取不到html页面,只能返回字符串;方法中如果要返回字符串,就加@ResponseBody注解
package com.example.demo.Controller;

import org.springframework.stereotype.Controller;
import org.springframework.web.bind.annotation.RequestMapping;
import org.springframework.web.bind.annotation.ResponseBody;

@Controller
public class HelloController {

    @ResponseBody
    @RequestMapping("/hello")
    public String hello() {
        return "Hello World";
    }

    @RequestMapping("/index")
    public String index() {
        return "index";
    }

}
6.测试
返回index页面内容:

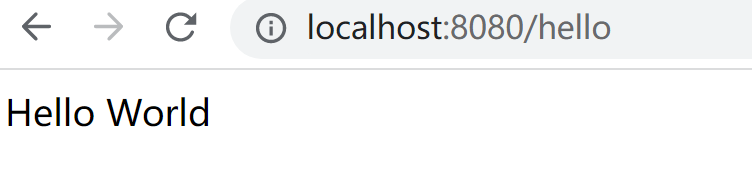
返回字符串:


 1900
1900


 被折叠的 条评论
为什么被折叠?
被折叠的 条评论
为什么被折叠?
 到【灌水乐园】发言


