


软件测试面试刷题,这个小程序(永久刷题),靠它可以快速找到工作!https://blog.csdn.net/AI_Green/article/details/134931243?spm=1001.2014.3001.5502编辑https://blog.csdn.net/AI_Green/article/details/134931243?spm=1001.2014.3001.5502 https://blog.csdn.net/AI_Green/article/details/134931243?spm=1001.2014.3001.5502
pytest.mark.parametrize是一个非常强大的功能,它允许你使用不同的参数多次运行同一个测试函数,这对于编写简洁且易于维护的测试代码特别有帮助。以下是使用pytest.mark.parametrize的10种典型用法,展示其灵活性和实用性:
1. 基本用法
最基本的形式是直接传递参数值列表。
import pytest
@pytest.mark.parametrize("x, y, expected", [(1, 2, 3), (4, 5, 9)])
def test_add(x, y, expected):
    assert x + y == expected
2. 使用命名参数
为参数指定名字,增加可读性。
@pytest.mark.parametrize("x, y, expected", [
    pytest.param(1, 2, 3, id='positive_numbers'),
    pytest.param(-1, -1, -2, id='negative_numbers'),
])
def test_add_named(x, y, expected):
    assert x + y == expected
3. 嵌套参数
支持嵌套参数列表,适用于多维度测试。
@pytest.mark.parametrize("x", [1, 2])
@pytest.mark.parametrize("y", [3, 4])
def test_multiply(x, y):
    assert x * y in [3, 4, 6, 8]
4. 参数组合
使用pytest.param显式控制参数组合及标识。
@pytest.mark.parametrize("a, b, expected", [
    pytest.param(1, 2, 3, id="integers"),
    pytest.param(1.5, 2.5, 4.0, id="floats"),
])
def test_add_combinations(a, b, expected):
    assert a + b == expected
5. 参数类型转换
在传递给测试函数之前,自动转换参数类型。
@pytest.mark.parametrize("x, y", [("1", "2"), ("3", "4")], ids=["str-str", "str-str"])
def test_add_str_converted(x, y):
    x = int(x)
    y = int(y)
    assert x + y in [3, 7]
6. 异常测试
使用pytest.raises检查特定异常。
@pytest.mark.parametrize("x, y", [(1, 'a')])
def test_add_exception(x, y):
    with pytest.raises(TypeError):
        x + y
7. 参数化fixture
参数化fixture,使其在每次调用时使用不同的输入。
@pytest.fixture(params=[1, 2])
def number(request):
    return request.param
def test_number(number):
    assert number in [1, 2]
8. 大范围数据测试
使用外部数据源(如文件、数据库)动态生成参数。
import pandas as pd
data = pd.read_csv('data.csv')
@pytest.mark.parametrize("x, y", data.values.tolist())
def test_large_dataset(x, y):
    assert some_complex_calculation(x) == y
9. 自定义ID生成
通过idfn函数自定义测试ID的生成方式。
def idfn(val):
    if isinstance(val, tuple):
        return f"{val[0]}-{val[1]}"
    return str(val)
@pytest.mark.parametrize("x, y", [(1, 2), (3, 4)], ids=idfn)
def test_custom_id(x, y):
    assert x + y in [3, 7]
10. 结合marks
为特定参数组合添加额外的标记。
@pytest.mark.parametrize("x, y", [
    (1, 2, pytest.mark.smoke),
    (3, 4),
], indirect=True)
def test_marks(x, y):
    assert x + y in [3, 7]
请注意,最后一个例子中的indirect=True通常用于参数化fixture,这里是为了演示而简化了实际用法。实际上,直接在参数组合上附加mark更常见于直接参数列表中,而不是像示例所示那样。
行动吧,在路上总比一直观望的要好,未来的你肯定会感谢现在拼搏的自己!如果想学习提升找不到资料,没人答疑解惑时,请及时加入群: 759968159,里面有各种测试开发资料和技术可以一起交流哦。
最后: 下方这份完整的软件测试视频教程已经整理上传完成,需要的朋友们可以自行领取【保证100%免费】

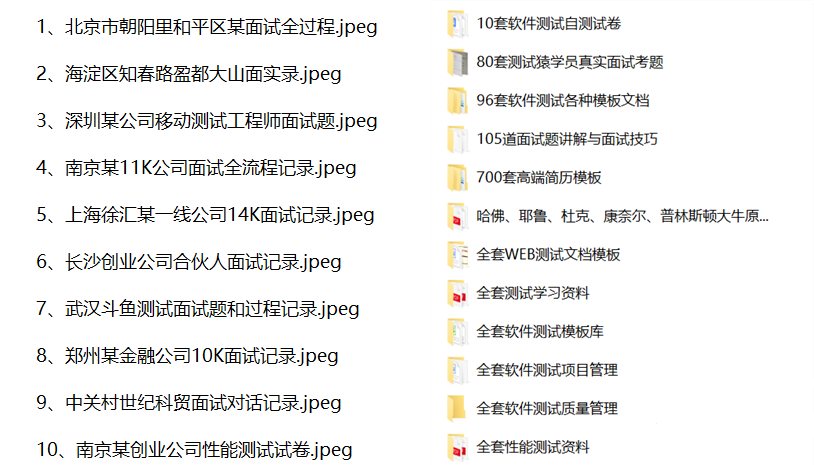
软件测试面试文档
我们学习必然是为了找到高薪的工作,下面这些面试题是来自阿里、腾讯、字节等一线互联网大厂最新的面试资料,并且有字节大佬给出了权威的解答,刷完这一套面试资料相信大家都能找到满意的工作。


 626
626


 被折叠的 条评论
为什么被折叠?
被折叠的 条评论
为什么被折叠?
 到【灌水乐园】发言


