


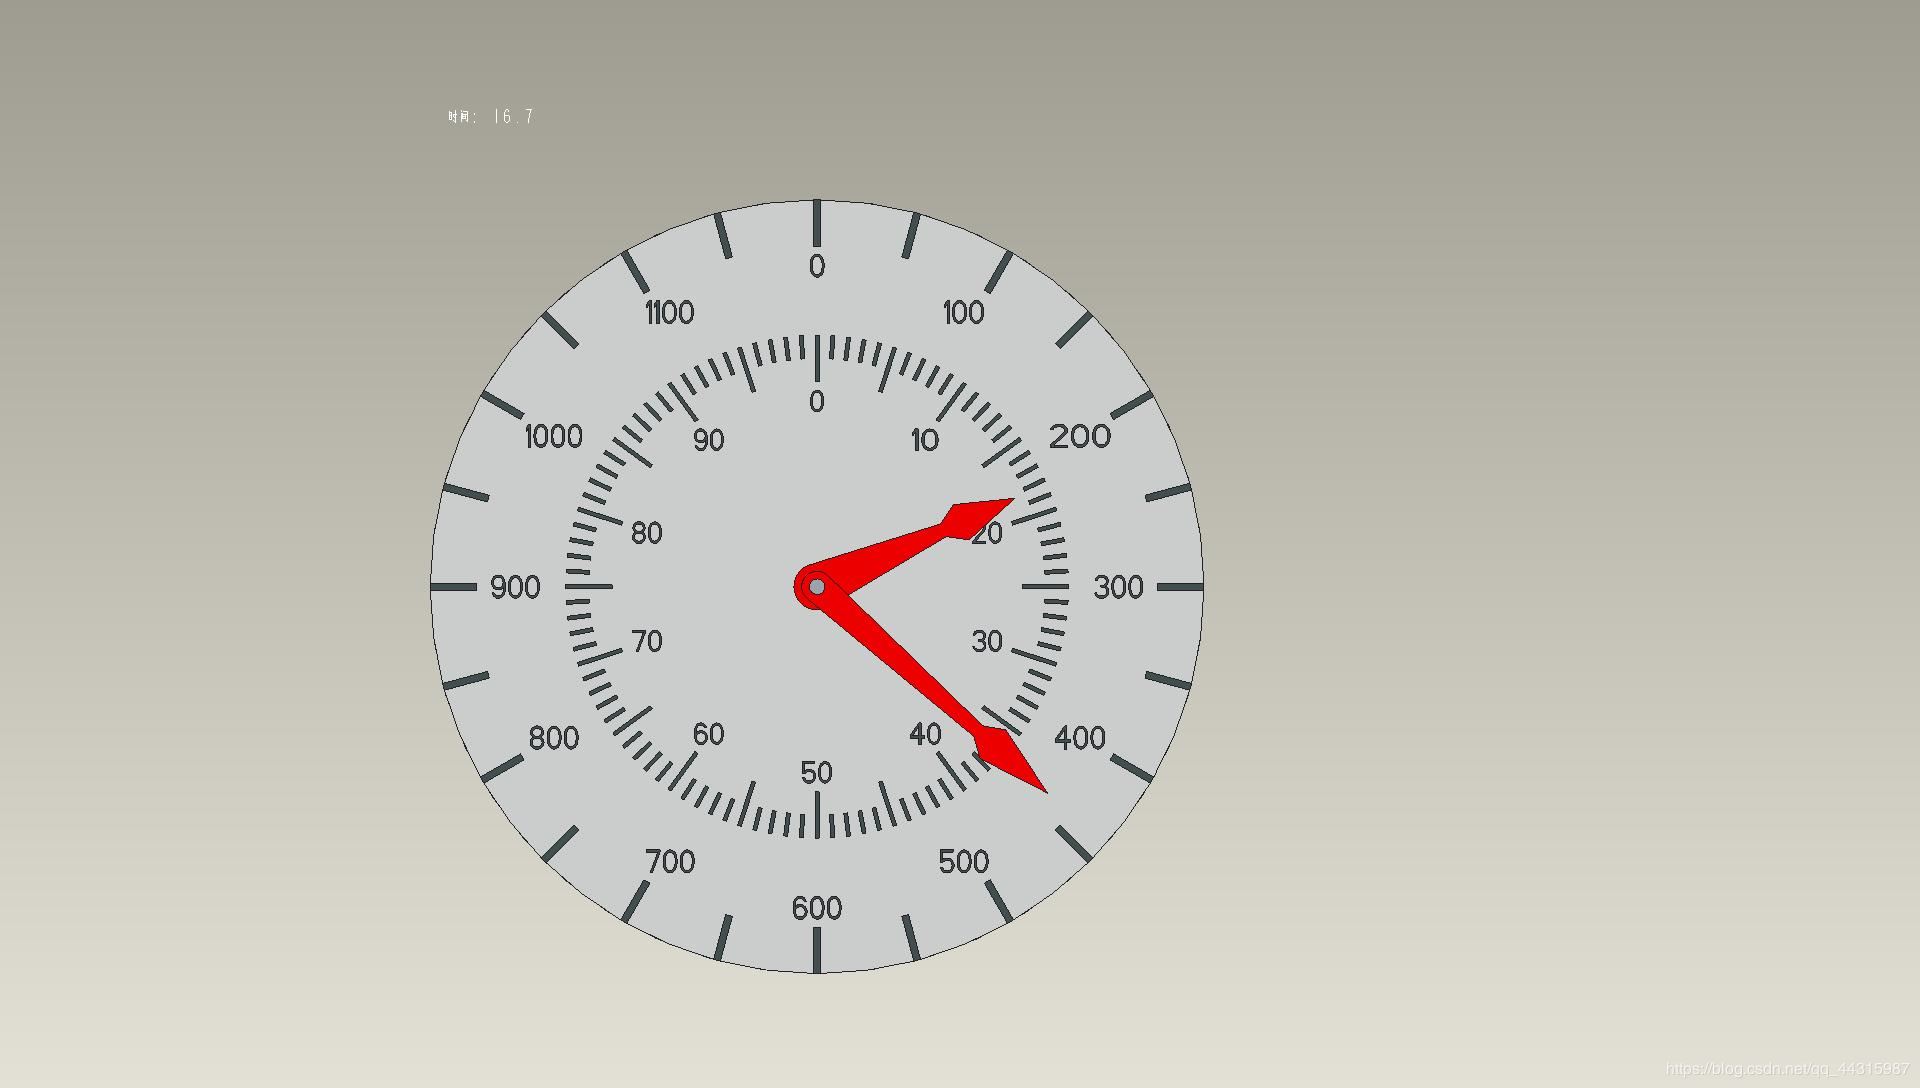
前段时间参加了一个表盘指针读数的比赛,今天来总结一下
数据集一共有一千张图片:
方法一:径向灰度求和
基本原理:
将图像以表盘圆心转换成极坐标,然后通过矩阵按行求和找到二值图最大值即为指针尖端
导入需要用到的包
    import cv2 as cv
    import numpy as np
    import math
    from matplotlib import pyplot as plt
    import os
图像预处理
去除背景:利用提取红色实现
    def extract_red(image):
      """
      通过红色过滤提取出指针
      """
      red_lower1 = np.array([0, 43, 46])
      red_upper1 = np.array([10, 255, 255])
      red_lower2 = np.array([156, 43, 46])
      red_upper2 = np.array([180, 255, 255])
      dst = cv.cvtColor(image, cv.COLOR_BGR2HSV)
      mask1 = cv.inRange(dst, lowerb=red_lower1, upperb=red_upper1)
      mask2 = cv.inRange(dst, lowerb=red_lower2, upperb=red_upper2)
      mask = cv.add(mask1, mask2)
      return mask

获得钟表中心:轮廓查找,取出轮廓的外接矩形,根据矩形面积找出圆心
    def get_center(image):
      """
      获取钟表中心
      """
      edg_output = cv.Canny(image, 100, 150, 2) # canny算子提取边缘
      cv.imshow('dsd', edg_output)
      # 获取图片轮廓
      contours, hireachy = cv.findContours(edg_output, cv.RETR_TREE, cv.CHAIN_APPROX_SIMPLE)
      center = []
      cut=[0, 0]
      for i, contour in enumerate(contours):
        x, y, w, h = cv.boundingRect(contour) # 外接矩形
        area = w * h # 面积
        if area < 100 or area > 4000:
          continue
        cv.rectangle(image, (x, y), (x + w, y + h), (255, 0, 0), 1)
        cx = w / 2
        cy = h / 2
        cv.circle(image, (np.int(x + cx), np.int(y + cy)), 1, (255, 0, 0)) ## 在图上标出圆心
        center = [np.int(x + cx), np.int(y + cy)]
        break
      return center[::-1]

由上面的图像可以看出,圆心定位还是非常准确的
图片裁剪
    def ChangeImage(image):
      """
      图像裁剪
      """
      # 指针提取
      mask = extract_red(image)
      mask = cv.medianBlur(mask,ksize=5)#去噪
      # 获取中心
      center = get_center(mask)
      # 去除多余黑色边框
      [y, x] = center
      cut = mask[y-300:y+300, x-300:x+300]
      # 因为mask处理后已经是二值图像,故不用转化为灰度图像
      return cut
剪裁后的图像如下图所示:

极坐标转换
注意:需要将图片裁剪成正方形
    def polar(image):
      """
      转换成极坐标
      """
      x, y = 300, 300
      maxRadius = 300*math.sqrt(2)
      linear_polar = cv.linearPolar(image, (y, x), maxRadius, cv.WARP_FILL_OUTLIERS + cv.INTER_LINEAR)
      mypolar = linear_polar.copy()
      #将图片调整为从0度开始
      mypolar[:150, :] = linear_polar[450:, :]
      mypolar[150:, :] = linear_polar[:450, :]
      cv.imshow("linear_polar", linear_polar)
      cv.imshow("mypolar", mypolar)
      return mypolar

由图像就可以很容易发现指针的顶点
计算角度
    def Get_Reading(sumdata):
      """
      读数并输出
      """
      peak = []
      # s记录遍历时波是否
最低0.47元/天 解锁文章


 7631
7631


 被折叠的 条评论
为什么被折叠?
被折叠的 条评论
为什么被折叠?
 到【灌水乐园】发言


