


OpenGL
1、OpenGL简介
OpenGL本身并不是一个API,它仅仅是一个由Khronos组织制定并维护的规范(Specification)。
OpenGL规范严格规定了每个函数该如何执行,以及它们的输出值。至于内部具体每个函数是如何实现(Implement)的,将由OpenGL库的开发者自行决定(注:这里开发者是指编写OpenGL库的人)。因为OpenGL规范并没有规定实现的细节,具体的OpenGL库允许使用不同的实现,只要其功能和结果与规范相匹配(亦即,作为用户不会感受到功能上的差异)。
实际的OpenGL库的开发者通常是显卡的生产商。你购买的显卡所支持的OpenGL版本都为这个系列的显卡专门开发的。当你使用Apple系统的时候,OpenGL库是由Apple自身维护的。在Linux下,有显卡生产商提供的OpenGL库,也有一些爱好者改编的版本。这也意味着任何时候OpenGL库表现的行为与规范规定的不一致时,基本都是库的开发者留下的bug。
2、准备运行程序的环境
网络上关于OpenGL的介绍很多,官方的书籍和网站说的也很详细,并且全部都是免费的,大家可以慢慢的了解。本人认为看书比较枯燥,我们还是从实战中来慢慢的了解OpenGL吧。
在我们画出出色的效果之前,首先要做的就是创建一个OpenGL上下文(Context)和一个用于显示的窗口。然而,这些操作在每个系统上都是不一样的,OpenGL有目的地从这些操作抽象(Abstract)出去。这意味着我们不得不自己处理创建窗口,定义OpenGL上下文以及处理用户输入。
幸有一些库已经提供了我们所需的功能,其中一部分是特别针对OpenGL的。这些库节省了我们书写操作系统相关代码的时间,提供给我们一个窗口和上下文用来渲染。最流行的几个库有GLUT,SDL,SFML和GLFW。在教程里我们将使用GLFW。为了后续使用的方面(zhuangbi),我们使用cmake自己编译glfw,那么接下来,我们就先安装cmake。
2.1cmake的安装
cmake的下载官网:https://cmake.org/download/
可能会有点慢,没办法,大环境所致,为了学习,老老实实等等吧。
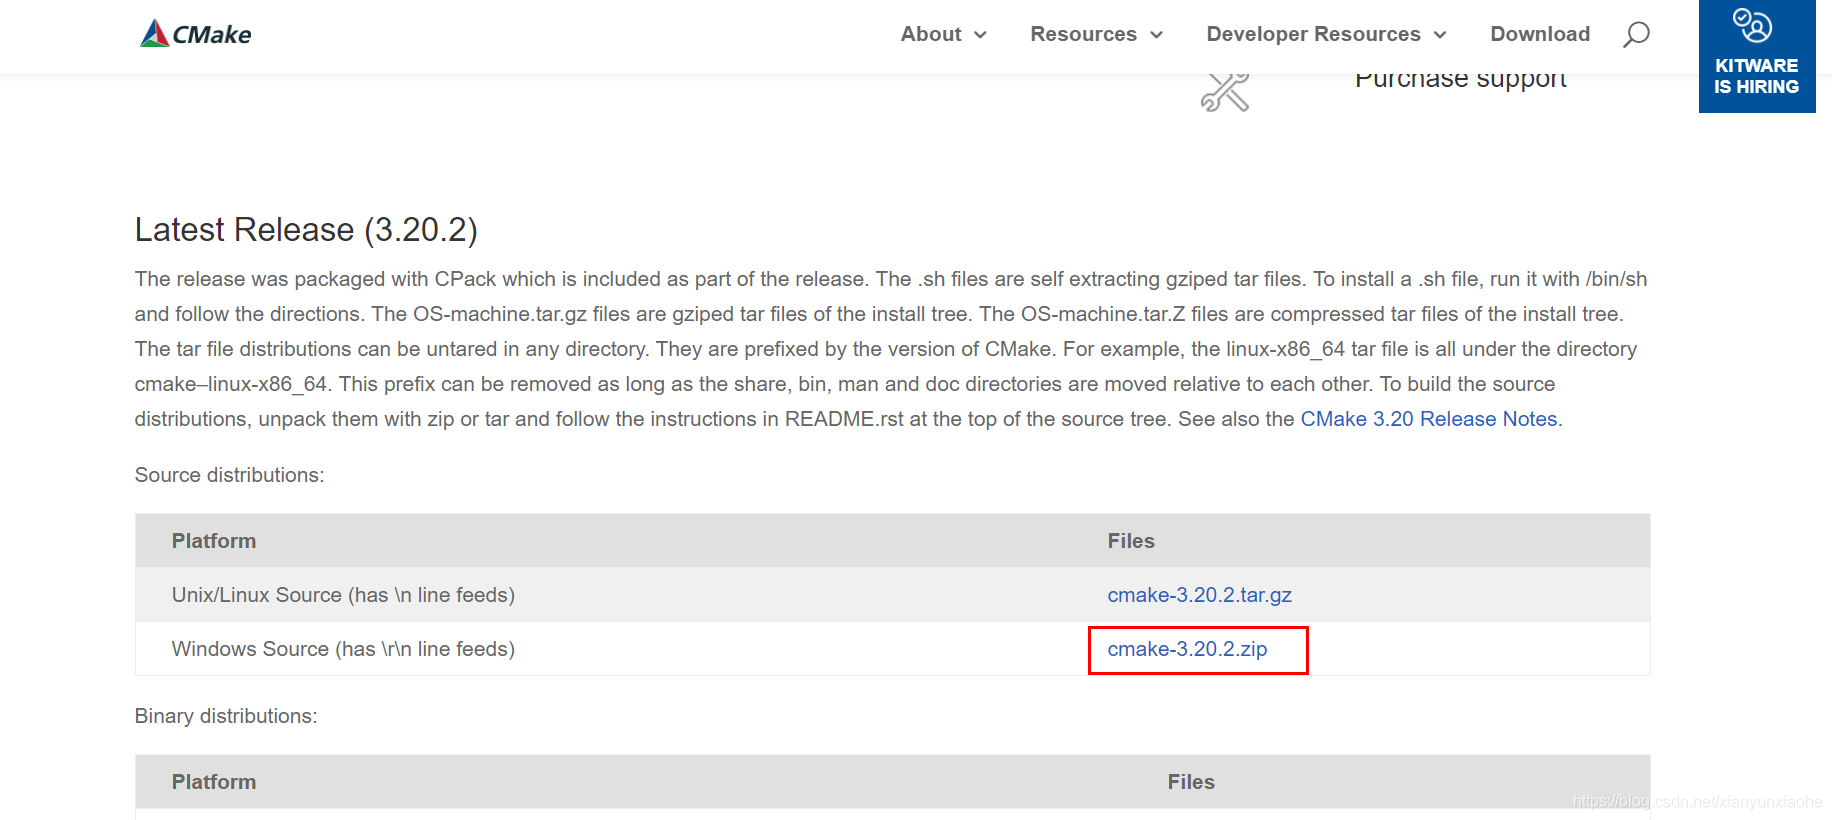
直接下载一个最新版,安装就行了,个人感觉没啥好注意的。
2.2glfw的安装
2.2.1glfw下载
从glfw官方网站下载安装包。
网址:https://www.glfw.org/download.html

解压出来是这样的

2.2.2使用cmake编译glfw
打开cmake,输入源代码的地址,在同一目录下建立一个编译的文件夹。

点击configure,选择相应的平台进行编译。我是选择的win32,因为后面的全都是32位的。选择默认的配置。

再次点击configure,再点击generate。

再点击open project

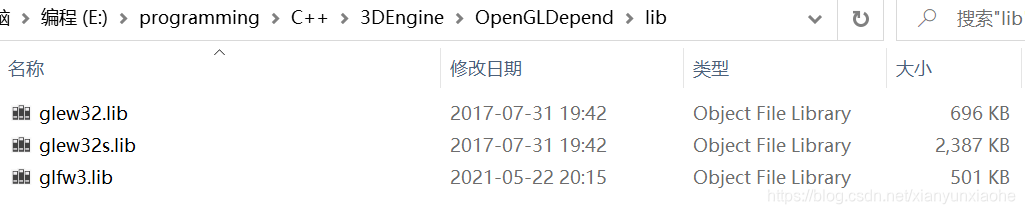
生成解决方案。就可以得到lib。

2.3glew的安装
因为我们用c++开发所以就需要这个。OpenGL扩展库是个简单的工具,用于帮助C/C++开发者初始化扩展(OpenGL扩展功能)并书写可移植的应用程序。
官方网站:http://glew.sourceforge.net/
图方便,就不编译了,直接用就行了


2.3第一个OpenGL代码
#include <iostream>

// GLEW
#define GLEW_STATIC
#include <GL/glew.h>

// GLFW
#include <GLFW/glfw3.h>


// Function prototypes
void key_callback(GLFWwindow* window, int key, int scancode, int action, int mode);

// Window dimensions
const GLuint WIDTH = 800, HEIGHT = 600;

// The MAIN function, from here we start the application and run the game loop
int main()
{
    std::cout << "Starting GLFW context, OpenGL 3.3" << std::endl;
    // Init GLFW
    glfwInit();
    // Set all the required options for GLFW
    glfwWindowHint(GLFW_CONTEXT_VERSION_MAJOR, 3);
    glfwWindowHint(GLFW_CONTEXT_VERSION_MINOR, 3);
    glfwWindowHint(GLFW_OPENGL_PROFILE, GLFW_OPENGL_CORE_PROFILE);
    glfwWindowHint(GLFW_RESIZABLE, GL_FALSE);

    // Create a GLFWwindow object that we can use for GLFW's functions
    GLFWwindow* window = glfwCreateWindow(WIDTH, HEIGHT, "LearnOpenGL", nullptr, nullptr);
    if (window == nullptr)
    {
        std::cout << "Failed to create GLFW window" << std::endl;
        glfwTerminate();
        return -1;
    }
    glfwMakeContextCurrent(window);
    // Set the required callback functions
    glfwSetKeyCallback(window, key_callback);

    // Set this to true so GLEW knows to use a modern approach to retrieving function pointers and extensions
    glewExperimental = GL_TRUE;
    // Initialize GLEW to setup the OpenGL Function pointers
    if (glewInit() != GLEW_OK)
    {
        std::cout << "Failed to initialize GLEW" << std::endl;
        return -1;
    }

    // Define the viewport dimensions
    int width, height;
    glfwGetFramebufferSize(window, &width, &height);
    glViewport(0, 0, width, height);

    // Game loop
    while (!glfwWindowShouldClose(window))
    {
        // Check if any events have been activiated (key pressed, mouse moved etc.) and call corresponding response functions
        glfwPollEvents();

        // Render
        // Clear the colorbuffer
        glClearColor(0.2f, 0.3f, 0.3f, 1.0f);
        glClear(GL_COLOR_BUFFER_BIT);

        // Swap the screen buffers
        glfwSwapBuffers(window);
    }

    // Terminate GLFW, clearing any resources allocated by GLFW.
    glfwTerminate();
    return 0;
}

// Is called whenever a key is pressed/released via GLFW
void key_callback(GLFWwindow* window, int key, int scancode, int action, int mode)
{
    std::cout << key << std::endl;
    if (key == GLFW_KEY_ESCAPE && action == GLFW_PRESS)
        glfwSetWindowShouldClose(window, GL_TRUE);
}
在virtual stdio 2019中新建一个c++项目。

接下来几个设置就很关键,只要理解了这个依赖就行了。这个目录是GLFW的包含目录。
我将依赖库和头文件单独放到一个文件夹下面,包括glfw和glew的。


然后就是项目的配置。


接下来直接就可以直接运行了。运行结果如下:


 9490
9490


 被折叠的 条评论
为什么被折叠?
被折叠的 条评论
为什么被折叠?
 到【灌水乐园】发言


