


 本文详细介绍了如何使用OpenLayers3进行地图初始化,包括地图中心点设置、瓦片层和矢量图层创建、鼠标位置控制、地图事件处理、标记添加、经纬度转换、多边形绘制以及动画效果实现。
工作过程中使用到的openLayers3版本的一些写法,特此记录。没有做深入研究,代码有错误欢迎指正!
1、地图初始化
HTML如下
<div id="map" style="width: 100%; height: 100%;">
    <div id="popup"></div>
</div>
<div id="mouse-position"></div>
JS如下
///定义视图
let view = new ol.View({
    center: ol.proj.transform([116.00,77.00], 'EPSG:4326', "EPSG:3857"),//地图初始中心点
    projection: "EPSG:3857",
    zoom: 12,//当前zoom
    minZoom: 7,//最小zoom
    maxZoom: 16,//最大zoom
});
//初始化地图
let map = new ol.Map({
    target: 'map',//地图容器div的ID
    logo: false,//不显示logo
    view: MapManager.view,//地图视图设置
    interactions: ol.interaction.defaults({
        //doubleClickZoom: false,// 取消双击放大功能交互
        //mouseWheelZoom: false, // 取消滚动鼠标中间的滑轮交互
        //shiftDragZoom: false, // 取消shift+wheel左键拖动交互
    })
});

///创建XYZ瓦片层
let layerXYZ = new ol.layer.Tile({
    source: new ol.source.XYZ({
        url: "views/tiles/{z}/{x}/{y}.png"
        //url:'http://t{0-7}.tianditu.com/DataServer?T=vec_w&x={x}&y={y}&l={z}&tk=4689fc6b9bc0fdc8c48298f751ebfb41'
    })
});

//将瓦片层添加到地图容器中
map.addLayer(layerXYZ);

///创建一个矢量图层作为绘制层
let vectorSource = new ol.source.Vector({});
//创建一个图层 ol.layer.Vector矢量图层类
let vectorLayer = new ol.layer.Vector({
    source: vectorSource,
});
//将绘制层添加到地图容器中
map.addLayer(vectorLayer);
2、创建鼠标控件
如下图右下角经纬度
鼠标控件,显示当前位置经纬度
let mousePositionControl = new ol.control.MousePosition({
    coordinateFormat: ol.coordinate.createStringXY(6),//坐标格式,保留6位小数
    projection: 'EPSG:4326',//地图投影坐标系,这里选择地理坐标系,即经纬度模式
    className: 'custom-mouse-position',//显示经纬度信息的 div 的css样式名称
    target: 'mouse-position',//显示鼠标位置的div容器
    undefinedHTML: ' '//未定义坐标的标记
});
//鼠标位置控件加载到地图容器中
map.addControl(mousePositionControl);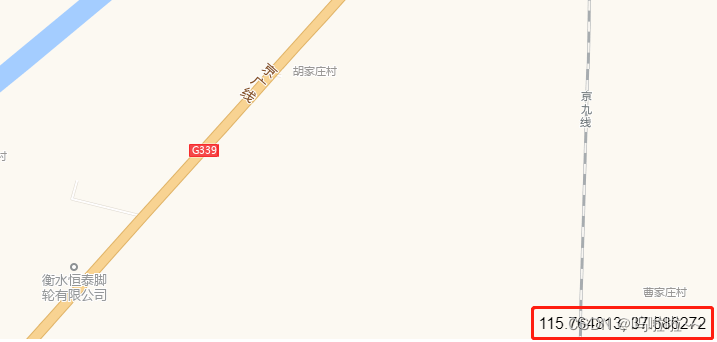
3、地图事件
map.on('singleclick', mapSingleClick);//鼠标单击事件
map.on("pointermove", pointerMove);//鼠标移动事件
4、添加标记
添加标记
let iconFeature = new ol.Feature({
    geometry: new ol.geom.Point(coordinate),
    name: ''
})
//标记样式
let iconStyle = new ol.style.Style({
    image: new ol.style.Icon({
        src: basePath + '/views/images/flag.png',//图标路径
        anchor: [32, 32], // 默认值为图标中心
        anchorXUnits: 'pixels', //锚点x值的单位
        anchorYUnits: 'pixels', //锚点y值的单位
    }),
    text: new ol.style.Text({
        textAlign: 'center',            //位置
        textBaseline: 'middle',         //基准线
        font: 'normal 14px 微软雅黑',    //文字样式
        text: iconFeature.get('name'),      //文本内容
        fill: new ol.style.Fill({       //文本填充样式(即文字颜色)
            color: '#000'
        }),
        stroke: new ol.style.Stroke({
            color: '#F00',
            width: 2
        })
    })
})
//设置标记样式
iconFeature.setStyle(iconStyle);
//console.log(iconFeature)
//每次先清空容器
vectorSource.clear();
//将创建好的feature放入到容器中
vectorSource.addFeature(iconFeature);
5、经纬度、坐标互转
ol.proj.toLonLat(xy);//转为经纬度
ol.proj.fromLonLat(coordinate);//转为坐标
6、地图中心点移动到某点
//地图中心点移动至此
map.getView().setCenter(xy);
7、设置地区边线
从网站下载json文件,网址:DataV.GeoAtlas地理小工具系列
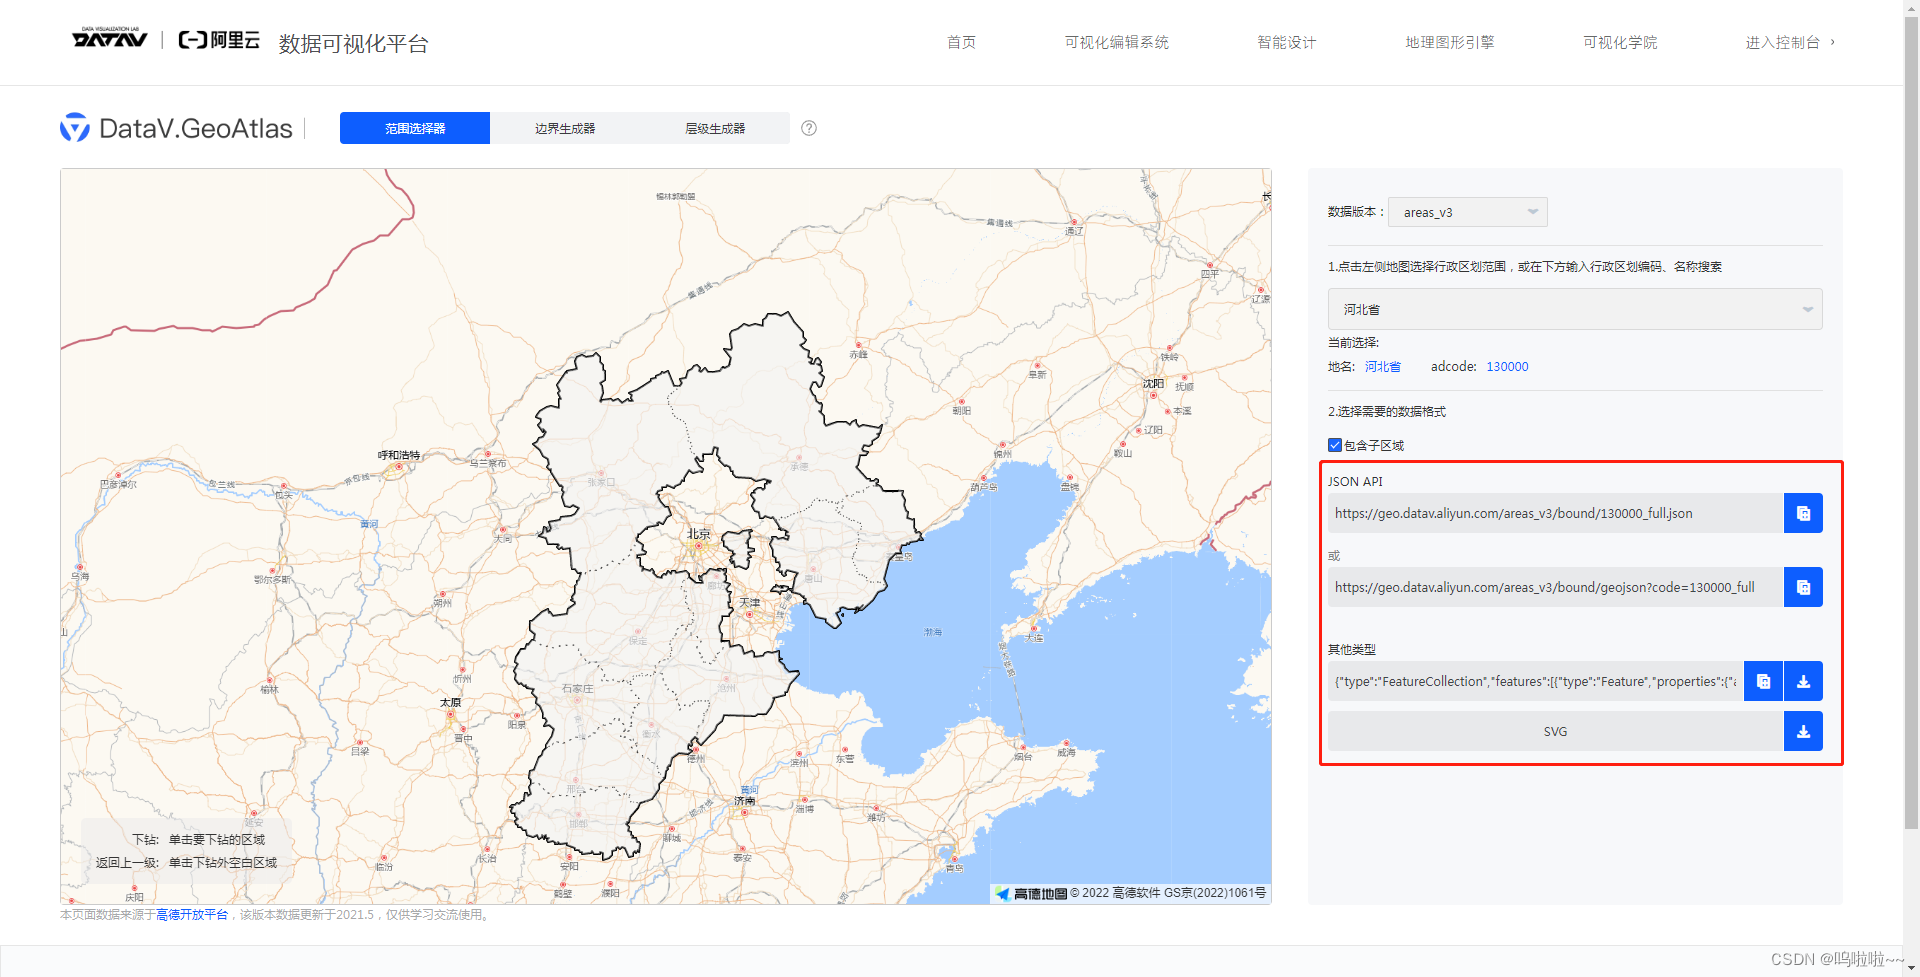
$.getJSON('views/json/河北省.json', function (data) {
    let defaultsFeatures = [];
    geo.features.forEach(g => {
        let routeFeature = "";
        let data = g.geometry.coordinates;
        if (g.geometry.type == "MultiPolygon") {
            routeFeature = new ol.Feature({
                geometry: new ol.geom.MultiPolygon(
                    g.geometry.coordinates
                ).transform("EPSG:4326", "EPSG:3857"),
                name: g.properties.name
            });
        } else if (g.geometry.type == "Polygon") {
            routeFeature = new ol.Feature({
                geometry: new ol.geom.Polygon(
                    g.geometry.coordinates
                ).transform("EPSG:4326", "EPSG:3857"),
                name: g.properties.name
            });
        }
        routeFeature.setStyle(
            new ol.style.Style({
                fill: new ol.style.Fill({
                    color: "rgba(71,137,227,0.5)" //填充颜色
                }),
                stroke: new ol.style.Stroke({
                    width: 1, //边界宽度
                    color: 'rgba(71,137,227,1)' //边界颜色
                })
            })
        );
        defaultsFeatures.push(routeFeature);
    });
    //console.log(features)
    // 设置图层
    let routeLayer = new ol.layer.Vector({
        source: new ol.source.Vector({
            features: defaultsFeatures
        })
    });
    // 添加图层
    map.addLayer(routeLayer);
});
鼠标经过地区高亮
let defaultStyle = new ol.style.Style({
    fill: new ol.style.Fill({
        color: 'rgba(71,137,227,0.5)' //填充颜色
    }),
    stroke: new ol.style.Stroke({
        width: 1, //边界宽度
        color: 'rgba(71,137,227,1)' //边界颜色
    })
});
let highStyle = new ol.style.Style({
    fill: new ol.style.Fill({
        color: 'rgba(254,237,48,0.5)' //填充颜色
    }),
    stroke: new ol.style.Stroke({
        width: 1, //边界宽度
        color: 'rgba(71,137,227,1)' //边界颜色
    })
});
map.on("pointermove", function (evt) {
    if (highFeature) {
        highFeature.setStyle(defaultStyle)
    }
    let features = map.forEachFeatureAtPixel(evt.pixel, function (feature, layer) {
        //console.log(feature);
        //console.log(layer);
        return {
            feature: feature,
            layer: layer
        };
    });
    if (features) {
        highFeature = features.feature;
        features.feature.setStyle(highStyle)
    } else {
        if (highFeature)
        highFeature.setStyle(defaultStyle)
    }
    map.getTargetElement().style.cursor = map.hasFeatureAtPixel(evt.pixel) ? "pointer" : "";
});
8、多边形绘制
画图工具、吸附工具、选择工具、修改工具初始化
//创建一个draw交互器
let draw = new ol.interaction.Draw({
    source: vectorSource,
    type: 'Polygon',//Point:点  LineString:线段  Circle:圆  Polygon:多边形
});
map.addInteraction(draw);
//绘画开始触发事件
draw.on("drawstart", drawStartFn);
//绘画完成触发事件
draw.on("drawend", drawEndFn)

// 创建一个Snap交互器
let snap = new ol.interaction.Snap({
    // 设置要进行捕捉的图层
    source: vectorSource,
});
map.addInteraction(snap);

//选择矢量特征的交互
var select = new ol.interaction.Select();
map.addInteraction(select);

//修改功能初始化
let modify = new ol.interaction.Modify({
    features: select.getFeatures() //选中的要素集
});
map.addInteraction(modify);


//绘画结束后
drawEndFn: function (e) {

    polygonList.push(e.feature)

    const geometry = e.feature.getGeometry();
    const corrdinates = geometry.getCoordinates();
    let points = [];
    corrdinates[0].forEach(item => {
        let xy = ol.proj.transform(item, 'EPSG:3857', 'EPSG:4326')  // 转换成经纬度坐标
        points.push(xy)
    })
    //console.log('顶点坐标是:' + JSON.stringify(points))
    polygonLonLatList.push(points);
    //console.log(polygonLonLatList)
}
删除工具
map.removeInteraction(draw);
map.removeInteraction(snap);
删除图层feature
clearDrawFn: function () {
    if (polygonList.length > 0) {
        for (let i = (polygonList.length - 1); i >= 0; i--) {
            vectorSource.removeFeature(polygonList[i]);
            polygonList.splice(i, 1);
        }
    }
},
鼠标悬浮变小手
pointerMove(e) {
    map.getTargetElement().style.cursor = map.hasFeatureAtPixel(e.pixel) ? "pointer" : "";
},
9、动画
平移动画和缩放动画,代码顺序需要在移动之前写
//平移动画
let pan = ol.animation.pan({
    duration: 250,
    source: map.getView().getCenter(),
});
map.beforeRender(pan);


//缩放动画
var zoom = ol.animation.zoom({
    duration: 250,
    resolution: view.getResolution()
});
map.beforeRender(zoom);

//地图中心点移动至此
map.getView().setCenter(center);


 2858
2858

 被折叠的 条评论
为什么被折叠?
被折叠的 条评论
为什么被折叠?
 到【灌水乐园】发言


