


 XeLaTeX是一种支持UTF-8和现代字体格式如OpenType的TeX排版引擎。文章介绍了如何在Overleaf中使用XeLaTeX设置TimesNewRoman等字体,以及为不同LaTeX模块设置不同字体。还讨论了如何利用Overleaf服务器上的字体,如GoogleNoto,以及如何上传和使用未预装的GoogleFonts。
XeLaTeX: 支持现代字体 LaTeX 编译器
原 文:XeLaTeX
译 者:Xovee
翻译时间:2023年2月21日
文章目录
介绍
XeTeX是一种基于TeX的排班引擎。与原版的TeX不同,XeTeX原生支持 UTF-8 编码的输入,并且内置了HarfBuzz引擎,支持例如OpenType (OTF)和SIL’s Graphite font technology等现代字体格式。Overleaf中的XeTeX被称为xelatex。如果你想知道更多关于TeX引擎的发展史,可以阅读这篇文章。
基础:Times New Roman
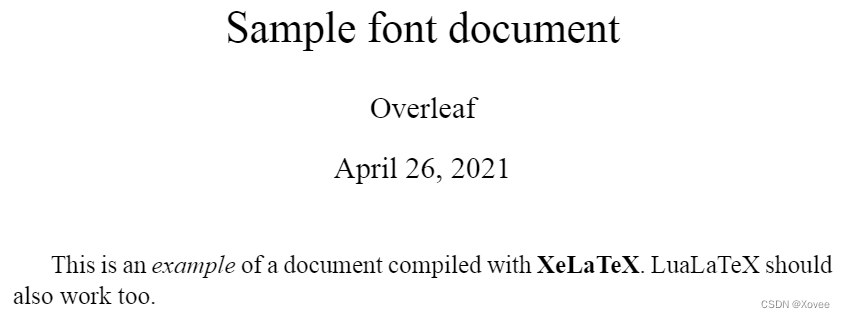
Times New Roman是一个被大规模使用的字体。下面介绍如何在Overleaf中使用XeLaTeX来使用Times New Roman。在这个例子中,我们使用\usemainfont{Times New Roman}来设置文档的字体,而这个命令来自于fontspec包。
\documentclass[12pt]{article}
\usepackage{fontspec}

\setmainfont{Times New Roman}
\title{Sample font document}
\author{Overleaf}
\date{\today}

\begin{document}
\maketitle

This is an \textit{example} of a document compiled
with \textbf{XeLaTeX}. LuaLaTeX should also work too.

\end{document}
你还可以使用LuaLaTeX来执行相同的代码!🤣
为不同的LaTeX模块设置不同的字体
在LaTeX文档中,不同的模块有着不同的字体,例如,在一个verbatim环境中,文字的字体是等宽字体。我们可以为不同的模块设置不一样的字体:
\documentclass[12pt]{article}
\usepackage{fontspec}

%-----------------------------------------------------------------------
\setromanfont{Times New Roman}
\setsansfont{Arial}
\setmonofont[Color={0019D4}]{Courier New}
%-----------------------------------------------------------------------

\title{Sample font document}
\author{Overleaf}
\date{\today}
\begin{document}

\maketitle

This an \textit{example} of document compiled with the
\textbf{XeLaTeX} compiler. If you have to write some code you can
use the \texttt{verbatim} environment:

    \begin{verbatim}
    Usually this environment is used to display code,
    so here's a simple C program.

    #include <stdio.h>
    #define NUMYAYS 10

    int main()
    {
        int i;
        for (i = 0; i <= NUMYAYS; i++)
        {
            printf("Yay! Overleaf is Awesome!\n");
        }
        return 0;
    }
    \end{verbatim}
    {\sffamily This is a sample text in \textbf{Sans Serif Font Typeface}}

\end{document}
在这个例子中我们使用了三种不同的字体:
\setromanfont{Times New Roman}
这个命令设置文档中大多数文字所使用的常规字体,例如本例中的Times New Roman\setsansfont{Arial}
这个命令设置了需要使用sans字体的模块。显式地使用\ssfamily就可以使用Arial字体。setmonofont{Courier New}
设置了文档中等宽文字所使用的字体。这个命令还有一个可选参数:Color={0019D4},你可以设置文字的颜色(基于hexadecimal HTML格式)。
Overleaf中的字体
Overleaf中安装了非常多的字体,你可以直接通过fontspec使用。下面的例子展示了如何使用Overleaf服务器内置的字体(例如Google Noto,以及从Google Font中获取的字体等)。
安装在Overleaf服务器中的字体:Google Noto字体
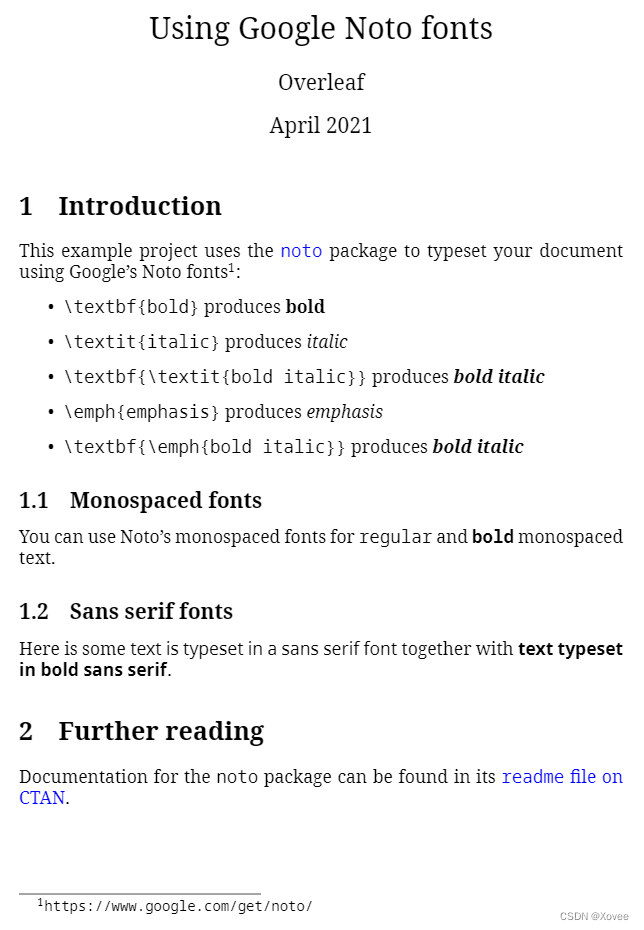
Overleaf使用Tex Live,它其中包含了谷歌的Noto字体,所以你可以直接通过XeLaTeX或者LuaLaTeX通过fontspec包来使用它。下面是一个使用了noto包的项目,其中介绍了如何设置文档的Noto字体,包括NotoSerif、NotoSans以及NotoSansMono。你可以在这里阅读noto包的文档。
\documentclass{article}
\usepackage{xcolor}
\usepackage{noto}
\usepackage{hyperref}
\title{Using Google Noto fonts}
\author{Overleaf}
\date{April 2021}

\begin{document}

\maketitle

\section{Introduction}
This example project uses the \href{https://ctan.org/pkg/noto?lang=en}{\color{blue}\texttt{noto}} package to typeset your document using Google's Noto fonts\footnote{\url{https://www.google.com/get/noto/}}:
\begin{itemize}
\item \verb|\textbf{bold}| produces \textbf{bold}
\item \verb|\textit{italic}| produces \textit{italic}
\item \verb|\textbf{\textit{bold italic}}| produces \textbf{\textit{bold italic}}
\item \verb|\emph{emphasis}| produces \emph{emphasis}
\item \verb|\textbf{\emph{bold italic}}| produces \textbf{\emph{bold italic}}
\end{itemize}

\subsection{Monospaced fonts}
You can use Noto's monospaced fonts for \texttt{regular} and \texttt{\textbf{bold}} monospaced text.

\subsection{Sans serif fonts}
Here is some \textsf{text is typeset in a sans serif font} together with \textbf{\textsf{text typeset in bold sans serif}}.

\section{Further reading}
Documentation for the \texttt{noto} package can be found in its \href{http://mirrors.ctan.org/fonts/noto/README}{\color{blue}\texttt{readme} file on CTAN}.

\end{document}
使用Overleaf服务器没有安装的字体:以Google Fonts为例
为了使用Overleaf服务器所没有的OpenType字体,你首先必须上传字体的文件到Overleaf的项目中(如果字体的协议允许的话)。上传之后,将项目的编译器设置为XeLaTeX(或者LuaLaTeX)然后使用fontspec来设置字体。
下面的例子介绍了如何创建文件夹,上传字体以及通过fontspec来设置它们。我们将使用Google Fonts中的:
- Serif字体:
Brygada1918(https://fonts.google.com/specimen/Brygada+1918) - Sans Serif字体:
Asap(https://fonts.google.com/specimen/Asap) - 等宽字体:
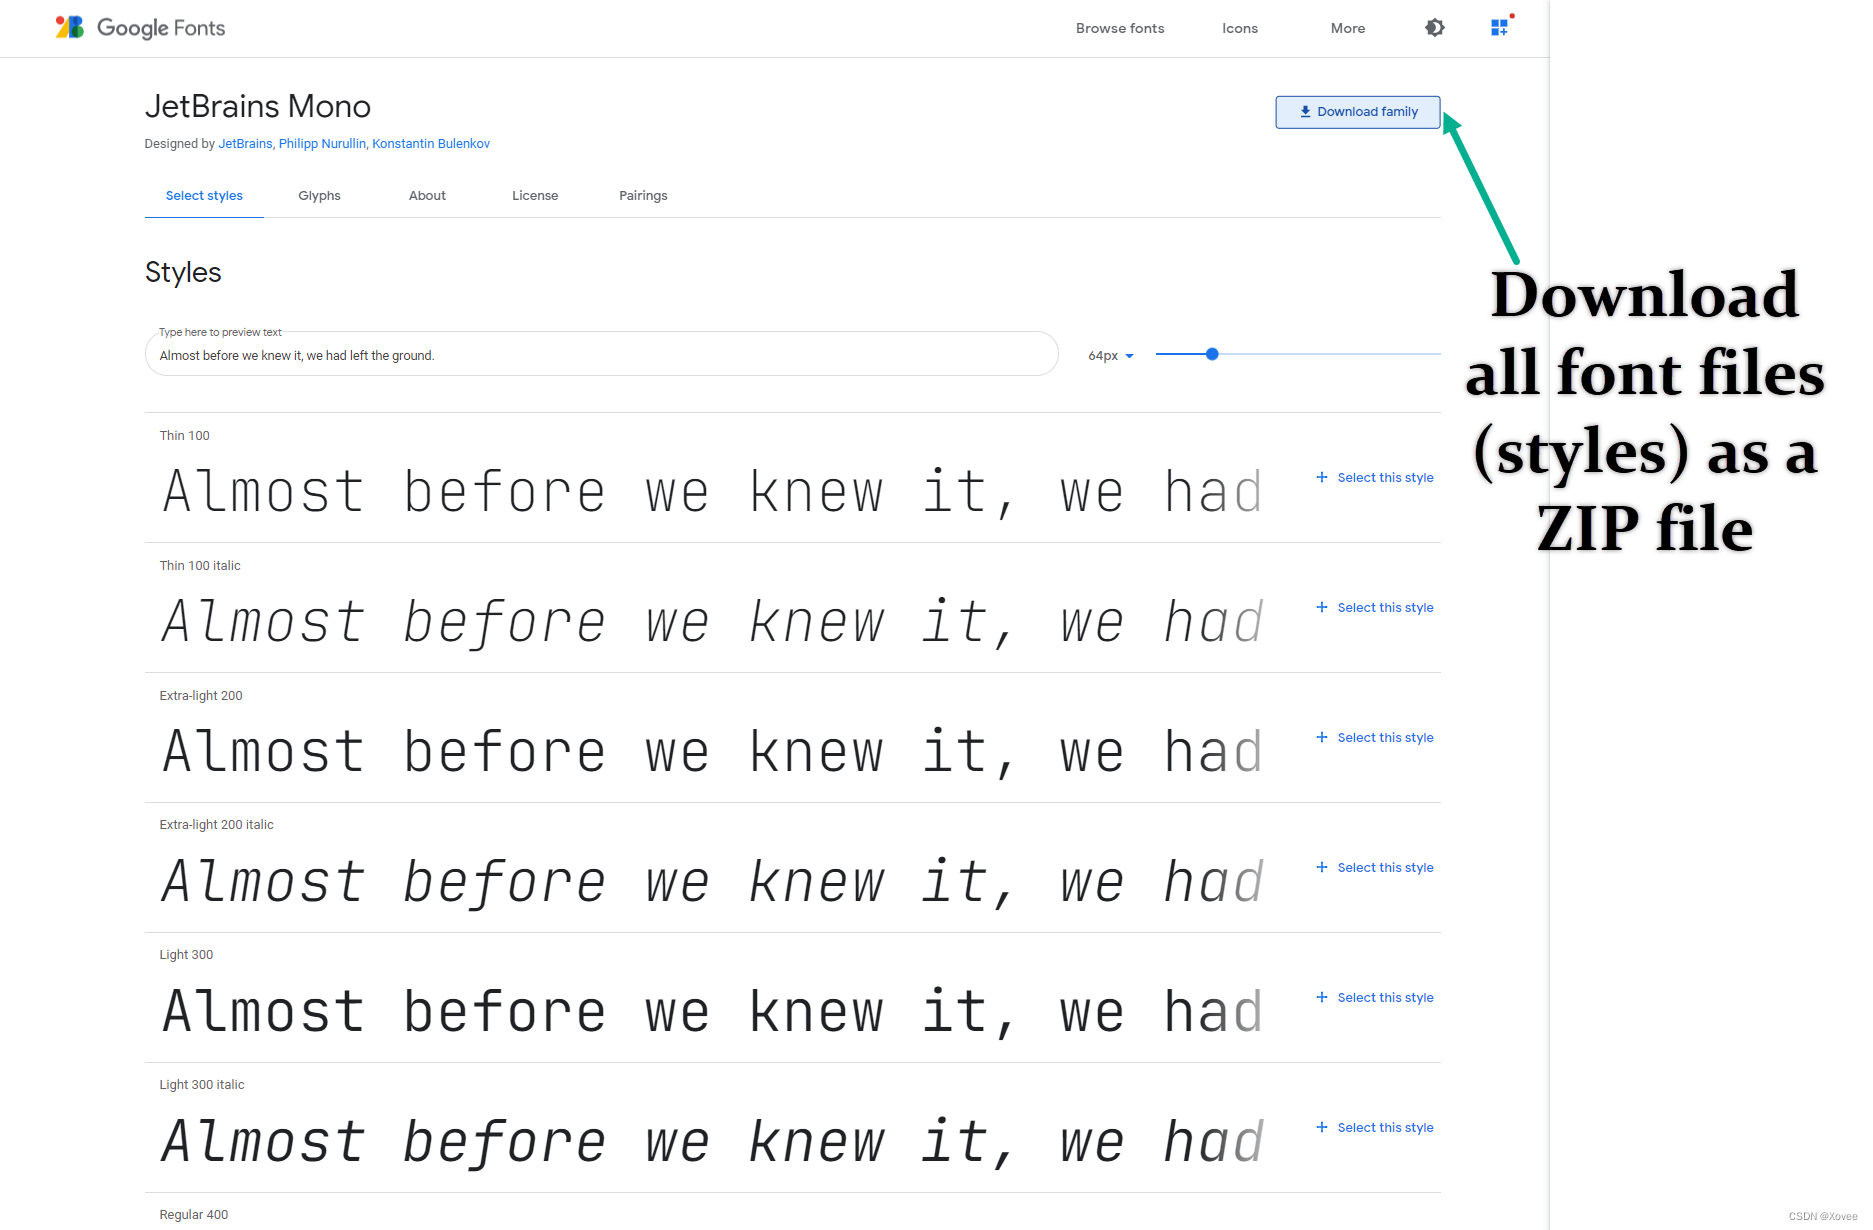
JetBrains Mono(https://fonts.google.com/specimen/JetBrains+Mono)
注意:使用的字体仅仅作为展示如何上传字体、设置字体的一部分,而不是推荐它们为一种美观的字体组合。
对于每种字体,你首先需要从Google Fonts中下载它们:
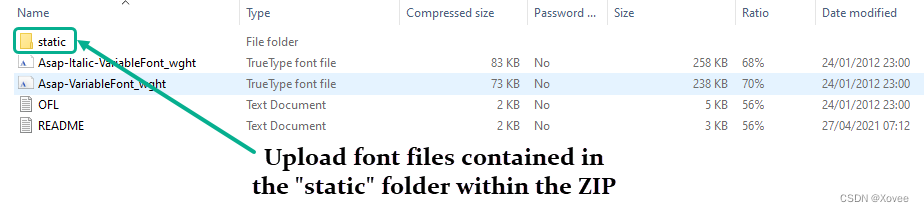
注意:有些Google Fonts是“静态Static”OpenType字体,有些是“动态Variable”字体。如果下载的ZIP文件中有一个文件夹为“static”,你应该将其中的字体上传,而不是variable字体:
下一步,你需要将字体文件上传到你的项目中。你也许想使用多种字体,所以你可能得创建多个文件夹来存储不同类型的字体。下面的视频展示了如何做到这一点。然后,我们需要设置XeLaTeX来找到你所上传的字体。
如何在Overleaf中上传字体
视频地址:
https://videos.ctfassets.net/nrgyaltdicpt/4lQFkZ1Ni1FHFdHJUJSNH4/4aee7c5bafeb021a6f21b4637d0fe6ec/UploadingGoogleFonts.mp4
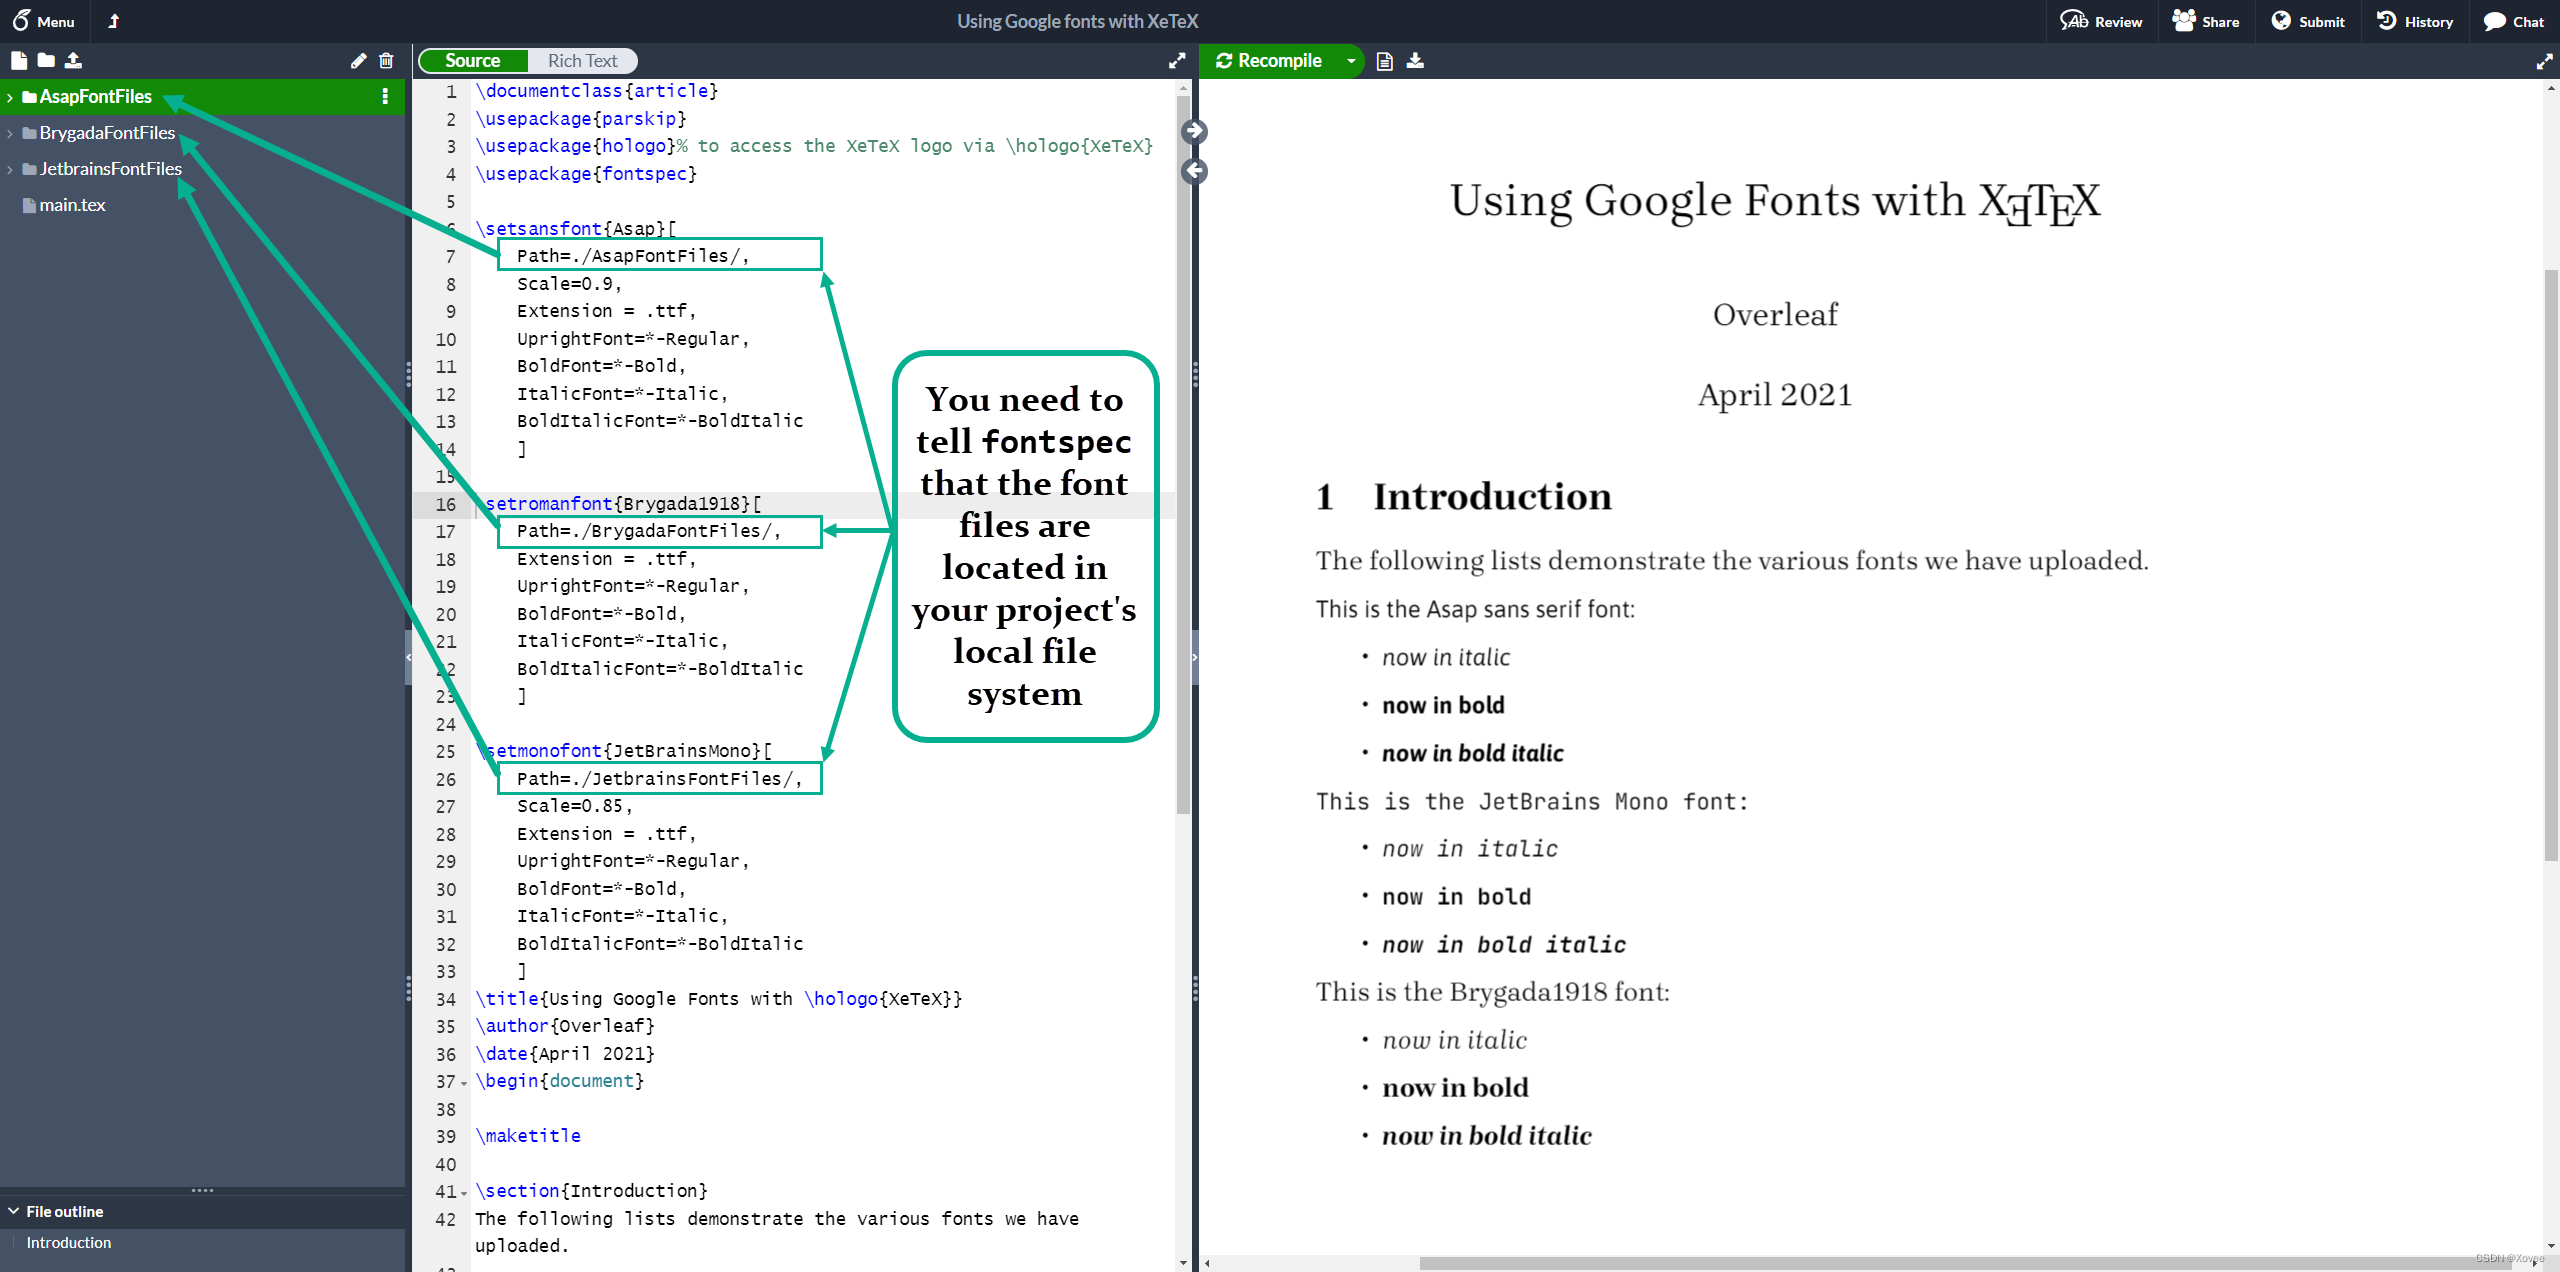
通过设置fontspec来使用字体
上传字体之后,我们可以使用fontspec来使用它们。在下面的LaTeX代码中,请注意我们如何使用Path参数来告诉fontspec字体文件所在的位置:
\setromanfont{Brygada1918}[
    Path=./BrygadaFontFiles/,
    Extension = .ttf,
    UprightFont=*-Regular,
    BoldFont=*-Bold,
    ItalicFont=*-Italic,
    BoldItalicFont=*-BoldItalic
    ]

\setsansfont{Asap}[
    Path=./AsapFontFiles/,
    Scale=0.9,
    Extension = .ttf,
    UprightFont=*-Regular,
    BoldFont=*-Bold,
    ItalicFont=*-Italic,
    BoldItalicFont=*-BoldItalic
    ]

\setmonofont{JetBrainsMono}[
    Path=./JetbrainsFontFiles/,
    Scale=0.85,
    Extension = .ttf,
    UprightFont=*-Regular,
    BoldFont=*-Bold,
    ItalicFont=*-Italic,
    BoldItalicFont=*-BoldItalic
    ]
fontspec包提供了许多在XeLaTeX或者LuaLaTeX中设置OpenType字体的方法,你可以阅读它的文档来获取更多的微调字体样式或者设计的方法。


 2354
2354

 被折叠的 条评论
为什么被折叠?
被折叠的 条评论
为什么被折叠?
 到【灌水乐园】发言


