


系统:centos7 , 能够连接外网
在CentOS系统上安装所需的依赖:ssh,防火墙,postfix(用于邮件通知) ,wget,以下这些命令也会打开系统防火墙中的HTTP和SSH端口访问。
2.
安装包:
sudo yum install -y curl policycoreutils-python openssh-server
sudo systemctl enable sshd
sudo systemctl start sshd

yum install firewalld systemd -y
service firewalld  start
sudo firewall-cmd --permanent --add-service=http
sudo systemctl reload firewalld

sudo yum install postfix
sudo systemctl enable postfix
# 在安装Postfix期间,可能会出现配置屏幕。选择“Internet Site”并按enter键。使用您的服务器的外部DNS以“mail name”并按enter。如果出现额外的屏幕,继续按enter键接受默认值

yum -y install wget
yum install vim -y

[root@localhost ~]# wget https://mirrors.tuna.tsinghua.edu.cn/gitlab-ce/yum/el7/gitlab-ce-14.2.5-ce.0.el7.x86_64.rpm
[root@localhost ~]# rpm -ivh gitlab-ce-14.2.5-ce.0.el7.x86_64.rpm
安装成功
3.
修改端口
vim /etc/gitlab/gitlab.rb
#将最后一行修改为虚拟机IP:8080
# 注意这里设置的端口不能被占用,默认是80端口,如果80已经使用,请自定义其它端口,并在防火墙设置开放相对应得端口
## GitLab URL
##! URL on which GitLab will be reachable.
##! For more details on configuring external_url see:
##! https://docs.gitlab.com/omnibus/settings/configuration.html#configuring-the-external-url-for-gitlab
##!
##! Note: During installation/upgrades, the value of the environment variable
##! EXTERNAL_URL will be used to populate/replace this value.
##! On AWS EC2 instances, we also attempt to fetch the public hostname/IP
##! address from AWS. For more details, see:
##! https://docs.aws.amazon.com/AWSEC2/latest/UserGuide/instancedata-data-retrieval.html
external_url 'http://192.168.1.10:8080'4.
gitlab-ctl reconfigure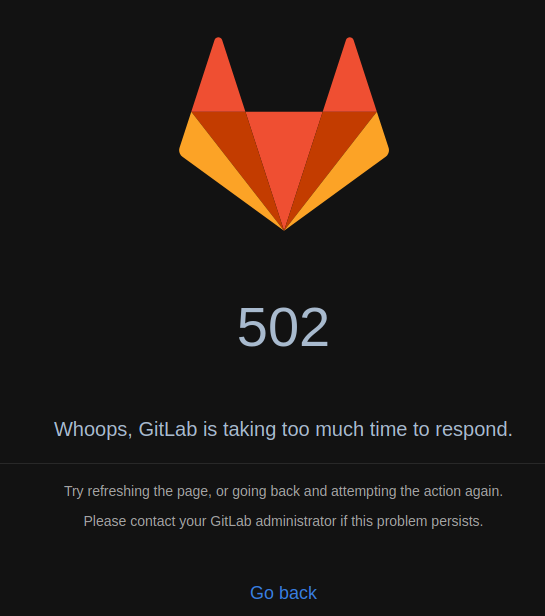
看到这里等一会,刷新一下
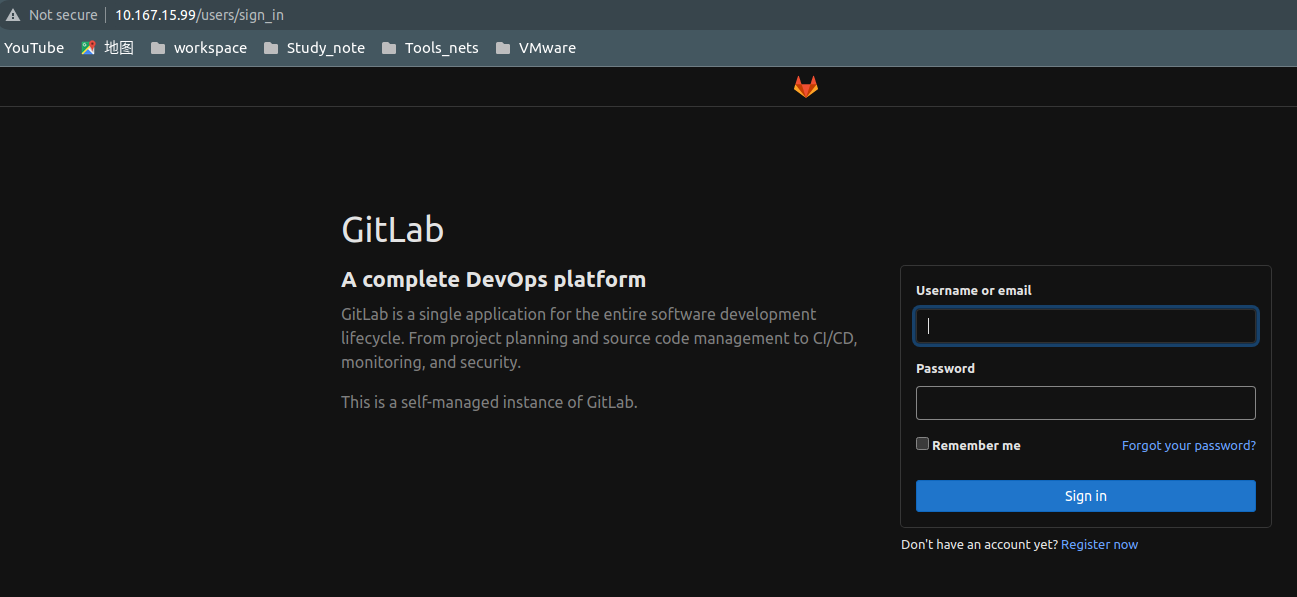
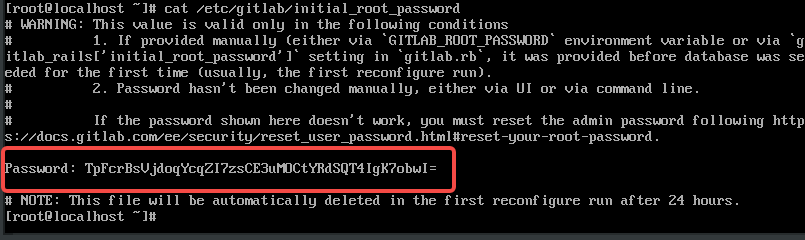
5.
初次登录需要root登录,密码在、/etc/gitlab/initial_root_password 里面,该文件初次登陆后会被删掉,因此,登陆之后改密码!!!
6
虚拟机需要安装防火墙然后配置开启之后就可以利用ssh 命令进行连接。执行下4个命令可以进行连接虚拟机。。
yum install firewalld systemd -y
service firewalld  start
sudo firewall-cmd --permanent --add-service=http
sudo systemctl reload firewalld
7
将ubuntu本地的数据传送到虚拟机服务器中,现在ubuntu的环境中安装
apt-get install openssh-server
sudo scp /home/用户名/Downloads/jenkins.war 用户名@ip:/root/apps/


 743
743


 被折叠的 条评论
为什么被折叠?
被折叠的 条评论
为什么被折叠?
 到【灌水乐园】发言


