


 本文介绍了如何在Spring Boot项目中集成并使用Redis,从Redis的安装启动开始,详细讲解了Redis模板的配置与使用,数据存取操作,以及如何进行自定义序列化和调整Redis的参数设置。
1.Redis安装启动
①下载Redis
为了方便起见,本文将会演示使用Windows版本的Redis。Redis的官方下载地址是https://redis.io/download,但是Redis项目并不支持Windows,好在Microsoft开放技术小组解决了这个问题。在浏览器中输入Redis的官方下载地址,页面如下:
点击红色框中的 Learn more,新页面如下:
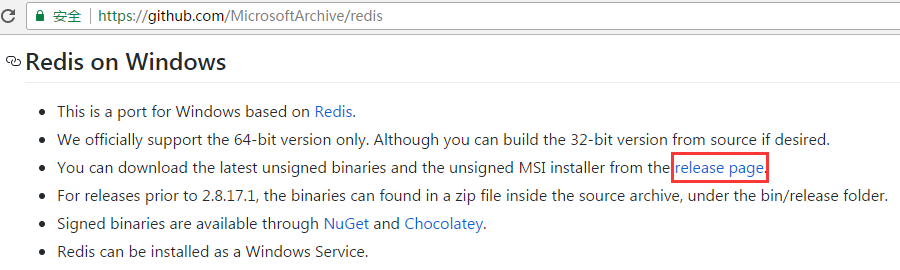
点击红色框中的 release page,即可进入Windows版本的下载页:
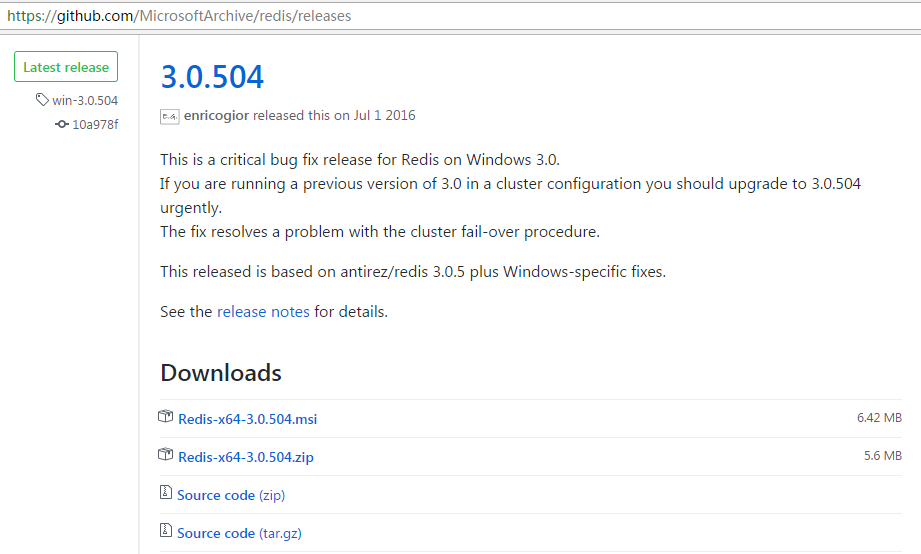
当前最新的发行版是3.0.504,该页面提供了多种格式文件的下载,此处选择下载zip格式的Redis,点击下载,得到文件Redis-x64-3.0.504.zip。
②启动Redis
解压下载得到的Redis文件,在文件夹中找到redis-server.exe文件,鼠标单击,出现如下界面: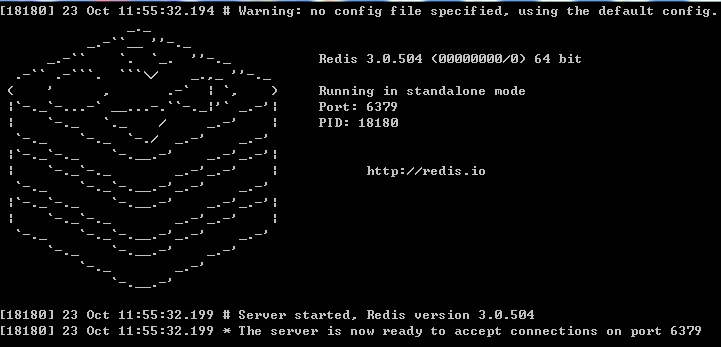
此时即已启动Redis服务端,默认端口号6379。
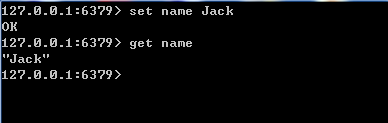
下面来验证下Redis服务是否可用,在解压后的文件夹里找到 redis-cli.exe文件,鼠标单击启动,可以看到如下界面:
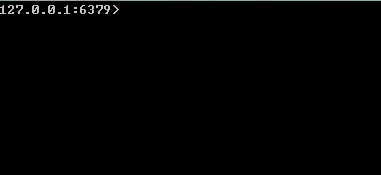
接下来向Redis中存入一个键值对(name,"Jack"),然后根据key值name取出相应的value值,操作如下:
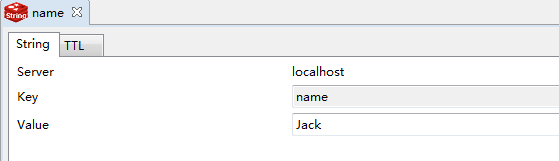
使用第三方工具RedisClient查看Redis存储如下:
2.Redis模板使用
①必要依赖
Spring Boot中使用Redis,需要在pom.xml中添加如下依赖:<dependency> <groupId>org.springframework.boot</groupId> <artifactId>spring-boot-starter-data-redis</artifactId> </dependency>
②使用Redis模板
为了方便演示,新建控制类RedisController如下:package net.xxpsw.demo.springboot.data.redis;
import org.springframework.beans.factory.annotation.Autowired;
import org.springframework.data.redis.core.RedisTemplate;
import org.springframework.web.bind.annotation.RequestMapping;
import org.springframework.web.bind.annotation.RestController;
@RestController
@RequestMapping("redis")
public class RedisController {
@Autowired
private RedisTemplate<Object, Object> redisTemplate;
} @Configuration
protected static class RedisConfiguration {
@Bean
@ConditionalOnMissingBean(name = "redisTemplate")
public RedisTemplate<Object, Object> redisTemplate(RedisConnectionFactory redisConnectionFactory) throws UnknownHostException {
RedisTemplate<Object, Object> template = new RedisTemplate<Object, Object>();
template.setConnectionFactory(redisConnectionFactory);
return template;
}
@Bean
@ConditionalOnMissingBean(StringRedisTemplate.class)
public StringRedisTemplate stringRedisTemplate(RedisConnectionFactory redisConnectionFactory) throws UnknownHostException {
StringRedisTemplate template = new StringRedisTemplate();
template.setConnectionFactory(redisConnectionFactory);
return template;
}
}③数据访问方法
Redis模板提供了以下数据访问的方法,可酌情使用:| 访问方法 | 方法说明 |
|---|---|
| opsForValue() | 操作简单属性的数据 |
| opsForList() | 操作含有list的数据 |
| opsForSet() | 操作含有set的数据 |
| opsForZSet() | 操作含有有序的set的数据 |
| opsForHash() | 操作含有hash的数据 |
④存储第一个值
添加如下方法用以查看Redis模板的存储效果: /**
* @Description: 使用Redis默认模板
* @return String
*/
@RequestMapping("cache0")
public String cache0() {
ValueOperations<Object, Object> opsForValue = redisTemplate.opsForValue();
opsForValue.set("key0", "这是Redis存储的第一个值", 1000L, TimeUnit.SECONDS);
return (String) opsForValue.get("key0");
}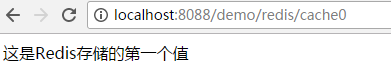
上面的过程就是Redis存入、读取的简单示例。
3.自定义序列化
①默认序列化
Redis模板redisTemplate默认使用的序列化是JdkSerializationRedisSerializer,此外 Spring Data 还提供了以下类型的序列化:GenericJackson2JsonRedisSerializer,GenericToStringSerializer,Jackson2JsonRedisSerializer,OxmSerializer,StringRedisSerializer;方便起见,可以修改序列化为Jackson2JsonRedisSerializer和StringRedisSerializer。②修改序列化
创建Redis的配置文件RedisConfig:package net.xxpsw.demo.springboot.config.redis;
import org.springframework.context.annotation.Bean;
import org.springframework.context.annotation.Configuration;
import org.springframework.data.redis.connection.RedisConnectionFactory;
import org.springframework.data.redis.core.RedisTemplate;
import org.springframework.data.redis.serializer.Jackson2JsonRedisSerializer;
import org.springframework.data.redis.serializer.StringRedisSerializer;
import com.fasterxml.jackson.annotation.JsonAutoDetect.Visibility;
import com.fasterxml.jackson.annotation.PropertyAccessor;
import com.fasterxml.jackson.databind.ObjectMapper;
@Configuration
public class RedisConfig {
@Bean
public RedisTemplate<Object, Object> redisTemplate(RedisConnectionFactory redisConnectionFactory) {
RedisTemplate<Object, Object> template = new RedisTemplate<Object, Object>();
template.setConnectionFactory(redisConnectionFactory);
Jackson2JsonRedisSerializer<Object> jackson2JsonRedisSerializer = new Jackson2JsonRedisSerializer<>(Object.class);
ObjectMapper om = new ObjectMapper();
om.setVisibility(PropertyAccessor.ALL, Visibility.ANY);
om.enableDefaultTyping(ObjectMapper.DefaultTyping.NON_FINAL);
jackson2JsonRedisSerializer.setObjectMapper(om);
template.setValueSerializer(jackson2JsonRedisSerializer);
template.setKeySerializer(new StringRedisSerializer());
template.afterPropertiesSet();
return template;
}
}4.Redis参数配置
①参数源码
Redis的参数配置项在org.springframework.boot.autoconfigure.data.redis.RedisProperties中,基本结构如下:@ConfigurationProperties(prefix = "spring.redis")
public class RedisProperties {
// Database index used by the connection factory.
private int database = 0;
// Redis url, which will overrule host, port and password if set.
private String url;
// Redis server host.
private String host = "localhost";
// Login password of the redis server.
private String password;
// Redis server port.
private int port = 6379;
// Enable SSL.
private boolean ssl;
// Connection timeout in milliseconds.
private int timeout;
private Pool pool;
private Sentinel sentinel;
private Cluster cluster;
/**
* Pool properties.
*/
public static class Pool {
// Max number of "idle" connections in the pool. Use a negative value to indicate an unlimited number of idle connections.
private int maxIdle = 8;
// Target for the minimum number of idle connections to maintain in the pool.
// This setting only has an effect if it is positive.
private int minIdle = 0;
// Max number of connections that can be allocated by the pool at a given time. Use a negative value for no limit.
private int maxActive = 8;
// Maximum amount of time (in milliseconds) a connection allocation should block before throwing an exception
// when the pool is exhausted. Use a negative value to block indefinitely.
private int maxWait = -1;
}
/**
* Cluster properties.
*/
public static class Cluster {
// Comma-separated list of "host:port" pairs to bootstrap from.
// This represents an "initial" list of cluster nodes and is required to have at least one entry.
private List<String> nodes;
// Maximum number of redirects to follow when executing commands across the cluster.
private Integer maxRedirects;
}
/**
* Redis sentinel properties.
*/
public static class Sentinel {
// Name of Redis server.
private String master;
// Comma-separated list of host:port pairs.
private String nodes;
}
}②常用配置参数
Redis使用的常用配置及说明如下:## Redis
# Redis数据库索引(默认为0)
spring.redis.database=0
# Redis服务器地址(默认为localhost)
spring.redis.host=127.0.0.1
# Redis服务器连接端口(默认为6379)
spring.redis.port=6379
# Redis服务器连接密码(默认为空)
# spring.redis.password=
# 如果配置Redis url,将会覆盖host,port以及password,配置格式如下 redis://[<password>@]<host>:<port>
# spring.redis.url=
# 连接超时时间(毫秒)
spring.redis.timeout=0
# 连接池中的最大空闲连接
spring.redis.pool.max-idle=8
# 连接池中的最小空闲连接
spring.redis.pool.min-idle=0
# 连接池最大连接数(使用负值表示没有限制)
spring.redis.pool.max-active=8
# 连接池最大阻塞等待时间(使用负值表示没有限制)
spring.redis.pool.max-wait=-1 ③Redis url参数说明
配置Redis url将会覆盖host、port及password参数,相关的源码可查看 org.springframework.boot.autoconfigure.data.redis.RedisAutoConfiguration: private void configureConnectionFromUrl(JedisConnectionFactory factory) {
String url = this.properties.getUrl();
if (url.startsWith("rediss://")) {
factory.setUseSsl(true);
}
try {
URI uri = new URI(url);
factory.setHostName(uri.getHost());
factory.setPort(uri.getPort());
if (uri.getUserInfo() != null) {
String password = uri.getUserInfo();
int index = password.lastIndexOf(":");
if (index >= 0) {
password = password.substring(index + 1);
}
factory.setPassword(password);
}
} catch (URISyntaxException ex) {
throw new IllegalArgumentException("Malformed 'spring.redis.url' " + url, ex);
}
}


 1879
1879

 被折叠的 条评论
为什么被折叠?
被折叠的 条评论
为什么被折叠?
 到【灌水乐园】发言


