


前言
Marterial Design出来也有一段时间了,为了紧跟Google的设计规范,决定在项目中使用Toolbar。使用了一段时间之后,发现很多时候原始的Toolbar并不能满足项目的要求。为了适应项目多样化的需求,对Toolbar进行了深入的研究。
Toolbar简介
Toolbar使应用的标准工具栏,可以说是Actionbar的升级版。和Actionbar相比,Toolbar最明显的变化是自由,方便定制。
Toolbar简单使用
样式设置
style有两个地方需要调整,一个在 res/values/styles.xml, 另一个在 /res/values-v21/styles.xml(没有就不需要了),为了之后设定方便,我们先在 res/values/styles.xml 里增加一个名为 AppTheme.Base 的style。
<!-- Base application theme. -->
<style name="AppTheme" parent="AppTheme.Base">
</style>
因为只要Toolbar,所以需要把原本的 ActionBar 隐藏起来。你可以在style里面这样写:
<item name="windowActionBar">false</item>
<item name="android:windowNoTitle">true</item>
但是我太懒了,发现原本就有隐藏标题的Theme,所以最终我是这样写的:
<!-- Base application theme. -->
<style name="AppTheme" parent="AppTheme.Base">
</style>

<style name="AppTheme.Base" parent="Theme.AppCompat.NoActionBar">
</style>
然后别忘记修改 /res/values-v21/styles.xml,将其 parent 属性改为 AppTheme.Base:
<?xml version="1.0" encoding="utf-8"?>
<resources>
    <style name="AppTheme" parent="AppTheme.Base">
    </style>
</resources>
界面布局
在 activity_main.xml 里面加入 Toolbar 组件:
<android.support.v7.widget.Toolbar
  android:id="@+id/toolbar"
  android:layout_height="wrap_content"
  android:layout_width="match_parent"
  android:minHeight="?attr/actionBarSize">
</android.support.v7.widget.Toolbar>
程序代码
请到 MainActivity.java 里加入 Toolbar 的声明:
Toolbar toolbar = (Toolbar) findViewById(R.id.toolbar);
setSupportActionBar(toolbar);
运行截图:
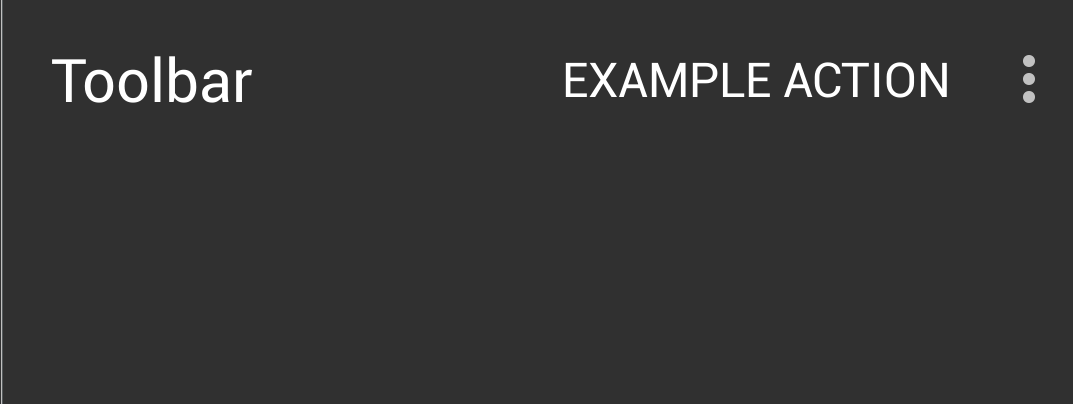
修改Toolbar背景颜色
截图可以看到,标题栏和页面连在一起,现在需要让他们区分开来。
在style里面将主题改为白色,修改toolbar的颜色
<style name="AppTheme" parent="Theme.AppCompat.Light.NoActionBar">
        <!-- toolbar(actionbar)颜色 -->
        <item name="colorPrimary">#2196F3</item>
    </style>
在布局文件里为toolbar加上背景
android:background="?attr/colorPrimary" 运行截图:
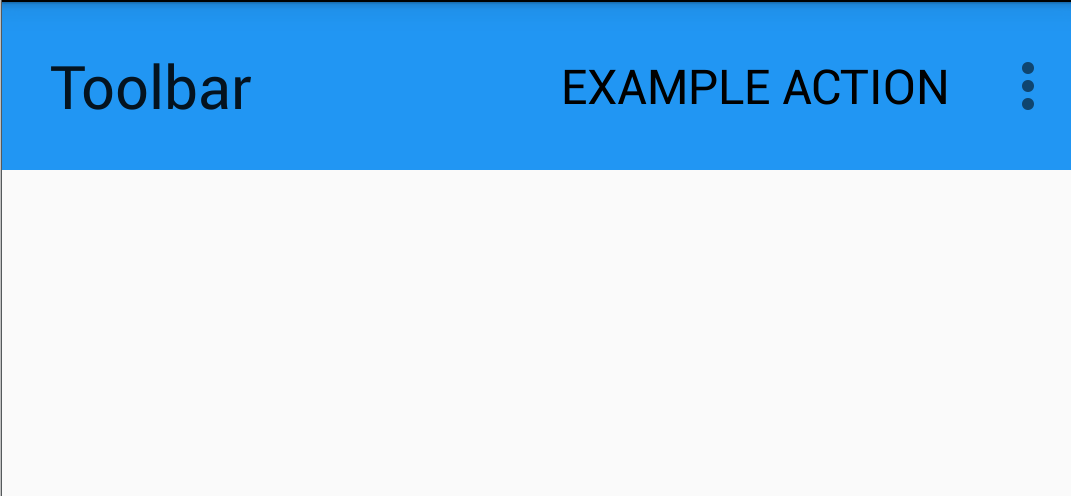
修改Toolbar文字颜色
上面的截图可以看到,文字为黑色,和背景不太搭配,现在将toolbar文字改成白色。这里分三步来改:
改变标题文字颜色
修改标题文字很简单,在style里加上下面的样式就行
<!--toolbar标题文字颜色-->
<item name="android:textColorPrimary">@android:color/white</item>
改变菜单文字颜色
这里给toolbar单独设置一个theme
app:theme="@style/ToolbarTheme"在theme里面设置菜单文字为白色
<!-- toolbar菜单样式 -->
<style name="ToolbarTheme" parent="@style/ThemeOverlay.AppCompat.ActionBar">
     <item name="actionMenuTextColor">@android:color/white</item>
</style>
运行截图:

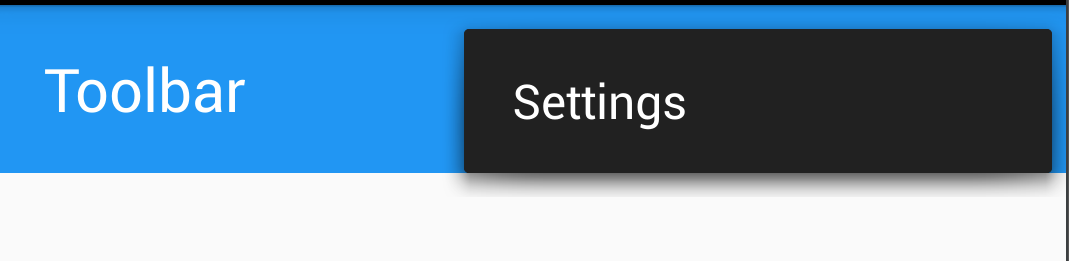
修改Toolbar popup menu样式
现在的popup menu是这样的

可以发现,根本就看不到文字。
现在我们使背景变成黑色。
在布局文件里给toolbar加上popupTheme:
app:popupTheme="@style/ToolbarPopupTheme"在style里面这样写:
<!-- toolbar弹出菜单样式 -->
<style name="ToolbarPopupTheme" parent="@style/ThemeOverlay.AppCompat">
     <item name="android:colorBackground">#212121</item>
</style>
改完之后的效果:
修改Toolbar 标题文字大小
现在又发现标题文字太大了,想改小一点。
给toolbar加上titleTextAppearance属性
app:titleTextAppearance="@style/ToolbarTitle"对应的style
<!-- toolbar标题样式 -->
<style name="ToolbarTitle" parent="@style/TextAppearance.Widget.AppCompat.Toolbar.Title">
    <item name="android:textSize">14sp</item>
</style>
运行截图:

在修改Toolbar 标题文字大小之后再修改标题文字颜色(如果没修改文字大小则不用此步骤)
给toolbar加上titleTextAppearance属性
app:titleTextAppearance="@style/ToolbarTitle"对应的style
<!-- toolbar标题样式 -->
<style name="ToolbarTitle" parent="@style/TextAppearance.Widget.AppCompat.Toolbar.Title">
    <item name="android:textSize">14sp</item>    <item name="android:textColor">@color/white</item>
</style>修改Toolbar 菜单文字大小
修改完标题之后,又发现菜单文字太大,需要改小。
现在在菜单样式里面修改,加上actionMenuTextAppearance属性,代码如下:
<!-- toolbar菜单样式 -->
<style name="ToolbarTheme" parent="@style/ThemeOverlay.AppCompat.ActionBar">
    <item name="actionMenuTextColor">@android:color/white</item>
    <item name="actionMenuTextAppearance">@style/ToolbarMenuTextSize</item>
</style>
来看ToolbarMenuTextSize是怎么写的
<!-- toolbar菜单文字尺寸 -->
<style name="ToolbarMenuTextSize" parent="@style/TextAppearance.AppCompat.Menu">
    <item name="android:textSize">10sp</item>
</style>
改完之后,看一下效果:

修改toolbar高度
可能有人会认为toolbar太高了,想把高度调低点。
条高度只需要调整toolbar的layout_height和minHeight属性就行了。
调整后的代码如下:
<android.support.v7.widget.Toolbar
        android:id="@+id/toolbar"
        android:layout_width="match_parent"
        android:layout_height="45dp"
        android:background="?attr/colorPrimary"
        android:minHeight="45dp"
        app:popupTheme="@style/ToolbarPopupTheme"
        app:titleTextAppearance="@style/ToolbarTitle"
        app:theme="@style/ToolbarTheme">
修改toolbar menu的选中状态
很多时候,默认的选中状态并不能满足设计的需求。
想要更改选中状态,需要在toolbarTheme里加上下面的样式:
<item name="selectableItemBackground">@drawable/toolbar_button_bg</item>toolbar_button_bg.xml文件的内容:
<?xml version="1.0" encoding="utf-8"?>
<selector xmlns:android="http://schemas.android.com/apk/res/android">

    <item android:drawable="@color/primary_dark" android:state_pressed="true"/>
    <item android:drawable="@color/primary_dark" android:state_focused="true"/>
    <item android:drawable="@color/primary"/>

</selector>
注:颜色根据需求变更。
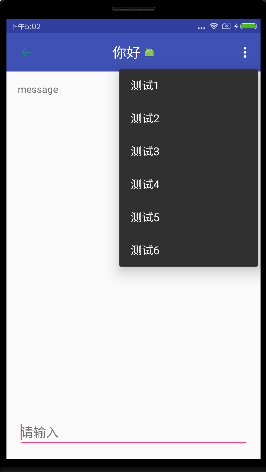
更改后的选中截图:

修改toolbar的menu显示位置(不覆盖toolbar)
一般情况下,点击收起menu的按钮,popwindow会覆盖在toolbar上,不美观,如何能够让popwindow在toolbar下方显示呢?
- 1
- 2
- 3
- 4
- 5
- 6
- 7
- 8
- 1
- 2
- 3
- 4
- 5
- 6
- 7
- 8
注意overlapAnchor不能写为android:overlapAnchor,
而actionOverflowMenuStyle可以写为android:actionOverflowMenuStyle
然后在toolbar中设置app:popupTheme
- 1
- 2
- 3
- 4
- 5
- 6
- 7
- 8
- 1
- 2
- 3
- 4
- 5
- 6
- 7
- 8

效果如下
修改toolbar中menu的上下左右精确位置
在style.xml中定义OverflowMenuStyle样式如下所示:
- 1
- 2
- 3
- 4
- 5
- 6
- 7
- 8
- 9
- 10
- 1
- 2
- 3
- 4
- 5
- 6
- 7
- 8
- 9
- 10
这时有两种方式应用这个样式:
- 在AppTheme中指定(主题定义中加入下面代码)
- 1
- 1
- 在Toolbar定义中指定(app:popupTheme属性)
修改toolbar的menu显示图标
在application应用的主题中添加
<style name="AppTheme" parent="Theme.AppCompat.Light.NoActionBar">
<item name="android:actionOverflowButtonStyle">@style/overflow</item>
</style>其中overflow主题如下设置<style name="overflow"> <item name="android:src">@drawable/ic_menu_add</item> </style>
menu中显示icon
最近项目中需要使用到Toolbar,然后在使用optionMenu的时候,需要在选项中显示图标.但是在网上找了比较多的资料,都没有办法解决问题.最后在stackOverflow上找到了解决方案..所以这里班门弄斧一下.
解决方案的环境是: SDK version API 22,模拟器 genymotion.一个亲测可行的方案是在需要用到菜单的界面(即重写onCreateOptionsMenu这个方法的界面)重写下面这个方法.
@Override
public boolean onPrepareOptionsMenu(Menu menu) {
    if(menu != null){
        if(menu.getClass().getSimpleName().equals("MenuBuilder")){
            try{
                Method m = menu.getClass().getDeclaredMethod(
                        "setOptionalIconsVisible", Boolean.TYPE);
                m.setAccessible(true);
                m.invoke(menu, true);
            }
            catch(NoSuchMethodException e){}
            catch(Exception e){}
        }
    }
    return super.onPrepareOptionsMenu(menu);
}
将上面部分的代码复制到工程中,即可解决问题.
改变title的内容
@Override
    protected void onPostCreate(@Nullable Bundle savedInstanceState) {
        super.onPostCreate(savedInstanceState);
        ActionBar bar=getSupportActionBar();
        //设定title内容
        bar.setTitle("this is title");
        //设定title内容
        bar.setSubtitle("this is subtitle");
        //设定title左边icon图案
        bar.setIcon(R.drawable.ic_backup);
    }
居中显示title
	    <android.support.v7.widget.Toolbar
                android:id="@+id/tool_bar"
                android:layout_width="match_parent"
                android:layout_height="?attr/actionBarSize"
                android:background="?attr/colorPrimary"
                app:titleTextAppearance="@style/toolbar_theme"
                app:subtitleTextAppearance="@style/toolbar_theme"
                app:popupTheme="@style/men"
                app:layout_scrollFlags="scroll|snap|enterAlways">
                <TextView
                    android:id="@+id/qwe"
                    android:gravity="center"
                    android:textColor="@color/white"
                    android:text="[textView]"
                    android:textSize="20sp"
                    android:layout_width="wrap_content"
                    android:layout_height="wrap_content" />
            </android.support.v7.widget.Toolbar>
style/xml
    <style name="toolbar_theme" parent="@style/ThemeOverlay.AppCompat.Dark">
        <item name="android:textSize">20sp</item>
        <item name="android:textColor">@color/white</item>
    </style>
总结
目前开发过程中,需要的toolbar样式定制都包含在这里了。后续有发现新的样式定制需求,会继续更新。
附上最终代码下载地址:
https://github.com/oyjt/android-toolbar
原文http://www.cnblogs.com/oyjt/p/4762640.html
http://blog.csdn.net/cocochenqiuyue/article/details/60141607


 1421
1421


 被折叠的 条评论
为什么被折叠?
被折叠的 条评论
为什么被折叠?
 到【灌水乐园】发言


