


一、Three.js 官网
背景:
threejs 是国外的网站,访问有时候比较卡,所以建议本地化部署启动一下,方便随时访问学习。
部署方案:
1、访问Threejs官网
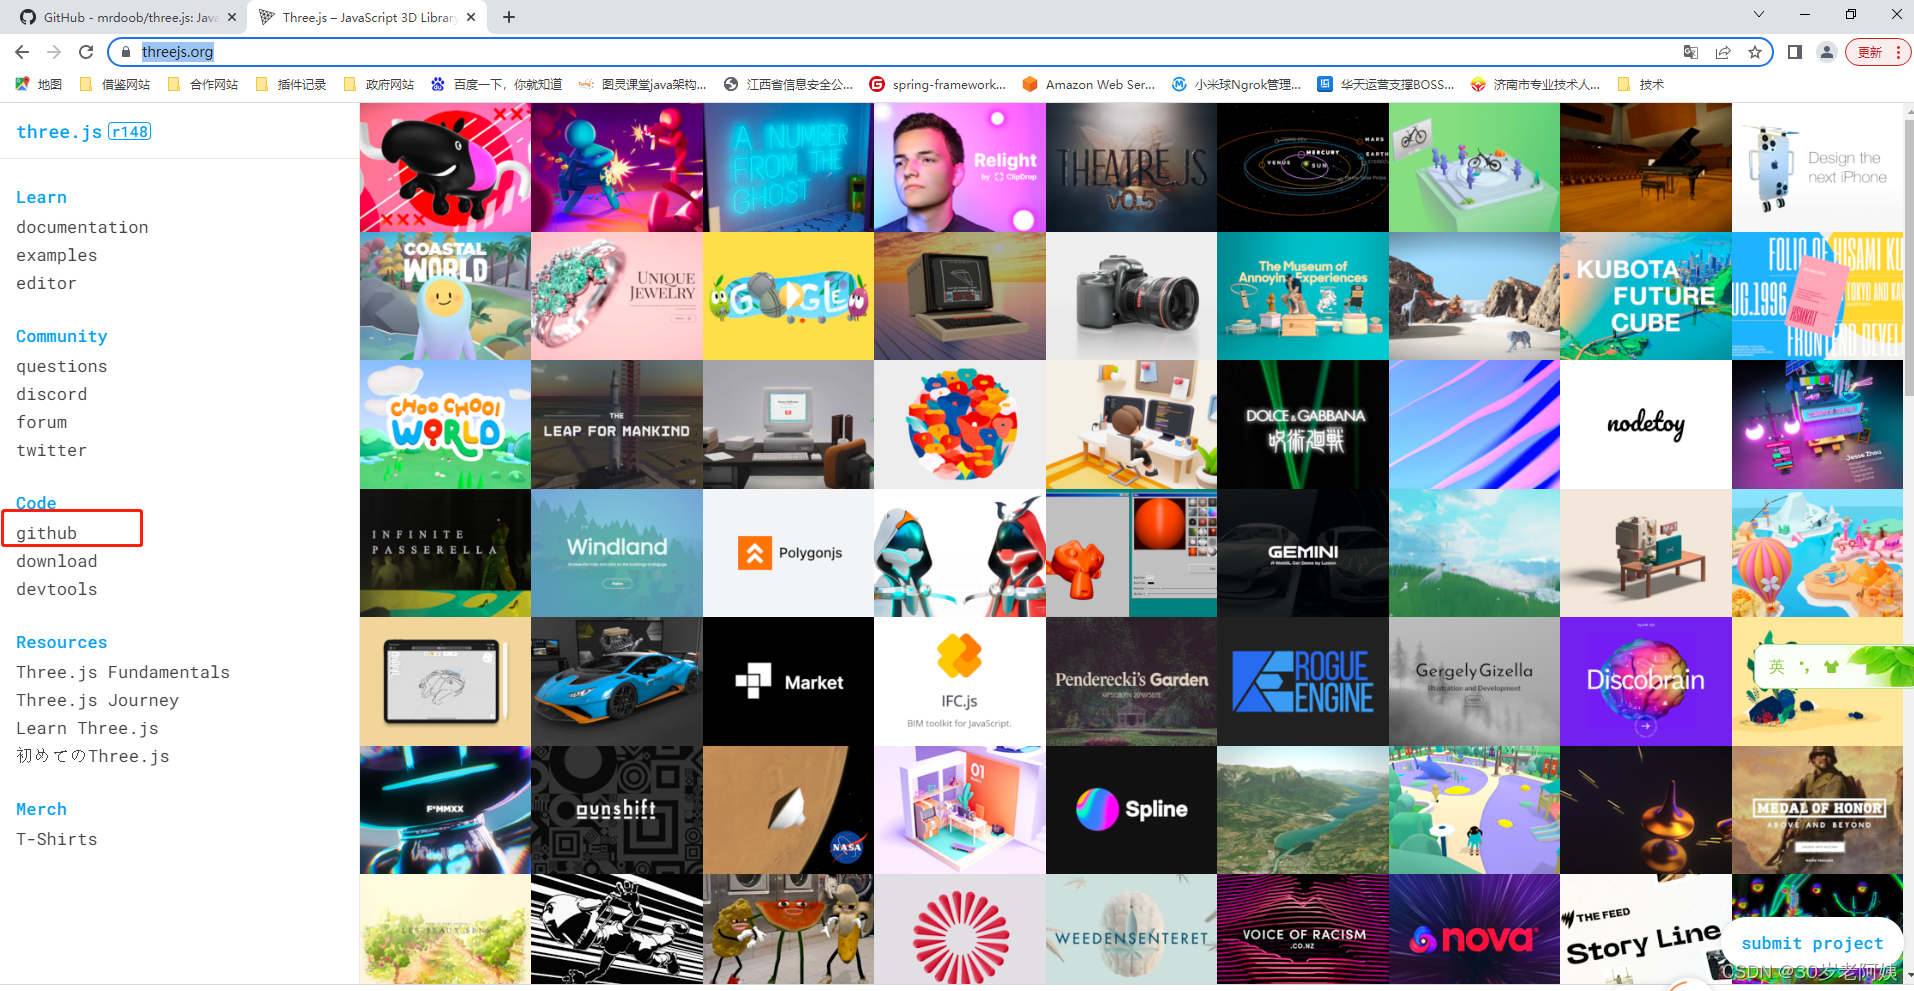
2、点击github 选择 dev版本下载
3、下载完之后,解压。用Visual studio Code打开。
4、Visual Studio Code 运行终端 terminal ,先安装Npm ,然后 查看package.json 查看启动命令。
//安装npm
npm install
//启动
npm run dev
5、启动成功,访问localhost:8080
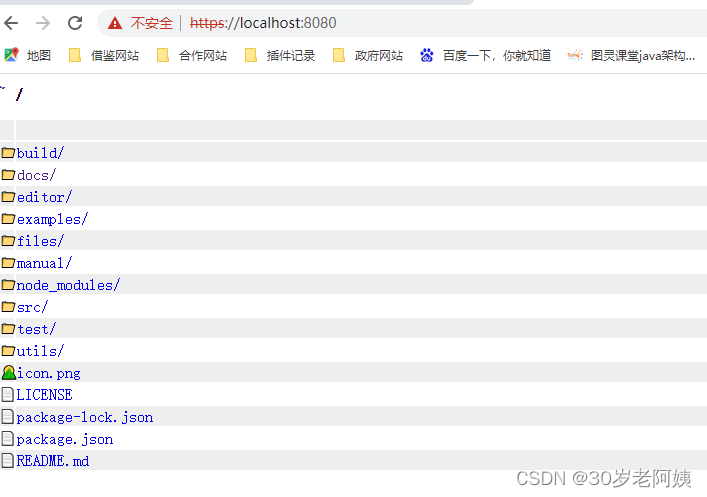
docs 是文档解释(中英文)
examples 案例,可以根据路径查找html代码查看实现方案。
editor 编辑器,可以创建物体并进行查看和编辑
二、 Parcel介绍:
Parcel - Web 应用打包工具 | Parcel 中文网
实战:
1、新建项目:在终端中打开:npm init 生成 package.json 文件
PS E:\study\WebGLThree\代码\01-THREE_BASIC> npm init
This utility will walk you through creating a package.json file.
It only covers the most common items, and tries to guess sensible defaults.

See `npm help init` for definitive documentation on these fields
and exactly what they do.

Use `npm install <pkg>` afterwards to install a package and
save it as a dependency in the package.json file.

Press ^C at any time to quit.
package name: (01-three_basic)
version: (1.0.0)
description:
entry point: (index.js)
test command:
git repository:
keywords:
author:
license: (ISC)
About to write to E:\study\WebGLThree\代码\01-THREE_BASIC\package.json:

{
  "name": "01-three_basic",
  "version": "1.0.0",
  "description": "",
  "main": "index.js",
  "scripts": {
    "test": "echo \"Error: no test specified\" && exit 1"
  },
  "author": "",
  "license": "ISC"
}


Is this OK? (yes)
PS E:\study\WebGLThree\代码\01-THREE_BASIC>
package name: (01-three_basic) 项目名称
version: (1.0.0) 版本
description: 描述
entry point: (index.js)
test command:
git repository:
keywords:
author: 作者
2、安装Parcel依赖

npm install parcel-bundler3、配置package.json配置文件
//通过修改你的package.json来添加这些任务脚本

{
  "scripts": {
    "dev": "parcel <your entry file>",
    "build": "parcel build <your entry file>"
  }
}
三、项目框架搭建
话不多说,上代码
安装Three依赖
npm install three --save1、首页展示
<!DOCTYPE html>
<html lang="en">
<head>
    <meta charset="UTF-8">
    <meta http-equiv="X-UA-Compatible" content="IE=edge">
    <meta name="viewport" content="width=device-width, initial-scale=1.0">
    <title>Document</title>
    <link rel="stylesheet" href="./assets/css/style.css">
</head>
<body>
    <script src="./main/main.js" type="module"></script>
</body>
</html>
2、主要js创建生成物体过程
import * as THREE from "three";

//console.log(THREE);
//1、创建场景
const scene = new THREE.Scene();

//2、创建相机
const camere = new THREE.PerspectiveCamera(75,window.innerWidth/window.innerHeight,0.1,1000);//透视相机(角度,屏幕宽高比、近端、远端)
//3、设置相机位置(x,y,z)
camere.position.set(0,0,10);
//4、将相机添加到场景当中
scene.add(camere);

//5、添加物体
//创建几何体
const cubeGeometry = new THREE.BoxGeometry();
const cubeMaterial = new THREE.MeshBasicMaterial({color: 0xfff00});

//6、根据几何体和材质 创建物体
const cube = new THREE.Mesh(cubeGeometry,cubeMaterial);
//将几何体添加到场景当中
scene.add(cube);


//7、初始化渲染器
const renderer = new THREE.WebGLRenderer();
//8、设置渲染的尺寸大小
renderer.setSize(window.innerWidth,window.innerHeight);
//console.log(renderer);
//9、将webgl渲染的Canvas内容添加到body
document.body.appendChild(renderer.domElement);

//10、使用渲染器,通过相机将场景渲染进来
renderer.render(scene,camere);
3、样式控制
#取消全局边距
* {
    margin: 0;
    padding: 0;
}
#设置body的颜色天空蓝
body {
    background-color: skyblue;
}
4、package.json 设置
{
  "name": "01-three_basic",
  "version": "1.0.0",
  "description": "",
  "main": "index.js",
  "scripts": {
    "dev": "parcel src/index.html",
    "build": "parcel build src/index.html"
  },
  "author": "",
  "license": "ISC",
  "devDependencies": {
    "parcel-bundler": "^1.12.5"
  },
  "dependencies": {
    "three": "^0.148.0"
  }
}
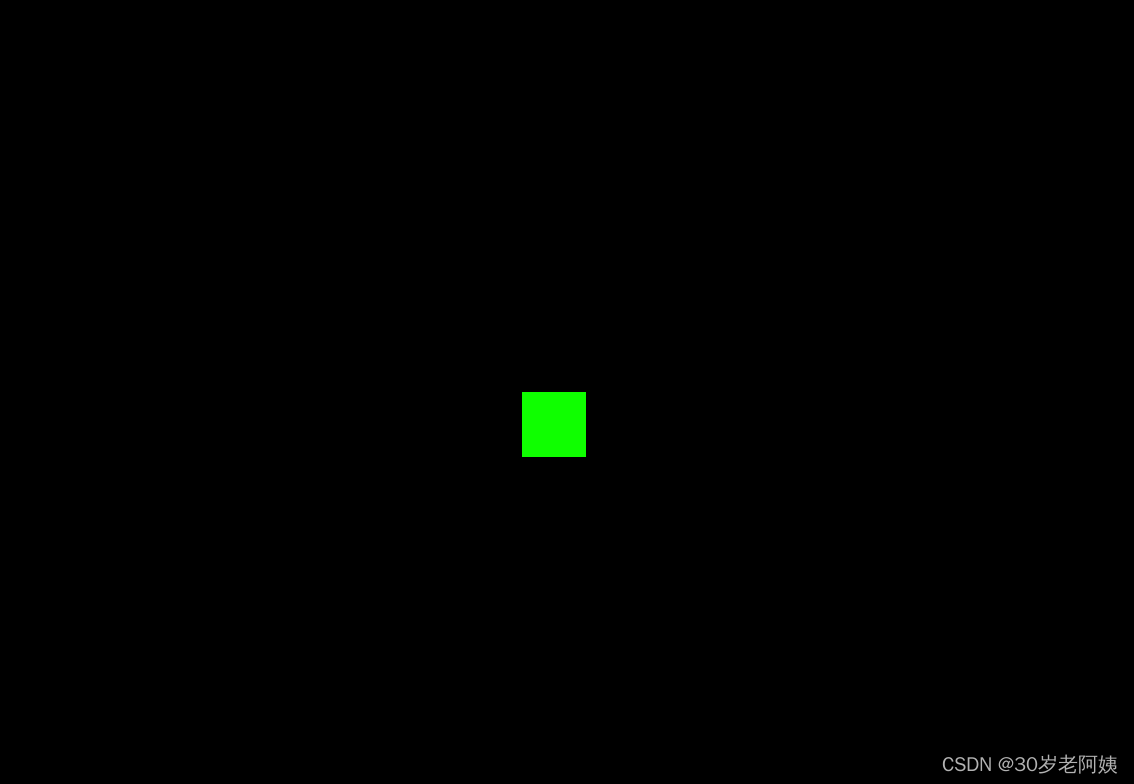
5、效果展示
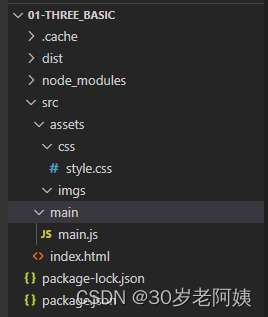
6、框架目录


 7943
7943


 被折叠的 条评论
为什么被折叠?
被折叠的 条评论
为什么被折叠?
 到【灌水乐园】发言


