


一、建站前准备:
1、关闭selinux:
#临时关闭:setenforce 0, #并且查看临时关闭状态:getenforce
永久关闭,我们通过修改文件:
sed -i 's#SELINUX=enforcing#SELINUX=disabled#g' /etc/selinux/config
将SELINUX=enforcing替换为SELINUX=disabled,这个过程需要重新启动操作系统。
[root@linux01 ~]# getenforce
Disabled
2、关闭firewalld
#临时关闭:systemctl stop firewalld #永久关闭:systemctl disable firewalld
[root@linux01 ~]# systemctl status firewalld
● firewalld.service - firewalld - dynamic firewall daemon
   Loaded: loaded (/usr/lib/systemd/system/firewalld.service; disabled; vendor preset: enabled)
   Active: inactive (dead)
     Docs: man:firewalld(1)
二、从官方源安装Nginx
因为yum源里面可能不是从Nginx官方下载Nginx服务,导致后面配置服务时出现问题,所以在配置文件修改Nginx获取源的优先顺序,优先从Nginx官方仓库下载;
1、调整yum源的优先级
[root@master ~]# yum install yum-plugin-priorities -y
安装工具
[root@master ~]# rpm -qa yum-plugin-priorities
检查是否安装完成
2、配置yum源
vim /etc/yum.repos.d/nginx.repo
[nginx-stable]
name=nginx stable repo
baseurl=http://nginx.org/packages/centos/$releasever/$basearch/
gpgcheck=0
priority=1
如果不进行以上配置,系统默认从CentOS官方下载
3、安装Nginx
yum install nginx -y查看Nginx版本
[root@master ~]# nginx -V
nginx version: nginx/1.24.0
4、配置Nginx运行进程的用户,创建test用户
创建:useradd -u 1111 test -s /sbin/nologin -M
检查:id test
默认的Nginx配置中,用户是本身nginx,将其修改为创建的进程账户
[root@master ~]# sed -i '/^user/c user test;' /etc/nginx/nginx.conf
[root@master ~]# egrep "^user" /etc/nginx/nginx.conf
user test;
配置好之检查一下Nginx的语法
[root@master ~]# nginx -t
nginx: the configuration file /etc/nginx/nginx.conf syntax is ok
nginx: configuration file /etc/nginx/nginx.conf test is successful
开启Nginx服务,并且设置开机自启动
[root@master ~]# systemctl start nginx
[root@master ~]# systemctl enable nginx
Created symlink from /etc/systemd/system/multi-user.target.wants/nginx.service to /usr/lib/systemd/system/nginx.service.
[root@master ~]# systemctl status nginx
● nginx.service - nginx - high performance web server
   Loaded: loaded (/usr/lib/systemd/system/nginx.service; enabled; vendor preset: disabled)
   Active: active (running) since Fri 2024-03-22 15:49:12 CST; 18s ago
     Docs: http://nginx.org/en/docs/
 Main PID: 6092 (nginx)
   CGroup: /system.slice/nginx.service
           ├─6092 nginx: master process /usr/sbin/nginx -c /etc/nginx/nginx.conf
           ├─6093 nginx: worker process
           ├─6094 nginx: worker process
           ├─6095 nginx: worker process
           ├─6096 nginx: worker process
           ├─6097 nginx: worker process
           ├─6098 nginx: worker process
           ├─6099 nginx: worker process
           └─6100 nginx: worker process

Mar 22 15:49:12 master systemd[1]: Starting nginx - high performance web server...
Mar 22 15:49:12 master systemd[1]: Started nginx - high performance web server.
检查Nginx服务是否正常开启
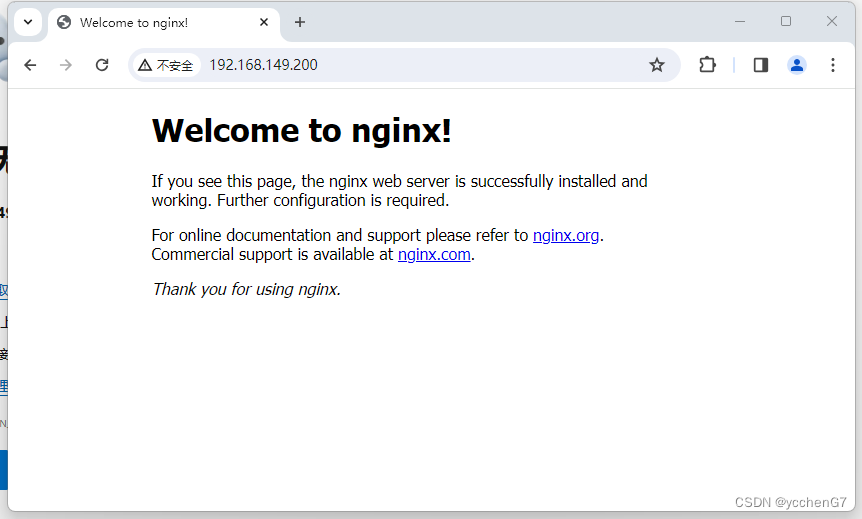
[root@master ~]# netstat -lntup |grep nginx
tcp        0      0 0.0.0.0:80              0.0.0.0:*               LISTEN      6092/nginx: master
使用服务器IP地址访问成功,说明Nginx服务启动成功,ip通信连接成功,至此,Nginx安装告一段落。
三、安装PHP动态服务,从第三方仓库安装PHP
1、配置PHP安装源:安装三方仓库
[root@master ~]# yum install epel-release -y

检查:
[root@master ~]# rpm -ql epel-release
/etc/pki/rpm-gpg/RPM-GPG-KEY-EPEL-7
/etc/yum.repos.d/epel-testing.repo
/etc/yum.repos.d/epel.repo
/usr/lib/systemd/system-preset/90-epel.preset
/usr/share/doc/epel-release-7
/usr/share/doc/epel-release-7/GPL
2、配置/etc/yum.repos.d/webtatic.repo仓库
[root@master ~]# wget https://mirror.webtatic.com/yum/el7/webtatic-release.rpm --no-check-certificate

[root@master ~]# rpm -Uvh webtatic-release.rpm

检查:
[root@master ~]# rpm -ql webtatic-release-7-3
/etc/pki/rpm-gpg/RPM-GPG-KEY-webtatic-el7
/etc/yum.repos.d/webtatic-archive.repo
/etc/yum.repos.d/webtatic-testing.repo
/etc/yum.repos.d/webtatic.repo
/usr/share/doc/webtatic-release-7
/usr/share/doc/webtatic-release-7/GPLv2
3、下载安装PHP组件
yum install php71w php71w-cli php71w-common php71w-devel php71w-embedded php71w-gd -y
yum install php71w-mcrypt php71w-mbstring php71w-pdo php71w-xml php71w-fpm php71w-mysqlnd -y
yum install php71w-opcache php71w-pecl-memcached php71w-pecl-redis php71w-pecl-mongodb -y
PHP安装完成之后,将PHP运行时的进程用户修改成和Nginx运行时的进程用户一样,保持一致,前面创建的是test用户,因为是相互交换数据的,当一个用户发送一个动态请求后Nginx就会把这个请求抛给具有动态处理能力的PHP。
[root@master ~]# sed -i '/^user/c user = test' /etc/php-fpm.d/www.conf
[root@master ~]# sed -i '/^group/c group = test' /etc/php-fpm.d/www.conf
[root@master ~]# egrep "^user|^group" /etc/php-fpm.d/www.conf
user = test
group = test
查看PHP:9000端口,并加入开机自启动:
[root@master ~]# systemctl start php-fpm
[root@master ~]# systemctl enable php-fpm
Created symlink from /etc/systemd/system/multi-user.target.wants/php-fpm.service to /usr/lib/systemd/system/php-fpm.service.
[root@master ~]# netstat -lntup|grep php-fpm
tcp        0      0 127.0.0.1:9000          0.0.0.0:*               LISTEN      6264/php-fpm: maste
四、安装MariaDB数据库
[root@master ~]# yum install mariadb-server mariadb -y
[root@master ~]# systemctl start mariadb
[root@master ~]# systemctl enable mariadb
Created symlink from /etc/systemd/system/multi-user.target.wants/mariadb.service to /usr/lib/systemd/system/mariadb.service.
[root@master ~]# netstat -lntup|grep mysql
tcp        0      0 0.0.0.0:3306            0.0.0.0:*               LISTEN      6586/mysqld
1、配置数据库登录密码
[root@master ~]# mysqladmin password '123456'
[root@master ~]# mysql -u root -p123456
Welcome to the MariaDB monitor.  Commands end with ; or \g.
Your MariaDB connection id is 3
Server version: 5.5.68-MariaDB MariaDB Server

Copyright (c) 2000, 2018, Oracle, MariaDB Corporation Ab and others.

Type 'help;' or '\h' for help. Type '\c' to clear the current input statement.

MariaDB [(none)]>
密码已经创建,直到现在搭建网站所要的LNMP环境基本配置完成,下面将要进行整体测试搭建环境。
五、LNMP架构配置及整体测试实践
1、配置虚拟主机配置文件
模拟配置一个网站的首页,域名,访问端口,静态服务端口,数据库服务端口等等,配置完成后,检查Nginx的语法
[root@master ~]# cd /etc/nginx/conf.d
[root@master conf.d]# gzip default.conf
vim 01_blog.mylive.org.conf
server {
        server_name blog.etiantian.org;
        listen 80;
        root /data/blog;
        index index.php index.html;

        location ~ \.php$ {
            root /data/blog;
            fastcgi_pass    127.0.0.1:9000;
            fastcgi_index   index.php;
            fastcgi_param   SCRIPT_FILENAME  $document_root$fastcgi_script_name;
            include         fastcgi_params;
          }
}
检查语句:
[root@master conf.d]# nginx -t
nginx: the configuration file /etc/nginx/nginx.conf syntax is ok
nginx: configuration file /etc/nginx/nginx.conf test is successful
配置好之后,重新加载Nginx服务,不采用restart重启,使用平滑加载的方式启动
[root@master conf.d]# systemctl reload nginx2、创建站点目录,并且将站点目录的拥有者和群组的使用者设为test
[root@master conf.d]# mkdir -p /data/blog
[root@master conf.d]# chown -R test.test /data/blog/
3、测试PHP服务
[root@master conf.d]# cd /data/blog/
[root@master blog]# cat >test.php<<EOF
> <?php
> phpinfo();
> ?>
> EOF
test.php是PHP的内置函数调用,展示一些PHP的信息,在浏览器中输入ip地址,并且跟文件test.php
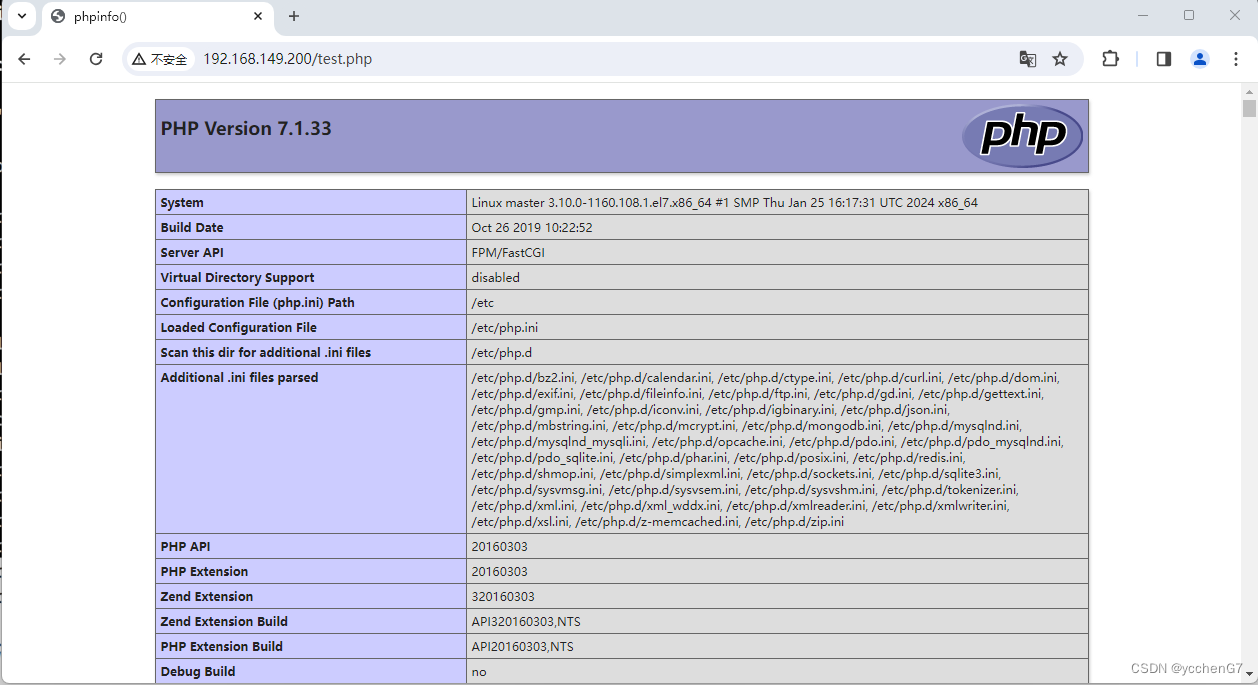
测试成功,PHP服务运行正常
4、测试PHP连接MariaDB数据库,创建文件为test_mysql.php
vim /data/blog/test_mysql.php
<?php
        $servername = "localhost";
        $username = "root";
        $password = "123456";
        // 创建链接
        $conn = mysqli_connect($servername, $username, $password);
        // 检测链接
        if (!$conn) {
           die("Connection failed: " . mysqli_connect_error());
        }
           echo "这段文字是测试PHP连接MariaDB数据库, 当您看到此段文字时表示连接成功! ";
        ?>
测试:
浏览器输入:192.168.149.200/test_mysql.php

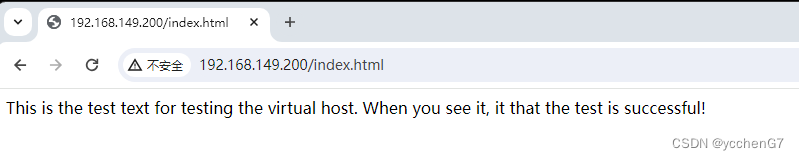
5、测试静态l虚拟主机是否成功,创建名为index.html文件
[root@master blog]# vim index.html
[root@master blog]# cat index.html
This is the test text for testing the virtual host. When you see it, it that the test is successful!
测试:
六、安装wordpress软件
下载官网:
https://wordpress.org/download/#download-install下载以后上传到服务器
上传到目录中/data/blog
安装zip解压软件
yum install unzip -y解压压缩包
unzip wordpress-6.4.3.zip将wordpress下的所有文件移动到当前目录,并且改变/data/blog的所有使用权限为test用户和组
[root@master blog]# mv wordpress/* .
[root@master blog]# chown -R test.test /data/blog
浏览器中用IP地址直接可以访问wordpress的wp-admin/setup-config.php文件
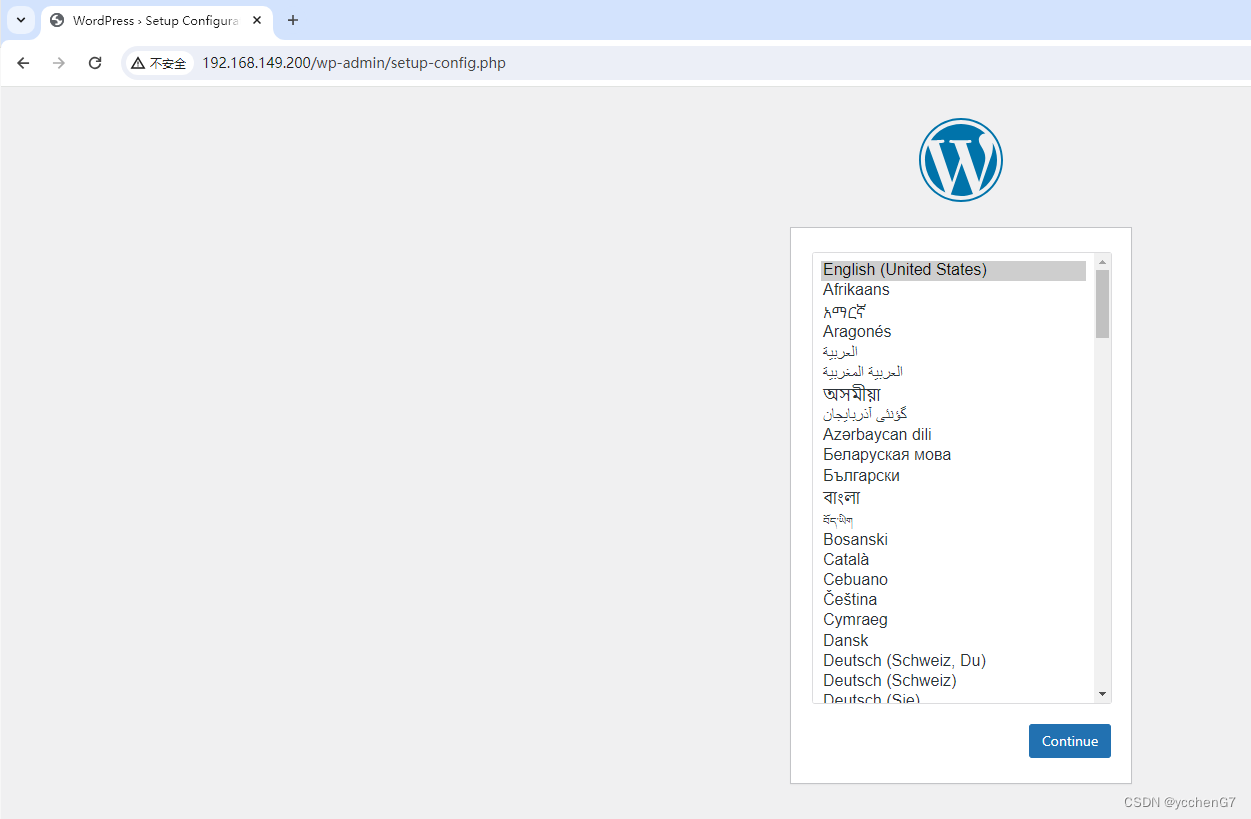
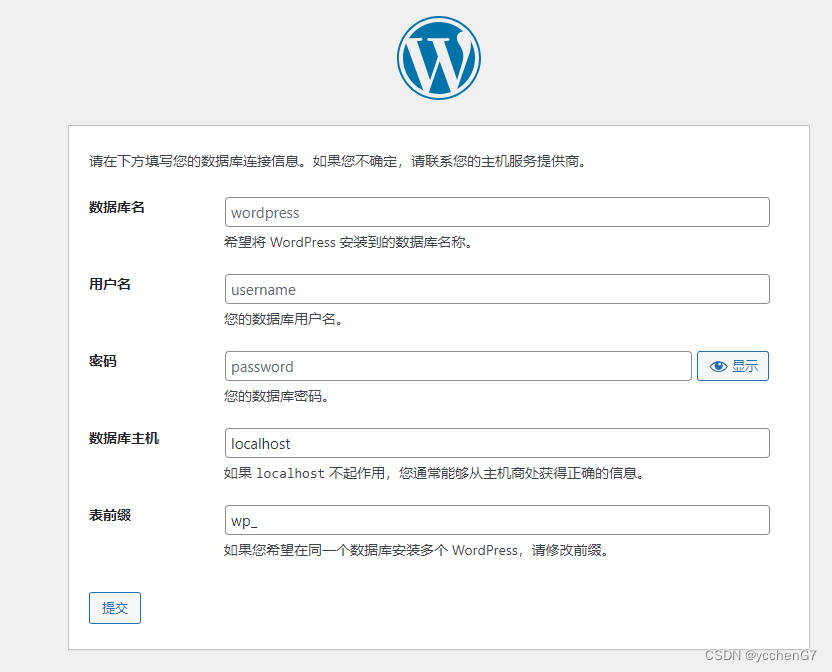 页面提示登录数据库,因为还没有在数据库中创建库和表,所以先在系统命令行登录配置数据库
创建名为blog的数据库
[root@master blog]# mysql -u root -p123456
Welcome to the MariaDB monitor.  Commands end with ; or \g.
Your MariaDB connection id is 5
Server version: 5.5.68-MariaDB MariaDB Server

Copyright (c) 2000, 2018, Oracle, MariaDB Corporation Ab and others.

Type 'help;' or '\h' for help. Type '\c' to clear the current input statement.


MariaDB [(none)]> create database blog;
Query OK, 1 row affected (0.00 sec)
查看创建的数据库
MariaDB [(none)]> show databases;
+--------------------+
| Database           |
+--------------------+
| information_schema |
| blog               |
| mysql              |
| performance_schema |
| test               |
+--------------------+
5 rows in set (0.00 sec)

可以看到,创建的blog数据库已经成功
设置root用户来管理数据库,但权限太大,意思是授予root用户管理blog下的所有表,并且只能在本地localhost来访问
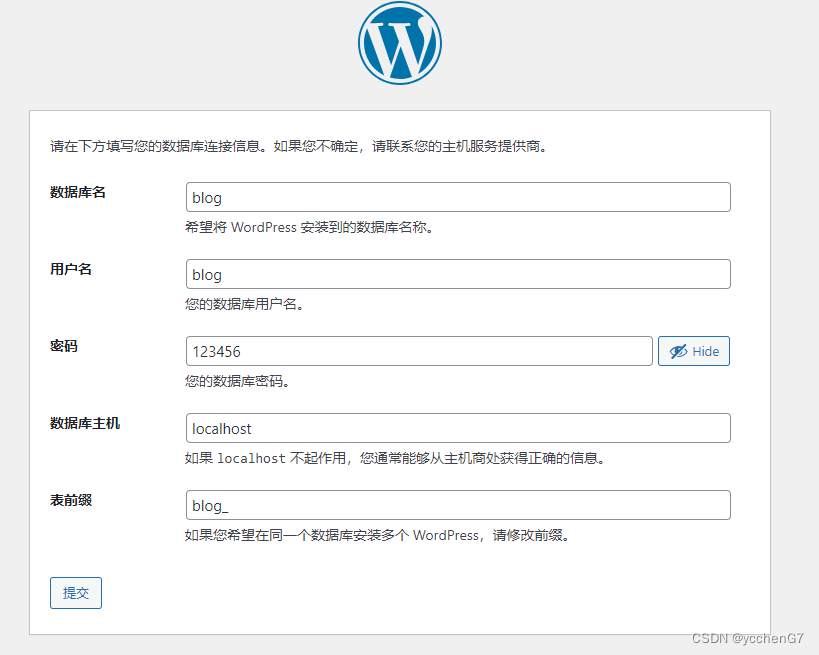
MariaDB [(none)]> grant all on blog.* to blog@'localhost' identified by '123456' ;
Query OK, 0 rows affected (0.00 sec)
让配置的数据库生效
MariaDB [(none)]> flush privileges;
Query OK, 0 rows affected (0.00 sec)
页面所填的提交信息就是我们前几步在linux系统对MariaDB数据库的配置,最后一项"表前缀",加一个表前缀,起到了对数据库的保护作用,攻击者就很难知道表结构,更安全一些.
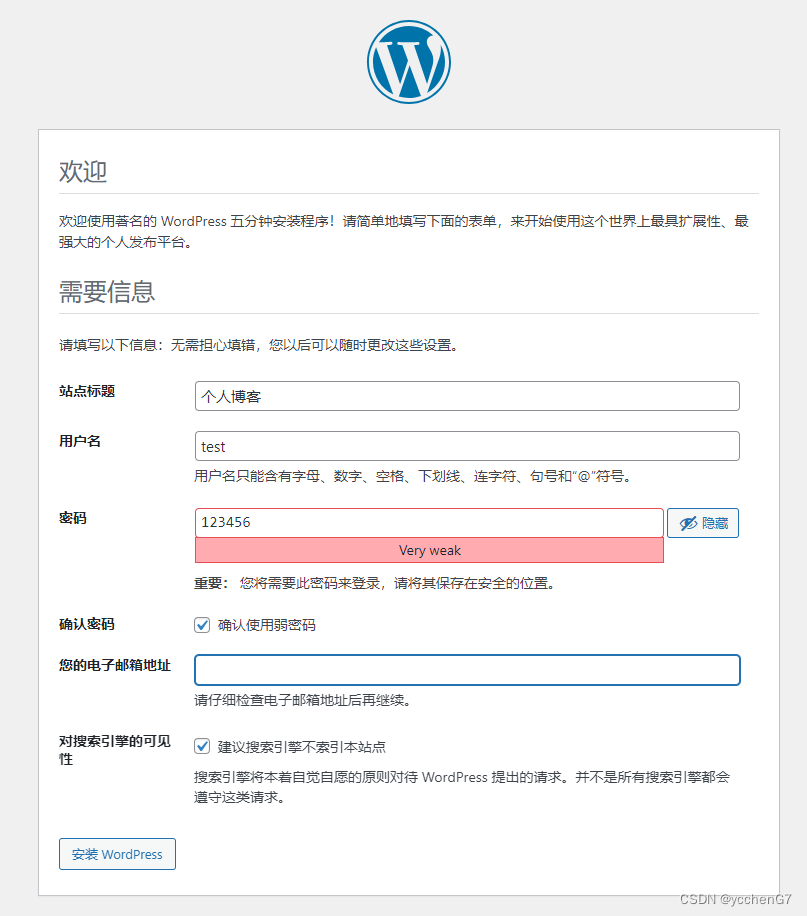
出现此页面,就表明我们连接上MariaDB数据库,但是现在进入数据库查表,提示没有数据表


需要在web页面创建表
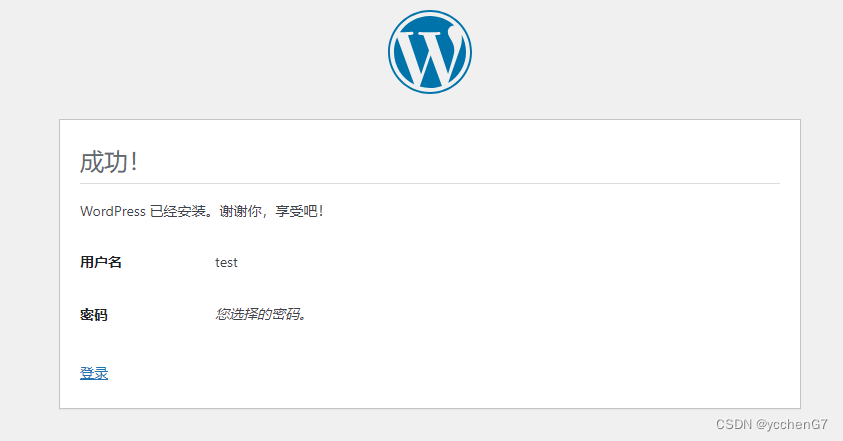
在系统里面查blog数据库的数据表,可以看到,已经在web页面设置的生成

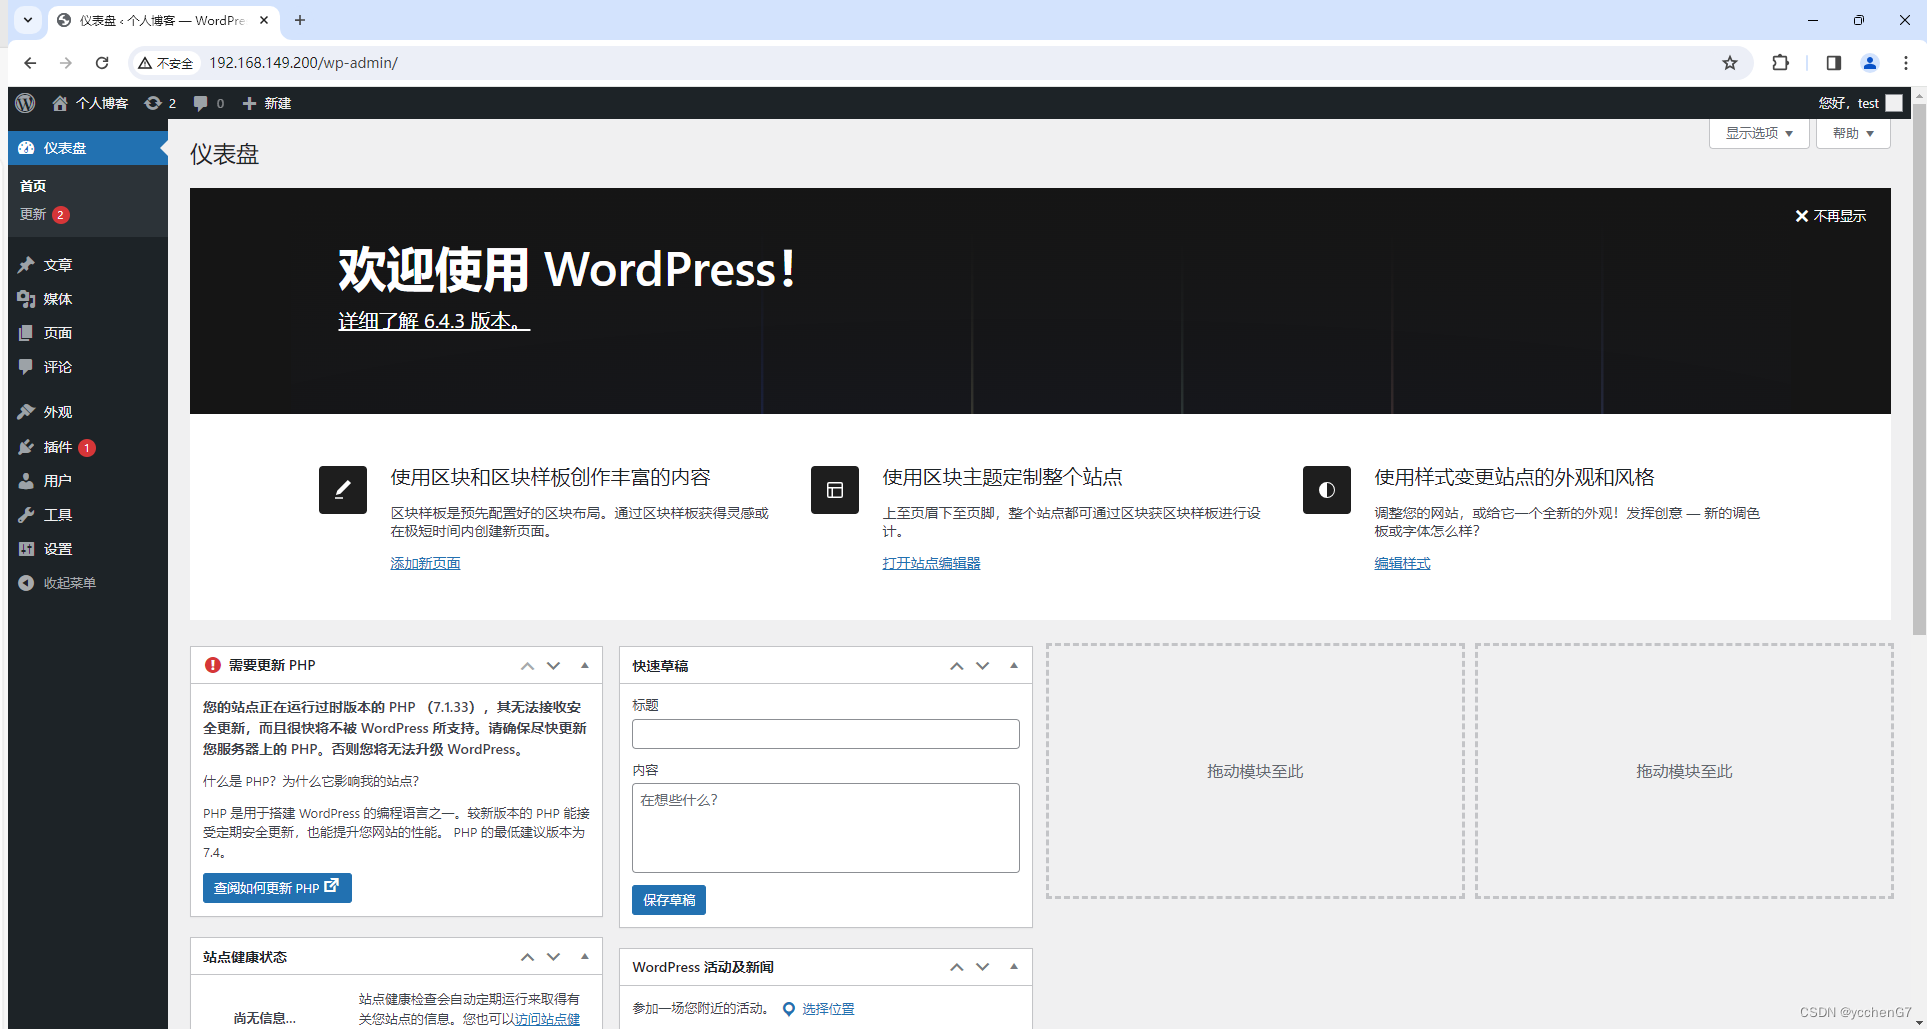
至此,我们的个人博客网站已经创建完成了.如果服务器有公网的话,可以域名解析公网IP使用域名访问自己的个人博客网站


 2089
2089

 被折叠的 条评论
为什么被折叠?
被折叠的 条评论
为什么被折叠?
 到【灌水乐园】发言


