


一、连接后端:
步骤1:
后端Ruoyi-cloud项目加一个跨域的配置类:
放到这:
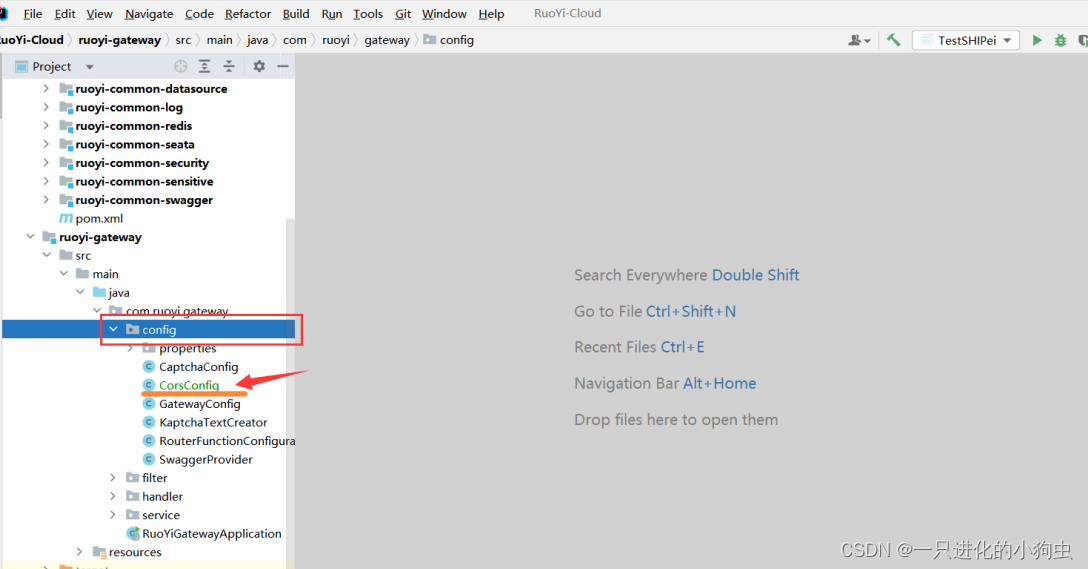
package com.ruoyi.gateway.config;
import org.springframework.context.annotation.Bean;
import org.springframework.context.annotation.Configuration;
import org.springframework.http.HttpHeaders;
import org.springframework.http.HttpMethod;
import org.springframework.http.HttpStatus;
import org.springframework.http.server.reactive.ServerHttpRequest;
import org.springframework.http.server.reactive.ServerHttpResponse;
import org.springframework.web.cors.reactive.CorsUtils;
import org.springframework.web.server.ServerWebExchange;
import org.springframework.web.server.WebFilter;
import org.springframework.web.server.WebFilterChain;
import reactor.core.publisher.Mono;
/**
* 跨域配置
*
* @author ruoyi
*/
@Configuration
public class CorsConfig
{
/**
* 这里为支持的请求头,如果有自定义的header字段请自己添加
*/
private static final String ALLOWED_HEADERS = "X-Requested-With, Content-Type, Authorization, credential, X-XSRF-TOKEN, token, Admin-Token, App-Token";
private static final String ALLOWED_METHODS = "GET,POST,PUT,DELETE,OPTIONS,HEAD";
private static final String ALLOWED_ORIGIN = "*";
private static final String ALLOWED_EXPOSE = "*";
private static final String MAX_AGE = "18000L";
@Bean
public WebFilter corsFilter()
{
return (ServerWebExchange ctx, WebFilterChain chain) -> {
ServerHttpRequest request = ctx.getRequest();
if (CorsUtils.isCorsRequest(request))
{
ServerHttpResponse response = ctx.getResponse();
HttpHeaders headers = response.getHeaders();
headers.add("Access-Control-Allow-Headers", ALLOWED_HEADERS);
headers.add("Access-Control-Allow-Methods", ALLOWED_METHODS);
headers.add("Access-Control-Allow-Origin", ALLOWED_ORIGIN);
headers.add("Access-Control-Expose-Headers", ALLOWED_EXPOSE);
headers.add("Access-Control-Max-Age", MAX_AGE);
headers.add("Access-Control-Allow-Credentials", "true");
if (request.getMethod() == HttpMethod.OPTIONS)
{
response.setStatusCode(HttpStatus.OK);
return Mono.empty();
}
}
return chain.filter(ctx);
};
}
}
步骤2:修改Ruoyi-app的api/login.js里面的接口访问路径都改为后端Ruoyi-cloud的接口

直接将login.js的代码替换为:
import request from '@/utils/request'
// 登录方法
export function login(username, password, code, uuid) {
const data = {
username,
password,
code,
uuid
}
return request({
'url': '/auth/login',
headers: {
isToken: false
},
'method': 'post',
'data': data
})
}
// 获取用户详细信息
export function getInfo() {
return request({
'url': '/system/user/getInfo',
'method': 'get'
})
}
// 退出方法
export function logout() {
return request({
'url': '/auth/logout',
'method': 'delete'
})
}
// 获取验证码
export function getCodeImg() {
return request({
'url': '/code',
headers: {
isToken: false
},
method: 'get',
timeout: 20000
})
}
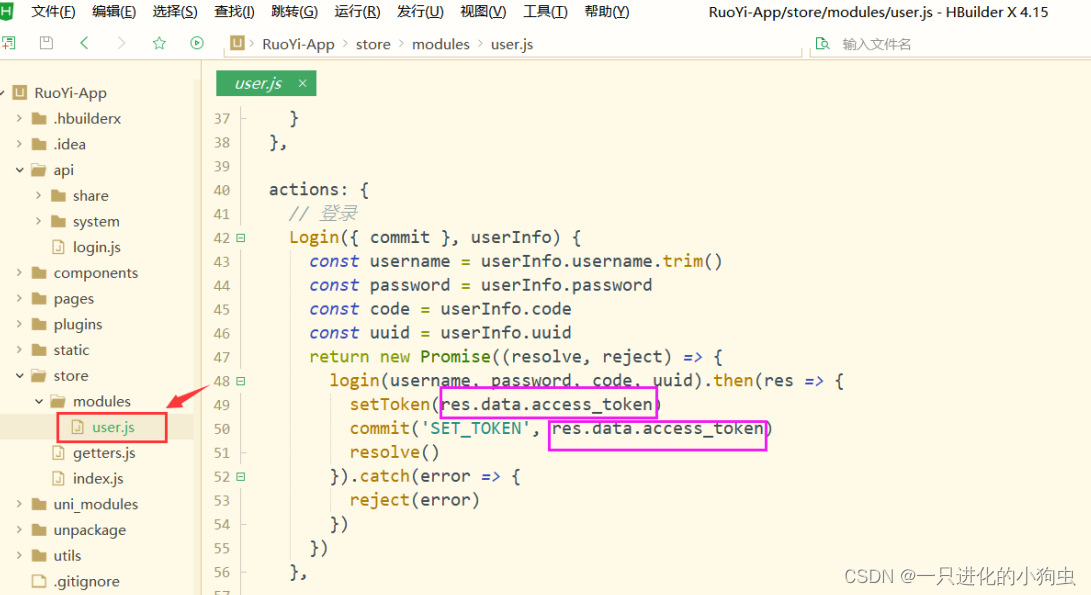
步骤3:修改Ruoyi-app的store/modules/user.js,修改一处token的返回值
把res.token更改为res.data.access_token,修改后如图:
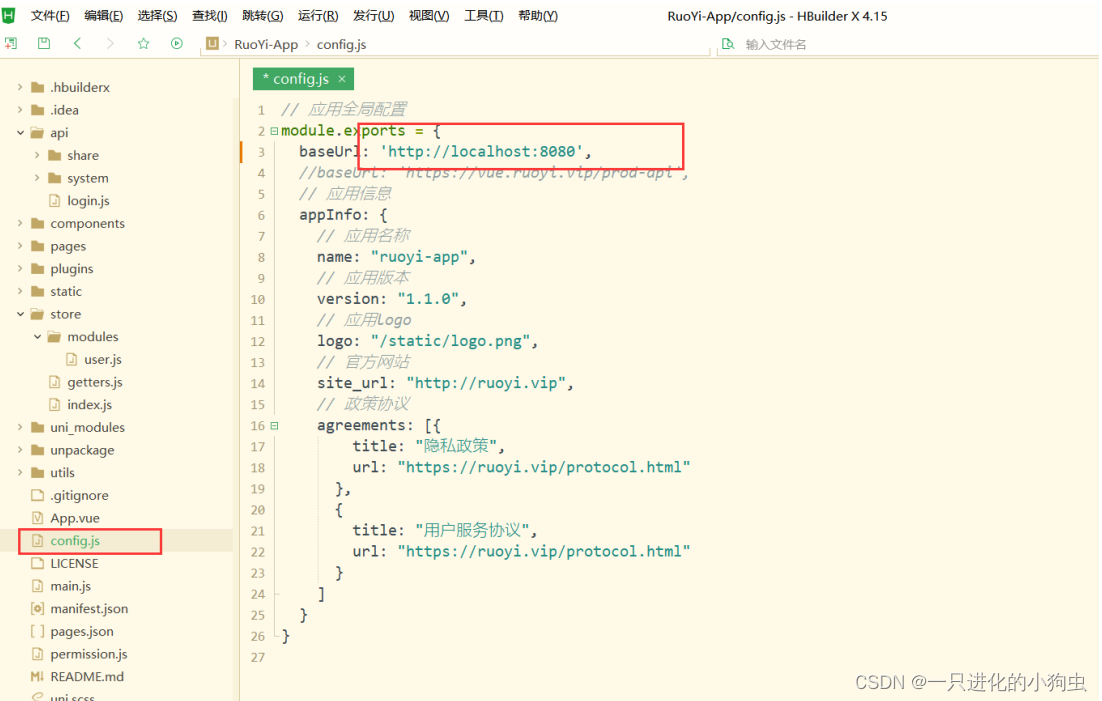
步骤4:修改config.js的baseURL
baseUrl: 'http://localhost:8080'
注意:每次修改一定要保存!!!
然后重新运行:

得到如图有验证码说明已经连接到了后端。
- 新建接口测试:
连接到后端后,我们接下来开始使用新建后端模块在app使用测试:
步骤1:后端准备
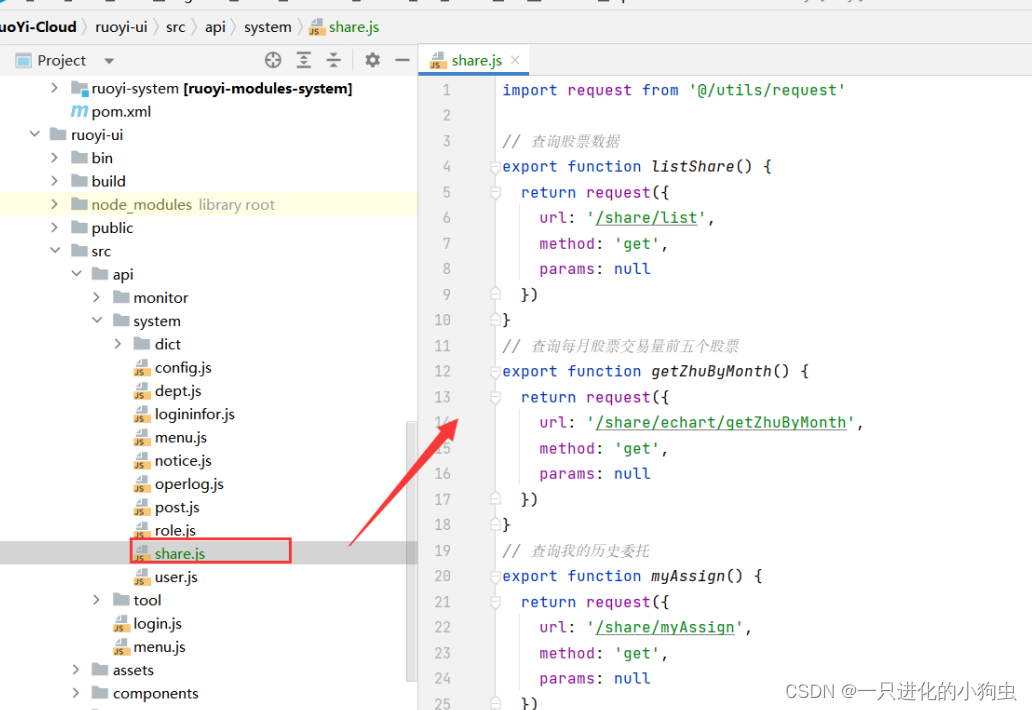
Ruoyi-cloud准备一个新建模块以及要用的配置接口等等(根据自己的需求创建)
在这里我已经有了一个新建模块接口,并且已经在cloud项目中有前端js:

步骤2:前端准备
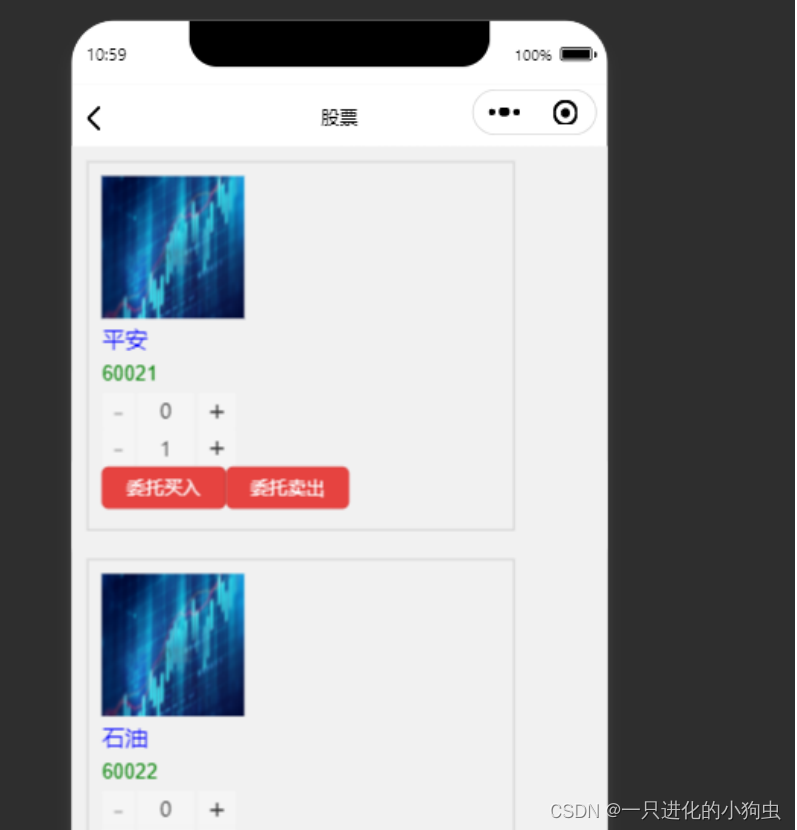
- 在Ruoyi-app的pages目录下面新建一个vue页面:

新建页面我写的是一个列表:
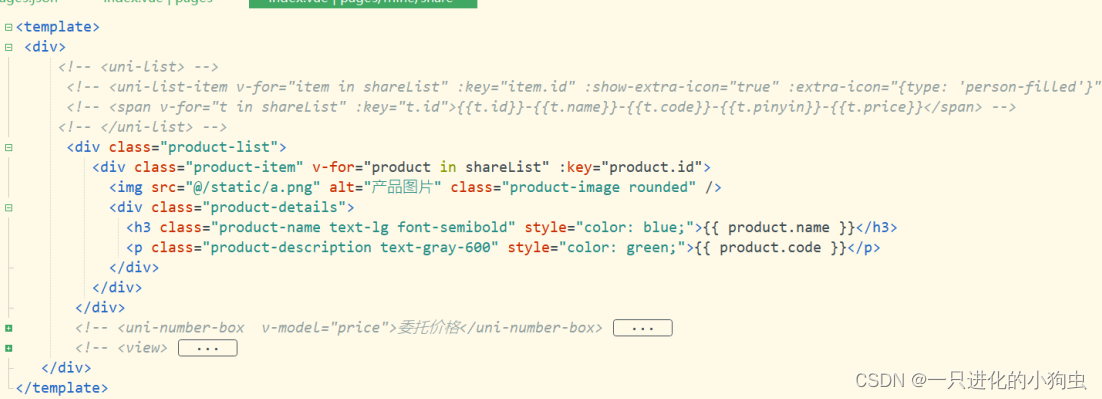

<div class="product-list">
<div class="product-item" v-for="product in shareList" :key="product.id">
<img src="@/static/a.png" alt="产品图片" class="product-image rounded" />
<div class="product-details">
<h3 class="product-name text-lg font-semibold" style="color: blue;">{{ product.name }}</h3>
<p class="product-description text-gray-600" style="color: green;">{{ product.code }}</p>
</div>
</div>
</div>
getAppUserList() {
listShare().then(res => {
console.log("getAppUserList", res.data)
this.shareList = res.data
})
},
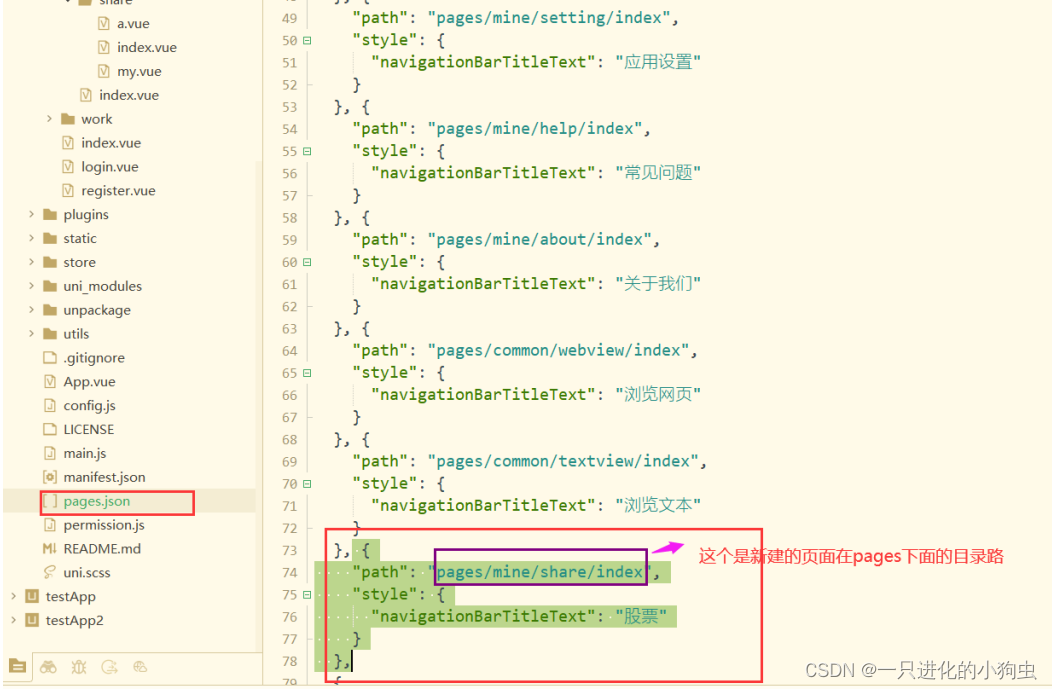
- 在pages.json配置路由:
如图,复制一个:
{
"path": "pages/mine/share/index",
"style": {
"navigationBarTitleText": "股票"
}
},
修改一下path为自己新建页面在目录上的路径即可:
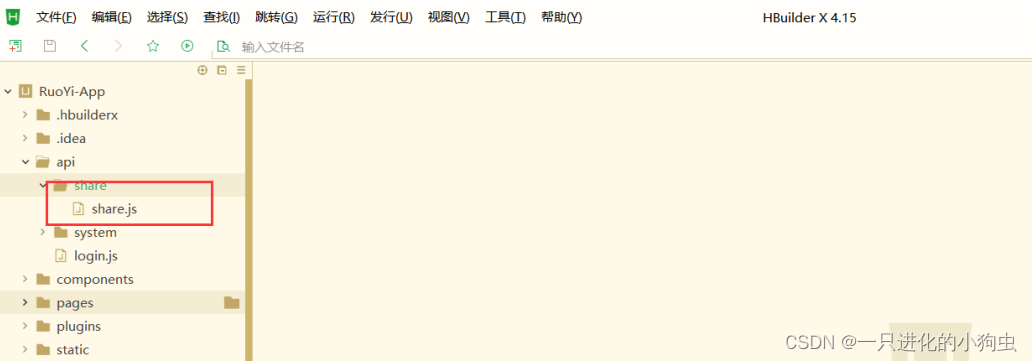
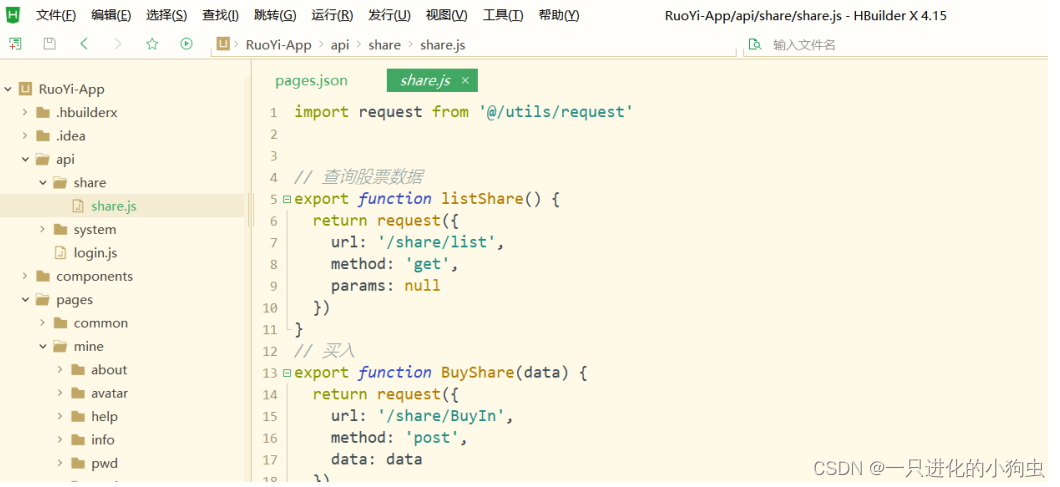
- 复制Ruoyi-cloud的准备好的js到Ruoyi-app的api下面:
比如share.js直接复制到api下面(可以在下面自定义一个目录,根据需求而定);
- 自定义在一个app自带的页面view写一个按钮(目的是为了通过这个按钮进去新建的那个页面)
如图:
在登录进去的主页写一个按钮,那这样的话需要找到这个主页是哪个view:
这个主页在pages/index.vue
我把按钮放入这里:
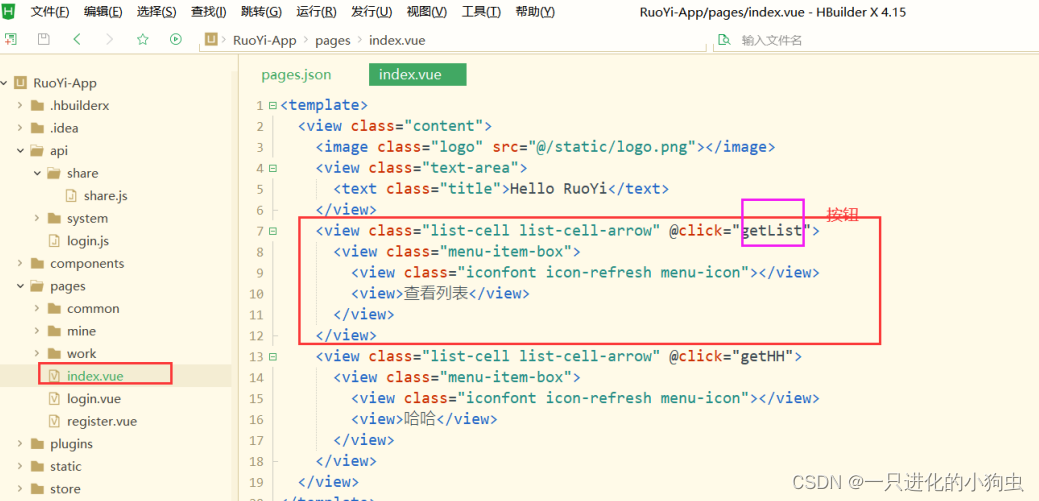
代码:
<view class="list-cell list-cell-arrow" @click="getList">
<view class="menu-item-box">
<view class="iconfont icon-refresh menu-icon"></view>
<view>查看列表</view>
</view>
</view>
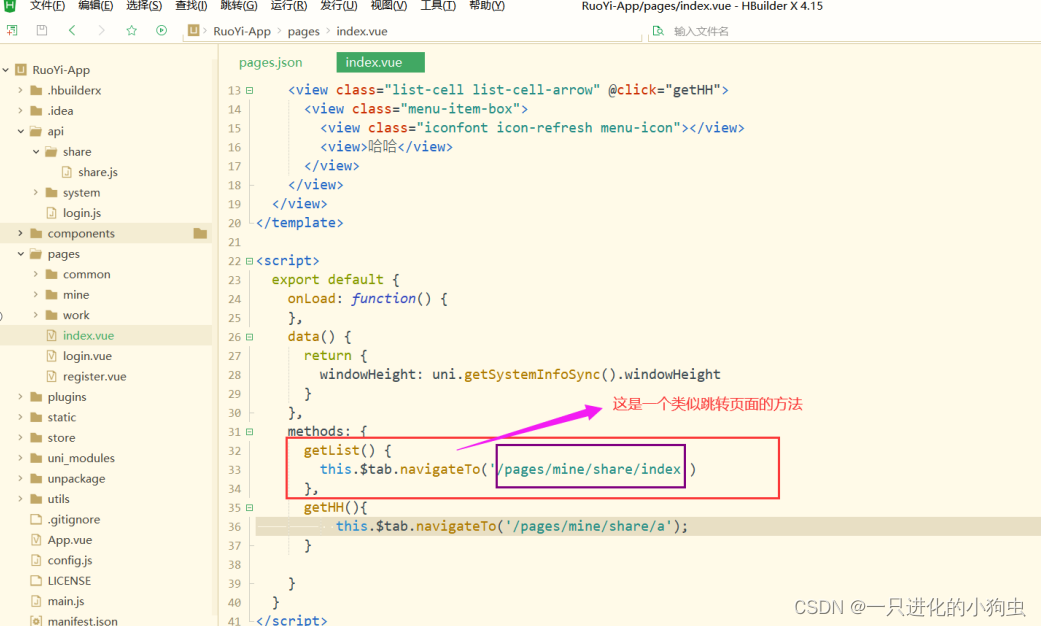
getList() {
this.$tab.navigateTo('/pages/mine/share/index')
},
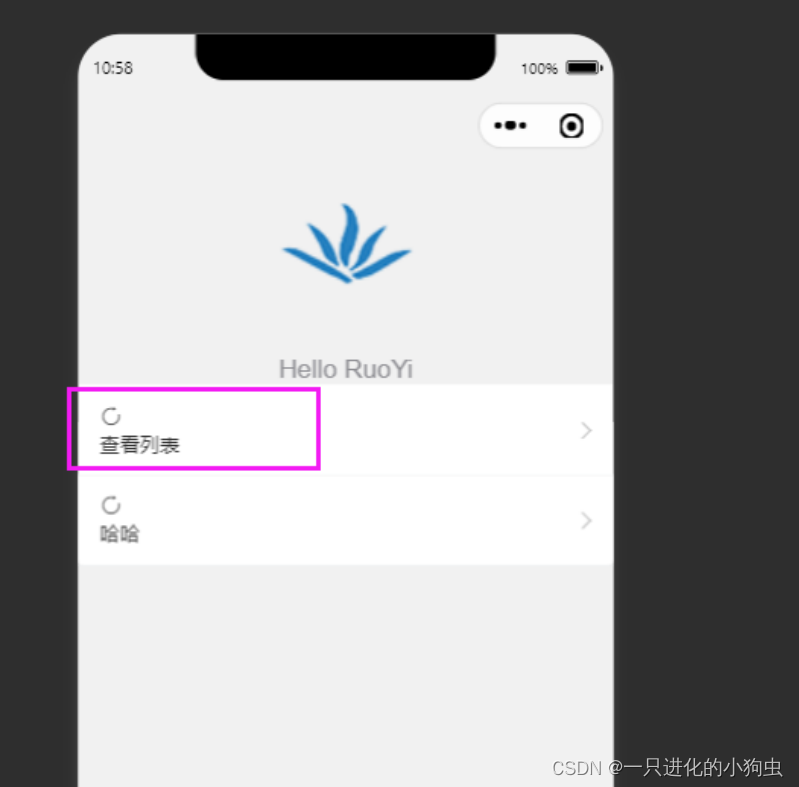
- 保存启动即可:


 1万+
1万+

 被折叠的 条评论
为什么被折叠?
被折叠的 条评论
为什么被折叠?
 到【灌水乐园】发言


