


uniapp自定义底部导航,不同权限身份登录小程序
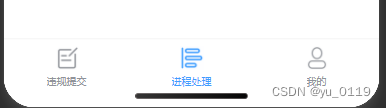
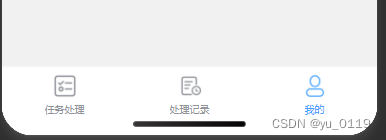
前言:有时候开发会遇到需要不同身份切换小程序的时候,底部的tabbar会发生变化,这时候uniapp自带的设置tabbar的属性就不能满足项目所需,下图是我这边两个身份看到的不同的tabbar内容
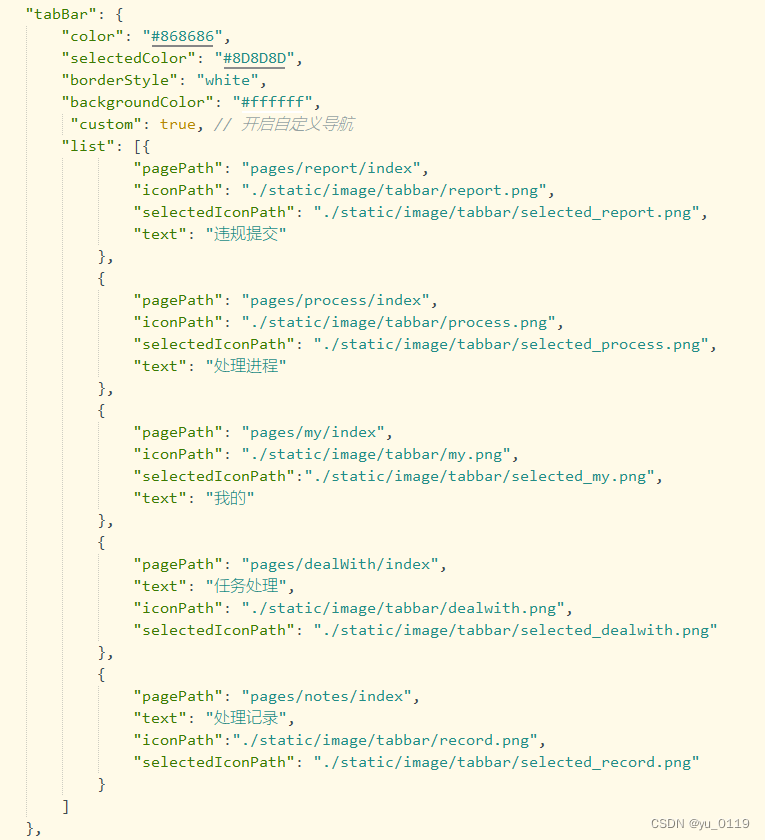
- 首先在 pages.json 页面中,正常写入自己的页面路径,每个权限,即所有的权限都要写上不要漏掉,记得 开启自定义导航1
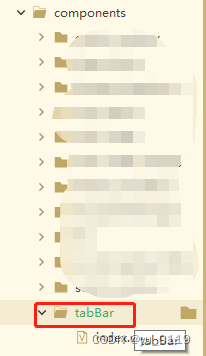
- 接着,在 component文件夹 下,建一个底部组建的js文件,名字任意
我这里用到的是cover-view 覆盖原来的tabbar的位置,并且可以自定义设置其内容
html
<cover-view class="tab-bar">
   		<cover-view class="tab-bar-border"></cover-view>
   		<cover-view v-for="(item,index) in tabBarList" :key="index" class="tab-bar-item" :data-id="index"
   			@click="jump(item)">
   			<cover-image :src="current === index ? item.selectedIconPath : item.iconPath"></cover-image>
   			<cover-view :style="{'color':current === index ? '#409eff' : '#909399'}" style="margin-top: 10rpx;">
   				{{item.text}}</cover-view>
   		</cover-view>
   	</cover-view>
js
import store from '@/store';
	export default {
		props: {
			tabBarList: {
				type: Array,
				default: uni.getStorageSync('tabBarList')
			},
			current: Number
		},
		data() {
			return {
				value1: 0,
				inactiveColor: '#909399'
			}
		},
		created() {

		},
		methods: {
			// 点击跳转对应tabbar页面
			jump(e) {
				console.log(e, 'e')
				uni.switchTab({
					url: e.pagePath
				})
			}
		}
	}
css
	.tab-bar {
		position: fixed;
		bottom: 0;
		left: 0;
		right: 0;
		height: 48px;
		padding-top: 4px;
		background: white;
		display: flex;
		padding-bottom: 35rpx;
	}
	.tab-bar-border {
		// background-color: rgba(0, 0, 0, 0.33);
		background-color: white;
		position: absolute;
		left: 0;
		top: 0;
		width: 100%;
		height: 1px;
		border-top: 2rpx solid rgba(187, 187, 187, 0.3);
		transform: scaleY(0.5);
	}

	.tab-bar-item {
		flex: 1;
		text-align: center;
		display: flex;
		justify-content: center;
		align-items: center;
		flex-direction: column;
	}

	.tab-bar-item cover-image {
		width: 48rpx;
		height: 48rpx;
	}

	.tab-bar-item cover-view {
		font-size: 10px;
	}
- store文件夹下建立js文件,用来存储权限的值,并记得在 main.js 引入,这里不再显示如何引入~
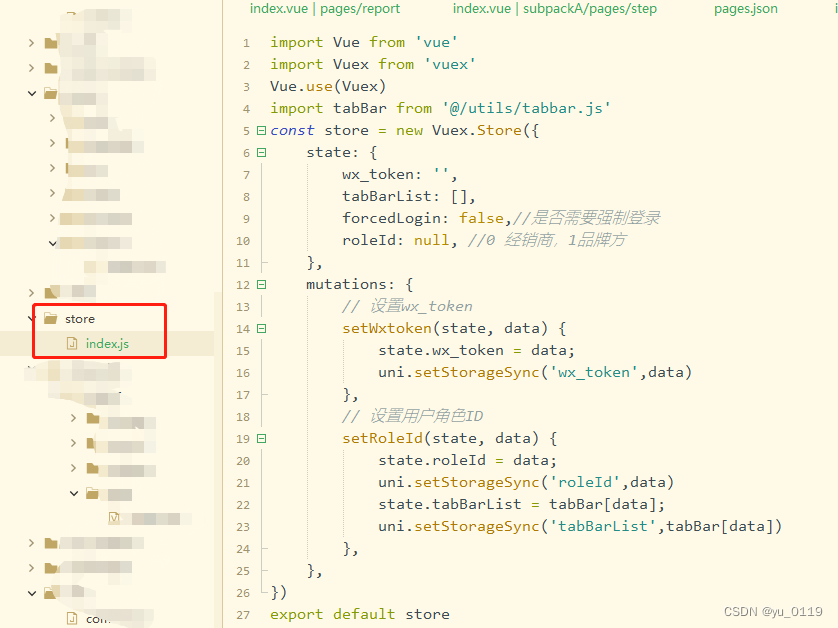
-
然后在utils文件夹下,建立存储底部导航的内容,分为两个部分
- (当然了,你可以不用放在vuex中,不过可能更加繁琐一些,我这样只是为了后面切换身份的时候方便些)

- (当然了,你可以不用放在vuex中,不过可能更加繁琐一些,我这样只是为了后面切换身份的时候方便些)
-
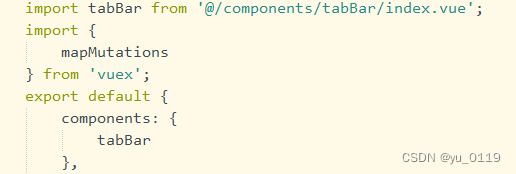
最后,在每个tabbar的页面,进入的时候传对应的底部的值给组建,就可以实现切换不同身份显示不同内容的效果啦~


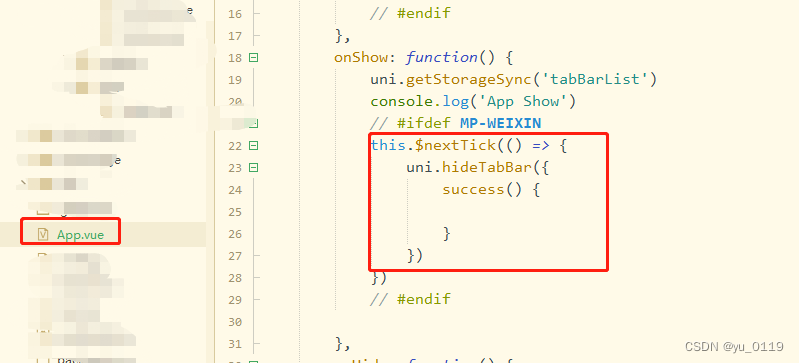
-差点忘记啦,app.vue记得隐藏原本的tabbar,
有不懂得欢迎提问~


 212
212


 被折叠的 条评论
为什么被折叠?
被折叠的 条评论
为什么被折叠?
 到【灌水乐园】发言


