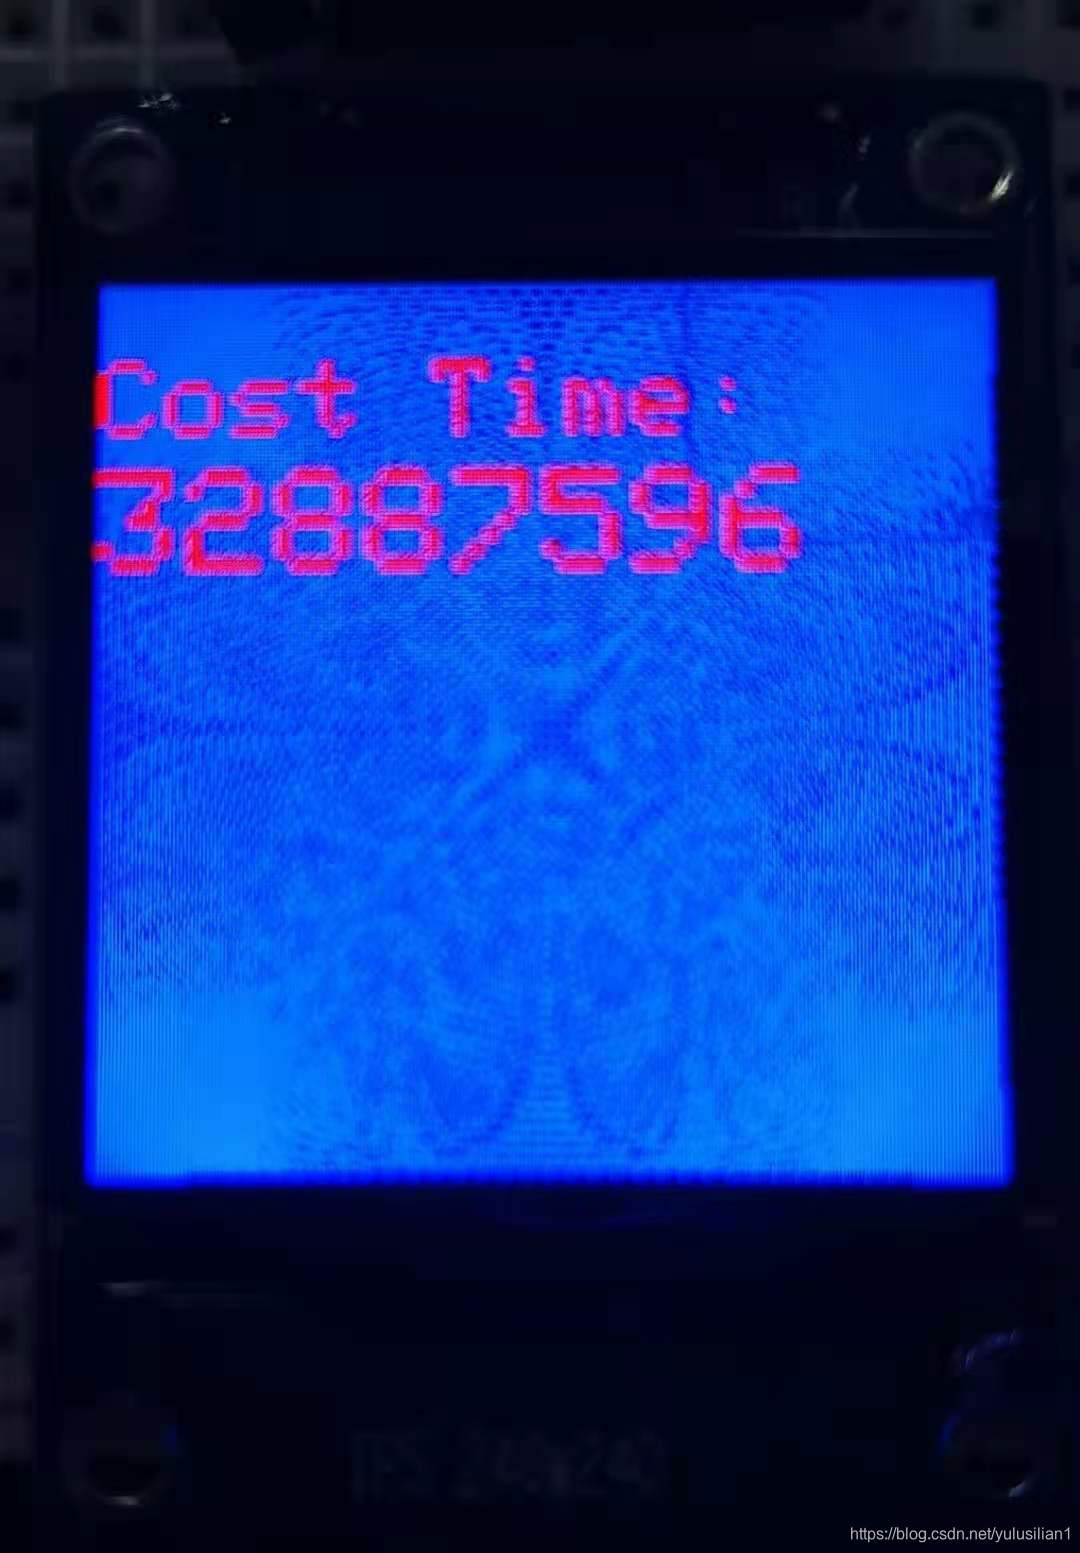
昨天的屏幕到了,也用之前“发现的”Arduino-ST7789-Library“专用驱动库”进行了点亮操作,但总是感觉屏幕显示的效率差强人意。因为在做TFT屏幕选型的时候有了解Arduino生态下各种屏幕的驱动支持情况,发现一个感觉像“大神”一样的库:GFX Library For Arduino。
我买的屏幕是ST7789驱动,想着用专用的,应该不会错,就先有了上一篇的介绍。But, Sometimes, 专用的不一定完全合脚。
先来剧透下惊掉下巴的结果:GFX For Arduino以8倍效率的提升吊打“专用驱动”!!!
点击查看 【弱鸡版专用库介绍】,你看了这个可能会对背景更了解一些,顺便“专用库”的安装方式也不是通过Arduino库管理器进行的,是手动的!是手动的!是手动的!这篇文章也有介绍如何手动安装,大神可以略过…
一、简单介绍下 GFX Library For Arduino
1. 驱动库概述
GitHub地址
作者:Moon On Our Nation (貌似住在Hong Kong)。感谢作者的分享,开源伟大!
作者在著名的3D素材分享社区 Thingiverse,也有很优秀的作品,大家感兴趣可以去瞅瞅。作者Thingiverse主页
言归正传,先贴一张镇楼图(之前忽略了,我的错- -!):

这应该是作者对几种比较流行的驱动框架做的性能测试对比,我们可以看出来,还是很有优势的。
同时,支持的开发板也比较丰富,例如:
- Arduino Nana
- Arduino Nano BLE 33
- Arduino Pro Micro
- ESP8266 Series
- ESP32 Series
- Raspberry Pi Pico
- rtlduino
- WeAct BlackPill V2.0 (BlackPill F411CE)
支持的屏幕驱动:
- GC9A01 round display 240x240
- HX8347C 240x320
- HX8347D 240x320
- HX8352C 240x400
- HX8357A 320x480 (currently only portrait works, i.e. rotation 0 and 2)
- HX8357B (9-bit SPI) 320x480
- ILI9225 176x220
- ILI9341 240x320
- ILI9341 (8-bit Parallel) 240x320
- ILI9342 320x240
- ILI9481 320x480 (18 bit color)
- ILI9486 320x480 (18 bit color)
- ILI9488 320x480 (3 bit color with canvas)
- ILI9488 320x480 (18 bit color)
- ILI9806 (8-bit/16-bit Parallel) 480x854
- JBT6K71 (8-bit Parallel) 240x320
- NT35310 320x480
- NT35510 (8-bit/16-bit Parallel) 480x800
- NT39125 (8-bit/16-bit Parallel) 240x376
- R61529 (8-bit/16-bit Parallel) 320x480
- SEPS525 160x128
- SSD1283A 130x130
- SSD1331 96x64
- SSD1351 128x128
- SSD1351 128x96
- ST7735 128x160 (various tabs)
- ST7735 128x128 (various tabs)
- ST7735 80x160
- ST7789 TTGO T-Display 135x240
- ST7789 240x240
- ST7789 TTGO T-Watch 240x240
- ST7789 round corner display 240x280
- ST7789 240x320
- ST7796 320x480
其他详细内容感兴趣的朋友可以去GitHub上项目主页查看。
2. 安装方式
打开Arduino库管理器,输入“GFX Library For Arduino”,在结果中找到,选择最新版本,点击安装即可。

二、试验对比
1.挑战双方介绍
擂台方:Arduino-ST7789-Library
挑战方:GFX Library For Arduino
2. 比武规则
在一块1.3寸驱动ST7789 240*240的TFT屏幕上进行 刷屏上色,并画直线
我们先来看看运行效果:

擂台方:实际结束大概耗时32S左右。CSDN单张图片最大5MB,我只截取了15S左右的GIF。我在下面附一张它运行完后的图片吧


挑战方 :耗时大概4S左右
看上面的结果,还是满震惊的,8倍左右的差距啊。
3.接线说明
首先说一下引脚接线,和上一篇略有区别。本篇两种驱动都采取以下的接线方式,方便测试:
| 屏幕引脚 | Arduino引脚 | 说明 |
|---|---|---|
| GND | GND | 接地 |
| VCC | 5V | 电源 |
| SCL | 13 | 时钟线 |
| SDA | 11 | 数据线 |
| RES | 7 | 复位 |
| DC | 8 | 命令控制 |
| BLK | 6 | 背光 |
基本上按照擂台方的库文件默认定义来搭线。定义在 Arduino_GFX_Library.h 头文件内,因为我用的开发板是Arduino UNO,参考下图:

注:您也可以根据自己的实际需要去修改这个头文件里面的定义。
4. 代码验证
擂台方代码:
#include <Adafruit_GFX.h>    // Core graphics library by Adafruit
#include <Arduino_ST7789.h> // Hardware-specific library for ST7789 (with or without CS pin)
#include <SPI.h>

#define TFT_DC    8
#define TFT_RST   7  //9
#define TFT_CS    9  //10 // only for displays with CS pin
#define TFT_MOSI  11   // for hardware SPI data pin (all of available pins)
#define TFT_SCLK  13   // for hardware SPI sclk pin (all of available pins)

#define w 240
#define h 240


Arduino_ST7789 tft = Arduino_ST7789(TFT_DC, TFT_RST, TFT_MOSI, TFT_SCLK, TFT_CS); //for display with CS pin

static inline uint32_t micros_start() __attribute__((always_inline));
static inline uint32_t micros_start()
{

  uint8_t oms = millis();
  while ((uint8_t)millis() == oms)
    ;
  return micros();
}


void setup(){

  Serial.begin(9600);
  tft.init(w, h);
}

void loop(){

  uint32_t start = micros_start();

  tft.fillScreen(BLACK);
  testLines(


 博客介绍了GFXLibraryForArduino如何以8倍的效率优于专用的Arduino-ST7789-Library,展示了在1.3寸ST7789屏幕上的对比测试。GFXLibraryForArduino由MoonOnOurNation开发,支持多种开发板和屏幕驱动,安装简便,性能显著。
 最低0.47元/天 解锁文章


 1万+
1万+

 被折叠的 条评论
为什么被折叠?


