


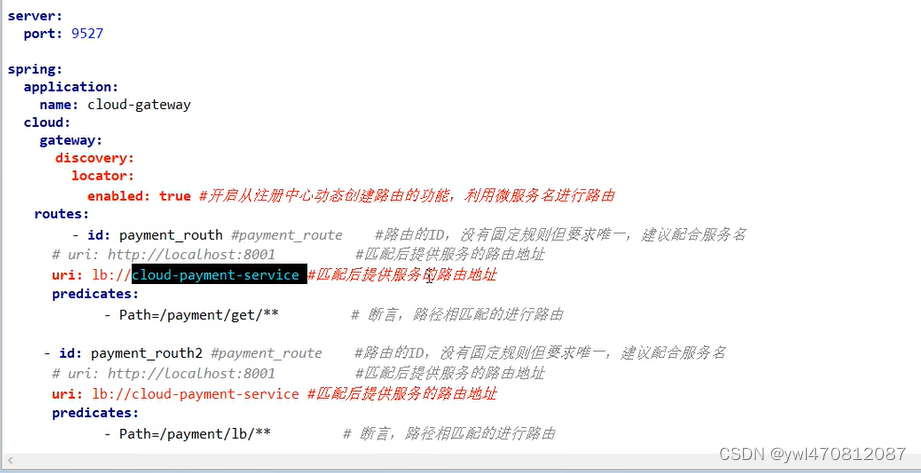
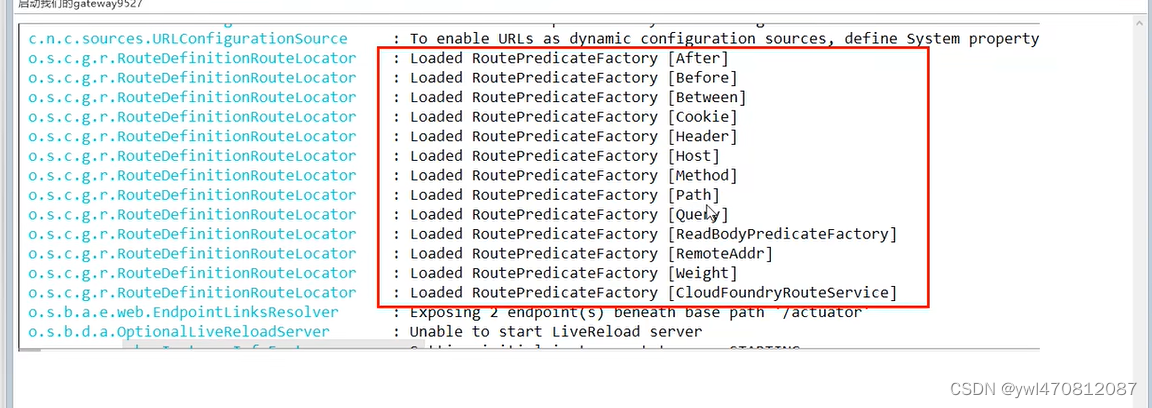
断言我们这里用了一个path,我们看下控制台日志可以看到这个断言很多种
具体学习可以从官网:Spring Cloud Gateway
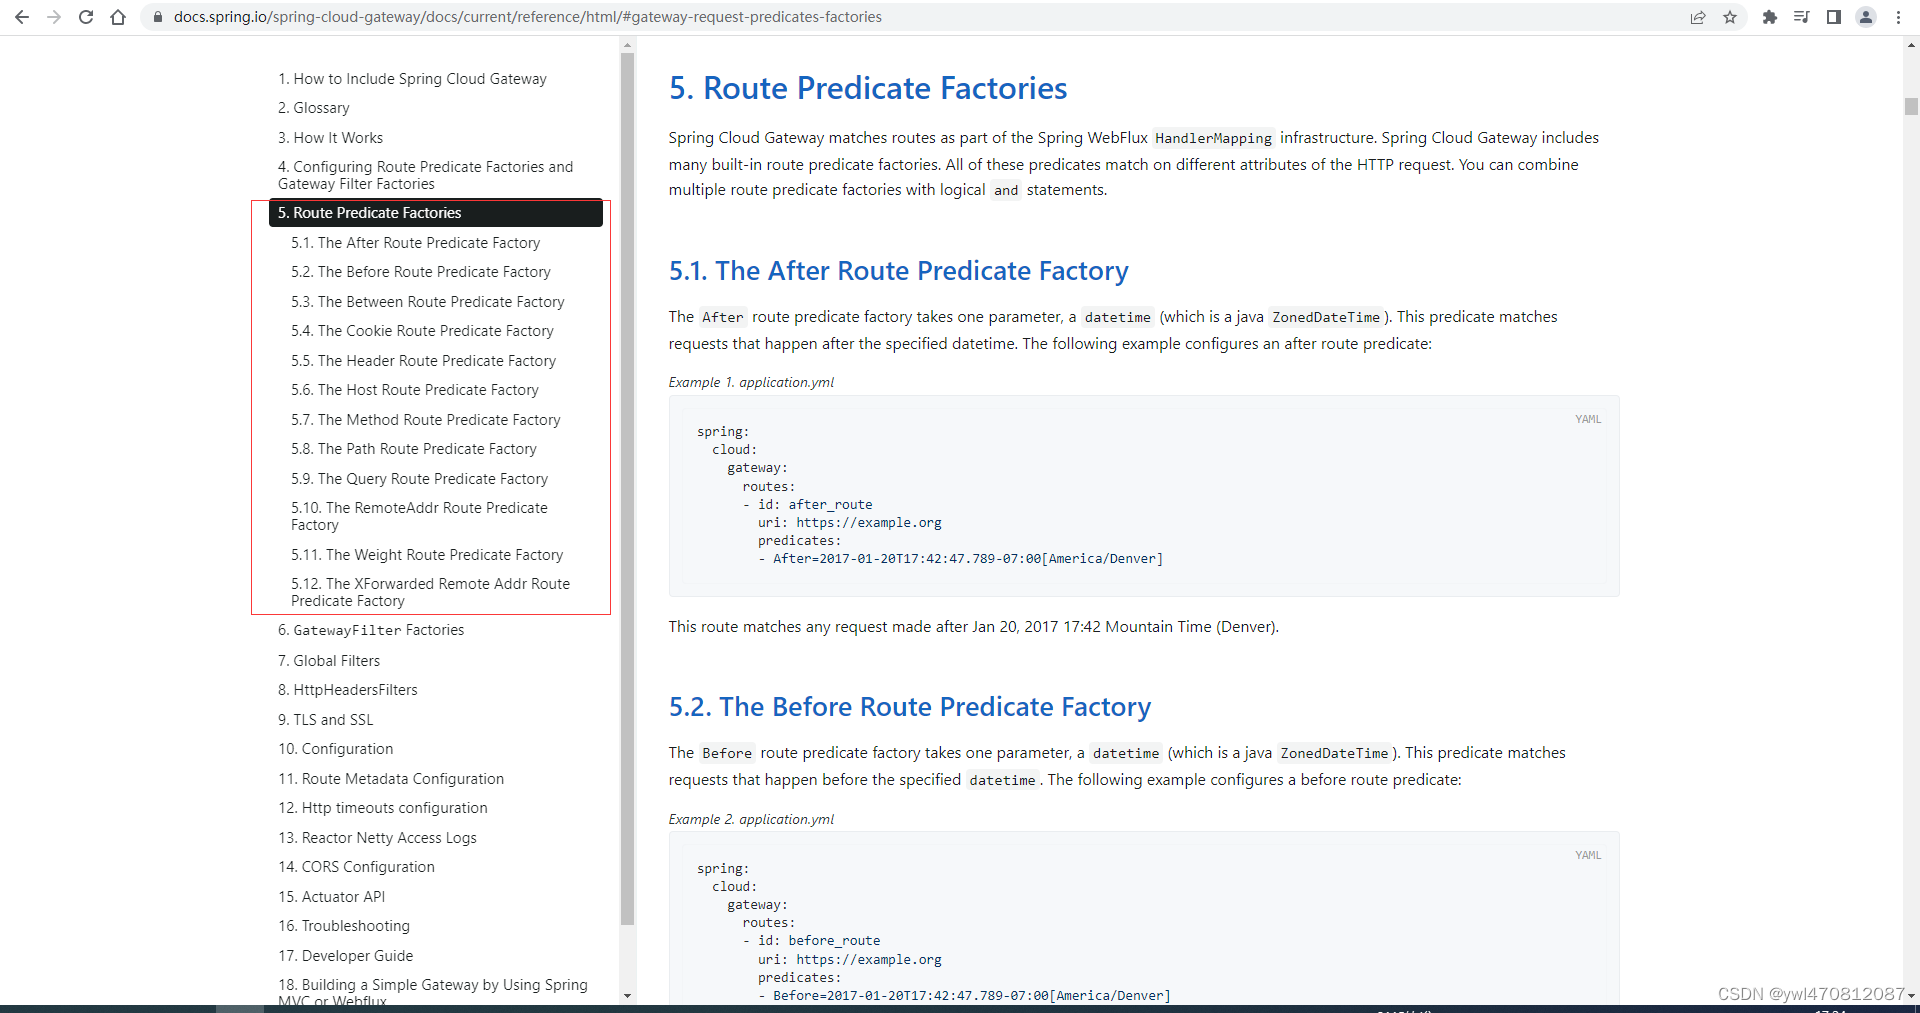
Spring Cloud Gateway将路由匹配作为Spring WebFlux HandlerMapping基础架构的一部分。
Spring Cloud Gateway包括许多内置的Route Predicate工厂。所有这些Predicate都与HTTP请求的不同属性匹配。多个RoutePredicate工厂可以进行组合
Spring Cloud Gateway创建Route对象时,使用RoutePredicateFactory创建 Predicate对象,Predicate对象可以赋值给Route。Spring Cloud Gateway包含许多内置的Route Predicate Factories。
所有这些谓词都匹配HTTP请求的不同属性。多种谓词工厂可以组合,并通过逻辑and。
断言案例讲解
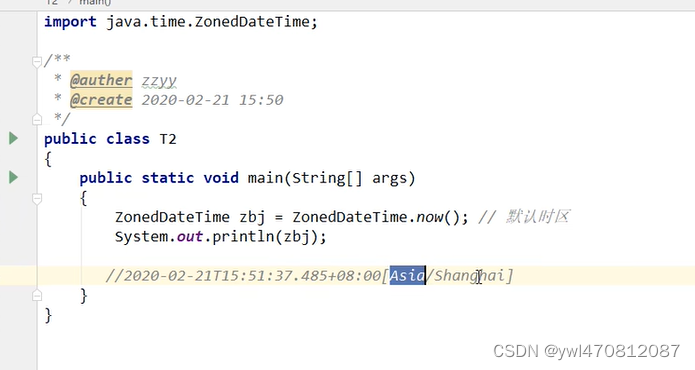
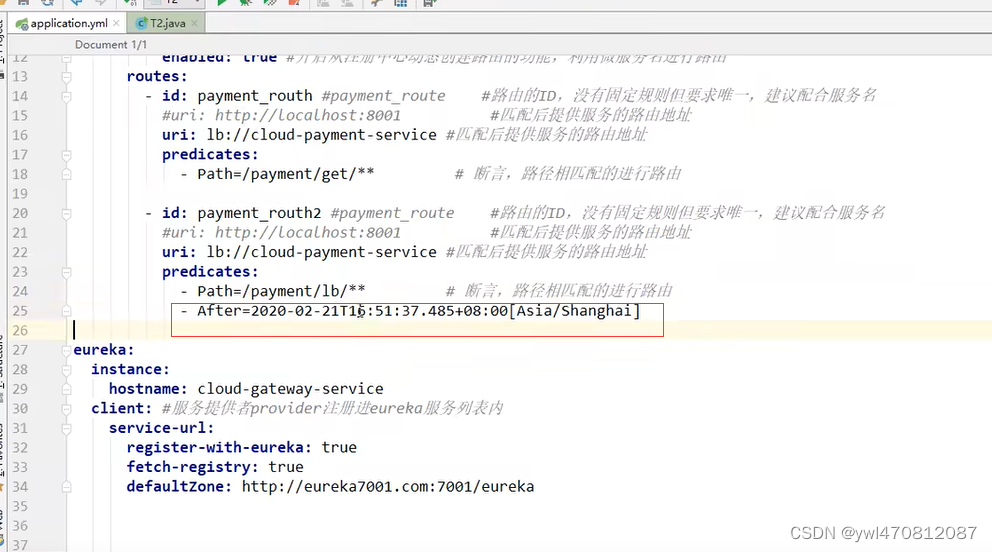
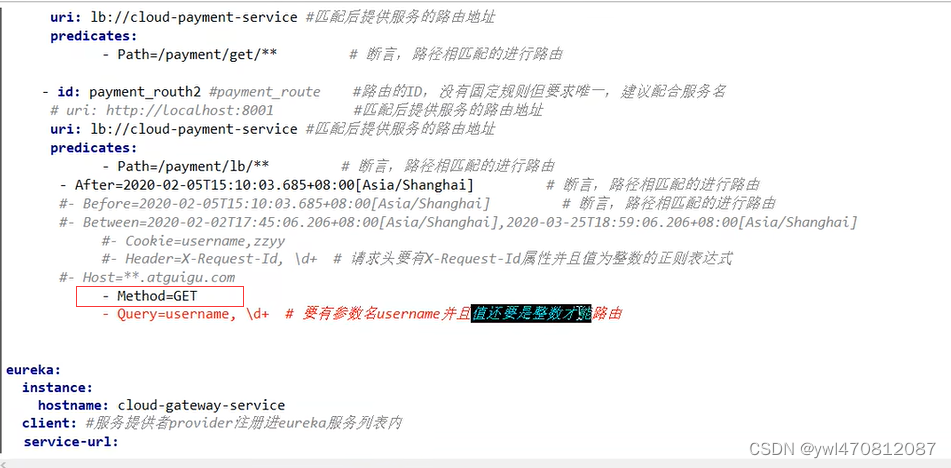
上面这个配置意思,要求要在这个After时间之后请求才可以访问
修改配置
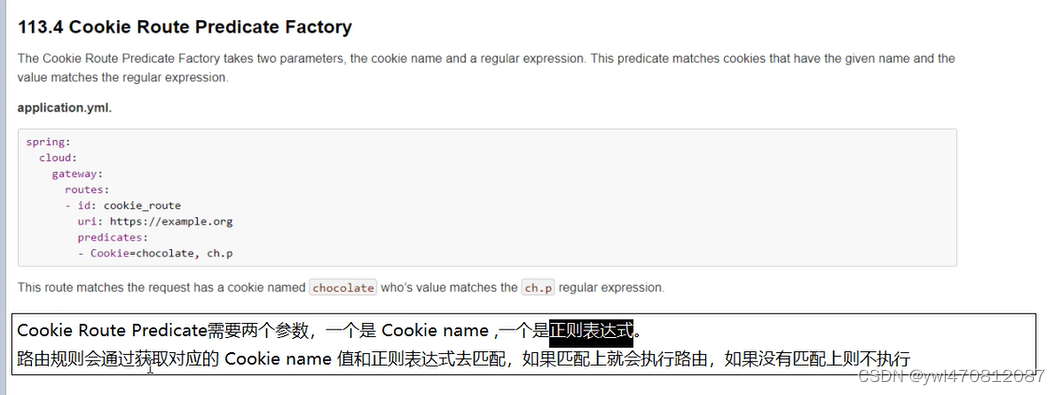
不带cookie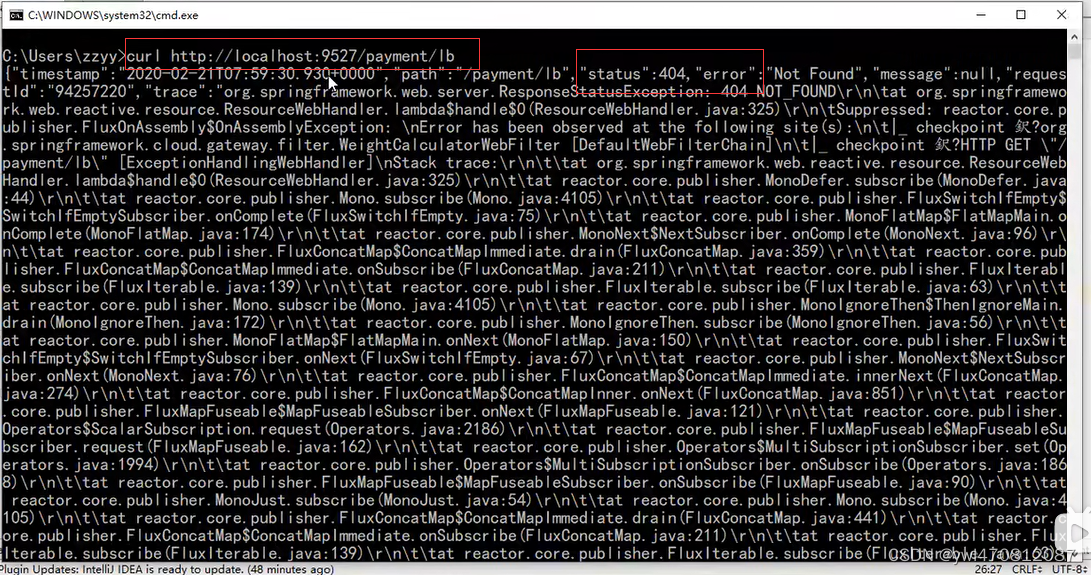
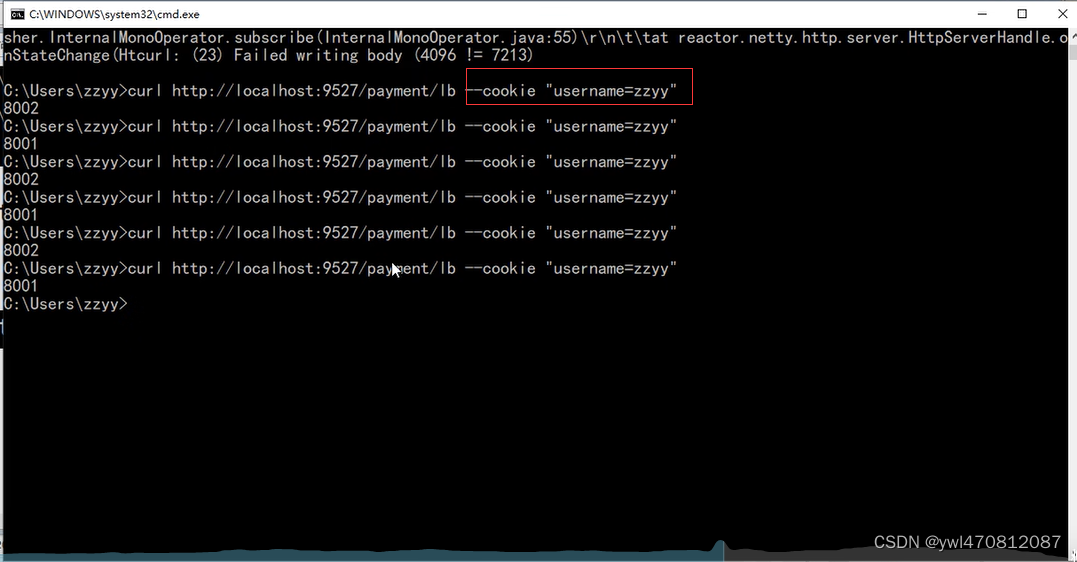
带cookie
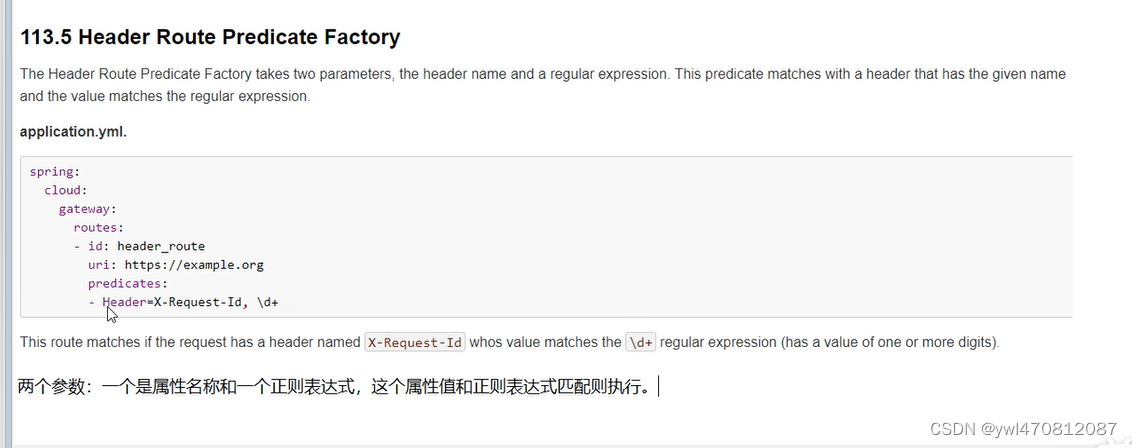
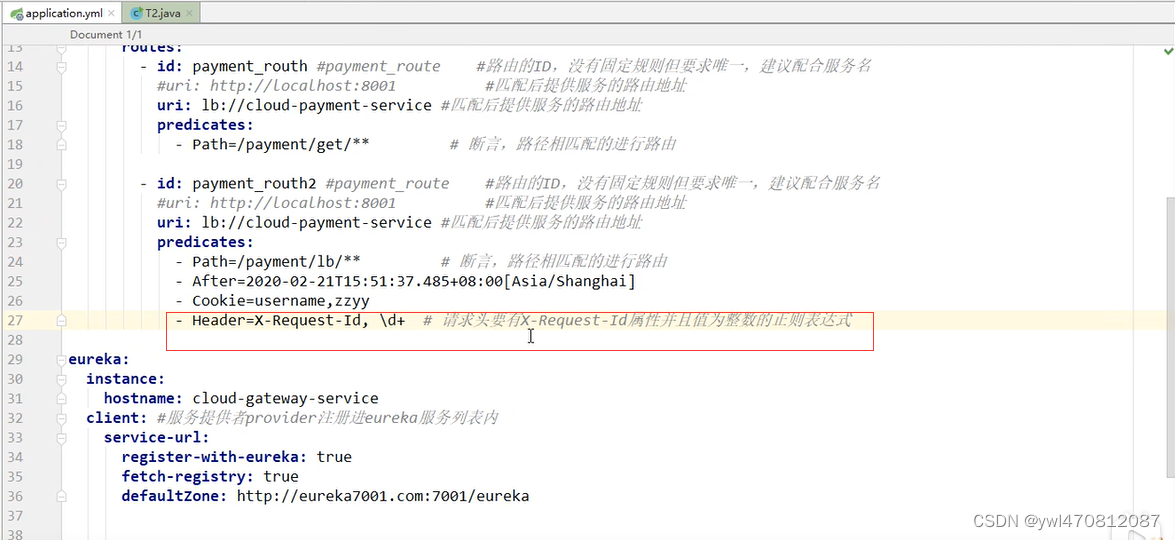
修改配置:

数字加了-号和不加区别,加了就不符合断言规则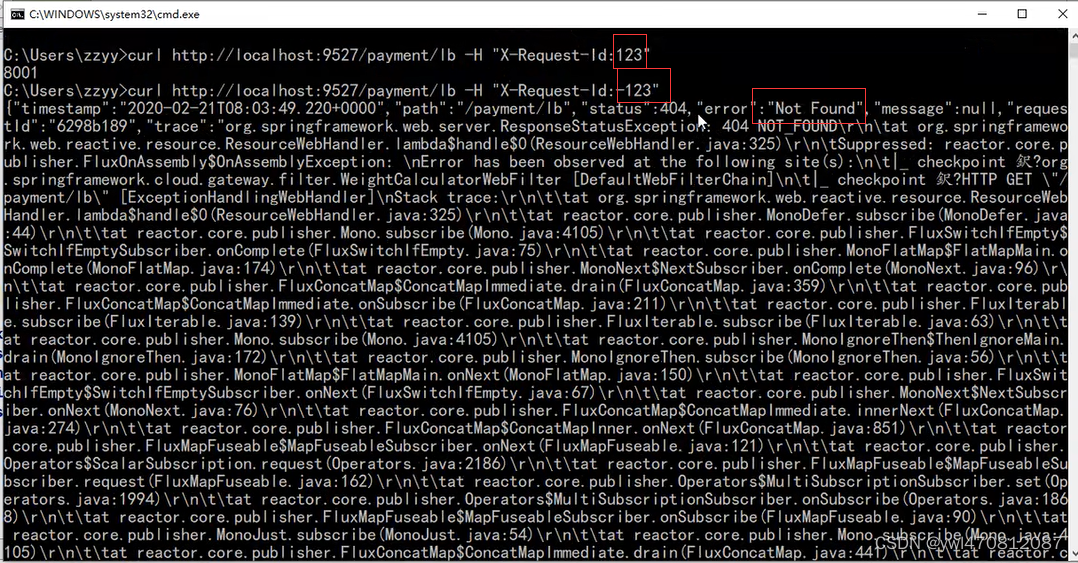
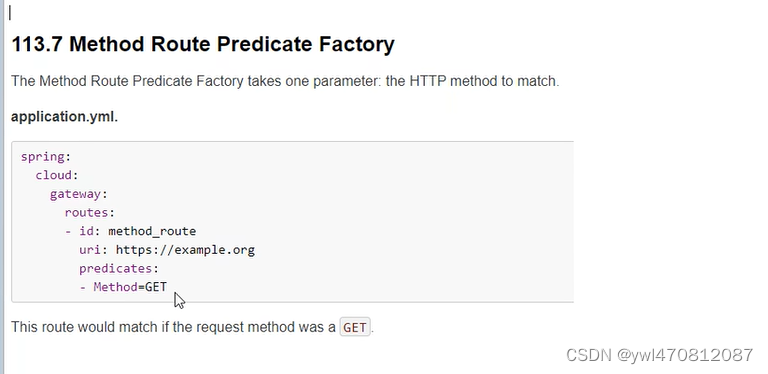
Method:


 1134
1134


 被折叠的 条评论
为什么被折叠?
被折叠的 条评论
为什么被折叠?
 到【灌水乐园】发言


