


1.nginx负载均衡
nginx通常被用作后端服务器的反向代理,这样就可以很方便的实现动静分离以及负载均衡,从而大大提高服务器的处理能力。
nginx实现动静分离,其实就是在反向代理的时候,如果是静态资源,就直接从nginx发布的路径去读取,而不需要从后台服务器获取了。
但是要注意,这种情况下需要保证后端跟前端的程序保持一致,可以使用Rsync做服务端自动同步或者使用NFS、MFS分布式共享存储。
Http Proxy模块,功能很多,最常用的是proxy_pass和proxy_cache
如果要使用proxy_cache,需要集成第三方的ngx_cache_purge模块,用来清除指定的URL缓存。这个集成需要在安装nginx的时候去做,如:
./configure --add-module=…/ngx_cache_purge-1.0 …
nginx通过upstream模块来实现简单的负载均衡,upstream需要定义在http段内
1.首先在2台服务器上搭建两个临时的httpd网站
[root@localhost yum.repos.d]# yum -y install httpd
已加载插件:product-id, search-disabled-repos, subscription-manager
This system is not registered with an entitlement server. You can use subscription-manager to register.
源 'myrepo' 在配置文件中未指定名字,使用标识代替
myrepo                                                                       | 4.1 kB  00:00:00
(1/2): myrepo/group_gz                                                       | 137 kB  00:00:00
(2/2): myrepo/primary_db                                                     | 4.0 MB  00:00:00
正在解决依赖关系
--> 正在检查事务
[root@localhost ~]# cd /etc/httpd/conf
[root@localhost conf]# vim httpd.conf
[root@localhost conf]# vim httpd.conf
ServerName www.example.com:80   				##取消注释
2.修改名字
[root@localhost ~]# hostname 129
[root@localhost ~]# bash
[root@129 ~]#
3.在/var/www/html下面创建文件
[root@129 ~]# cd /var/www/html/
[root@129 html]# echo '129' > index.html
4.重启服务
[root@129 ~]# systemctl restart httpd
[root@129 ~]# ss -antl
State      Recv-Q Send-Q     Local Address:Port                    Peer Address:Port
LISTEN     0      128                    *:22                                 *:*
LISTEN     0      100            127.0.0.1:25                                 *:*
LISTEN     0      128                   :::80                                :::*
LISTEN     0      128                   :::22                                :::*
LISTEN     0      100                  ::1:25                                :::*
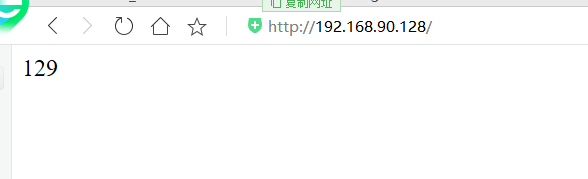
5.测试
6.在130这台服务器上执行同样的操作
[root@localhost ~]# yum -y install httpd
已加载插件:product-id, search-disabled-repos, subscription-manager
This system is not registered with an entitlement server. You can use subscription-manager to register.
file:///mnt/repodata/repomd.xml: [Errno 14] curl#37 - "Couldn't open file /mnt/repodata/repomd.xml"
正在尝试其它镜像。
正在解决依赖关系
--> 正在检查事务
---> 软件包 httpd.x86_64.0.2.4.6-67.el7 将被 安装
--> 正在处理依赖关系 httpd-tools = 2.4.6-67.el7,它被软件包 httpd-2.4.6-67.el7.x86_64 需要
--> 正在处理依赖关系 /etc/mime.types,它被软件包 httpd-2.4.6-67.el7.x86_64 需要
--> 正在处理依赖关系 libapr-1.so.0()(64bit),它被软件包 httpd-2.4.6-67.el7.x86_64 需要
--> 正在处理依赖关系 libaprutil-1.so.0()(64bit),它被软件包 httpd-2.4.6-67.el7.x86_64 需要
--> 正在检查事务
---> 软件包 apr.x86_64.0.1.4.8-3.el7 将被 安装
---> 软件包 apr-util.x86_64.0.1.5.2-6.el7 将被 安装
---> 软件包 httpd-tools.x86_64.0.2.4.6-67.el7 将被 安装
---> 软件包 mailcap.noarch.0.2.1.41-2.el7 将被 安装
--> 解决依赖关系完成


[root@localhost ~]# cd /etc/httpd/conf
[root@localhost conf]# ls
httpd.conf  magic
[root@localhost conf]# vim httpd.conf
ServerName www.example.com:80   				##取消注释
[root@localhost ~]# hostname 130
[root@localhost ~]# systemctl restart httpd
[root@localhost conf]# cd /var/www/html/
[root@localhost html]# echo '130'> index.html
[root@localhost ~]# bash
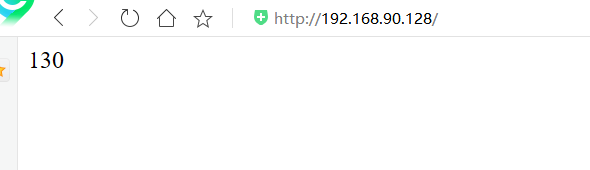
7.测试
2.在nginx上搭建负载均衡
1.在upstream段内,定义一个服务器列表;写在server的上面
[root@localhost ~]# vim /usr/local/nginx/conf/nginx.conf
    upstream idfsoft.com {
        server 192.168.90.129:80;
        server 192.168.90.130:80;

    }
2.在location里写上反向代理。
[root@localhost ~]# vim /usr/local/nginx/conf/nginx.conf
   location / {
        proxy_pass http://idfsoft.com;
    }
[root@localhost ~]# nginx -s reload
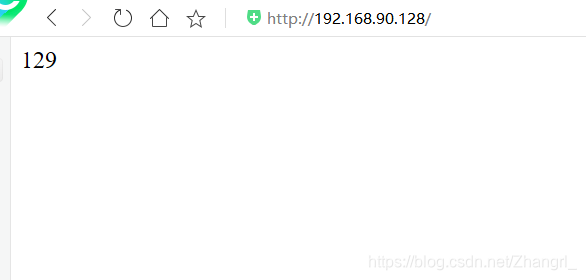
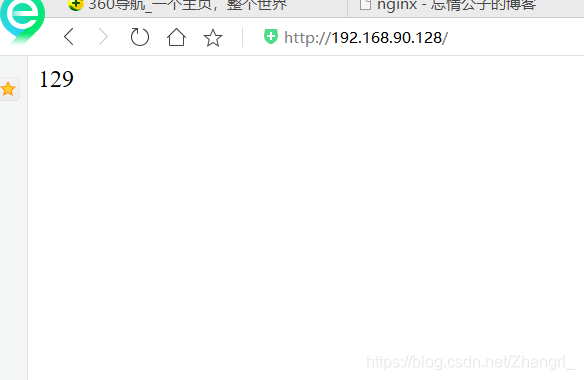
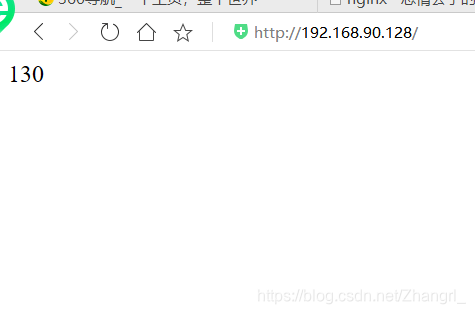
3.测试,在网址上输入nginx的ip就能跳转到192.168.90.129的内容,再刷新一次就能到192.168.90.130的内容
4.在upstream下面加上ip_hash,然后第一次访问的是什么下次刷新就不会改变
   upstream idfsoft.com {
        ip_hsah
        server 192.168.90.129:80
        server 192.168.90.130:80;

    }
5.而在 192.168.90.129:80 后面加上weight=3意思是129访问3次之后下次会跳转到130
 upstream idfsoft.com {
        server 192.168.90.129:80 weight=3;
        server 192.168.90.130:80;

    }
redis配置
官网下载源码包
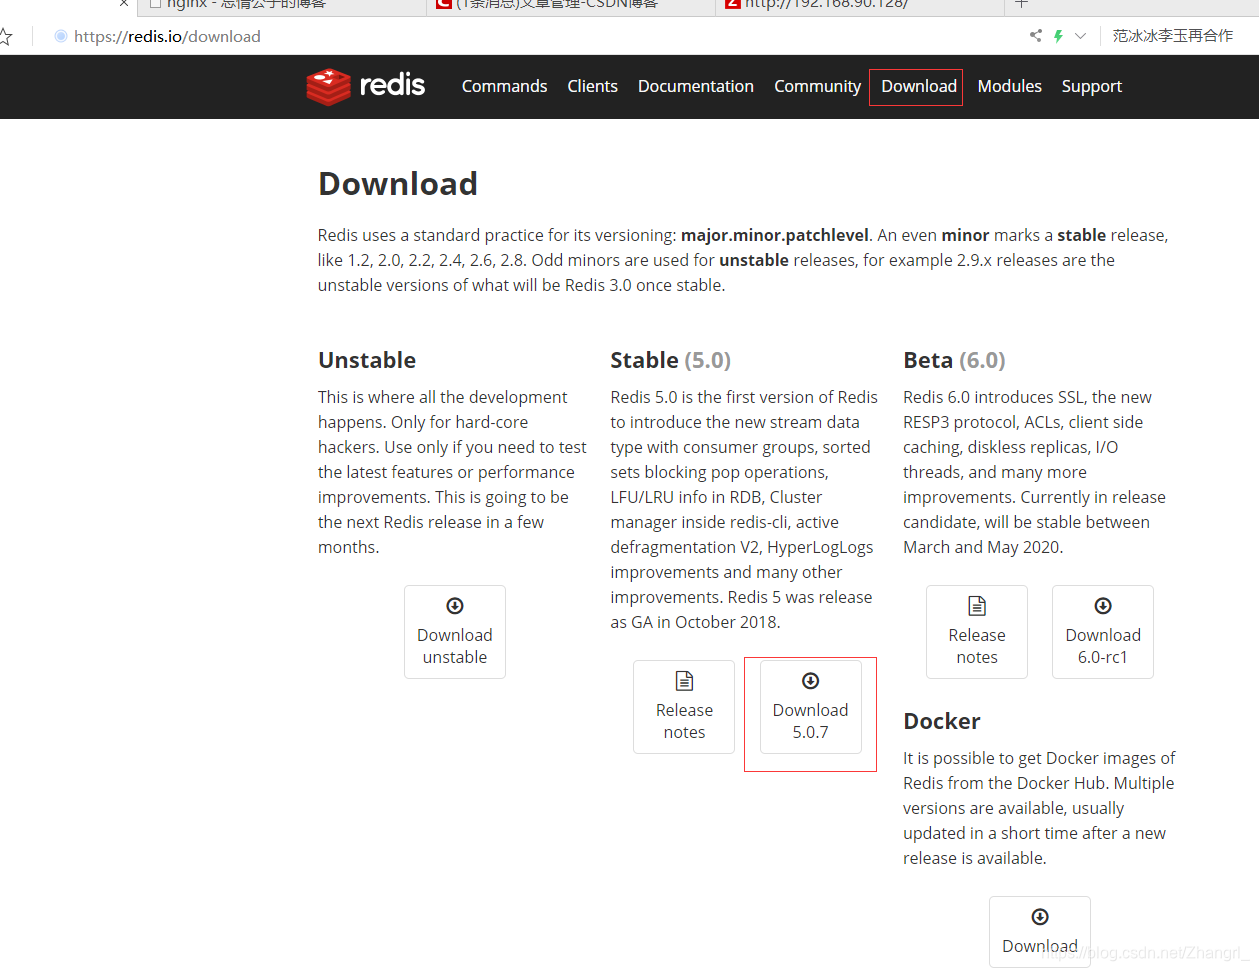
解压并安装
[root@localhost ~]# tar xf redis-5.0.7.tar.gz
[root@localhost ~]# cd redis-5.0.7
[root@localhost redis-5.0.7]# ls
00-RELEASENOTES  COPYING  Makefile   redis.conf       runtest-moduleapi  src
BUGS             deps     MANIFESTO  runtest          runtest-sentinel   tests
CONTRIBUTING     INSTALL  README.md  runtest-cluster  sentinel.conf      utils
[root@localhost redis-5.0.7]# make
cd src && make all
make[1]: 进入目录“/root/redis-5.0.7/src”
    CC Makefile.dep
make[1]: 离开目录“/root/redis-5.0.7/src”
make[1]: 进入目录“/root/redis-5.0.7/src”
rm -rf redis-server redis-sentinel redis-cli redis-benchmark redis-check-rdb redis-check-aof *.o *.gcda *.gcno *.gcov redis.info lcov-html Makefile.dep dict-benchmark
(cd ../deps && make distclean)
make[2]: 进入目录“/root/redis-5.0.7/deps”
(cd hiredis && make clean) > /dev/null || true
(cd linenoise && make clean) > /dev/null || true
[root@localhost redis-5.0.7]# make install
cd src && make install
make[1]: 进入目录“/root/redis-5.0.7/src”
    CC Makefile.dep
make[1]: 离开目录“/root/redis-5.0.7/src”
make[1]: 进入目录“/root/redis-5.0.7/src”

Hint: It's a good idea to run 'make test' ;)

    INSTALL install
    INSTALL install
    INSTALL install
    INSTALL install
    INSTALL install
make[1]: 离开目录“/root/redis-5.0.7/src”
设置配置文件的路径,并用指定配置文件路径启动,查看默认端口号6379已经启动
[root@localhost ~]# mkdir /etc/redis
[root@localhost ~]# cp  -r /root/redis-5.0.7/redis.conf /etc/redis/
[root@localhost ~]# nohup redis-server /etc/redis/redis.conf &
[1] 16915
[root@localhost ~]# nohup: 忽略输入并把输出追加到"nohup.out"

[root@localhost ~]# jobs
[1]+  运行中               nohup redis-server /etc/redis/redis.conf &
[root@localhost ~]# ss -antl
State      Recv-Q Send-Q     Local Address:Port                    Peer Address:Port
LISTEN     0      128            127.0.0.1:6379                               *:*
LISTEN     0      128                    *:80                                 *:*
LISTEN     0      128                    *:22                                 *:*
LISTEN     0      100            127.0.0.1:25                                 *:*
LISTEN     0      128                    *:10050                              *:*
LISTEN     0      128                    *:10051                              *:*
LISTEN     0      128            127.0.0.1:9000                               *:*
LISTEN     0      128                   :::22                                :::*
LISTEN     0      100                  ::1:25                                :::*
LISTEN     0      80                    :::3306                              :::*
设置密码并用密码登录
[root@localhost ~]# vim /etc/redis/redis.conf
requirepass 123
[root@localhost ~]# kill -9 %1
[root@localhost ~]# jobs
[1]+  已杀死               nohup redis-server /etc/redis/redis.conf
[root@localhost ~]#
[root@localhost ~]#nohup  redis-server /etc/redis/redis.conf  &
[root@localhost ~]# redis-cli -a 123
Warning: Using a password with '-a' or '-u' option on the command line interface may not be safe.
127.0.0.1:6379>
修改置本地ip,启动服务,查看端口
[root@localhost ~]# vim /etc/redis/redis.conf
bind 192.168.90.128
[root@localhost ~]# nohup redis-server /etc/redis/redis.conf &
[1] 24255
[root@localhost ~]# nohup: 忽略输入并把输出追加到"nohup.out"
[root@localhost ~]# ss -antl
State      Recv-Q Send-Q     Local Address:Port                    Peer Address:Port
LISTEN     0      128       192.168.90.128:6379                               *:*
LISTEN     0      128                    *:80                                 *:*
LISTEN     0      128                    *:22                                 *:*
LISTEN     0      100            127.0.0.1:25                                 *:*
LISTEN     0      128                    *:10050                              *:*
LISTEN     0      128                    *:10051                              *:*
LISTEN     0      128            127.0.0.1:9000                               *:*
LISTEN     0      128                   :::22                                :::*
LISTEN     0      100                  ::1:25                                :::*
LISTEN     0      80                    :::3306                              :::*
用129输入密码连接到redis里面
[root@129 ~]# redis-cli -h 192.168.90.128 -p 6379
192.168.90.128:6379> quit
[root@129 ~]# redis-cli -h 192.168.90.128 -p 6379 -a 123
Warning: Using a password with '-a' or '-u' option on the command line interface may not be safe.
192.168.90.128:6379> keys *
(empty list or set)
192.168.90.128:6379> quit


 被折叠的 条评论
为什么被折叠?
被折叠的 条评论
为什么被折叠?
 到【灌水乐园】发言


