


一、新工程集成步骤
1、新建目录RnDemo
2、在RnDemo里创建android目录
3、将现有的android项目代码拷贝进android目录里
4、创建package.json文件,内容如下:
{
  "name": "MyReactNativeApp",
  "version": "0.0.1",
  "private": true,
  "scripts": {
    "start": "yarn react-native start"
  }
}
5、添加react-native,执行如下命令
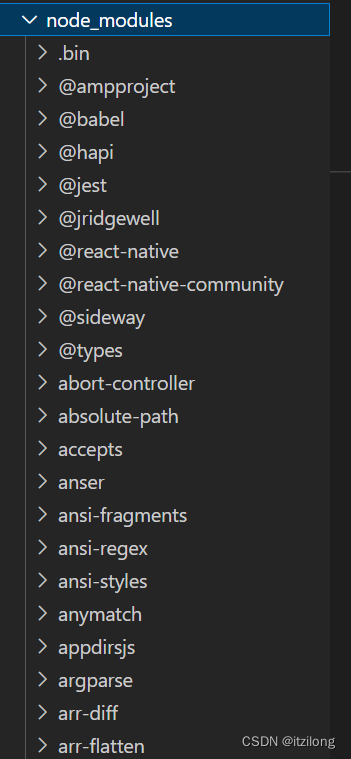
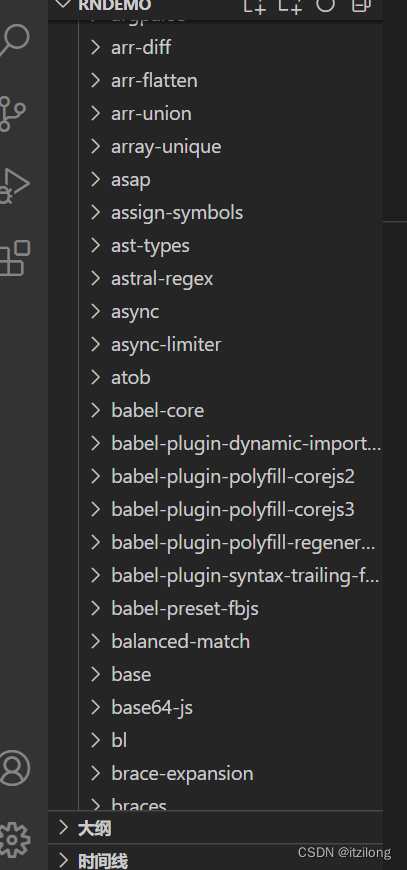
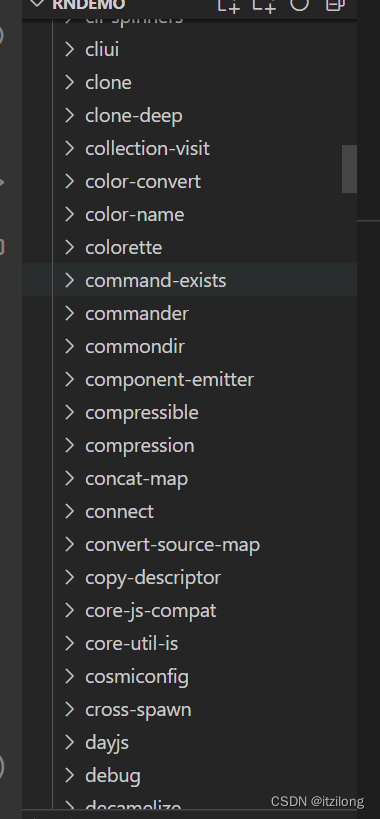
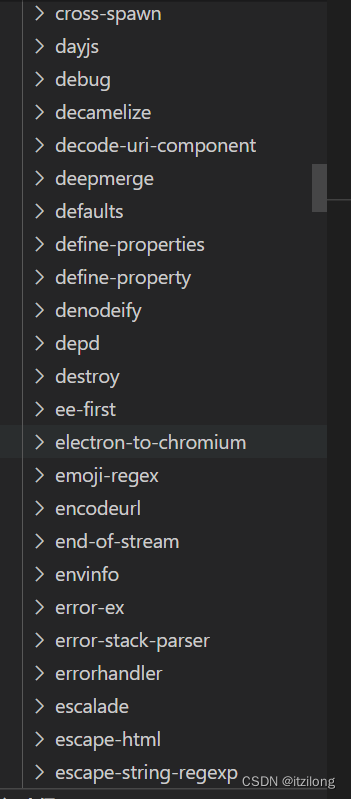
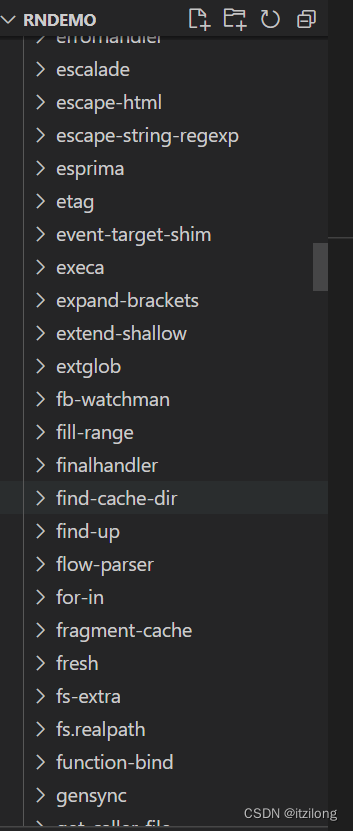
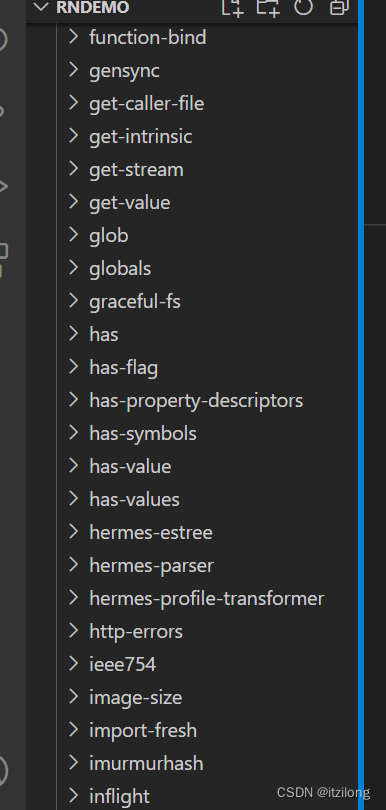
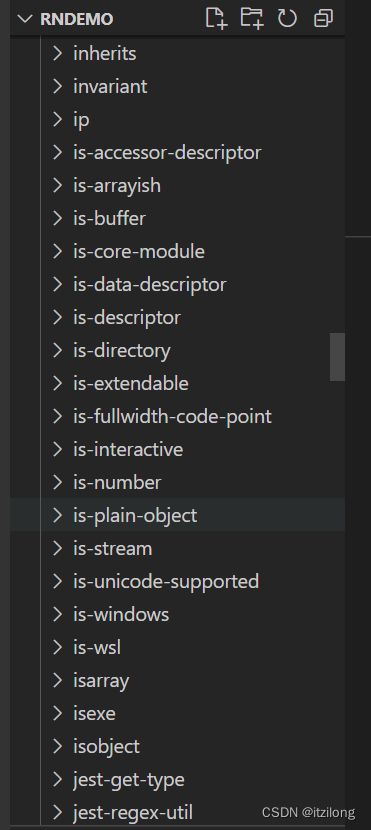
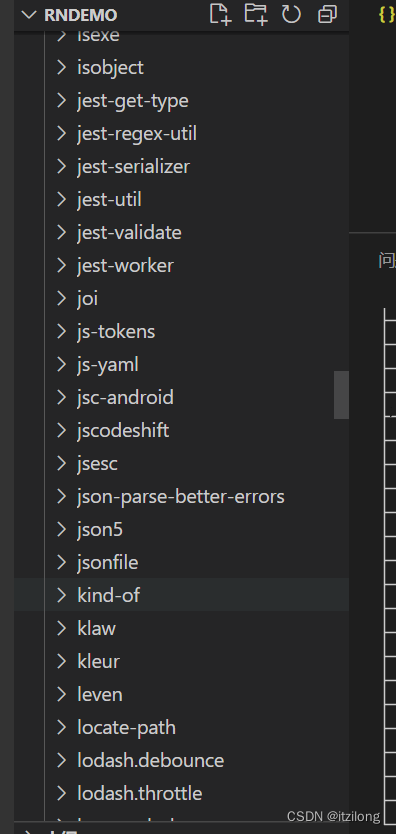
yarn add react-native
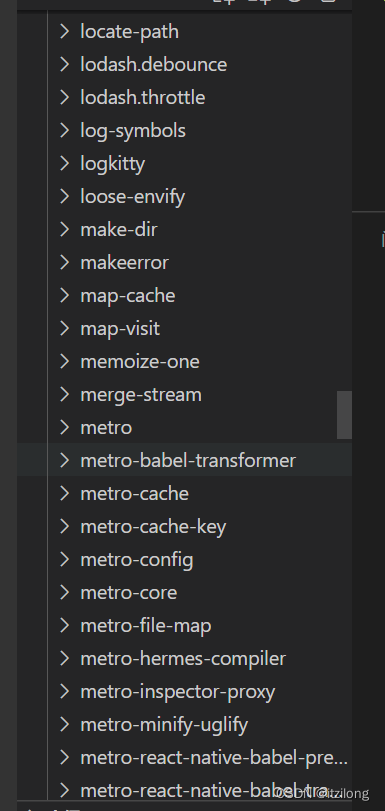
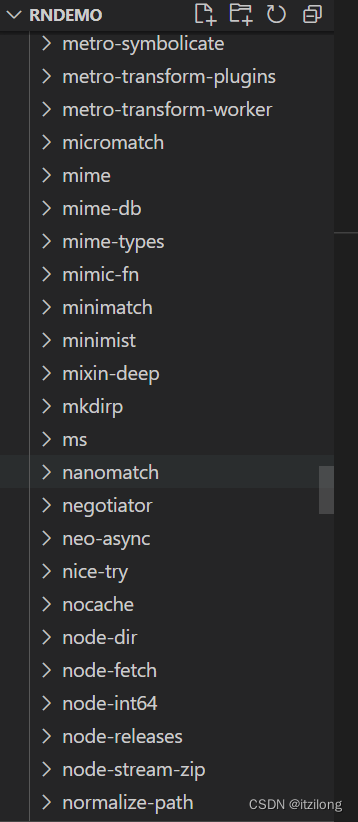
命令执行完毕后,目录下自动创建node-module目录,里面的内容如下:

执行命令过程中,有如下提示:
warning " > react-native@0.70.1" has unmet peer dependency "react@18.1.0".
6、添加react
yarn add react@18.1.0注意必须严格匹配警告信息中所列出的版本,高了或者低了都不可以。
7、配置原生
在app的build.gradle文件中添加React Native和JSC引擎依赖
implementation "com.facebook.react:react-native:+" // From node_modules
implementation "org.webkit:android-jsc:+"
在项目的 build.gradle 文件中为 React Native 和 JSC 引擎添加 maven 源的路径,必须写在 "allprojects" 代码块中
allprojects {
    repositories {
        maven {
            // All of React Native (JS, Android binaries) is installed from npm
            url "$rootDir/../node_modules/react-native/android"
        }
        maven {
            // Android JSC is installed from npm
            url("$rootDir/../node_modules/jsc-android/dist")
        }
        ...
    }
    ...
}
8、启动原生模块的自动连接
要使用自动链接的功能,我们必须将其应用于几个地方。首先,将以下内容添加到settings.gradle:
apply from: file("../node_modules/@react-native-community/cli-platform-android/native_modules.gradle"); applyNativeModulesSettingsGradle(settings)接下来,在app/build.gradle的最底部添加以下内容:
apply from: file("../../node_modules/@react-native-community/cli-platform-android/native_modules.gradle"); applyNativeModulesAppBuildGradle(project)9、在项目中创建一个index.js文件,内容如下:
import React from 'react';
import {
  AppRegistry,
  StyleSheet,
  Text,
  View
} from 'react-native';

class HelloWorld extends React.Component {
  render() {
    return (
      <View style={styles.container}>
        <Text style={styles.hello}>Hello, World</Text>
      </View>
    );
  }
}
var styles = StyleSheet.create({
  container: {
    flex: 1,
    justifyContent: 'center'
  },
  hello: {
    fontSize: 20,
    textAlign: 'center',
    margin: 10
  }
});

AppRegistry.registerComponent(
  'MyReactNativeApp',
  () => HelloWorld
);
10、在原生的activity中添加ReactRootView,用于加载rn的东西
参考如下:
public class MyReactActivity extends Activity implements DefaultHardwareBackBtnHandler {
    private ReactRootView mReactRootView;
    private ReactInstanceManager mReactInstanceManager;

    @Override
    protected void onCreate(Bundle savedInstanceState) {
        super.onCreate(savedInstanceState);
        SoLoader.init(this, false);

        mReactRootView = new ReactRootView(this);
        List<ReactPackage> packages = new PackageList(getApplication()).getPackages();
        // 有一些第三方可能不能自动链接,对于这些包我们可以用下面的方式手动添加进来:
        // packages.add(new MyReactNativePackage());
        // 同时需要手动把他们添加到`settings.gradle`和 `app/build.gradle`配置文件中。

        mReactInstanceManager = ReactInstanceManager.builder()
                .setApplication(getApplication())
                .setCurrentActivity(this)
                .setBundleAssetName("index.android.bundle")
                .setJSMainModulePath("index")
                .addPackages(packages)
                .setUseDeveloperSupport(BuildConfig.DEBUG)
                .setInitialLifecycleState(LifecycleState.RESUMED)
                .build();
         // 注意这里的MyReactNativeApp 必须对应"index.js"中的
        // "AppRegistry.registerComponent()"的第一个参数
        mReactRootView.startReactApplication(mReactInstanceManager, "MyReactNativeApp", null);

        setContentView(mReactRootView);
    }

    @Override
    public void invokeDefaultOnBackPressed() {
        super.onBackPressed();
    }
}
把activity的主题设为如下:
Theme.AppCompat.Light.NoActionBar注意:
一个ReactInstanceManager可以在多个 activities 或 fragments 间共享。你将需要创建自己的ReactFragment或ReactActivity,并拥有一个保存ReactInstanceManager的单例持有者。当你需要ReactInstanceManager(例如,将ReactInstanceManager连接到这些 Activities 或 Fragments 的生命周期)时,请使用单例提供的那个。下一步我们需要把一些 activity 的生命周期回调传递给ReactInstanceManager:
@Override
protected void onPause() {
    super.onPause();

    if (mReactInstanceManager != null) {
        mReactInstanceManager.onHostPause(this);
    }
}

@Override
protected void onResume() {
    super.onResume();

    if (mReactInstanceManager != null) {
        mReactInstanceManager.onHostResume(this, this);
    }
}

@Override
protected void onDestroy() {
    super.onDestroy();

    if (mReactInstanceManager != null) {
        mReactInstanceManager.onHostDestroy(this);
    }
    if (mReactRootView != null) {
        mReactRootView.unmountReactApplication();
    }
}
我们还需要把后退按钮事件传递给 React Native:
@Override
 public void onBackPressed() {
    if (mReactInstanceManager != null) {
        mReactInstanceManager.onBackPressed();
    } else {
        super.onBackPressed();
    }
}
二、拆包集成参考文章


 6537
6537


 被折叠的 条评论
为什么被折叠?
被折叠的 条评论
为什么被折叠?
 到【灌水乐园】发言


