


目录
头文件:#include<graphic.h>
一、鼠标的相关操作
1.创建窗口和关闭窗口
/*创建窗口和关闭窗口*/
initgraph(400,400);
closegraph();
2.创建消息对象
(注:不是专门的鼠标消息对象,而是一个消息对象,可以通过peekmessage专门捕捉鼠标的消息)
/*创建对象*/
ExMessage m;
3.获取鼠标当前的坐标
/*获取鼠标的当前坐标*/
int m_x; int m_y;
m_x=m.x; m_y=m.y;
4.几种常见的消息类型
WM_LBUTTONDDOWN、WM_LBUTTONUP、WM_RBUTTONDOWN、WM_RBUTTONUP ->实际上都对应着某一个十六进制的整数
5.操作鼠标消息三步走:
step1:创建消息对象
step2:通过peekmessage来捕捉相关的鼠标消息
peekmessage(&m,EM_MOUSE) 第二个参数表示是消息类型是鼠标操作
当然,也可以是按键操作 EM_KEY
step3:根据捕捉到的消息,进行相应的操作
6.实例:
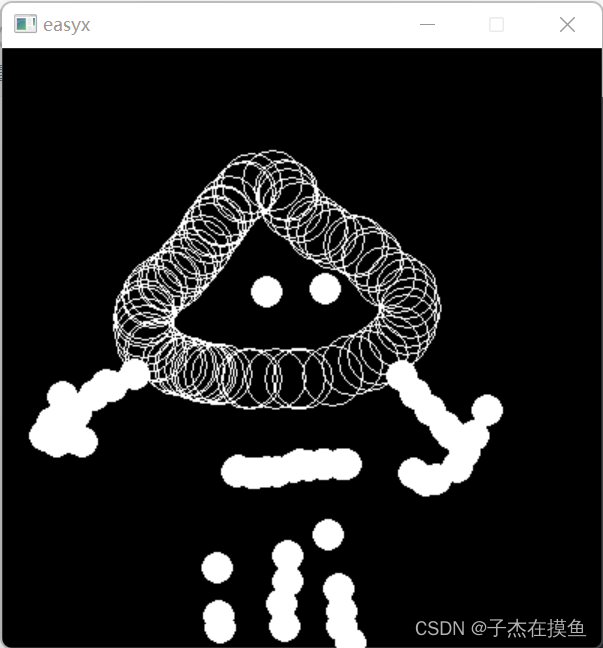
实现左键点击画空心圆,右键点击画一个实心圆的操作。
#include<iostream>
#include<graphics.h>
using namespace std;

int main()
{
	initgraph(400, 400);

    //step one:
	ExMessage m;

	while (1)
	{
        //step two:
		/*获取当前窗口的鼠标消息*/
		peekmessage(&m, EM_MOUSE);		/*获取当前窗口的信息*/

        //step three:
		if (m.message == WM_LBUTTONDOWN)
		{
			circle(m.x, m.y, 20);
		}
		if (m.message == WM_RBUTTONDOWN)
		{
			fillcircle(m.x, m.y, 10);
		}

	}
	closegraph();
	return 0;
}
效果展示:
二、按钮封装
1.目的:
自己构建几个筛选器,将基本的绘图的控件构建完毕,以后直接将这些头文件拿来用即可。
2.小技巧:
若想在另一个项目中复用这些tool&ui的.h和.cpp的文件,可以先将这些文件复制到对应项目的文件夹中,然后右键,添加“现有项”即可。
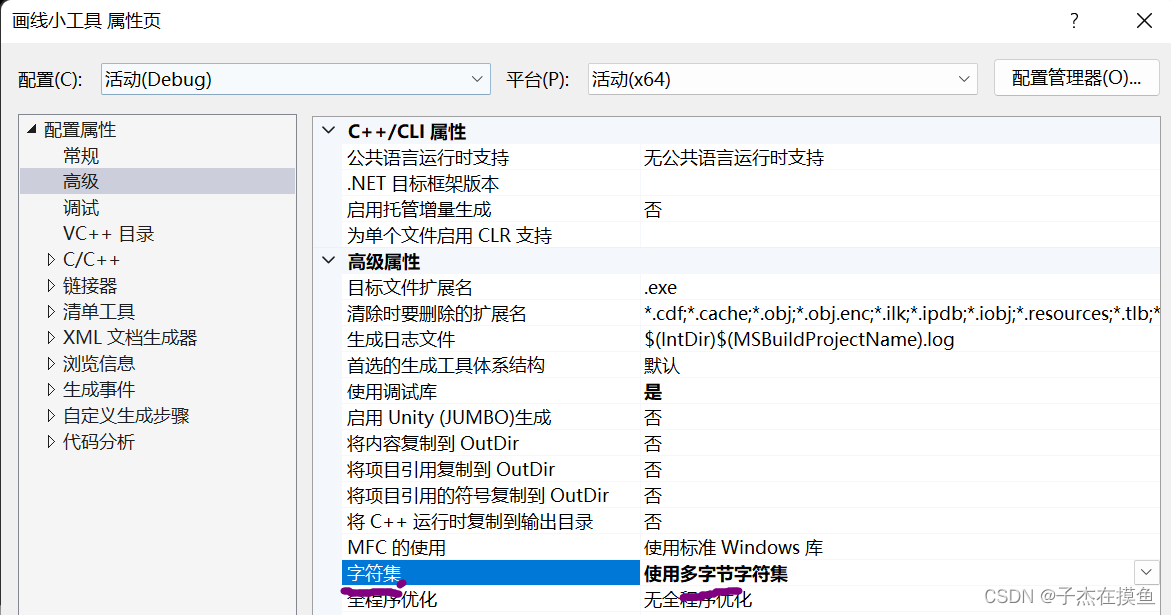
3.在写图形化easyx界面的时候,一定要将其改为多字节。
4.相关代码:
公共头文件: common.h
#pragma once
#include <iostream>
#include <string>
#include <graphics.h>
#include <conio.h>
#include <mmsystem.h>
#pragma comment(lib,"WINMM.LIB")
using namespace std;
UI筛选器下的widget.h
①构造函数(宽度、高度、读取图片的路径、flag(是否显示小黑窗))
②show()->绘制相应的窗口
③Refresh()更新窗口
④搞一个防闪退exec,按回车退出
#pragma once
#include"common.h"
class Widget
{
public:
	enum SHOW_STYLE/*flag对应的模式*/
	{
		NO_CON,    /*不显示控制台*/
		YEW_CON	   /*显示控制台*/
	};
public:
	Widget(int width, int height, string url = "", int flag = 0);/*flag=0默认是没有控制台的*/
	void show(int flag = 0);/*flag对应显示模式*/
	void Refresh();
	~Widget();				/*由于做了动态内存申请*/
	bool exec()
	{
		while (_getch() != '\r');/*按回车,退出->防止闪屏*/
		return 0;
	}
protected:
	int width;
	int height;
	IMAGE* img;
	string imgURL;			/*图片的路径*/
};
UI筛选器下的 widget.cpp
#include "widget.h"

Widget::Widget(int width, int height, string url, int flag)
{
	this->width = width;
	this->height = height;
	this->imgURL = url;				/*窗口背景的图片路径*/
	if (url.size() != 0)
	{
		this->img = new IMAGE;		/*所以要析构*/
		loadimage(this->img, url.c_str(), this->width, this->height);
	}
}

void Widget::show(int flag)
{
	initgraph(this->width, this->height, flag);/*flag传入0表示不显示窗口,flag传入1表示显示窗口*/
	if (this->imgURL.size() != 0)
	{
		putimage(0, 0, this->img);	/*注意:图片的路径名长度不为0才会去寻找并贴图*/
	}
}

void Widget::Refresh()
{
	if (imgURL.size() != 0)
	{
		putimage(0, 0, img);
	}
	else
	{
		cleardevice();
	}
}

Widget::~Widget()
{
	if (imgURL.size() != 0)			/*细节:要不为空才能析构*/
	{
		delete img;
	}
}
UI下的button.h
①已继承下来了width和height,一个按钮还需要x、y坐标以及上面可以显示的文字
②增加设置相关数据成员COLORREF和文字颜色的接口
③show()->绘制按钮(主要就是保证文字的居中!)
④MouseInButton()判断鼠标是否放在了按钮上
⑤clickButton() 点击鼠标后进行的反应
⑥新增数据成员,鼠标放置在按钮上颜色,和不在按钮上的颜色及当前色 COLOREF
#pragma once
#include"common.h"
#include"widget.h"
class Button:public Widget
{
public:
	Button(string text="", int x = 0, int y = 0, int width = 100, int height = 25);
	void SetBkColor(COLORREF);
	void setTextColor(COLORREF color);
	void show();
	bool MouseInButton(ExMessage msg);		/*鼠标是否放在了按钮上*/
	bool clickButton(ExMessage msg);

protected:
	//按钮的坐标
	int x;
	int y;
	//按钮文字
	string text;
	//按钮颜色
	COLORREF curColor;	/*当前按钮颜色*/
	COLORREF inColor;	/*鼠标在按钮中*/
	COLORREF outColor;	/*鼠标不在按钮中的颜色*/
	COLORREF textColor;
	/*继承下来的成员
		int width;
		int height;
		IMAGE* img;
		string imgURL
	*/
};
UI下的button.cpp
#include "button.h"
Button::Button(string text, int x, int y, int width, int height):Widget(width,height)
{
	this->curColor =LIGHTGREEN;
	this->outColor = LIGHTGREEN;
	this->inColor = LIGHTBLUE;
	this->text = text;
	this->x = x;
	this->y = y;
}

void Button::SetBkColor(COLORREF color)
{
	this->curColor = color;
	this->outColor = color;
	this->inColor = LIGHTBLUE;//鼠标在按钮中显示淡蓝色
	this->textColor = BLACK;
}

void Button::setTextColor(COLORREF color)
{
	this->textColor = textColor;
}

void Button::show()
{
	//按钮绘制出来(①按钮边框线的颜色②按钮的填充颜色)
	setlinecolor(this->curColor);
	setfillcolor(this->curColor);
	fillrectangle(x, y, x + width, y + height);
	//文字显示:文字居中及文字样式
	setbkmode(TRANSPARENT);				        /*去掉文字的背景色*/
	settextstyle(2*this->height/3, 0, "楷体");  /*第一个参数是粗细,第二参数是是否斜体*/

	int x = this->x+(this->width - textwidth(text.c_str()))/2;
	int y = this->y + (this->height - textheight(text.c_str())) / 2;
	outtextxy(x, y, text.c_str());
}

bool Button::MouseInButton(ExMessage msg)
{
	if (msg.x >= this->x && msg.y >= this->y &&
		msg.x <= this->x + this->width &&
		msg.y <= this->y + this->height)
	{
		this->curColor = this->inColor; /*鼠标在button上颜色改变*/
		return true;
	}
	this->curColor = this->outColor;
	return false;
}

bool Button::clickButton(ExMessage msg)
{
	if (MouseInButton(msg)&&msg.message == WM_LBUTTONDOWN)
	{
		return true;
	}
	return false;
}
三、实例之画线小工具
1.直接复用刚才写的common.h button类和widget类
2.新增:
Tool中的basic_shape.h
写一个抽象类
#pragma once
#include"common.h"
class Basic_shape
{
public:
	virtual void drawShape(ExMessage msg) = 0;
protected:
	vector<Basic_shape*> shape;/*所有的形状都存在这里面*/
};
Tool中的bightLine.h /*画一个曲线*/
注意要重写抽象父类的方法
#pragma once
/*画曲线*/
#include"common.h"
#include"basic_shape.h"

class BightLine :public Basic_shape
{
public:
	BightLine(int size = 5, COLORREF color = WHITE);
	void drawLine(ExMessage msg);
	void drawShape(ExMessage msg);

protected:
	int size;				/*曲线的粗细*/
	COLORREF color;			/*颜色*/
	tuple<int, int>begin;	/*画线的起点坐标*/
	tuple<int, int> end;	/*画线的终点坐标*/
	bool isDown;			/*用于处理两个消息*/
};
Tool中的bightLine.cpp /*画一个曲线*/
关键:如何实现画出曲线的效果!isDown作为检测变量,过渡两个消息之间的差异,注意:时刻更新begin的坐标,这样while(1)的循环下,使setlinestyle(PS_ENDCAP_ROUND, this->size);/*结束处为圆形*/ 形成曲线的效果
#include "bightLine.h"
BightLine::BightLine(int size, COLORREF color)
{
	this->size = size;
	this->color = color;
	this->isDown = false;
}

void BightLine::drawLine(ExMessage msg)
{
	if (msg.message == WM_LBUTTONDOWN)
	{
		this->isDown = true;
		begin = tuple<int, int>(msg.x, msg.y);	/*记录起点位置*/

	}
	if (msg.message == WM_LBUTTONUP)
	{
		this->isDown = false;
	}
	if (this->isDown == true && msg.message == WM_MOUSEMOVE)
	{
		setlinestyle(PS_ENDCAP_ROUND, this->size);/*结束处为圆形*/
		line(get<0>(begin), get<1>(begin), msg.x, msg.y);
	}
	/*每次画完后,要修改起点为上一次结束的位置*/
	begin = tuple<int, int>(msg.x, msg.y);
}

void BightLine::drawShape(ExMessage msg)
{
	drawLine(msg);
}
待完成模块:新增一个颜色板(从button派生类,新写方法,实现点击返回相应颜色的功能)
#pragma once
#include"button.h"
/*增加颜色板,点击相应的按钮颜色,返回颜色*/
class ColorTool :public Button
{
public:
	COLORREF getColor();
};
#include "colorTool.h"
COLORREF ColorTool::getColor()
{
return COLORREF();
}
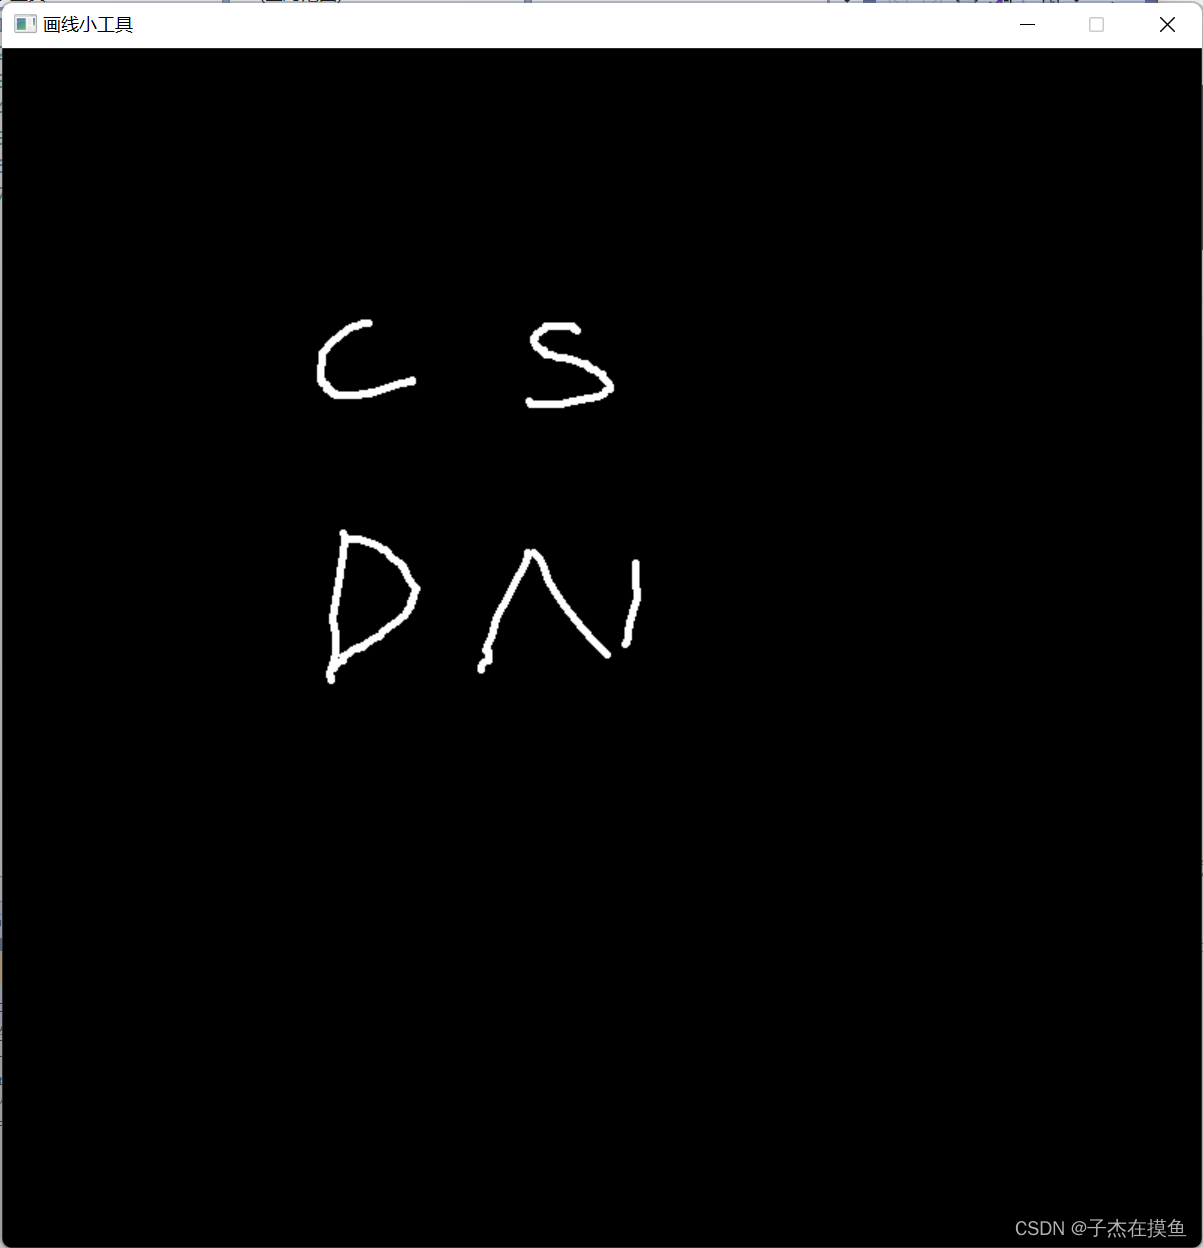
画曲线测试:


 7671
7671


 被折叠的 条评论
为什么被折叠?
被折叠的 条评论
为什么被折叠?
 到【灌水乐园】发言


