


如何使用webpack 与 ts结合使用
新建项目 ,执行项目初始化
npm init -y
会生成
{
  "name": "tsdemo01",
  "version": "1.0.0",
  "description": "",
  "main": "index.js",
  "scripts": {
    "test": "echo \"Error: no test specified\" && exit 1",
    "build":"webpack"
  },
  "keywords": [],
  "author": "",
  "license": "ISC",
  "devDependencies": {
    "ts-loader": "^9.4.4",
    "typescript": "^5.1.6",
    "webpack": "^5.88.2",
    "webpack-cli": "^5.1.4"
  }
}
安装依赖 :
-D 开发依赖 等价于 --save-dev
npm i -D webpack webpack-cli typescript ts-loader
根目录下新建webpack.config.js,webpack的配置文件
// 引入path库 用于拼接路径
const path =  require('path')
//webpack 所有配置信息都写在module.exports中
module.exports={
	// 指定入口文件
	entry: './src/index.ts',
	// 指定打包文件所在目录
	output:{
		// 指定打包文件的目录
		path:path.resolve(__dirname,'dist'),
		//打包后的文件 出口
		filename:"bundle.js"
	},
	// 指定webpack打包时要使用的模块
	module:{
		// 指定要加载的规则
		rules:[
			{
				//test 指定的是规则生效的文件 以ts结尾的文件
				test:/\.ts$/,
				// 要使用的loader
				use:'ts-loader',
				//要排除的文件
				exclude:/node-modules/
			}
		]
	}
}
在根目录下 新建tsconfig.json
{
	"compilerOptions":{
		"module":"ES2015",
		"target":"ES2015",
		"strict":true
	}
}
在package.json 的scripts中添加
"build":"webpack"
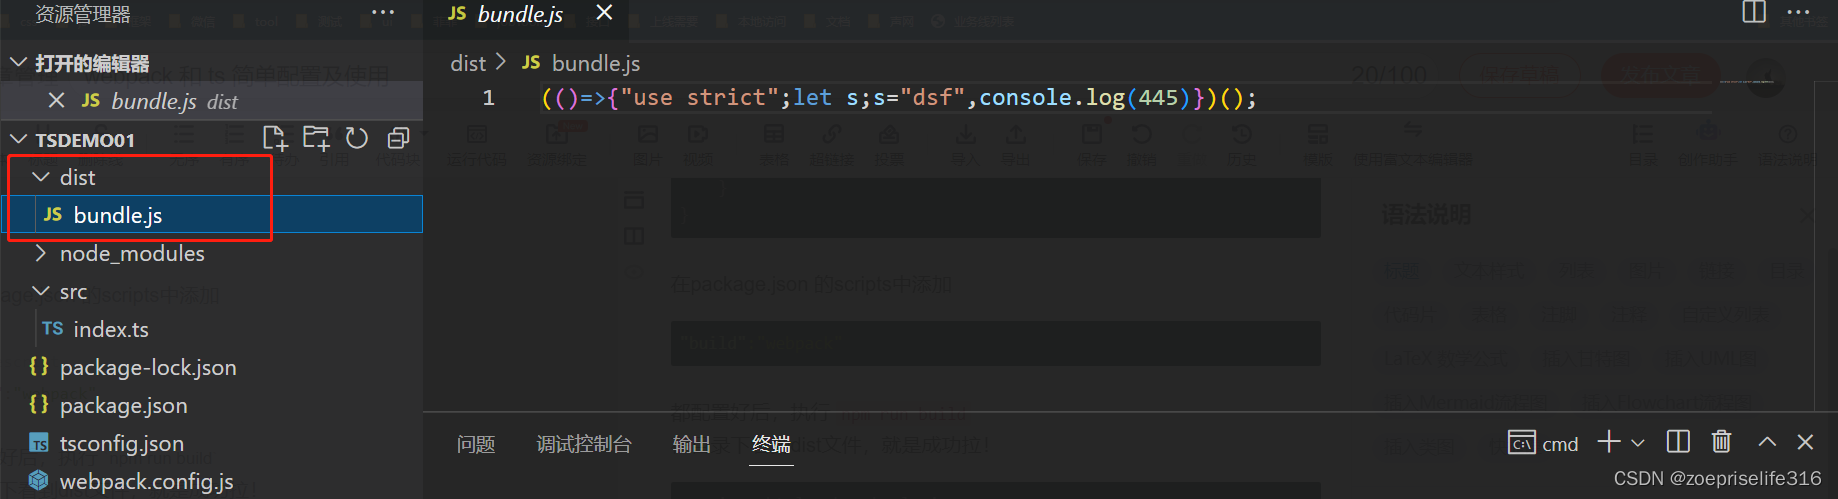
都配置好后,执行 npm run build
在目录下看到dist文件,就是成功拉!
在项目中,需要在页面中引入js使用,
html-weback-plugin是自动生成html文件,并且自动引入相关资源
npm i -D html-webpack-plugin
配置的webpack.config.js
// 引入path库 用于拼接路径
const path = require('path');
// 引入html-webpack-plugin
const HTMLWebpackPlugin = require('html-webpack-plugin');
//webpack 所有配置信息都写在module.exports中
module.exports = {
// 指定入口文件
entry: './src/index.ts',
// 指定打包文件所在目录
output: {
// 指定打包文件的目录
path: path.resolve(__dirname, 'dist'),
//打包后的文件 出口
filename: 'bundle.js',
},
// 指定webpack打包时要使用的模块
module: {
// 指定要加载的规则
rules: [
{
//test 指定的是规则生效的文件 以ts结尾的文件
test: /\.ts$/,
// 要使用的loader
use: 'ts-loader',
//要排除的文件
exclude: /node-modules/,
},
],
},
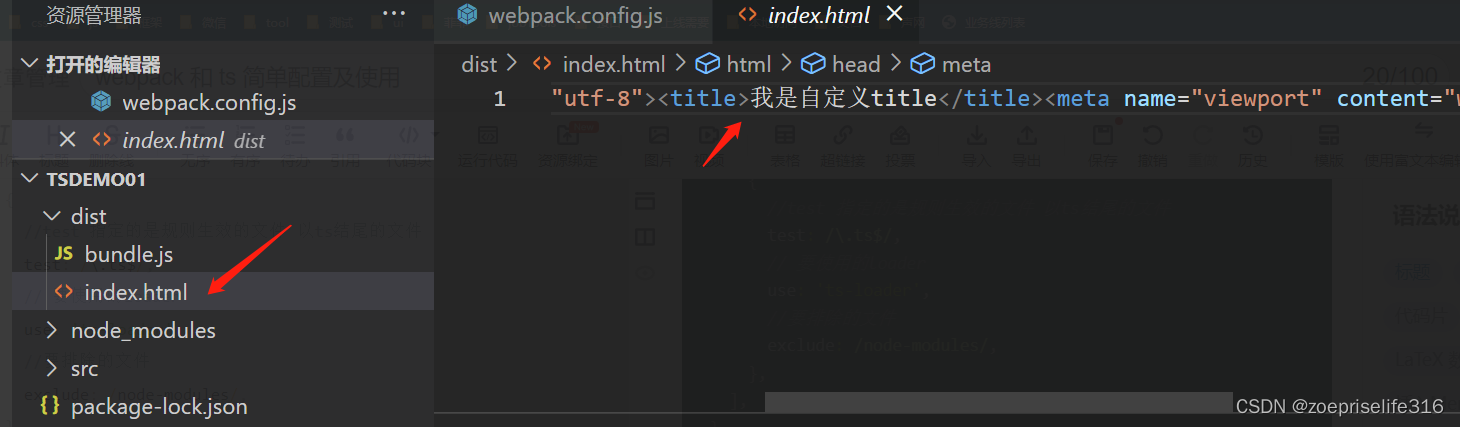
plugins: [
new HTMLWebpackPlugin({
title: '我是自定义title',
}),
],
};
再执行 npm run build 时,目录会变更
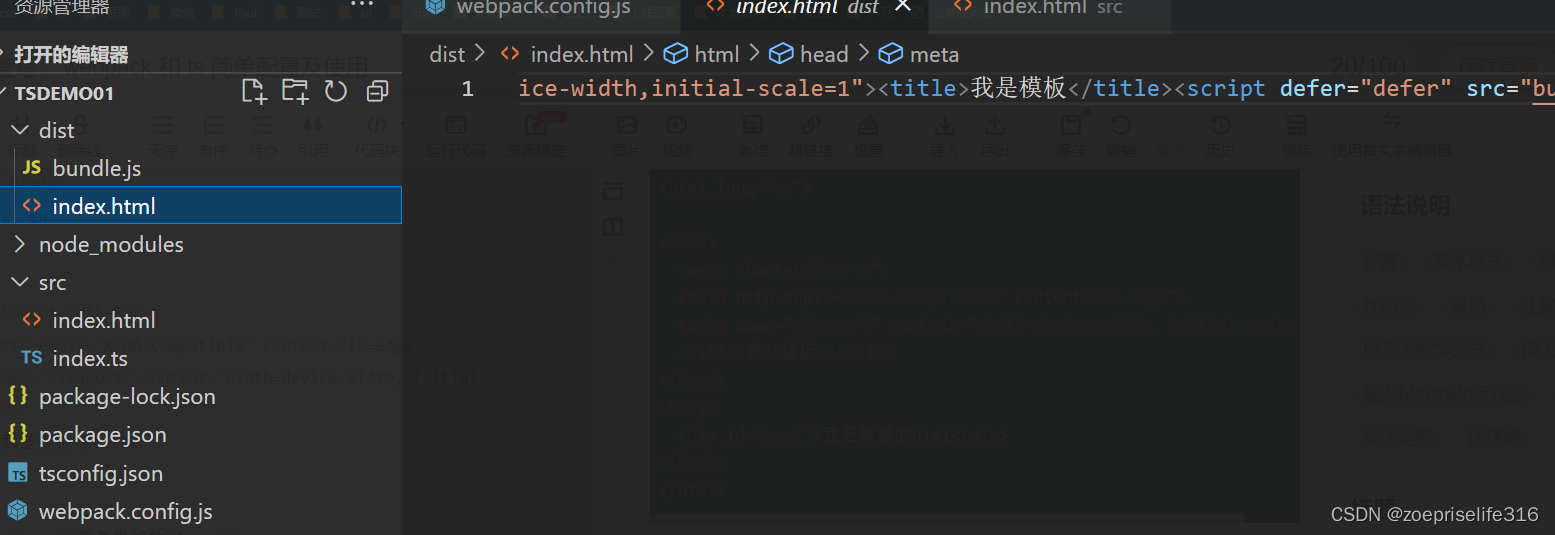
如果想有个模板,可以在src下新增一个index,html
<!DOCTYPE html>
<html lang="en">

<head>
  <meta charset="UTF-8">
  <meta http-equiv="X-UA-Compatible" content="IE=edge">
  <meta name="viewport" content="width=device-width, initial-scale=1.0">
  <title>我是模板</title>
</head>
<body>
  <div id="box1">我是模板的div1</div>
</body>
</html>
在webpack.config.js中,把title 换为template
// 引入path库 用于拼接路径
const path = require('path');
// 引入html-webpack-plugin
const HTMLWebpackPlugin = require('html-webpack-plugin');

//webpack 所有配置信息都写在module.exports中
module.exports = {
  // 指定入口文件
  entry: './src/index.ts',
  // 指定打包文件所在目录
  output: {
    // 指定打包文件的目录
    path: path.resolve(__dirname, 'dist'),
    //打包后的文件 出口
    filename: 'bundle.js',
  },
  // 指定webpack打包时要使用的模块
  module: {
    // 指定要加载的规则
    rules: [
      {
        //test 指定的是规则生效的文件 以ts结尾的文件
        test: /\.ts$/,
        // 要使用的loader
        use: 'ts-loader',
        //要排除的文件
        exclude: /node-modules/,
      },
    ],
  },
  plugins: [
    new HTMLWebpackPlugin({
      // title: '我是自定义title',
      template: './src/index.html',
    }),
  ],
};
执行打包 npm run build 就会出现下图:
可使用webpack-dev-server 对代码进行实时的编译监控
下载:npm i -D webpack-dev-server
在package.json中配置scripts 中新增 “start”: “webpack serve --open”
"scripts": {
    "test": "echo \"Error: no test specified\" && exit 1",
    "build": "webpack",
    "start": "webpack serve --open"
  },
执行 npm run start
当代码修改,检查到后,页面会实时的进行更新
打包清空上一次内容:可使用 clean-webpack-plugin
写法与html-webpack-plugin相同
webpack.config.js文件:
// 引入path库 用于拼接路径
const path = require('path');
// 引入html-webpack-plugin
const HTMLWebpackPlugin = require('html-webpack-plugin');
// 引入clean插件
const { CleanWebpackPlugin } = require('clean-webpack-plugin');

//webpack 所有配置信息都写在module.exports中
module.exports = {
  // 指定入口文件
  entry: './src/index.ts',
  // 指定打包文件所在目录
  output: {
    // 指定打包文件的目录
    path: path.resolve(__dirname, 'dist'),
    //打包后的文件 出口
    filename: 'bundle.js',
  },
  // 指定webpack打包时要使用的模块
  module: {
    // 指定要加载的规则
    rules: [
      {
        //test 指定的是规则生效的文件 以ts结尾的文件
        test: /\.ts$/,
        // 要使用的loader
        use: 'ts-loader',
        //要排除的文件
        exclude: /node-modules/,
      },
    ],
  },
  plugins: [
    new CleanWebpackPlugin(),
    new HTMLWebpackPlugin({
      // title: '我是自定义title',
      template: './src/index.html',
    }),
  ],
  // 设置引用模块
  resolve: {
    // 以.ts 和.js为结尾的扩展名文件可以做模板使用
    extensions: ['.ts', '.js'],
  },
};
比如src下另有一个item1.ts
export const hi = '你好';
想在index.ts引入,
import { hi } from './item1';
let a: string;
a = 'aaa';
console.log(a);
function sum(a: number, b: number): number {
  return a + b;
}
console.log(sum(211, 234));
console.log('hi----', hi);
直接引入,打印,在npm run build 时,会报错
解决方法是webpack.config.js配置下
// 设置引用模块
  resolve: {
    extensions: ['.ts', '.js'],
  },
写上这个就可以在ts中引入其他ts文件中的变量
再次打包 npm run build 就不会报错了

就执行成功拉


 463
463


 被折叠的 条评论
为什么被折叠?
被折叠的 条评论
为什么被折叠?
 到【灌水乐园】发言


