


1 GitLab概述
1.1 GitLab介绍
GitLab是利用Ruby on Rails一个开源的版本管理系统,实现一个自托管的Git项目仓库,可通过Web界面进行访问公开的或者私人项目。
GitLab能够浏览源代码,管理缺陷和注释。可以管理团队对仓库的访问,它非常易于浏览提交过的版本并提供一个文件历史库。团队成员可以利用内置的简单聊天程序(Wall)进行交流。
它还提供一个代码片段收集功能可以轻松实现代码复用,便于日后有需要的时候进行查找
1.2 Gitlab服务构成
Nginx:静态web服务器。
gitlab-shell:用于处理Git命令和修改authorized keys列表。
gitlab-workhorse: 轻量级的反向代理服务器。
logrotate:日志文件管理工具。
postgresql:数据库。
redis:缓存数据库。
sidekiq:用于在后台执行队列任务(异步执行)。
unicorn:An HTTP server for Rack applications,GitLab Rails应用是托管在这个服务器上面的。
1.3 Gitlab工作流程

1.4 GitLab Shell
GitLab Shell有两个作用:为GitLab处理Git命令、修改authorized keys列表
当通过SSH访问GitLab Server时,GitLab Shell会:
- 限制执行预定义好的Git命令(git push,git pull,git annex)
- 调用GitLab Rails API检查权限
- 执行pre-receive钩子(在企业版中叫做Git钩子)
- 执行用户请求的动作,处理GitLab的post-receive动作
- 处理自定义的post-receive动作
当通过http(s)访问GitLab Server时,工作流程取决于你是从Git仓库拉取(pull)代码还是向git仓库推送(push)代码:
如果是从Git仓库拉取(pull)代码,GitLab Rails应用会全权负责处理用户鉴权和执行Git命令的工作
如果是向Git仓库推送(push)代码,GitLab Rails应用既不会进行用户鉴权也不会执行Git命令,它会把以下工作交由GitLab Shell进行处理:
- 调用GitLab Rails API 检查权限
- 执行pre-receive钩子(在GitLab企业版中叫做Git钩子)
- 执行你请求的动作
- 处理GitLab的post-receive动作
- 处理自定义的post-receive动作
1.5 GitLab Workhorse
GitLab Workhorse是一个敏捷的反向代理。
它会处理一些大的HTTP请求,比如文件上传、文件下载、Git push/pull和Git包下载。其它请求会反向代理到GitLab Rails应用,即反向代理给后端的unicorn。
2. Gitlab的安装部署
- Gitlab要求服务器内存2G以上
2.1 安装准备
1. Install and configure the necessary dependencies(安装和配置前的必要工作)
On CentOS 7 (and RedHat/Oracle/Scientific Linux 7), the commands below will also open HTTP, HTTPS and SSH access in the system firewall.
在CentOS 7(或其它linux7), 下面的命令是为了打开HTTP, HTTPS 和 SSH 访问的防火墙
sudo yum install -y curl policycoreutils-python openssh-server
sudo systemctl enable sshd
sudo systemctl start sshd
sudo firewall-cmd --permanent --add-service=http
sudo firewall-cmd --permanent --add-service=https
sudo systemctl reload firewalld
Next, install Postfix to send notification emails. If you want to use another solution to send emails please skip this step and configure an external SMTP server after GitLab has been installed.
接下来, 安装邮件通知服务Postfix. 如果你想使用其它方式, 可以直接跳过, 并在安装好GitLab后再配置其它SMTP服务
sudo yum install postfix
sudo systemctl enable postfix
sudo systemctl start postfix
2. Add the GitLab package repository (添加GitLab软件包存储库)
Add the GitLab package repository.
添加GitLab软件包存储库
curl https://packages.gitlab.com/install/repositories/gitlab/gitlab-ce/script.rpm.sh | sudo bash
2.2 安装
方式一:下载gitlab-ce的rpm包
将对应版本的gitlab-ce下载到本地后,直接yum安装即可
# 要先将这个rpm包下载到本地
yum install -y gitlab-ce-13.6.1-ce.0.el7.x86_64.rpm
方式二:配置yum源
在 /etc/yum.repos.d/ 下新建 gitlab-ce.repo,
写入如下内容:
[gitlab_gitlab-ce]
name=gitlab_gitlab-ce
baseurl=https://packages.gitlab.com/gitlab/gitlab-ce/el/7/$basearch
repo_gpgcheck=1
gpgcheck=1
enabled=1
gpgkey=https://packages.gitlab.com/gitlab/gitlab-ce/gpgkey
       https://packages.gitlab.com/gitlab/gitlab-ce/gpgkey/gitlab-gitlab-ce-3D645A26AB9FBD22.pub.gpg
sslverify=1
sslcacert=/etc/pki/tls/certs/ca-bundle.crt
metadata_expire=300

[gitlab_gitlab-ce-source]
name=gitlab_gitlab-ce-source
baseurl=https://packages.gitlab.com/gitlab/gitlab-ce/el/7/SRPMS
repo_gpgcheck=1
gpgcheck=1
enabled=1
gpgkey=https://packages.gitlab.com/gitlab/gitlab-ce/gpgkey
       https://packages.gitlab.com/gitlab/gitlab-ce/gpgkey/gitlab-gitlab-ce-3D645A26AB9FBD22.pub.gpg
sslverify=1
sslcacert=/etc/pki/tls/certs/ca-bundle.crt
metadata_expire=300
这是上面2.1节中第2点命令执行后,生成的repo文件内容。
然后创建cache,再直接安装gitlab-ce
yum makecache  # 这一步会创建大量的数据

# 直接安装最新版
yum install -y gitlab-ce

# 如果要安装指定的版本,在后面填上版本号即可
yum install -y  gitlab-ce-13.6.1

# 如果安装时出现gpgkey验证错误,只需在安装时明确指明不进行gpgkey验证
yum install gitlab-ce -y --nogpgcheck
2.3 gitlab的配置
配置文件位置 /etc/gitlab/gitlab.rb
[root@centos7 test]# vim /etc/gitlab/gitlab.rb
root@centos7 test]# grep "^[a-Z]" /etc/gitlab/gitlab.rb

external_url 'http://192.168.31.196'  # 这里一定要加上http://

# 配置邮件服务
gitlab_rails['smtp_enable'] = true
gitlab_rails['smtp_address'] = "smtp.qq.com"
gitlab_rails['smtp_port'] = 25
gitlab_rails['smtp_user_name'] = "hgzerowzh@qq.com"  # 自己的qq邮箱账号
gitlab_rails['smtp_password'] = "xxx"  # 开通smtp时返回的授权码
gitlab_rails['smtp_domain'] = "qq.com"
gitlab_rails['smtp_authentication'] = "login"
gitlab_rails['smtp_enable_starttls_auto'] = true
gitlab_rails['smtp_tls'] = false
gitlab_rails['gitlab_email_from'] = "hgzerowzh@qq.com"  # 指定发送邮件的邮箱地址
user["git_user_email"] = "shit@qq.com"   # 指定接收邮件的邮箱地址
上面external_url的信息尽量调整成你服务器的IP,在你服务器没有其他服务占用80端口的情况下,是不用加端口的,后面的邮件服配置在不需要发邮件的情况是不需要配置的。
配置域名: vim /var/opt/gitlab/nginx/conf/gitlab-http.conf
    # 外网访问的端口,如果服务器已经有服务器占用了80,那么这里可以改成其它
    listen *:80;
    server_name gitlab.test.domain.com;

    set $http_host_with_default "gitlab.test.domain.com:8888";
补充说明:因为编译gitlab的配置 /etc/gitlab/gitlab.rb 时会重新生成这个自定义nginx 配置(即执行 reconfigure 命令时会把gitlab的nginx组件的配置还原,导致自定义修改的端口以及域名等都没有了),所以只要 gitlab 的配置配得好,上面的nginx其实不需要自定义的。
修改好配置文件后,要使用 gitlab-ctl reconfigure 命令重载一下配置文件,否则不生效。
gitlab-ctl reconfigure # 重载配置文件这一步第一次执行要花一段时间,你可以去上个洗手间、或者喝口水什么的,总之稍微放松下。
然后启动gitlab服务
gitlab-ctl start2.4 Gitlab常用命令
gitlab-ctl start         # 启动所有 gitlab 组件
gitlab-ctl stop          # 停止所有 gitlab 组件
gitlab-ctl restart       # 重启所有 gitlab 组件
gitlab-ctl status        # 查看服务状态

gitlab-ctl reconfigure   # 启动服务
gitlab-ctl show-config   # 验证配置文件

gitlab-ctl tail          # 查看日志

gitlab-rake gitlab:check SANITIZE=true --trace    # 检查gitlab

 vim /etc/gitlab/gitlab.rb # 修改默认的配置文件
3. Gitlab的使用
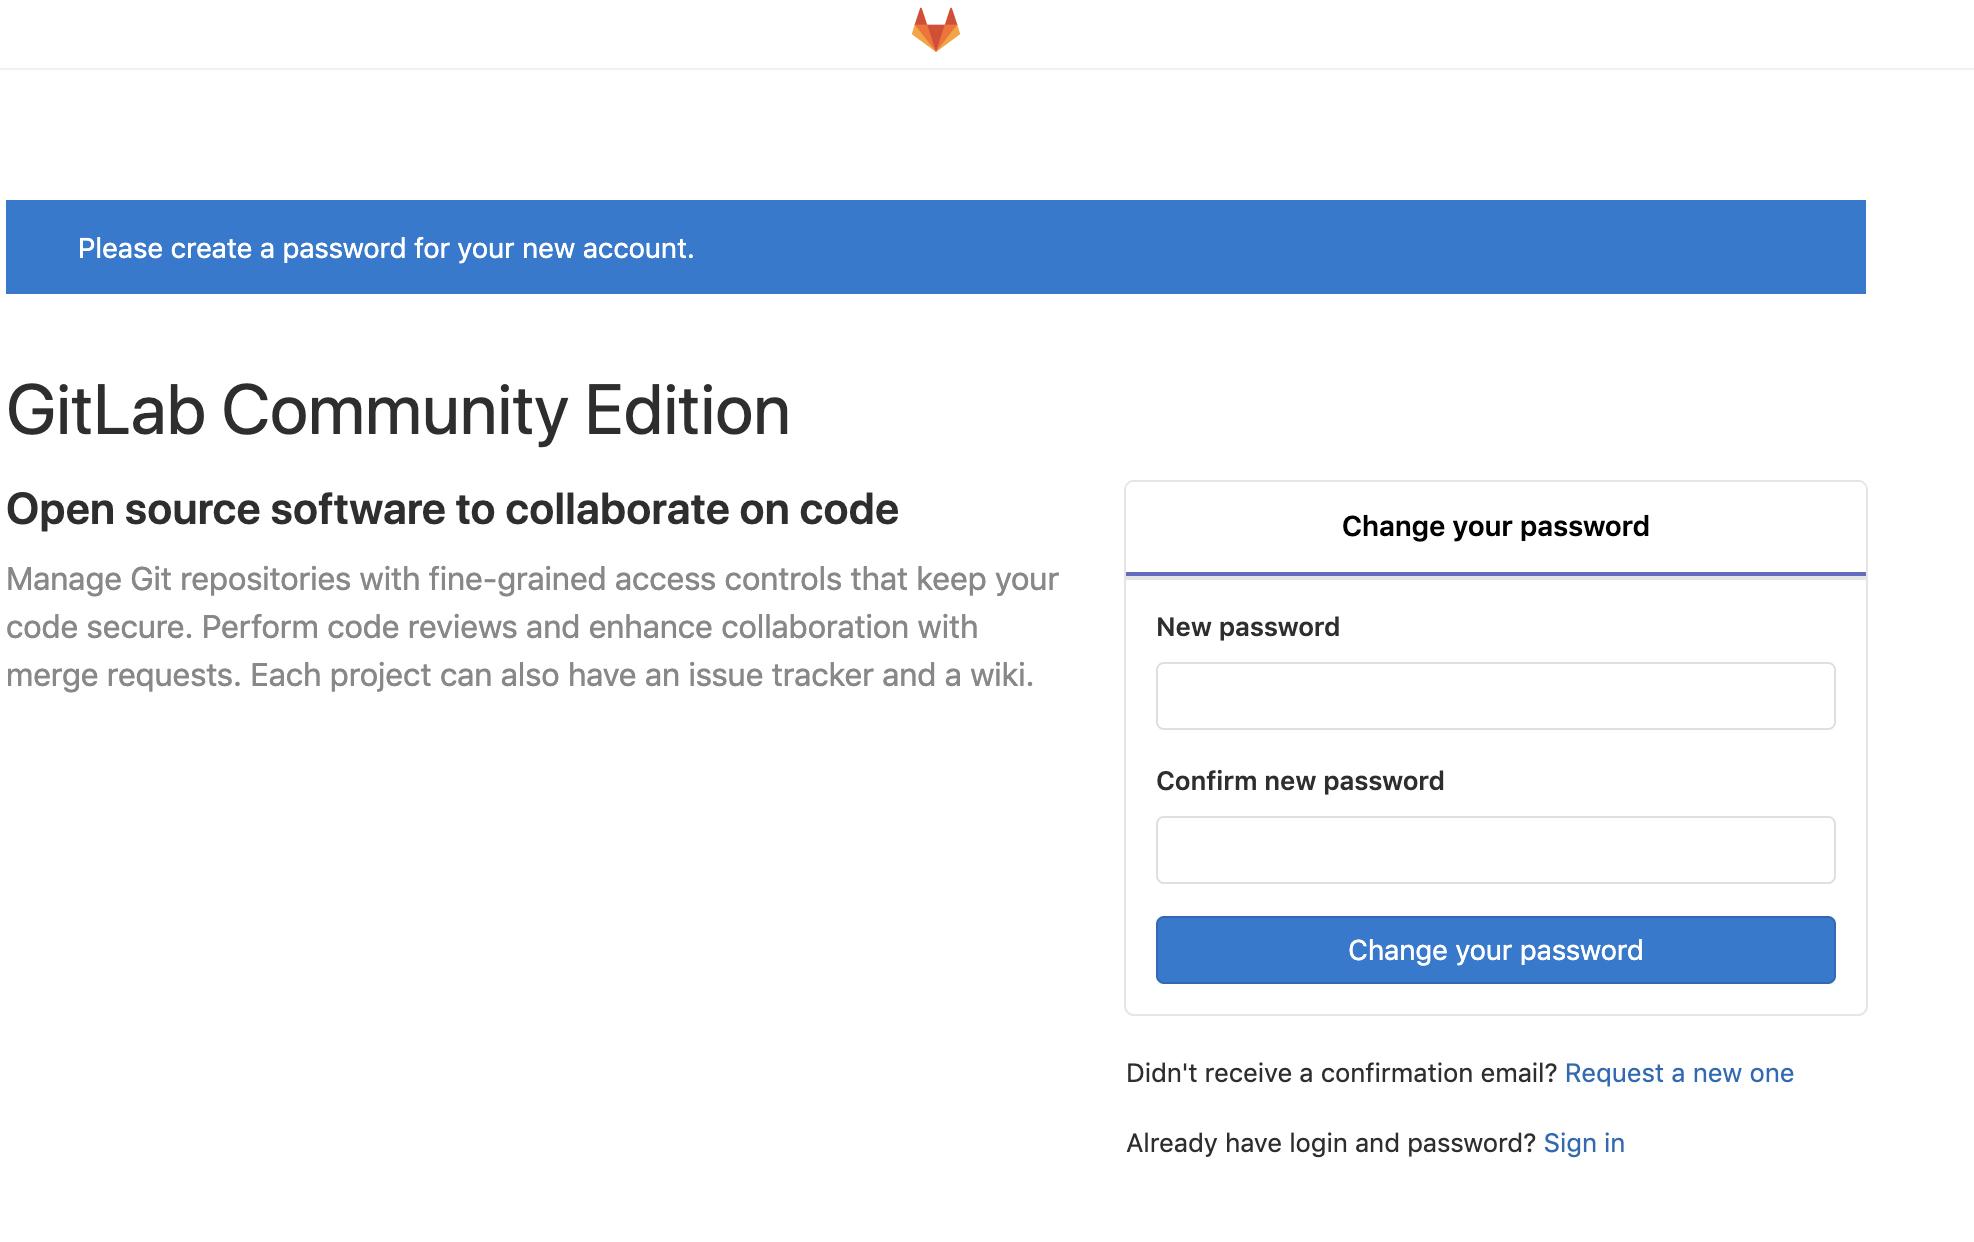
- Gitlab安装好后,设置密码,
- 管理账户为系统账户root及密码
-
到浏览器访问: GitLab:http://192.168.32.196, 新建root密码#
-
使用root的账号密码登录GitLab#
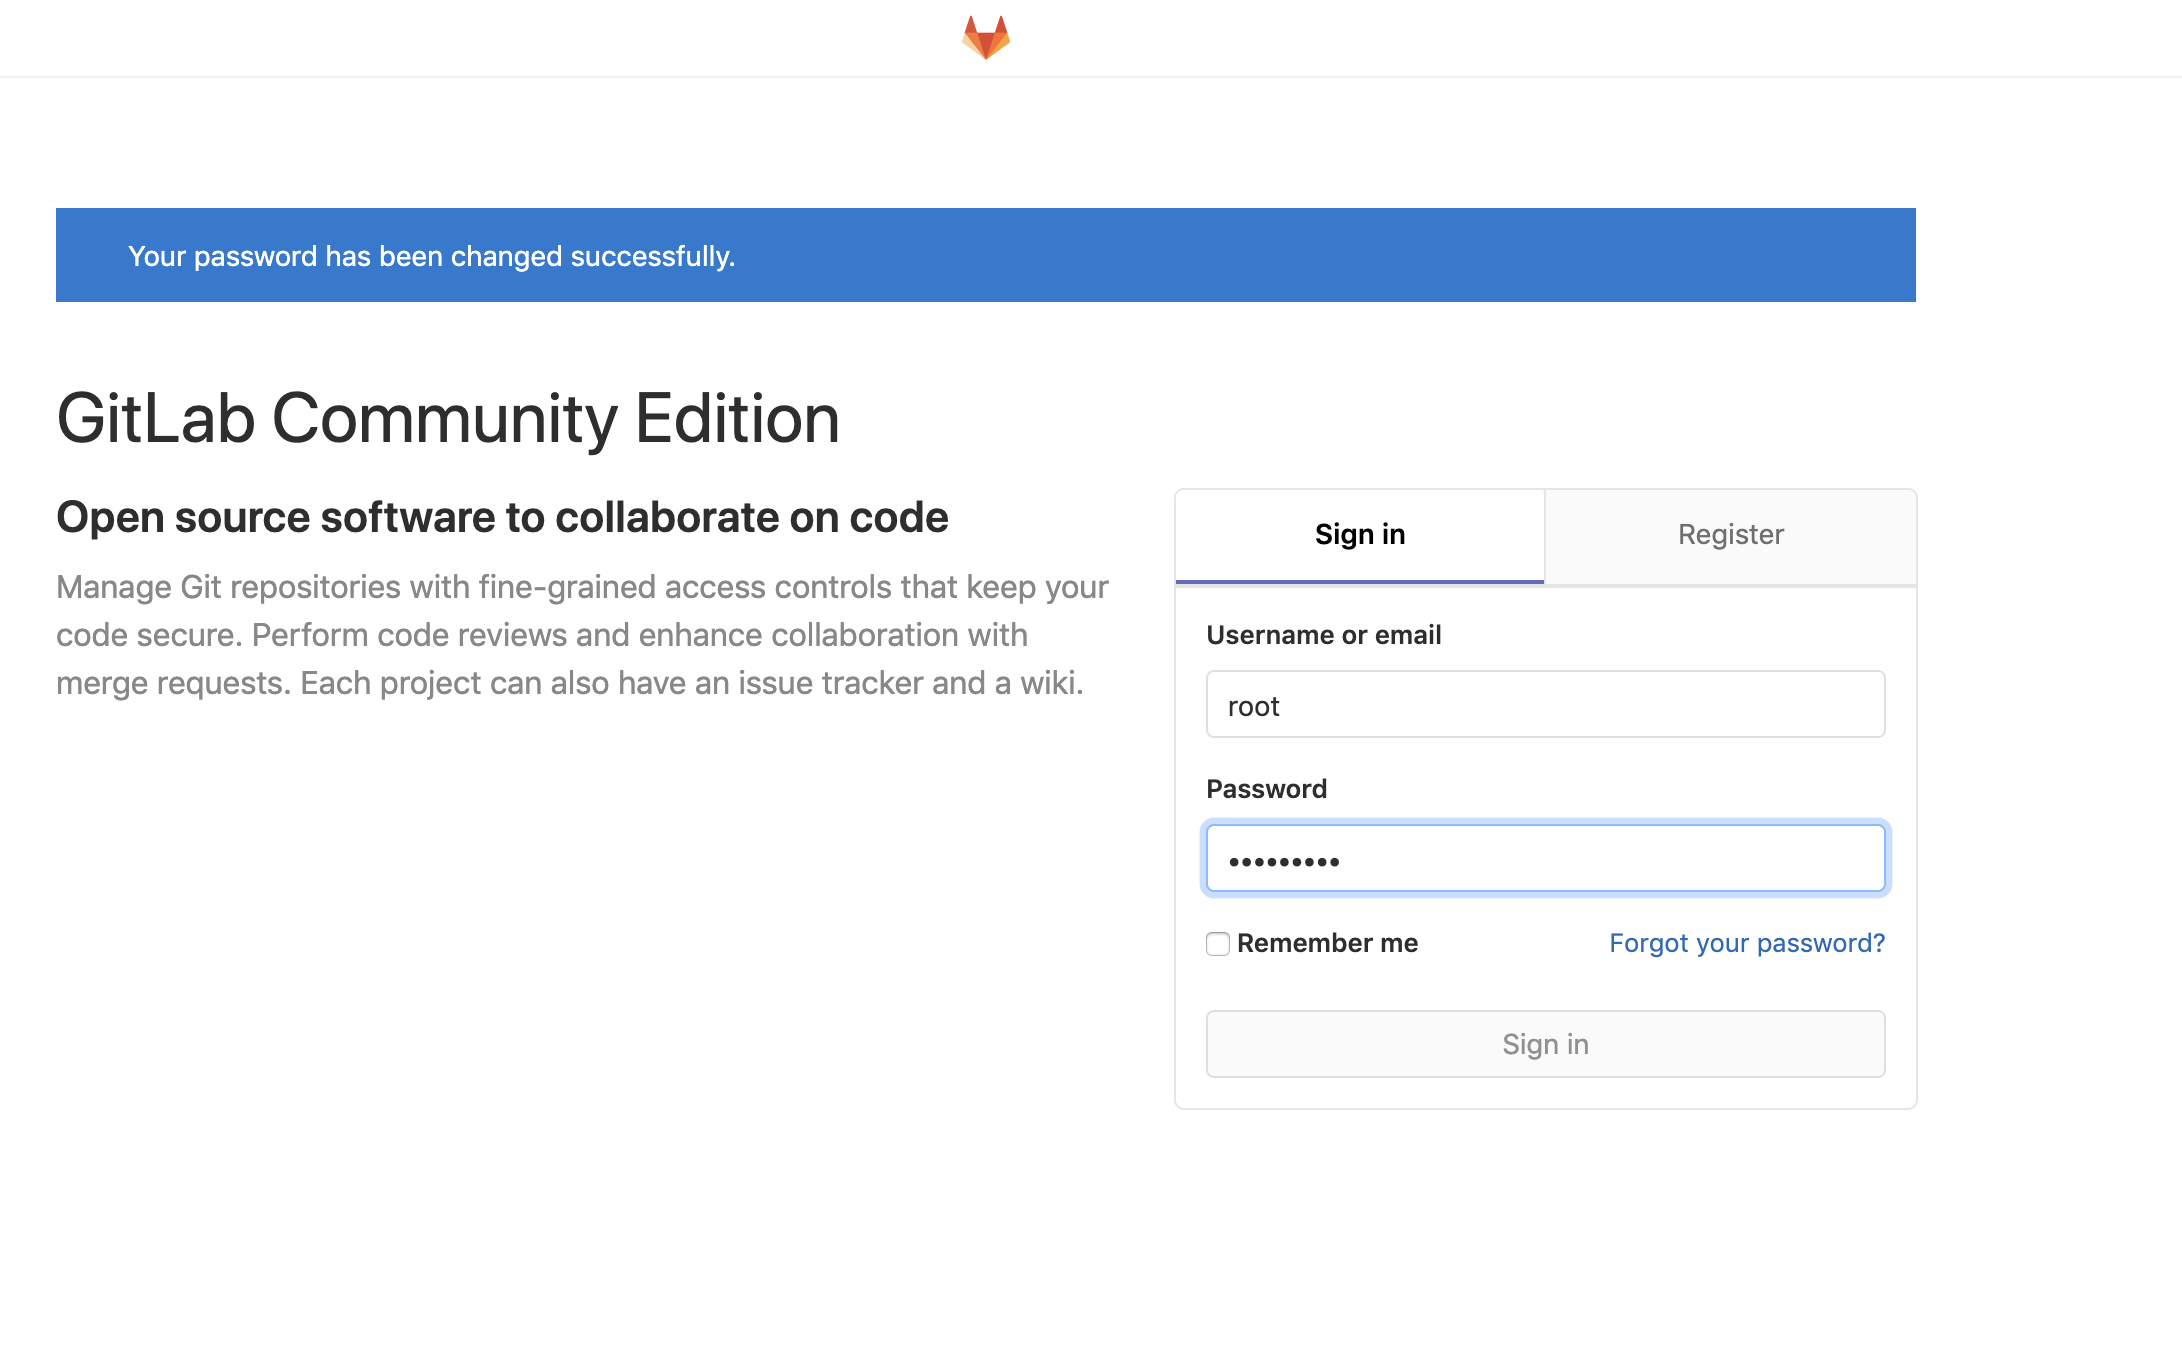
-
3.1 创建Group
- 填上组名即可,这里组名为java
-


3.2 创建User
- 创建四个User:pm、dev1、dev2、dev3
-


3.3 添加User到Group中并授权

3.4 创建Project并配置SSH


3.5 在项目中添加成员


3.6 将本地文件推送到Gitlab
# 将app01项目克隆下来
git clone git@10.0.0.51:java/app01.git

# 初始化配置
git config --global user.name "hgzero"
git config --global user.email "hgzero@qq.com"

# 在app01目录下新建一些文件

# 推送到gitlab
git add .
git commit -m "first edition"
git push origin master
4. 制定开发计划
4.1 创建开发计划
- 项目:app01
- 版本:v1.0

4.2 创建里程碑Milestones


4.3 根据开发计划创建issue


4.4 开发者登录账号查看分派的任务

4.5 开发流程
# 1. 先从仓库把项目拉下来
git clone git@10.0.0.51:java/app01.git
cd app01/

# 2.先创建一个自己的分支,然后进行开发
git checkout -b index   # 创建一个叫index的分支,并切换到这个分支
git status

# 3. 开始开发首页
echo "<h1>welcome to this app</h1>" > index.html  # 假设就开发了一个index页面

# 4. 开发完成后,把项目传到仓库
git add .
git commit -m "index"
# 如果写成 git commit -m "close #2" ,则表示merge请求允许且merge成功之后,自动删除编号为#2的issue

# 传到index分支
git push origin index
4.6 合并分支
1)开发dev1发送合并分支请求给pm


2)pm收到开发的Merge请求后进行处理
- 用pm账号登录gitlab后操作(先要在admin中设置pm账号的密码)
- 要根据开发计划来创建Milestones
- 创建4个issue,分派给dev1和dev2这两个开发人员
- 然后开发dev1登录gitlab,就能看到任务已经分配过来了
- 公司里的开发开始任务
- 使用pm登录,
- 就可以看到pm已经收到了合并请求merge request
-


3)开发dev1确认任务完成
- 退出pm账户,登入dev1账户:
-

- 或者点进去后,在侧边栏进行标识Done,然后已经完成的issue,可以将其Close
-

- 这个时候Milestones的进度已经往前进了一些了:
-

4.7 开发其他功能
- 然后其他开发者或者自己再次进行开发时,先要把刚刚更新后的内容(master主干)拉回来,然后再进行开发
-
git checkout master  # 切换到master
git pull             # 从远端仓库拉取数据
# 然后再进行其他操作
5. Gitlab备份恢复
5.1 备份gitlab
1)修改配置文件
- /etc/gitlab/gitlab.rb
-
# 备份保存的位置,这里是默认位置,可修改成指定的位置 gitlab_rails['backup_path'] = "/var/opt/gitlab/backups" # 设置备份保存的时间,超过此时间的日志将会被新覆盖 gitlab_rails['backup_keep_time'] = 604800 # 这里是默认设置,保存7天 # 特别注意: # 如果自定义了备份保存位置,则要修改备份目录的权限,比如: # chown -R git.git /data/backup/gitlab - 配置完成后要重启以使配置生效
-
# 重读配置文件
gitlab-ctl reconfigure

# 重启gitlab
gitlab-ctl restart
2)设置定时任务
# 每天凌晨2点定时创建备份
# 将一下内容写入到定时任务中 crontab -e
0 2 * * * /usr/bin/gitlab-rake gitlab:backup:create

# 备份策略建议:
#     本地保留3到7天,在异地备份永久保存
3)备份时间的识别
# 备份后的文件类似这样的形式:1494170842_gitlab_backup.tar,可以根据前面的时间戳确认备份生成的时间

data  -d  @1494170842
5.2 恢复gitlab
1)停止数据写入服务
# 停止数据写入服务
gitlab-ctl stop unicorn
gitlab-ctl stop sidekiq
2)进行数据恢复并重启
# 进行恢复
gitlab-rake gitlab:backup:restore BACKUP=1494170842  # 这个时间戳就是刚刚备份的文件前面的时间戳

# 重启
gitlab-ctl restart
6. gitlab邮件通知配置
- vim /etc/gitlab/gitlab.rb
-
gitlab_rails['time_zone'] = 'Asia/Shanghai'

gitlab_rails['gitlab_email_enabled'] = true
gitlab_rails['gitlab_email_from'] = 'example@163.com' # 填写发件人的邮箱地址
gitlab_rails['gitlab_email_display_name'] = 'gitlab'

gitlab_rails['smtp_enable'] = true
gitlab_rails['smtp_address'] = "smtp.163.com"  # smtp服务器的地址,如网易的地址
gitlab_rails['smtp_port'] = 25                 # 要注意如果使用了SSL/TLS的话,端口可能不是25
gitlab_rails['smtp_user_name'] = "smtp用户名"
gitlab_rails['smtp_password'] = "smtp用户密码"
gitlab_rails['smtp_domain'] = "163.com"
gitlab_rails['smtp_authentication'] = "login"
7. 使用SourceTree进行项目开发
7.1 项目拉取
- 先把项目克隆下来
-


- 如果ssh的方式克隆失败,可能是因为SSH Key没找到,可以在这里添加
-


7.2 创建分支进行功能开发
1)新建立一个叫“pay”的分支


2)进行功能开发

7.3 提交项目
1)开发pay功能完成后进行提交
- 可以看到SourceTree中已经有“未提交的更改”
-


2)添加“用户信息”

3)进行提交

- 注释也可以写成 close #3 ,作用是提交完成后关闭3号issue
-
7.4 推送到仓库


- 然后就可以在gitlab上进行发送merge请求了,后面就可以进行其他操作了
-
7.5 项目上线
1)当所有工作完成之后,就可以进行上线了

2)打标签
- 上线先打个标签
-


3)删除无用分支
- 然后删除已经合并到主干中的不必要的分支,如index、pay等
- 最后一定要注意时间一定要同步,不然会错乱
本文说明:
1、本文是结合博文《Gitlab的安装及使用》和gitlab官方安装说明进行了汇总而成,所以本文在版权方面90%属于原作者Praywu。
2、参考《手把手教你 GitLab 的安装及使用》;
3、参考《Gitlab搭建-centOS 7》


 193
193

 被折叠的 条评论
为什么被折叠?
被折叠的 条评论
为什么被折叠?
 到【灌水乐园】发言


