


在进行一些图像处理任务时,比如交互式分割时,需要对图像进行标记,标记出一些想要的点,然后再进行相应算法的处理。本博文就是设计程序,给定输入图像,交互式地选择感兴趣的区域,达到的效果图如下:
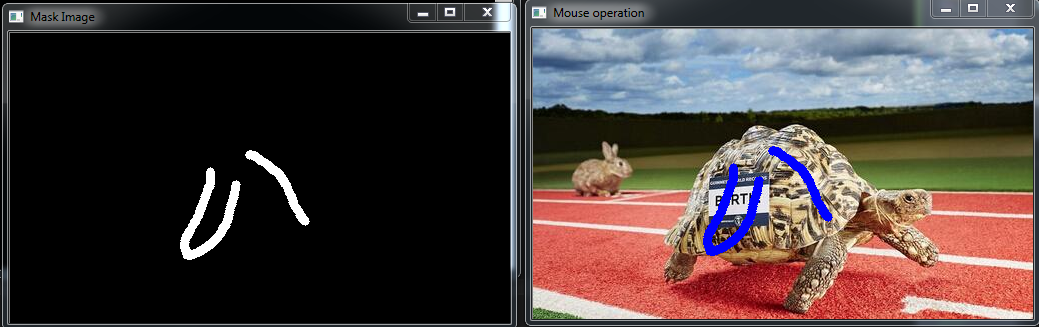
其中,左图是选择区域的mask图像,右图是将标记点加到输入图像之后的样子。
- 本文的核心函数有两个
(1)画线函数
void line(Mat& img, Point pt1, Point pt2, const Scalar& color, int thickness=1, int lineType=8, int shift=0)其中,各个参数代表的含义如下:
* img:输入图像,也是将要画标签的图像
* pt1:起始点
* pt2:终点
* color:标签的颜色
* thickness:标签线的宽度
* lineType:四邻域或者八邻域
(2)设置鼠标回调函数
void setMouseCallback(const string& winname, MouseCallback onMouse, void* userdata=0 )其中,各个参数代表的含义如下:
* winname:鼠标回调函数所依赖的主窗口
* onMouse:鼠标回调函数
* userdata:传递的参数,有默认值
- 废话少说,直接上代码,分析在后面
#include "opencv2/opencv.hpp"
#include <string>
#include <vector>

using namespace std;
using namespace cv;

string g_sMainWindowName = "Mouse operation";
string g_sMaskWindowName = "Mask Image";

bool   g_bLeftButtonDown = false;

vector<Point> g_vpLinePoints;
Point g_pPrevious; // previous point position
Point g_pCurrent; // current mouse position
Mat g_mMaskImg;

void on_MouseCallBack(int event,int x,int y,int flags,void* params);

int main()
{
    Mat srcImg = imread("Turtle.jpg");
    Mat tempImg;

    Size srcSize = srcImg.size();

    g_mMaskImg = Mat(srcSize.height,srcSize.width, CV_8UC1);
    g_mMaskImg = Scalar::all(0);

    srcImg.copyTo(tempImg);

    namedWindow(g_sMainWindowName);
    namedWindow(g_sMaskWindowName);

// set mouse call back function
    setMouseCallback(g_sMainWindowName, on_MouseCallBack, (void*)&tempImg);

    while (1)
    {
        imshow(g_sMainWindowName, tempImg);
        imshow(g_sMaskWindowName, g_mMaskImg);

        if (waitKey(10) == 27)
        {
            break;
        }
    }

    return 0;
}

void on_MouseCallBack(int event, int x, int y, int flags, void* params)
{
    Mat& img = *(Mat*)params;

    switch (event)
    {
        case EVENT_MOUSEMOVE:
        {
            if (g_bLeftButtonDown)
            {
                g_pCurrent = Point(x, y); // current mouse position

                g_vpLinePoints.push_back(g_pCurrent); // add current mouse position

                line(img, g_pPrevious, g_pCurrent, Scalar(255, 0, 0), 8, 8); // draw line on the input image
                line(g_mMaskImg, g_pPrevious, g_pCurrent, 255, 8, 8); // draw line on the mask image

                g_pPrevious = g_pCurrent; // after drawing, current mouse position should be previous mouse position of next movement
            }
        }
            break;
        case EVENT_LBUTTONDOWN:
        {
            g_bLeftButtonDown = true;

            g_pPrevious = Point(x, y);

            g_vpLinePoints.push_back(g_pPrevious);
        }
            break;
        case EVENT_LBUTTONUP:
        {
            g_bLeftButtonDown = false;
        }
            break;
    }
}- 需要注意的几个地方
- 利用一个bool变量来判断鼠标左键是否按下,只有在鼠标左键被按下,并且进行移动的时候,才能进行画线操作
- 在mouse move 情况下,一定要记得进行g_pPrevious = g_pCurrent这个操作,否则画出的将不会是线,而会是一个类型锥形的结构。感兴趣的朋友可以将这行注释掉看看结果。之所以会发生这种情况,是因为如果不进行以上赋值,则起始点始终是最开始的那一个,而终点则是变的,因此画出的将会是类似锥形的结构。将此行进行注释,得到如下图所示结果:
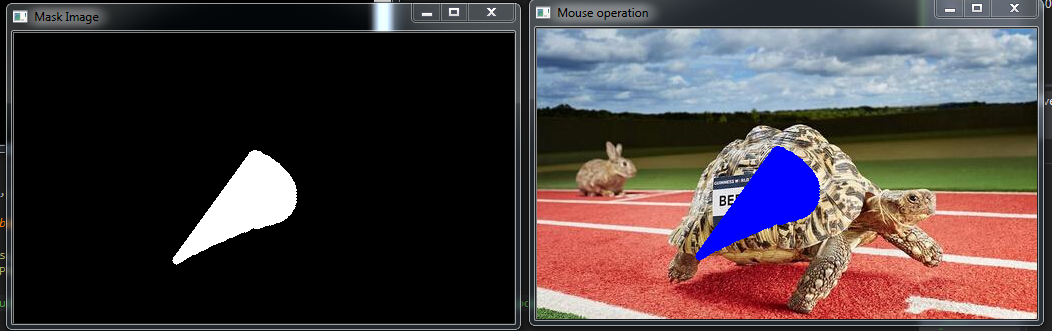
可以看出,由于点很密集,出来就是类似于锥形的结构
g_vpLinePoints这个vector中,保存了鼠标选中的点,这里只是单像素宽的点。在进行算法设计时,比较理想的方案是用g_mMaskImg来得到标签点。
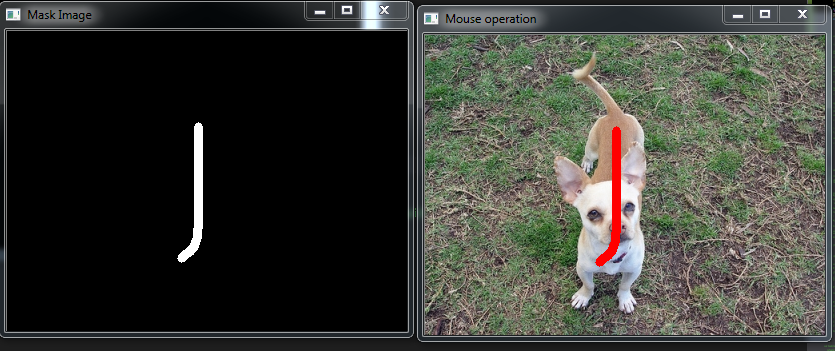
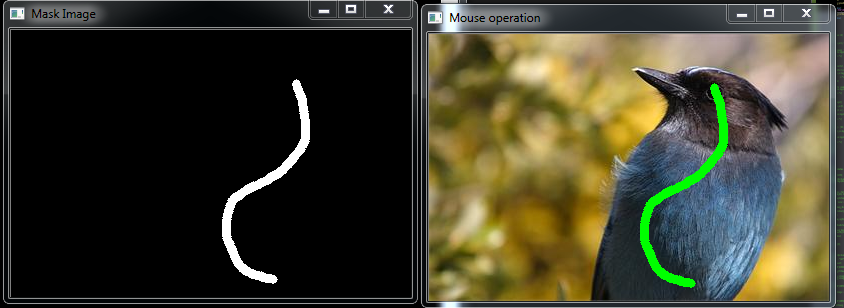
- 更多的运行结果
- 更多的运行结果
欢迎有问题的朋友留言,大家共同学习。


 22万+
22万+

 被折叠的 条评论
为什么被折叠?
被折叠的 条评论
为什么被折叠?
 到【灌水乐园】发言


