


Kotlin已经成为了Android的官方语言,相信之后会使用得越来越广泛。但是在Android Studio 3.0 才会自带支持kotlin,可以再3.0以下的版本要怎么使用kotlin开发安卓项目呢?这就需要安装kotlin插件。
Kotlin资源:
官网:http://kotlinlang.org/docs/reference/
中文文档:https://github.com/huanglizhuo/kotlin-in-chinese
官方教程:http://kotlinlang.org/docs/tutorials/kotlin-android.html
首先我们新建一个项目,在 File | Settings | Plugins | Install JetBrains plugin里面搜索kotlin,然后下载安装kotlin插件:
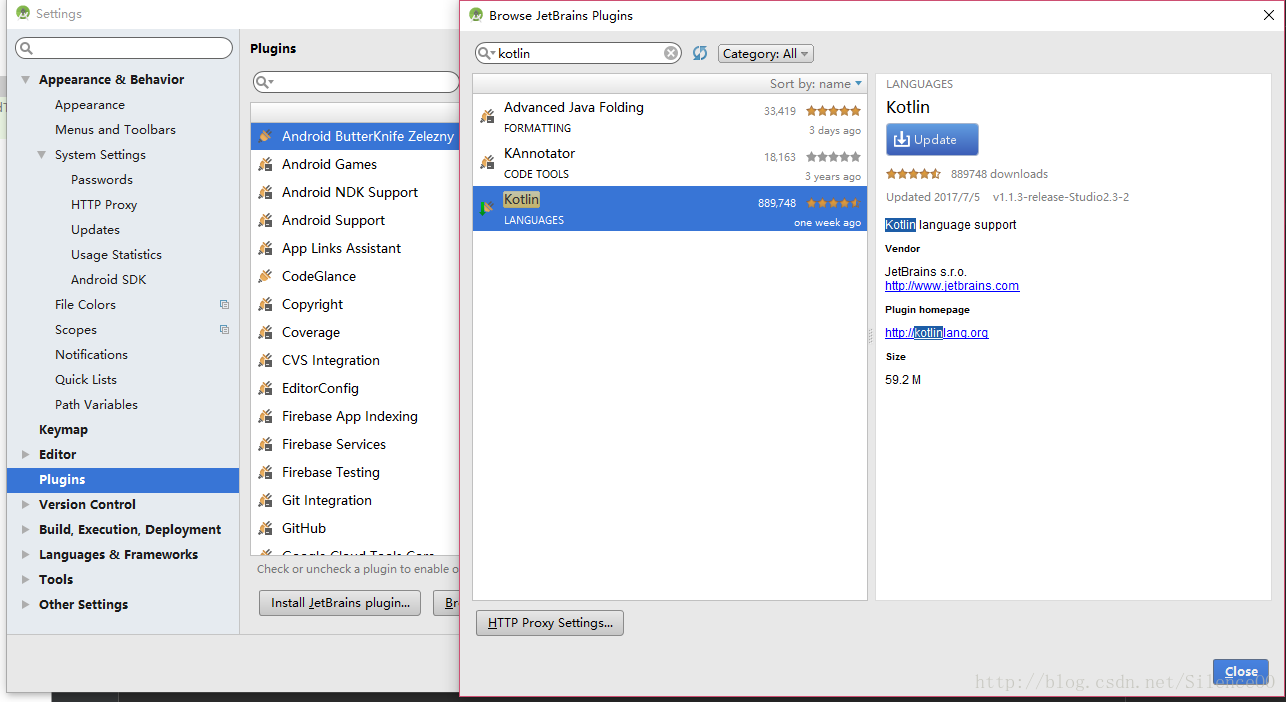
这里的话我之前的安装了,所以提示我需要更新。
在插件安装好之后点开code会有个选项Convert Java File to Kotlin File:
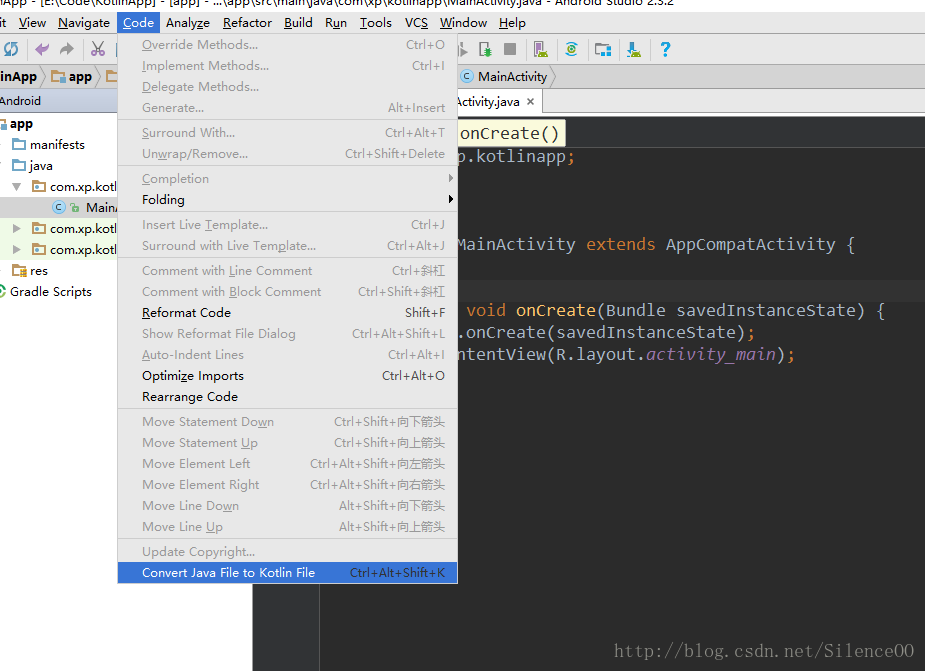
点击之后就会将MainActivity转成kotlin文件:
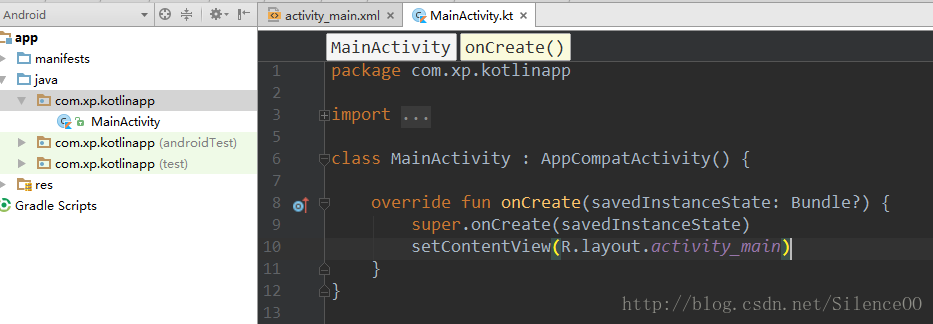
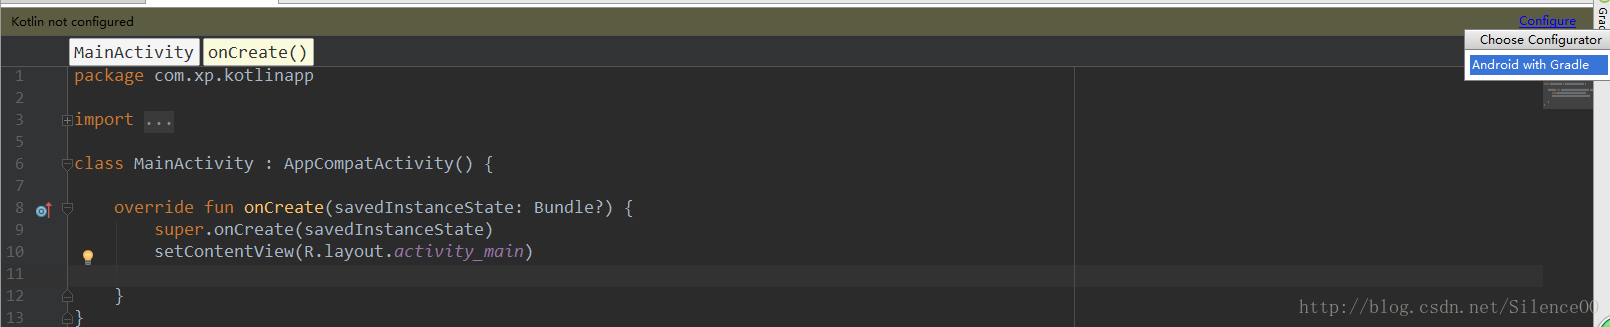
这就是转成kotlin之后的MainActivity,如果你开始编辑MainActivity,这时Studio就会提示你还没配置kotlin:
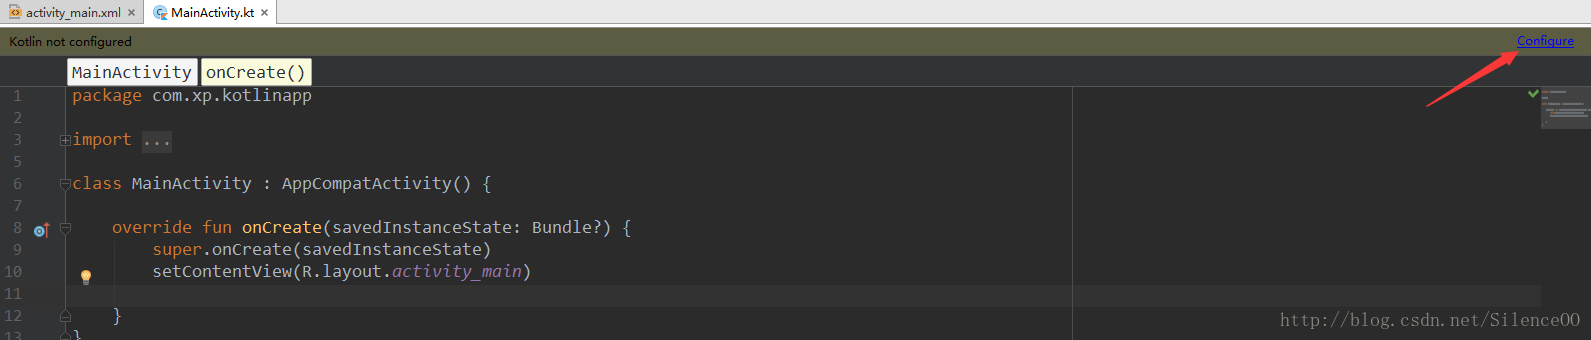
可以直接点击右上角的Configure,studio会自动在gradle中帮我们配置kotlin。
点击了之后会出现一个选择框,里面可以选择要配置kotlin的modules和版本:

这里直接点击默认的就好。然后我们就去看看gradle里看看究竟添加了什么。

自己也可以手动在gradle里面添加:
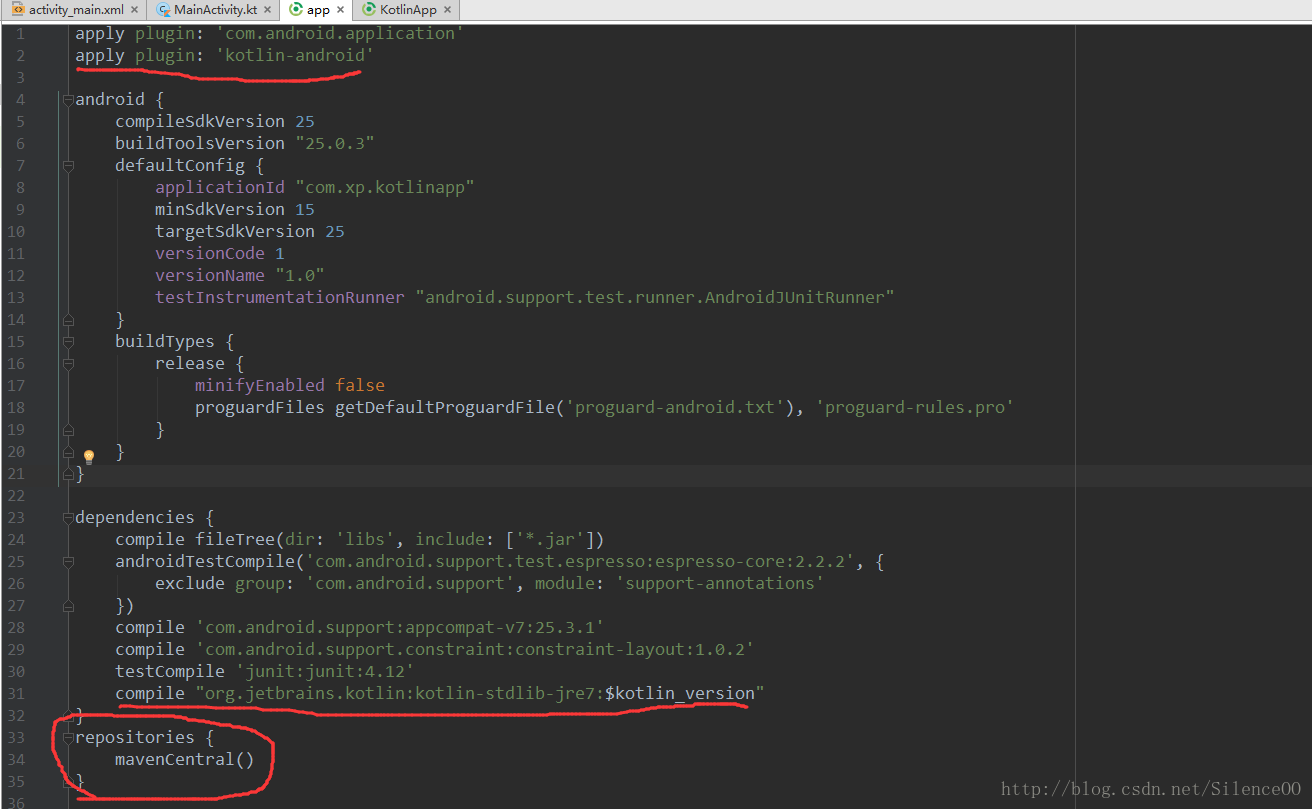
app里面的build.gradle的代码:
apply plugin: 'com.android.application'
apply plugin: 'kotlin-android'

android {
    compileSdkVersion 25
    buildToolsVersion "25.0.3"
    defaultConfig {
        applicationId "com.xp.kotlinapp"
        minSdkVersion 15
        targetSdkVersion 25
        versionCode 1
        versionName "1.0"
        testInstrumentationRunner "android.support.test.runner.AndroidJUnitRunner"
    }
    buildTypes {
        release {
            minifyEnabled false
            proguardFiles getDefaultProguardFile('proguard-android.txt'), 'proguard-rules.pro'
        }
    }
}

dependencies {
    compile fileTree(dir: 'libs', include: ['*.jar'])
    androidTestCompile('com.android.support.test.espresso:espresso-core:2.2.2', {
        exclude group: 'com.android.support', module: 'support-annotations'
    })
    compile 'com.android.support:appcompat-v7:25.3.1'
    compile 'com.android.support.constraint:constraint-layout:1.0.2'
    testCompile 'junit:junit:4.12'
    compile "org.jetbrains.kotlin:kotlin-stdlib-jre7:$kotlin_version"
}
repositories {
    mavenCentral()
}
工程的build.gradle的代码:
// Top-level build file where you can add configuration options common to all sub-projects/modules.

buildscript {
    ext.kotlin_version = '1.1.3-2'
    repositories {
        jcenter()
    }
    dependencies {
        classpath 'com.android.tools.build:gradle:2.3.2'
        classpath "org.jetbrains.kotlin:kotlin-gradle-plugin:$kotlin_version"

        // NOTE: Do not place your application dependencies here; they belong
        // in the individual module build.gradle files
    }
}

allprojects {
    repositories {
        jcenter()
    }
}

task clean(type: Delete) {
    delete rootProject.buildDir
}
主要就是添加了应用插件和依赖,这个时候我们只需要点击Sync Now就可以了。这个时候就可以用kotlin开发项目了,但是kotlin还有扩展插件使我们开发更加方便就是kotlin-android-extensions(官方介绍)
在moudle的 build.gradle 文件中添加
apply plugin: 'kotlin-android-extensions'
主要的功能:控件导入,支持Activity扩展方法和属性。
添加了kotlin-android-extensions之后就来写一下。
布局文件:
<?xml version="1.0" encoding="utf-8"?>
<android.support.constraint.ConstraintLayout xmlns:android="http://schemas.android.com/apk/res/android"
    xmlns:app="http://schemas.android.com/apk/res-auto"
    xmlns:tools="http://schemas.android.com/tools"
    android:layout_width="match_parent"
    android:layout_height="match_parent"
    tools:context="com.xp.kotlinapp.MainActivity">

    <TextView
        android:id="@+id/textView"
        android:layout_width="wrap_content"
        android:layout_height="wrap_content"
        app:layout_constraintBottom_toBottomOf="parent"
        app:layout_constraintLeft_toLeftOf="parent"
        app:layout_constraintRight_toRightOf="parent"
        app:layout_constraintTop_toTopOf="parent" />

</android.support.constraint.ConstraintLayout>
Activity中:
import android.support.v7.app.AppCompatActivity
import android.os.Bundle
import android.widget.Toast
import kotlinx.android.synthetic.main.activity_main.*

class MainActivity : AppCompatActivity() {

    override fun onCreate(savedInstanceState: Bundle?) {
        super.onCreate(savedInstanceState)
        setContentView(R.layout.activity_main)
        textView.text = "hello kotlin!"

        textView.setOnClickListener {
            Toast.makeText(this,"hello kotlin!",Toast.LENGTH_SHORT).show()
        }
    }
}
运行效果:
是不是感觉代码很简单,其实kotlin还有个库,添加了之后会使我们的代码更加简化,那就是anko(官方介绍)
如果要用kotlin开发整个项目,这个库是必不可少的,这个库的话就自己去了解吧。


 319
319


 被折叠的 条评论
为什么被折叠?
被折叠的 条评论
为什么被折叠?
 到【灌水乐园】发言


