


Android自定义ViewGroup:实现简单的垂直方向线性布局(2)
附录文章1自定义了一个ViewGroup,该ViewGroup实现了一个线性布局,水平方向的。本文修改附录文章1中的MyLayout.java代码文件,作为演练,再次实现一个简单的线性布局,不过这次的线性布局是垂直方向上的。
附录文章1的全部代码均不用修改,只需要把MyLayout.java的某些地方代码调整,即可实现线性布局的垂直方向布局:
package zhangphil.layout;

import android.content.Context;
import android.util.AttributeSet;
import android.view.View;
import android.view.ViewGroup;

public class MyLayout extends ViewGroup {

    public MyLayout(Context context, AttributeSet attrs) {
        super(context, attrs);
    }

    // 度量全部子view要占用的空间,宽和高
    //onMeasure被Android系统调用是在onLayout之前
    @Override
    protected void onMeasure(int widthMeasureSpec, int heightMeasureSpec) {

        //所有子view加起来总的Measured Dimension高度和宽度
        int measuredWidth = 0;
        int measuredHeight = 0;

        int count = getChildCount();
        for (int i = 0; i < count; i++) {
            View v = getChildAt(i);
            if (v.getVisibility() != View.GONE) {
                measureChild(v, widthMeasureSpec, heightMeasureSpec);

                //measuredWidth += v.getMeasuredWidth();
                measuredWidth=Math.max(measuredWidth,v.getMeasuredWidth());

                measuredHeight += v.getMeasuredHeight();
                //measuredHeight=Math.max(measuredHeight, v.getMeasuredHeight());
            }
        }

        //仔细检查!不要疏忽掉一些padding的值
        measuredWidth += getPaddingLeft() + getPaddingRight();
        measuredHeight += getPaddingTop() + getPaddingBottom();

        //可选
        //measuredWidth = Math.max(measuredWidth, getSuggestedMinimumWidth());
        //measuredHeight = Math.max(measuredHeight, getSuggestedMinimumHeight());

        //另外一种set度量值的方法
        //setMeasuredDimension(resolveSize(measuredWidth, widthMeasureSpec),resolveSize(measuredHeight, heightMeasureSpec));

        setMeasuredDimension(measuredWidth, measuredHeight);
    }

    //Android系统在onMeasure之后调用onLayout
    @Override
    protected void onLayout(boolean changed, int l, int t, int r, int b) {
        //此时回调的参数l,t,r,b是上一步onMeasure计算出来的值。r是总宽度,b是总高度
        //我们在l,t,r,b这四个参数“框”出来的空间内一个一个摆放我们自己的子view

        int count = getChildCount();
        for (int i = 0; i < count; i++) {
            View v = getChildAt(i);
            if (v.getVisibility() != View.GONE) {
                int childWidth = v.getMeasuredWidth();
                int childHeight = v.getMeasuredHeight();

                //开始摆放
                v.layout(l, t, l + childWidth, t + childHeight);

                //把左边的锚定位置往右移
                //如果在垂直方向继续累加l偏移量,那么显示出来的三个子view呈现阶梯状。
                //l += childWidth;

                //垂直方向累计坐标量
                t += childHeight;
            }
        }
    }
}
代码运行结果:

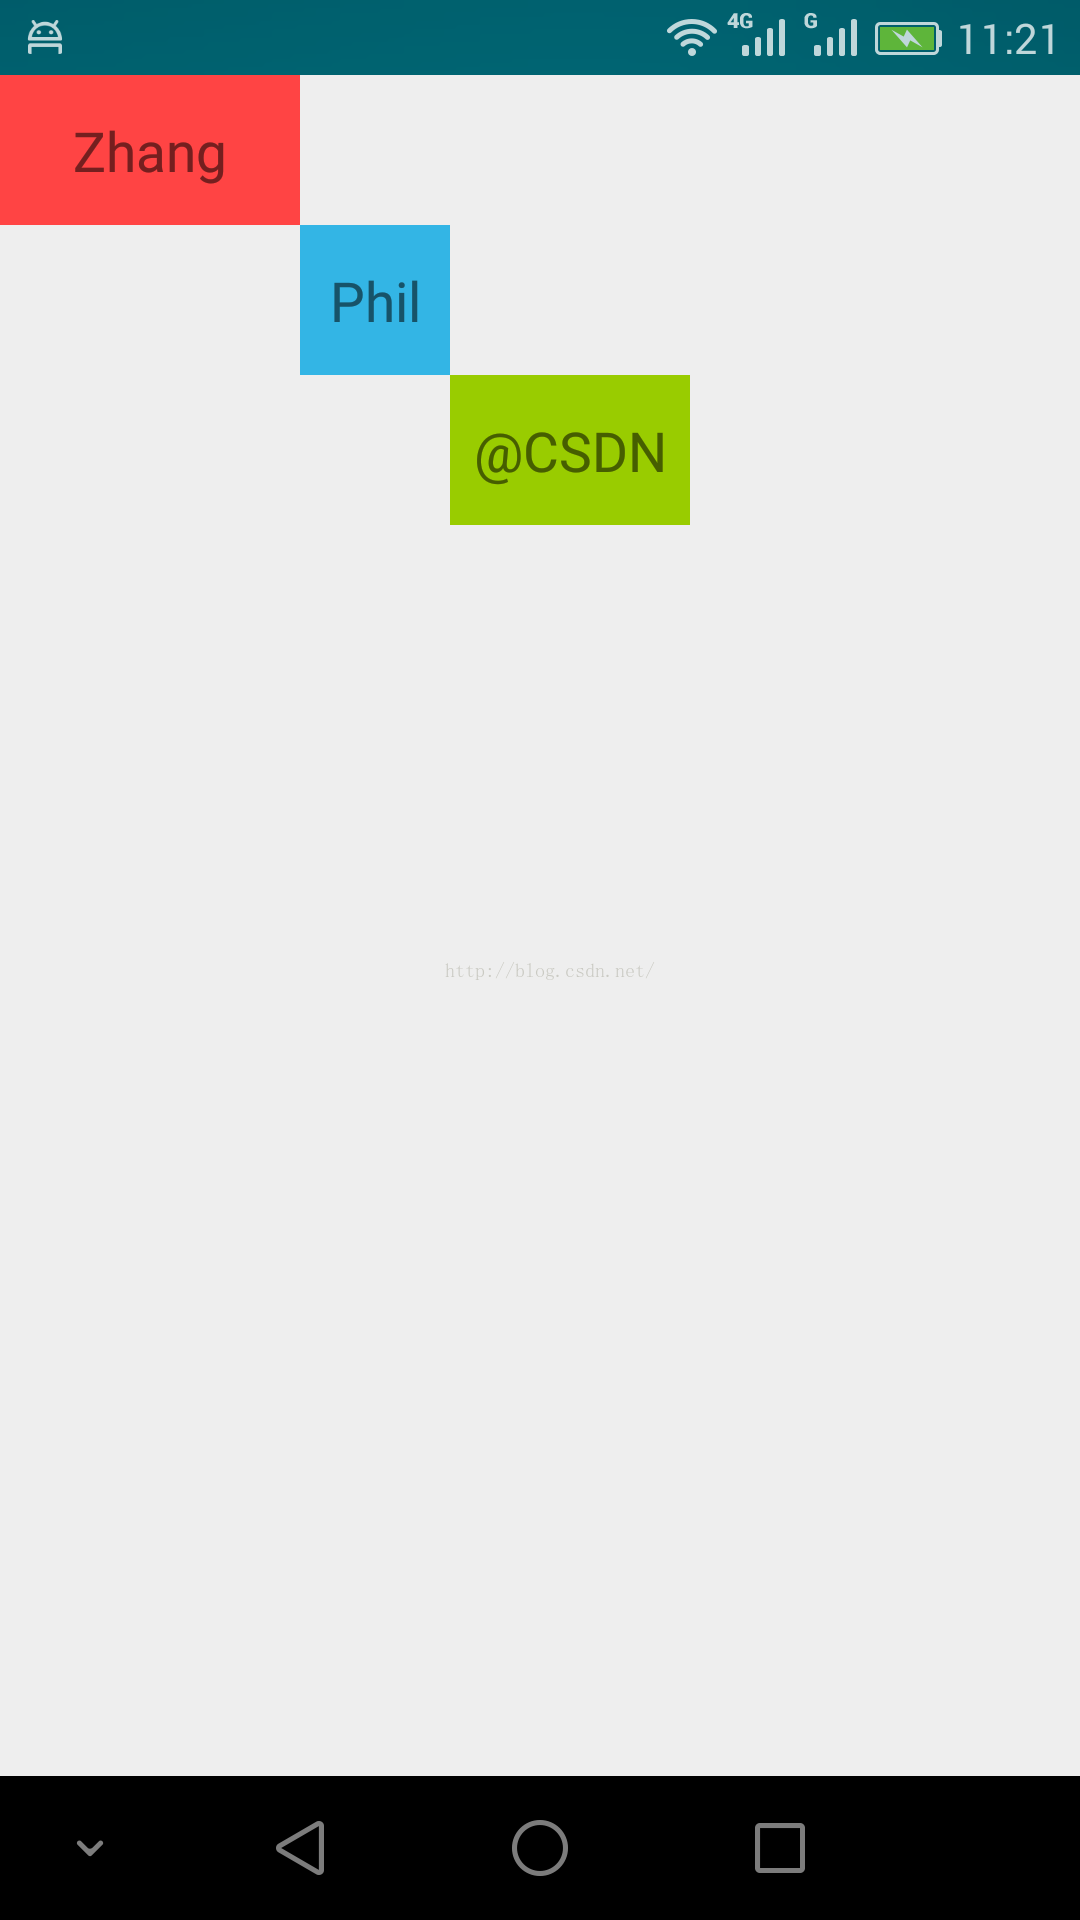
如果把MyLayout里面的onMeasure里面的一段被注释掉的代码:
measuredWidth += v.getMeasuredWidth();
启用,同时在onLayout里面的一段被注释掉的代码:
l += childWidth;
启用,那么摆放出来的子view呈现阶梯状,如图所示:
附录文章:
1,《Android自定义ViewGroup:onMeasure与onLayout(1)》链接地址:http://blog.csdn.net/zhangphil/article/details/51191567


 1248
1248

 被折叠的 条评论
为什么被折叠?
被折叠的 条评论
为什么被折叠?
 到【灌水乐园】发言


