


一、开始进行数据集划分
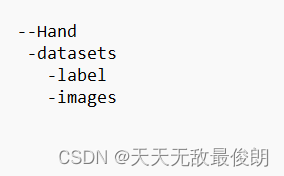
开始前先创建好图片文件夹格式这里以下图为例。
以上文件可以在labelimg标注后手动划分,也可以用如下代码进行自动划分。
在datasets创建ImageSets文件夹,以及split_train_val.py脚本进行数据划分发 。
import os
import random
trainval_percent = 0.9 # 训练集和验证集一共占所有数据的90%
train_percent = 0.9 # 训练集占训练集和验证集的90%
xmlfilepath = 'JPEGImages'
txtsavepath = 'ImageSets'
total_xml = os.listdir(xmlfilepath)
num = len(total_xml)
list = range(num)
tv = int(num * trainval_percent)
tr = int(tv * train_percent)
trainval = random.sample(list, tv) #从所有list中返回tv个数量的项目
train = random.sample(trainval, tr)
if not os.path.exists('ImageSets/'):
os.makedirs('ImageSets/')
ftrainval = open('ImageSets/trainval.txt', 'w')
ftest = open('ImageSets/test.txt', 'w')
ftrain = open('ImageSets/train.txt', 'w')
fval = open('ImageSets/val.txt', 'w')
for i in list:
name = total_xml[i][:-4] + '\n'
if i in trainval:
ftrainval.write(name)
if i in train:
ftrain.write(name)
else:
fval.write(name)
else:
ftest.write(name)
ftrainval.close()
ftrain.close()
fval.close()
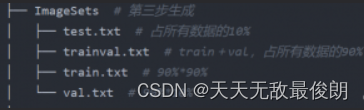
ftest.close()执行脚本后在ImageSets文件夹下会出现四个文件。
用来将所有的xml文件all_xml转为txt文件并存放到all_labels文件夹,并生成训练所需架构,在datasets目录下建立voc_label.py脚本文件。
# -*- coding=utf-8 -*-
import xml.etree.ElementTree as ET
import pickle
import os
import shutil
from os import listdir, getcwd
from os.path import join
sets = ['train', 'val', 'test']  # 如果不需要test就不写
classes = ['car', 'supercar']  # 修改成自己数据集的类别
def convert(size, box):
    dw = 1. / size[0]
    dh = 1. / size[1]
    x = (box[0] + box[1]) / 2.0
    y = (box[2] + box[3]) / 2.0
    w = box[1] - box[0]
    h = box[3] - box[2]
    x = x * dw
    w = w * dw
    y = y * dh
    h = h * dh
    return (x, y, w, h)
def convert_annotation(image_id):
    in_file = open('all_xml/%s.xml' % (image_id),encoding='utf-8')
    out_file = open('Annotations/%s.txt' % (image_id), 'w')
    tree = ET.parse(in_file)
    root = tree.getroot()
    size = root.find('size')
    w = int(size.find('width').text)
    h = int(size.find('height').text)
    for obj in root.iter('object'):
        difficult = obj.find('difficult').text
        cls = obj.find('name').text
        if cls not in classes or int(difficult) == 1:
            continue
        cls_id = classes.index(cls)
        xmlbox = obj.find('bndbox')
        b = (float(xmlbox.find('xmin').text), float(xmlbox.find('xmax').text), float(xmlbox.find('ymin').text),
             float(xmlbox.find('ymax').text))
        bb = convert((w, h), b)
        out_file.write(str(cls_id) + " " + " ".join([str(a) for a in bb]) + '\n')
wd = getcwd()
print(wd)
for image_set in sets:
    if not os.path.exists('Annotations/'):
        os.makedirs('Annotations/')
    image_ids = open('ImageSets/%s.txt' % (image_set),encoding='utf-8').read().strip().split()
    image_list_file = open('images_%s.txt' % (image_set), 'w',encoding='utf-8')
    labels_list_file=open('labels_%s.txt'%(image_set),'w',encoding='utf-8')
    for image_id in image_ids:
        image_list_file.write('%s.jpg\n' % (image_id))
        labels_list_file.write('%s.txt\n'%(image_id))
        # convert_annotation(image_id) #如果标签已经是txt格式,将此行注释掉,所有的txt存放到Annotations文件夹。
    image_list_file.close()
    labels_list_file.close()


def copy_file(new_path,path_txt,search_path):#参数1:存放新文件的位置  参数2:为上一步建立好的train,val训练数据的路径txt文件  参数3:为搜索的文件位置
    if not os.path.exists(new_path):
        os.makedirs(new_path)
    with open(path_txt, 'r') as lines:
        filenames_to_copy = set(line.rstrip() for line in lines)
        # print('filenames_to_copy:',filenames_to_copy)
        # print(len(filenames_to_copy))
    for root, _, filenames in os.walk(search_path):
        # print('root',root)
        # print(_)
        # print(filenames)
        for filename in filenames:
            if filename in filenames_to_copy:
                shutil.copy(os.path.join(root, filename), new_path)

#按照划分好的训练文件的路径搜索目标,并将其复制到yolo格式下的新路径
copy_file('./images/train/','./images_train.txt','./JPEGImages')
copy_file('./images/val/','./images_val.txt','./JPEGImages')
copy_file('./images/test/','./images_test.txt','./JPEGImages')
copy_file('./labels/train/','./labels_train.txt','./Annotations')
copy_file('./labels/val/','./labels_val.txt','./Annotations')
copy_file('./labels/test/','./labels_test.txt','./Annotations')
到此数据集就划分好了。
二、开始训练
接下来可以开始训练,在YOLOV5文件夹下粘贴刚刚创建的文件夹。
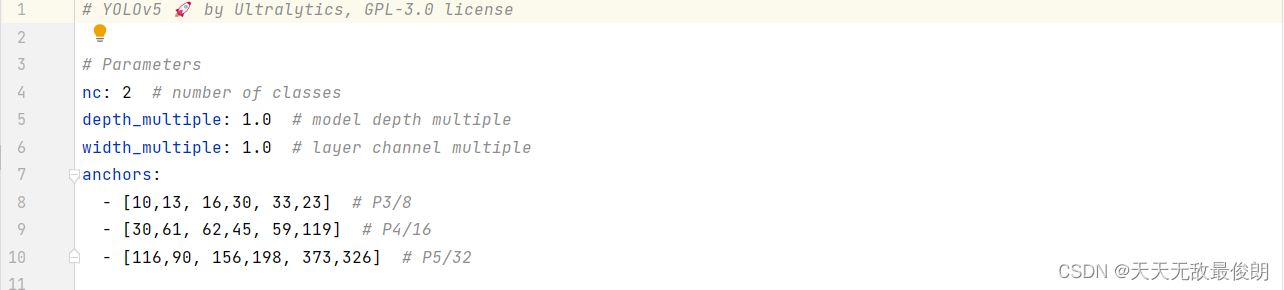
在Hand文件夹下分别创建 hand_model.yaml和hand_parameter.yaml文件,可以从data目录下coco128.yaml复制更名,后者在model目录下进行x、s、n、m、l选择后复制更名为上述名称即可。
hand_model.yaml只需要更改‘nc’项,nc代表此次的标签数目
hand_parameter.yaml需要修改路径
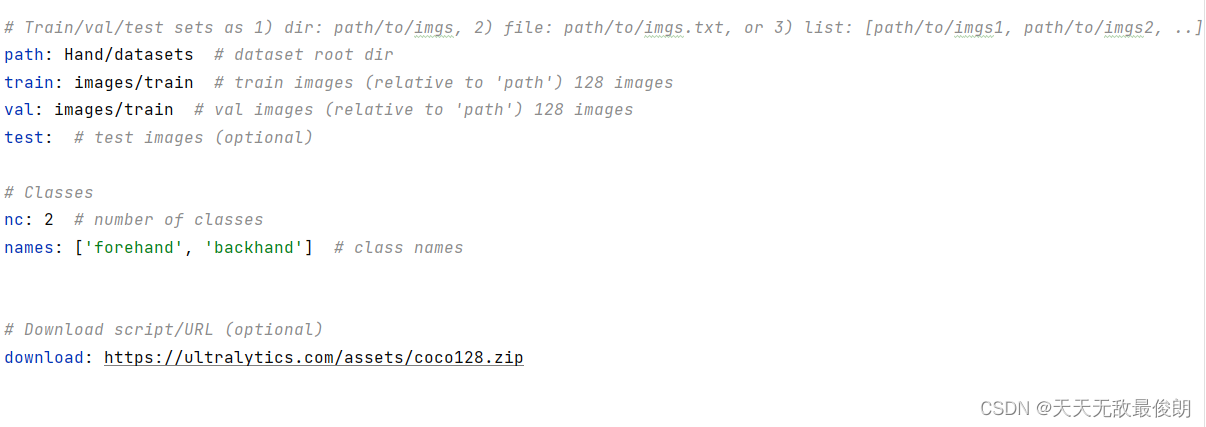
按照自己的路径进行修改即可,注意将‘names’更改为自己训练项目的名称
做好以上步骤,我们跳转到train.py修改几项参数即可开始训练。在train.py中找到def parse_opt(known=False):这一行
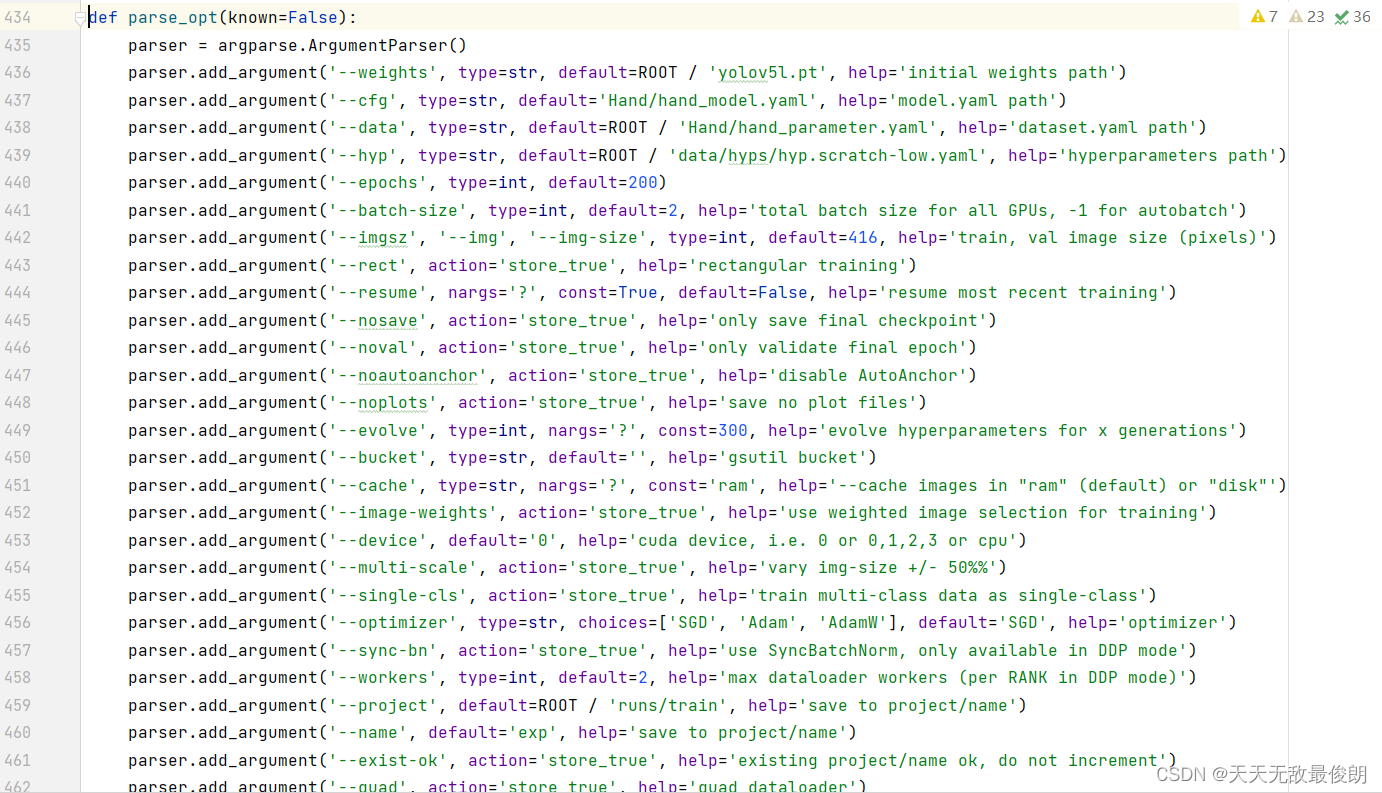
对436行default/后进行修改,选择你电脑所能承受的权重,这里选择‘l’模型。
对437行 default/后进行修改,修改为刚刚创建为Hand目录下的 hand_model.yaml。
对437行 default/后进行修改,修改为刚刚创建为Hand目录下的hand_parameter.yaml。
对440行的epochs进行修改,这里为训练轮数。
对441行default/后进行修改,这里好像是几线程工作,我设置的是双线程。
对453行default=后进行修改,根据cpu或gpu训练选择。
将以上信息修改完毕后即可开始运行train.py。
三、检测
下面是我在yolo环境下检测torch的配置
(yolo) D:\Anaconda\envs\yolo\python.exe
Python 3.8.17 (default, Jul  5 2023, 20:44:21) [MSC v.1916 64 bit (AMD64)] :: Anaconda, Inc. on win32
Type "help", "copyright", "credits" or "license" for more information.
>>> import torch
>>> print(torch.__version__)
1.13.1+cu117
>>> print(torch.version.cuda)
11.7
>>> print(torch.cuda.is_available())
True
用于检测训练完成后的图片修改--source后为检测图片路径即可
python detect.py --weights runs/train/exp4/weights/best.pt --source data/images/005.jpg
也可在decet.py中进行检测
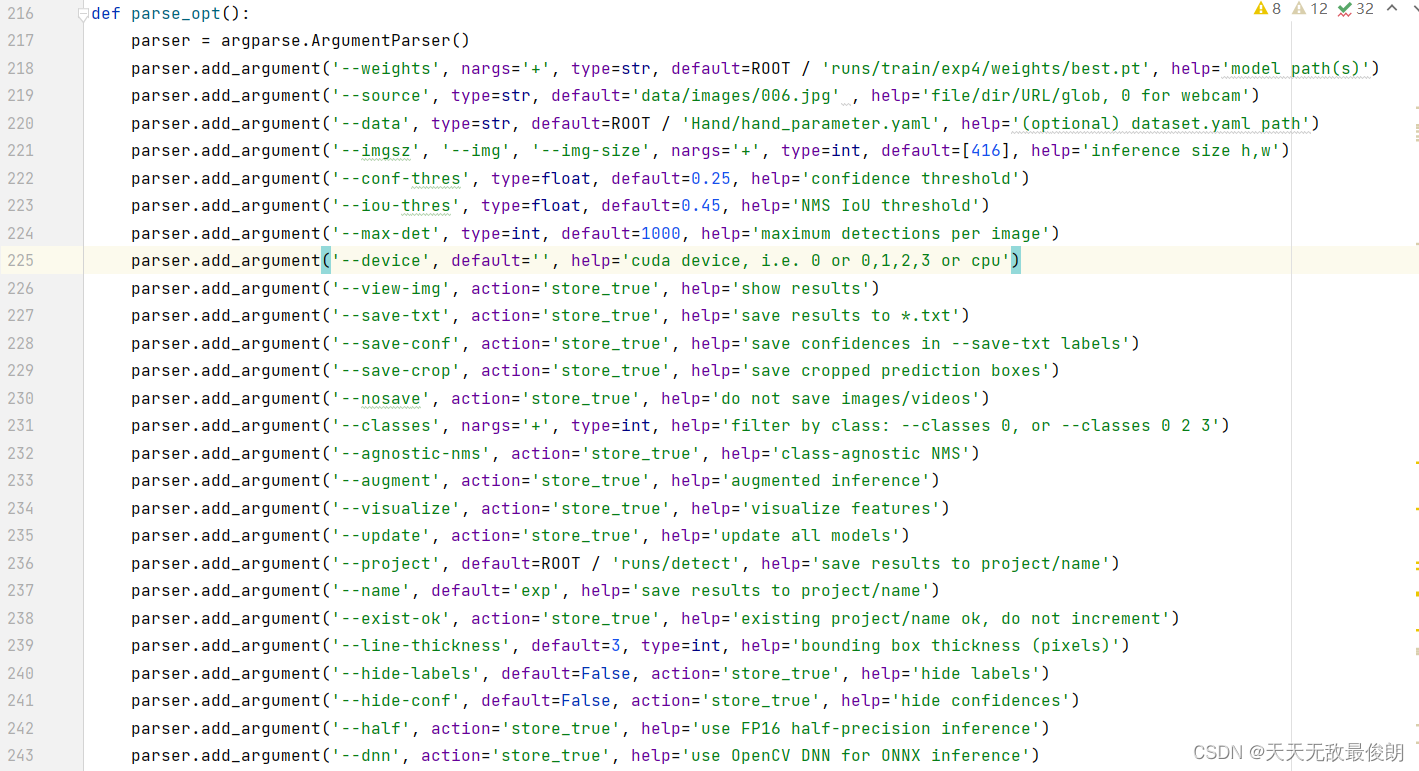
218为权重,这里选择训练最好的情况。
219为检测图片的路径,也可以为视频路径,或者修改成‘0’采用摄像头检测
这里需要注意,我最开始一直无法检测新的图片,由于我图片的大小未更改,默认是640,我训练时更改为了416在检测时也应该将221行更改为相应格式即可。
以下是参考资源链接yolov5模型训练流程 - 古月居


 203
203


 被折叠的 条评论
为什么被折叠?
被折叠的 条评论
为什么被折叠?
 到【灌水乐园】发言


