


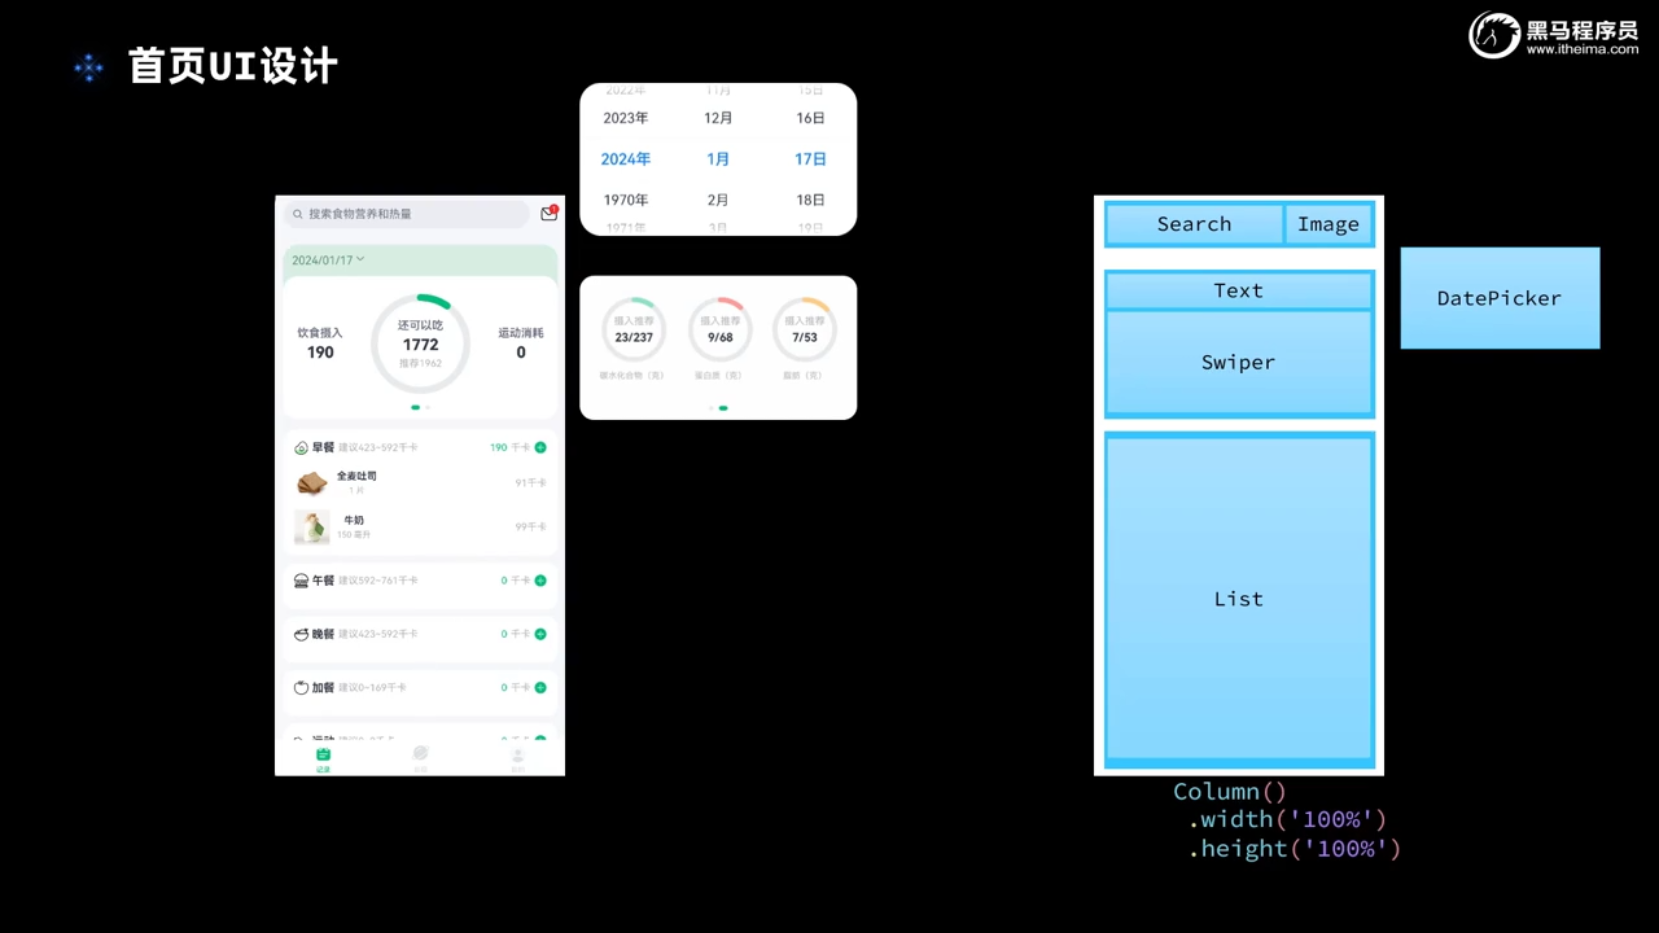
4.1 UI设计
 4.2弹窗日期选择器的实现
4.2.1 自定义弹窗(根据逻辑调用open和close方法)
controller:CustomDialogController4.2.2 定义日期选择器(通过查看API)
selectedDate : Date=new Date()
DatePicker({
        start: new Date('2023-01-01'),
        end: new Date(),//截止到今天的日期
        selected: this.selectedDate
      })
        .onChange((value: DatePickerResult) => {
          this.selectedDate.setFullYear(value.year, value.month, value.day)

        })
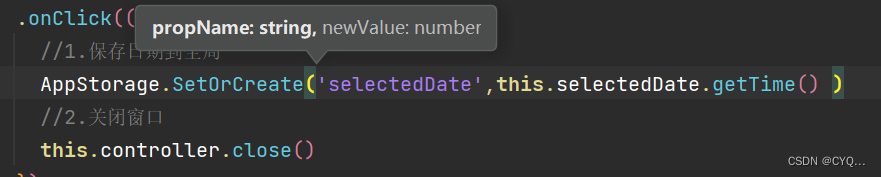
4.2.3 点击确认后新选择的日期如何保存
AppSorage就是为了把数据保存到全局, 可以看SetOrCreate这个地方newValue我们需要传一个number类型的时,但是selectedDate是Date类型的所以我们通过getTime()将日期转换为毫秒。
AppStorage.SetOrCreate<number>(propName: string, newValue: number): void
AppStorage.SetOrCreate('selectedDate',this.selectedDate.getTime() )
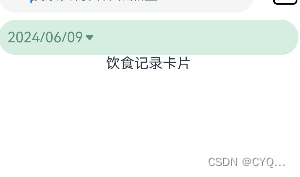
4.2.4 日期格式化
@StorageProp的使用是因为需要对selectedDate进行加载和读取
new Date()获得当前日期但是selectedDate定义的是number类型要的是毫秒所以利用DateUtil中的geginTimeOfDay获得这一天的开始日期。不要用getTime()会默认这个地方的Date会默认加上时分秒,而之前日期选择器里面只有年月日。
@StorageProp('selectedDate') selectedDate:number=DateUtil.beginTimeOfDay(new Date())
  controller:CustomDialogController=new CustomDialogController({
    builder:DatePickDialog({selectedDate:new Date(this.selectedDate)})
//回显,再次打开时会显示
  })
在显示日期的时候我们需要对日期格式化,因为传过来的日期是毫秒
Text(DateUtil.formatDate(this.selectedDate)) //格式化日期4.2.5 遇到问题
点击打开时间选择器然后进行选择点击确认以后之前的日期并没有发生改变。是因为在我将数据保存到全区时调用错了方法,应该是SetOrCreate

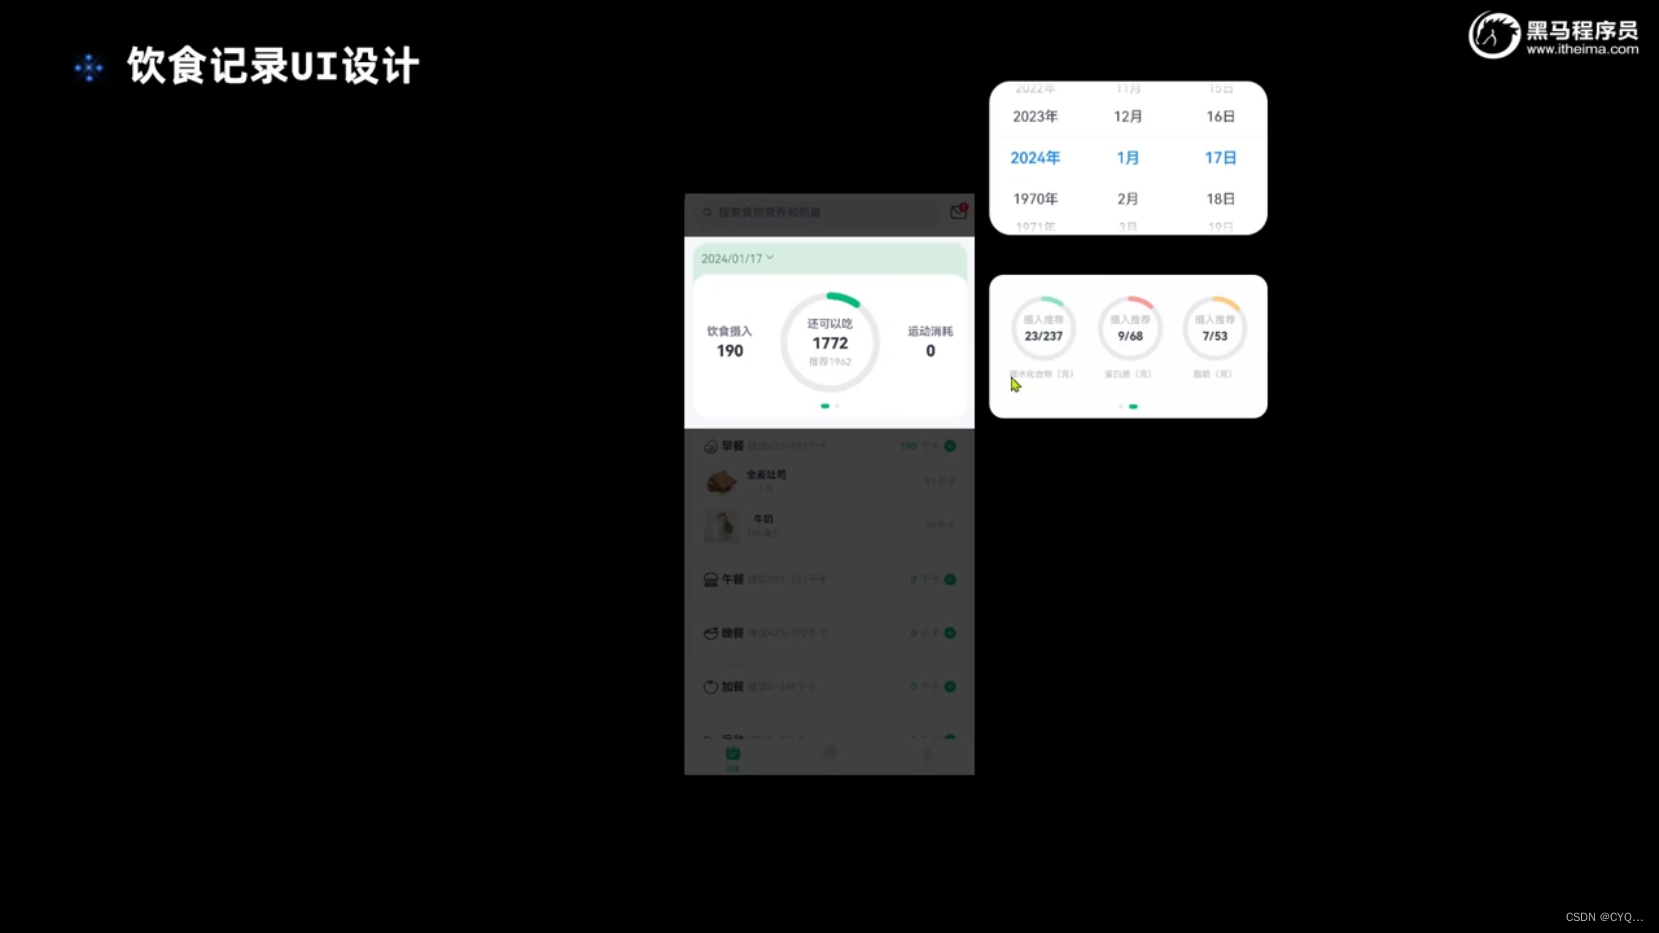
4.3弹窗实现效果
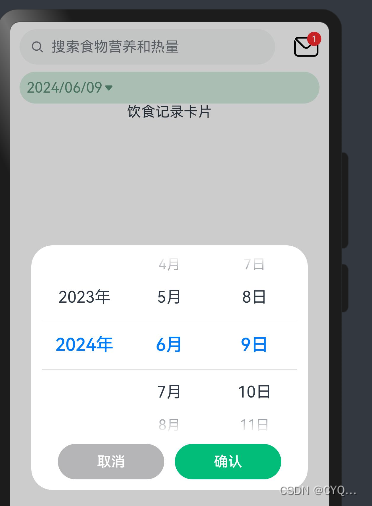
4.4 轮播图设计
关于轮播图需要用到组件Swiper(),需要修改一下它的样式,利用indicatorStyle来修改导航点的样式
   Swiper() {
        //1.热量统计
         CalorieStats()

        //2.营养素统计
        NutrientStats()

      }
      .width('100%')
      .backgroundColor(Color.White)
      .borderRadius(20)
      .indicatorStyle({selectedColor:$r('app.color.primary_color')})
4.5 第一张进度卡片实现
4.5.1 第一张卡片内容设计
大体上是行式布局,每一个小的部分是列式布局。
可以把每个部分的内容抽取出来单独成一个组件让代码结构更加简洁
注意:这个地方tips+?表示可以不传值是因为在中间的那个进度条是由三部分组成第一个和第二个都是两部分组成
  @Builder statsBuilder(label:string,value:number,tips?:string){
    Column({space:CommonConstants.SPACE_6}){
      Text(label)
        .fontColor($r('app.color.gray'))
        .fontWeight(CommonConstants.FONT_WEIGHT_600)
      Text(value.toFixed(0))//转成一个string类型
        .fontSize(20)
        .fontWeight(CommonConstants.FONT_WEIGHT_700)
         if(tips)
         {
           Text(tips)
             .fontSize(12)
             .fontColor($r('app.color.light_gray'))
         }
    }
  }
在使用进度条时 我们可以发现进度条是在内容的外面,所以需要使用Stack()层叠容器
进度条需要用Progress()组件
Stack(){
//2.1进度条
Progress({
value:this.intake,
total:this.recommend,
type:ProgressType.Ring//环形
})
.width(120)
.style({strokeWidth:CommonConstants.DEFAULT_8})
.color($r('app.color.primary_color'))
//2.2统计数据
this.statsBuilder('还可以吃',this.remainCalorie(),`推荐${this.recommend}`)
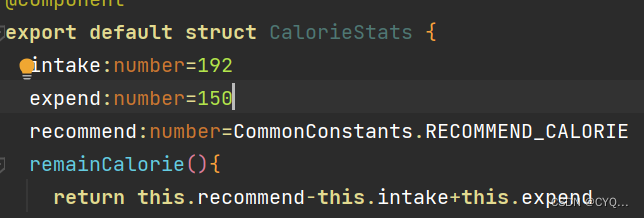
}4.5.2 遇到问题
预览时报错,预览不出来,原因是给饮食摄入量和运动消耗量初始化时要设一个值。

4.5.3 第一张卡片运行效果
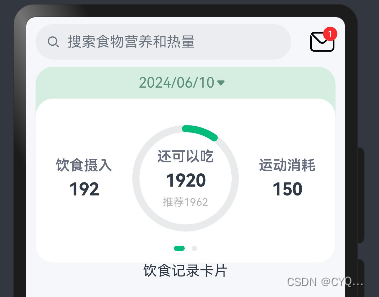
4.6 第二张进度卡片实现
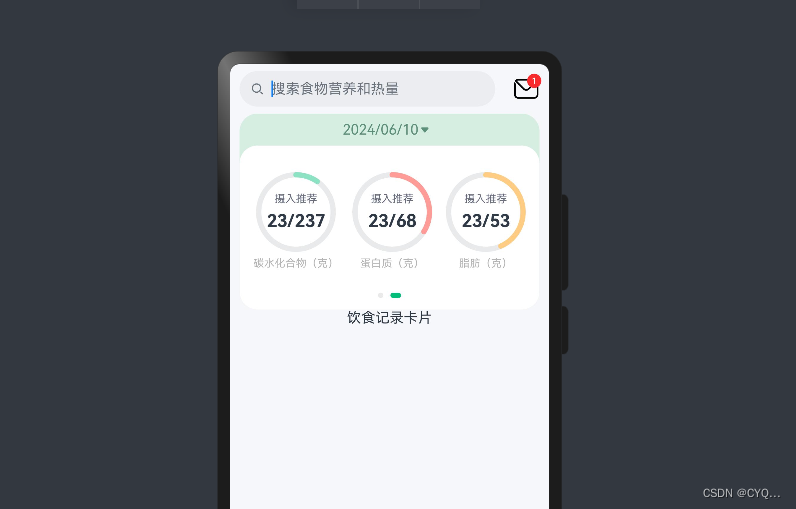
4.6.1 第二张卡片内容设计
第二张卡片整体上也是行式布局,每个小部分是列式布局,每个小部分都有环形进度条,然后把它们抽取成一个组件使用使代码结构更加简洁,进度条需要用Progress()组件
@Builder statsBuilder(label:string,value:number,recommend:number,color:ResourceStr){
Column({space:CommonConstants.SPACE_6}){
Stack() {
//2.1进度条
Progress({
value: value,
total: recommend,
type: ProgressType.Ring //环形
})
.width(90)
.style({ strokeWidth: CommonConstants.DEFAULT_6 })
.color(color)
Column({space:CommonConstants.SPACE_6}) {
Text('摄入推荐')
.fontSize(12)
.fontColor($r('app.color.gray'))
Text(`${value.toFixed(0)}/${recommend.toFixed(0)}`) //转成一个string类型
.fontSize(20)
.fontWeight(CommonConstants.FONT_WEIGHT_700)
}
}
Text(`${label}(克)`)
.fontSize(12)
.fontColor($r('app.color.light_gray'))
}
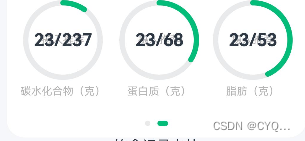
}4.6.2 遇到问题
发现每个进度条字体与每个占比都重叠了,对于进度条内部来说,还需要一个column容器。


 1034
1034

 被折叠的 条评论
为什么被折叠?
被折叠的 条评论
为什么被折叠?
 到【灌水乐园】发言


