


virtualenv 虚拟环境名称
如果存在python解释器,可以选择指定Python解释器,例如
virtualenv -p /usr/bin/python2.7 my_project_env
- 启动虚拟环境
source my_project_env/bin/activate
- 停用虚拟环境
deactivate
virtualenvwrapper
- 安装(确保virtualenv已经安装)
pip3 install virtualenvwrapper
export WORKON\_HOME=~/Envs  #设置环境变量
mkdir -p $WORKON\_HOME #创建虚拟环境管理目录
find / -name virtualenvwrapper.sh #找到virtualenvwrapper.sh的路径
source 路径 #激活virtualenvwrapper.sh
- 基本使用
- 创建虚拟环境
mkvirtualenv project_env
这会在Envs 中创建 project_env虚拟环境
选择一个python解释器来搭建:
mkvirtualenv env --python=python2.7
- 在虚拟环境上工作
workon project_env
或者,您可以创建一个项目,它会创建虚拟环境,并在 $WORKON_HOME 中创建一个项目目录。 当您使用 workon project_env 时,会 cd -ed 到项目目录中。
mkvirtualenv project_env
virtualenvwrapper 提供环境名字的tab补全功能。当您有很多环境, 并且很难记住它们的名字时,这就显得很有用。
workon 也能停止您当前所在的环境,所以您可以在环境之间快速的切换。
- 停止虚拟环境
deactivate
- 删除
rmvirtualenv project_env
这里只是简要介绍有关工具的使用方式,更详细的信息各位读者可以自行在互联网上查阅,更专业也更具体。
下载地址
克隆OneForAll项目,和上面一下镜像的为gitee,有条件的可以选GitHub,二选一个
github:
sudo git clone https://github.com/shmilylty/OneForAll.git
gitee:
sudo git clone https://gitee.com/shmilylty/OneForAll.git
报错处理
对于高版本的python,在执行OneForall安装文件时会出现报错,下面提供一种解决方式,目前本人测试在自己的环境中可以解决,但对于读者的配置环境存在无法解决的可能。
1、克隆OneForall
┌──(hunter㉿hunter)-[/Tools/1_信息搜集/2_子域名收集]
└─$ sudo git clone https://github.com/shmilylty/OneForAll.git
正克隆到 'OneForAll'...
remote: Enumerating objects: 11794, done.
remote: Counting objects: 100% (501/501), done.
remote: Compressing objects: 100% (217/217), done.
remote: Total 11794 (delta 293), reused 420 (delta 276), pack-reused 11293
接收对象中: 100% (11794/11794), 105.47 MiB | 15.49 MiB/s, 完成.
处理 delta 中: 100% (6846/6846), 完成.

┌──(hunter㉿hunter)-[/Tools/1_信息搜集/2_子域名收集]
└─$ ls
2_subfinder  OneForAll

┌──(hunter㉿hunter)-[/Tools/1_信息搜集/2_子域名收集]
└─$ sudo mv OneForAll 1_OneForAll
2、创建虚拟环境
┌──(hunter㉿hunter)-[/Tools/1_信息搜集/2_子域名收集]
└─$ ls
1_OneForAll  2_subfinder

┌──(hunter㉿hunter)-[/Tools/1_信息搜集/2_子域名收集]
└─$ cd 1_OneForAll

┌──(hunter㉿hunter)-[/Tools/1_信息搜集/2_子域名收集/1_OneForAll]
└─$ sudo python3 -m venv Env
[sudo] hunter 的密码:

┌──(hunter㉿hunter)-[/Tools/1_信息搜集/2_子域名收集/1_OneForAll]
└─$ ls
brute.py  Dockerfile  images        Pipfile           takeover.py
common    docs        LICENSE       Pipfile.lock      test.py
config    Env         modules       README.md         thirdparty
data      export.py   oneforall.py  requirements.txt
3、启动虚拟环境&&安装OneForAll
注:请在已经下载的OneForAll目录下创建虚拟环境,避免出现调用时引用依赖错误。另外请先进入root环境。
┌──(hunter㉿hunter)-[/Tools/1_信息搜集/2_子域名收集/1_OneForAll]
└─$ sudo su

┌──(root㉿hunter)-[/Tools/1_信息搜集/2_子域名收集/1_OneForAll]
└─# source Env/bin/activate

┌──(Env)─(root㉿hunter)-[/Tools/1_信息搜集/2_子域名收集/1_OneForAll]
└─# ls
brute.py  Dockerfile  images        Pipfile           takeover.py
common    docs        LICENSE       Pipfile.lock      test.py
config    Env         modules       README.md         thirdparty
data      export.py   oneforall.py  requirements.txt

┌──(Env)─(root㉿hunter)-[/Tools/1_信息搜集/2_子域名收集/1_OneForAll]
└─# pip3 install -r requirements.txt
Collecting beautifulsoup4==4.11.1 (from -r requirements.txt (line 1))
  Using cached beautifulsoup4-4.11.1-py3-none-any.whl (128 kB)
Collecting bs4==0.0.1 (from -r requirements.txt (line 2))
  Using cached bs4-0.0.1-py3-none-any.whl
Collecting certifi==2022.06.15 (from -r requirements.txt (line 3))
  Using cached certifi-2022.6.15-py3-none-any.whl (160 kB)
Collecting chardet==5.0.0 (from -r requirements.txt (line 4))
  Using cached chardet-5.0.0-py3-none-any.whl (193 kB)
Collecting colorama==0.4.4 (from -r requirements.txt (line 5))
  Using cached colorama-0.4.4-py2.py3-none-any.whl (16 kB)
Collecting dnspython==2.2.1 (from -r requirements.txt (line 6))
  Using cached dnspython-2.2.1-py3-none-any.whl (269 kB)
Collecting exrex==0.10.5 (from -r requirements.txt (line 7))
  Using cached exrex-0.10.5-py3-none-any.whl
Collecting fire==0.4.0 (from -r requirements.txt (line 8))
  Using cached fire-0.4.0-py2.py3-none-any.whl
Collecting future==0.18.2 (from -r requirements.txt (line 9))
  Using cached future-0.18.2-py3-none-any.whl
Collecting idna==3.3 (from -r requirements.txt (line 10))
  Using cached idna-3.3-py3-none-any.whl (61 kB)
Collecting loguru==0.6.0 (from -r requirements.txt (line 11))
  Using cached loguru-0.6.0-py3-none-any.whl (58 kB)
Collecting PySocks==1.7.1 (from -r requirements.txt (line 12))
  Using cached PySocks-1.7.1-py3-none-any.whl (16 kB)
Collecting requests==2.28.1 (from -r requirements.txt (line 13))
  Using cached requests-2.28.1-py3-none-any.whl (62 kB)
Collecting six==1.16.0 (from -r requirements.txt (line 14))
  Using cached six-1.16.0-py2.py3-none-any.whl (11 kB)
Collecting soupsieve==2.3.2 (from -r requirements.txt (line 15))
  Using cached soupsieve-2.3.2-py3-none-any.whl (37 kB)
Collecting SQLAlchemy==1.3.22 (from -r requirements.txt (line 16))
  Using cached SQLAlchemy-1.3.22-cp311-cp311-linux_x86_64.whl
Collecting tenacity==8.0.1 (from -r requirements.txt (line 17))
  Using cached tenacity-8.0.1-py3-none-any.whl (24 kB)
Collecting termcolor==1.1.0 (from -r requirements.txt (line 18))
  Using cached termcolor-1.1.0-py3-none-any.whl
Collecting tqdm==4.64.0 (from -r requirements.txt (line 19))
  Using cached tqdm-4.64.0-py2.py3-none-any.whl (78 kB)
Collecting treelib==1.6.1 (from -r requirements.txt (line 20))
  Using cached treelib-1.6.1-py3-none-any.whl
Collecting urllib3==1.26.9 (from -r requirements.txt (line 21))
  Using cached urllib3-1.26.9-py2.py3-none-any.whl (138 kB)
Collecting win32-setctime==1.1.0 (from -r requirements.txt (line 22))
  Using cached win32_setctime-1.1.0-py3-none-any.whl (3.6 kB)
Collecting charset-normalizer<3,>=2 (from requests==2.28.1->-r requirements.txt (line 13))
  Using cached charset_normalizer-2.1.1-py3-none-any.whl (39 kB)
Installing collected packages: termcolor, exrex, win32-setctime, urllib3, tqdm, tenacity, SQLAlchemy, soupsieve, six, PySocks, loguru, idna, future, dnspython, colorama, charset-normalizer, chardet, certifi, treelib, requests, fire, beautifulsoup4, bs4
Successfully installed PySocks-1.7.1 SQLAlchemy-1.3.22 beautifulsoup4-4.11.1 bs4-0.0.1 certifi-2022.6.15 chardet-5.0.0 charset-normalizer-2.1.1 colorama-0.4.4 dnspython-2.2.1 exrex-0.10.5 fire-0.4.0 future-0.18.2 idna-3.3 loguru-0.6.0 requests-2.28.1 six-1.16.0 soupsieve-2.3.2 tenacity-8.0.1 termcolor-1.1.0 tqdm-4.64.0 treelib-1.6.1 urllib3-1.26.9 win32-setctime-1.1.0
4、测试是否异常
┌──(Env)─(root㉿hunter)-[/Tools/1_信息搜集/2_子域名收集/1_OneForAll]
└─# python3 oneforall.py --help
Traceback (most recent call last):
  File "/Tools/1\_信息搜集/2\_子域名收集/1\_OneForAll/oneforall.py", line 16, in <module>
    from brute import Brute
  File "/Tools/1\_信息搜集/2\_子域名收集/1\_OneForAll/brute.py", line 14, in <module>
    import exrex
  File "/Tools/1\_信息搜集/2\_子域名收集/1\_OneForAll/Env/lib/python3.11/site-packages/exrex.py", line 25, in <module>
    from re import sre_parse, U
ImportError: cannot import name 'sre\_parse' from 're' (/usr/lib/python3.11/re/__init__.py)
请先别急,这里报错是因为缺少sre_parse模块。实际上是因为高版本python中re模块没有了sre_parse模块,可以修改exrex.py 代码,直接导入sre_parse模块。
┌──(Env)─(root㉿hunter)-[/Tools/1_信息搜集/2_子域名收集/1_OneForAll]
└─# vim /Tools/1\_信息搜集/2\_子域名收集/1\_OneForAll/Env/lib/python3.11/site-packages/exrex.py
注意此处目录的路径,需要与报错路径一致。
修改exrex.py如下:
try:
    from future_builtins import map, range
except:
    pass
import sre_parse
#from re import sre\_parse, U
from re import U
from itertools import tee
from random import choice, randint
from types import GeneratorType
再次运行,可以尝试以下命令
python3 oneforall.py --target baidu.com run
出现如下代表已经成功
┌──(Env)─(root㉿hunter)-[/Tools/1_信息搜集/2_子域名收集/1_OneForAll]
└─# python3 oneforall.py --target baidu.com run

OneForAll is a powerful subdomain integration tool
             ___             _ _
 ___ ___ ___|  _|___ ___ ___| | | {v0.4.5 #dev}
| . |   | -_|  _| . |  _| .'| | |
|___|_|_|___|_| |___|_| |__,|_|_| git.io/fjHT1

OneForAll is under development, please update before each use!

[*] Starting OneForAll @ 2024-01-27 21:44:00

21:44:00,894 [INFOR] utils:532 - Checking dependent environment
21:44:00,894 [INFOR] utils:544 - Checking network environment
21:44:09,437 [INFOR] utils:555 - Checking for the latest version
21:44:20,605 [INFOR] utils:579 - The current version v0.4.5 is already the latest version
21:44:20,610 [INFOR] oneforall:241 - Start running OneForAll
21:44:20,614 [INFOR] oneforall:246 - Got 1 domains
21:44:20,641 [INFOR] wildcard:108 - Detecting baidu.com use wildcard dns record or not
21:44:20,842 [ALERT] wildcard:123 - The domain baidu.com disables wildcard
21:44:20,843 [INFOR] collect:44 - Start collecting subdomains of baidu.com
21:44:20,950 [INFOR] module:63 - QueryMX module took 0.0 seconds found 0 subdomains
21:44:20,977 [INFOR] module:63 - QueryNS module took 0.0 seconds found 5 subdomains
21:44:20,983 [INFOR] module:63 - AXFRCheck module took 0.1 seconds found 0 subdomains
21:44:20,988 [INFOR] module:63 - NSECCheck module took 0.1 seconds found 0 subdomains
21:44:21,003 [INFOR] module:63 - QuerySOA module took 0.1 seconds found 2 subdomains
21:44:21,010 [INFOR] module:63 - QuerySPF module took 0.1 seconds found 0 subdomains
21:44:21,016 [INFOR] module:63 - QueryTXT module took 0.1 seconds found 4 subdomains
常用使用方式
1、您可以在OneForAll的config目录下修改有关配置
api.py
# 模块API配置
# Censys可以免费注册获取API:https://censys.io/api
censys_api_id = ''
censys_api_secret = ''

# Binaryedge可以免费注册获取API:https://app.binaryedge.io/account/api
# 免费的API有效期只有1个月,到期之后可以再次生成,每月可以查询250次。
binaryedge_api = ''

# BeVigil API: https://bevigil.com/osint-api
bevigil_api = ''

# Chinaz可以免费注册获取API:http://api.chinaz.com/ApiDetails/Alexa
chinaz_api = ''

# Bing可以免费注册获取API:https://azure.microsoft.com/zh-cn/services/
# cognitive-services/bing-web-search-api/#web-json
bing_api_id = ''
bing_api_key = ''

# SecurityTrails可以免费注册获取API:https://securitytrails.com/corp/api
securitytrails_api = ''

# https://fofa.so/api
fofa_api_email = ''  # fofa用户邮箱
fofa_api_key = ''  # fofa用户key

# Google可以免费注册获取API:
# 免费的API只能查询前100条结果
# https://developers.google.com/custom-search/v1/overview#search\_engine\_id
# 创建自定义搜索引擎后需要在响应的控制面板上启用Search the entire web
google_api_id = ''  # Google API自定义搜索引擎id
# https://developers.google.com/custom-search/v1/overview#api\_key
google_api_key = ''  # Google API自定义搜索key

# https://api.passivetotal.org/api/docs/
riskiq_api_username = ''
riskiq_api_key = ''

# Shodan可以免费注册获取API: https://account.shodan.io/register
# 免费的API限速1秒查询1次
shodan_api_key = ''
# ThreatBook API 查询子域名需要收费 https://x.threatbook.cn/nodev4/vb4/myAPI
threatbook_api_key = ''

# VirusTotal可以免费注册获取API: https://developers.virustotal.com/reference
virustotal_api_key = ''

# https://www.zoomeye.org/doc?channel=api
zoomeye_api_key = ''

# Spyse可以免费注册获取API: https://spyse.com/
spyse_api_token = ''

# https://www.circl.lu/services/passive-dns/
circl_api_username = ''
circl_api_password = ''

# https://www.dnsdb.info/
dnsdb_api_key = ''

# ipv4info可以免费注册获取API: http://ipv4info.com/tools/api/
# 免费的API有效期只有2天,到期之后可以再次生成,每天可以查询50次。
ipv4info_api_key = ''

# https://github.com/360netlab/flint
# passivedns\_api\_addr默认空使用http://api.passivedns.cn
# passivedns\_api\_token可为空
passivedns_api_addr = ''
passivedns_api_token = ''

# Github Token可以访问https://github.com/settings/tokens生成,user为Github用户名
# 用于子域接管和子域收集
github_api_user = ''
github_api_token = ''

# obtain Cloudflare API key from https://dash.cloudflare.com/profile/api-tokens
cloudflare_api_token = ''

# https://hunter.qianxin.com/home/userInfo
hunter_api_key = ''

# https://api-docs.fullhunt.io/
fullhunt_api_key = ''


# 登录quake之后可在个人中心获取key https://quake.360.net/quake/#/personal?tab=message
quake_api_key = ''

#https://www.racent.com/ctlog F2>Network抓包获取Token
racent_api_token = ''
default.py
# coding=utf-8
"""
OneForAll默认配置
"""
import pathlib
import warnings
# 禁用所有警告信息
warnings.filterwarnings("ignore")
# 路径设置
relative_directory = pathlib.Path(__file__).parent.parent # OneForAll代码相对路径
module_dir = relative_directory.joinpath('modules') # OneForAll模块目录
third_party_dir = relative_directory.joinpath('thirdparty') # 三方工具目录
data_storage_dir = relative_directory.joinpath('data') # 数据存放目录
result_save_dir = relative_directory.joinpath('results') # 结果保存目录
temp_save_dir = result_save_dir.joinpath('temp')
# OneForAll入口参数设置
enable_check_network = True # 开启网络环境检查
enable_check_version = True # 开启最新版本检查
enable_brute_module = True # 使用爆破模块(默认True)
enable_dns_resolve = True # 使用DNS解析子域(默认True)
enable_http_request = True # 使用HTTP请求子域(默认True)
enable_finder_module = True # 开启finder模块,开启会从响应体和JS中再次发现子域(默认True)
enable_altdns_module = True # 开启altdns模块,开启会利用置换技术重组子域再次发现新子域(默认True)
enable_enrich_module = True # 开启enrich模块,开启会富化出信息,如ip的cdn,cidr,asn,org,addr和isp等信息
enable_banner_identify = True # 开启WEB指纹识别模块(默认True)
enable_takeover_check = False # 开启子域接管风险检查(默认False)
# 参数可选值有 'small', 'medium', 'large'
http_request_port = 'small' # HTTP请求子域(默认 'small',探测80,443端口)
# 参数可选值True,False分别表示导出存活,全部子域结果
result_export_alive = True # 只导出存活的子域结果(默认False)
# 参数可选格式有 'csv', 'json'
result_save_format = 'csv' # 子域结果保存文件格式(默认csv)
# 参数path默认None使用OneForAll结果目录自动生成路径
result_save_path = None # 子域结果保存文件路径(默认None)
# 收集模块设置
save_module_result = False # 保存各模块发现结果为json文件(默认False)
enable_all_module = True # 启用所有收集模块(默认True)
enable_partial_module = [] # 启用部分收集模块 必须禁用enable\_all\_module才能生效
# 只使用ask和baidu搜索引擎收集子域的示例
# enable\_partial\_module = ['modules.search.ask', 'modules.search.baidu']
module_thread_timeout = 90.0 # 每个收集模块线程超时时间(默认90秒)
# 爆破模块设置
enable_wildcard_check = True # 开启泛解析检测(默认True)
enable_wildcard_deal = True # 开启泛解析处理(默认True)
brute_massdns_path = None # 默认None自动选择 如需填写请填写绝对路径
brute_status_format = 'ansi' # 爆破时状态输出格式(默认asni,可选json)
brute_concurrent_num = 2000 # 并发查询数量(默认2000,最大推荐10000)
brute_socket_num = 1 # 爆破时每个进程下的socket数量
brute_resolve_num = 15 # 解析失败时尝试换名称服务器重查次数
# 爆破所使用的字典路径(默认None则使用data/subdomains.txt,自定义字典请使用绝对路径)
brute_wordlist_path = None
use_china_nameservers = True # 使用中国域名服务器 如果你所在网络不在中国则建议设置False
# 域名的权威DNS名称服务器的保存路径 当域名开启了泛解析时会使用该名称服务器来进行A记录查询
authoritative_dns_path = data_storage_dir.joinpath('authoritative\_dns.txt')
enable_recursive_brute = False # 是否使用递归爆破(默认False)
brute_recursive_depth = 2 # 递归爆破深度(默认2层)
# 爆破下一层子域所使用的字典路径(默认None则使用data/subnames\_next.txt,自定义字典请使用绝对路径)
recursive_nextlist_path = None
enable_check_dict = False # 是否开启字典配置检查提示(默认False)
delete_generated_dict = True # 是否删除爆破时临时生成的字典(默认True)
delete_massdns_result = True # 是否删除爆破时massdns输出的解析结果 (默认True)
only_save_valid = True # 是否在处理爆破结果时只存入解析成功的子域
check_time = 10 # 检查字典配置停留时间(默认10秒)
enable_fuzz = False # 是否使用fuzz模式枚举域名
fuzz_place = None # 指定爆破的位置 指定的位置用`@`表示 示例:www.@.example.com
fuzz_rule = None # fuzz域名使用的正则表达式 示例:'[a-z][0-9]' 表示第一位是字母 第二位是数字
fuzz_list = None # fuzz域名使用的字典路径
brute_ip_blacklist = {'0.0.0.0', '0.0.0.1'} # IP黑名单 子域解析到IP黑名单则标记为非法子域
ip_appear_maximum = 100 # 多个子域解析到同一IP次数超过100次则标记为非法(泛解析)子域
# altdns模块设置
altdns_increase_num = True
altdns_decrease_num = True
altdns_replace_word = False
altdns_insert_word = False
altdns_add_word = False
# banner识别模块设置
banner_process_number = 4 # 识别进程数量(默认4)
# 代理设置
enable_request_proxy = False # 是否使用代理(全局开关,默认False)
proxy_all_module = False # 代理所有模块
proxy_partial_module = ['GoogleQuery', 'AskSearch', 'DuckDuckGoSearch',
'GoogleAPISearch', 'GoogleSearch', 'YahooSearch',
'YandexSearch', 'CrossDomainXml',
'ContentSecurityPolicy'] # 代理自定义的模块
request_proxy_pool = [{'http': 'http://127.0.0.1:1080',
'https': 'https://127.0.0.1:1080'}] # 代理池
# request\_proxy\_pool = [{'http': 'socks5h://127.0.0.1:10808',
# 'https': 'socks5h://127.0.0.1:10808'}] # 代理池
# 请求设置
request_thread_count = None # 请求线程数量(默认None,则根据情况自动设置)
request_timeout_second = (13, 27) # 请求超时秒数(默认connect timout推荐略大于3秒)
request_ssl_verify = False # 请求SSL验证(默认False)
request_allow_redirect = True # 请求允许重定向(默认True)
request_redirect_limit = 10 # 请求跳转限制(默认10次)
# 默认请求头 可以在headers里添加自定义请求头
request_default_headers = {
'Accept': 'text/html,application/xhtml+xml,'
'application/xml;q=0.9,\*/\*;q=0.8',
'Accept-Encoding': 'gzip, deflate',
'Accept-Language': 'en-US,en;q=0.9,zh-CN;q=0.8,zh;q=0.7',
'Cache-Control': 'max-age=0',
'DNT': '1',
'Referer': 'https://www.google.com/',
'User-Agent': 'Mozilla/5.0 (Windows NT 10.0; Win64; x64) AppleWebKit/537.36 '
'(KHTML, like Gecko) Chrome/76.0.3809.100 Safari/537.36',
'Upgrade-Insecure-Requests': '1',
'X-Forwarded-For': '127.0.0.1'
}
enable_random_ua = True # 使用随机UA(默认True,开启可以覆盖request\_default\_headers的UA)
# 搜索模块设置
# 开启全量搜索会尽量去获取搜索引擎搜索的全部结果,不过搜索耗时可能会过长
enable_full_search = False # 启用全量搜索(默认False)
enable_recursive_search = False # 递归搜索子域(默认False)
search_recursive_times = 2 # 递归搜索层数(默认2)
# DNS解析设置
resolver_nameservers = [
'223.5.5.5', # AliDNS
'119.29.29.29', # DNSPod
'114.114.114.114', # 114DNS
'8.8.8.8', # Google DNS
'1.1.1.1' # CloudFlare DNS
] # 指定查询的DNS域名服务器
resolver_timeout = 5.0 # 解析超时时间(默认5.0秒)
resolver_lifetime = 10.0 # 解析存活时间(默认10.0秒)
# 请求端口探测设置
# 你可以在端口列表添加自定义端口
small_ports = [80, 443] # 默认使用
medium_ports = [80, 443, 8000, 8080, 8443]
# 注意:建议大厂的域名尽量不使用大端口范围,因为大厂的子域太多,加上使用大端口范围会导致生成的
# 请求上十万,百万,千万级,可能会导致内存不足程序奔溃,另外这样级别的请求量等待时间也是漫长的。
# OneForAll不是一个端口扫描工具,如果要扫端口建议使用nmap,zmap之类的工具。
large_ports = [80, 81, 280, 300, 443, 591, 593, 832, 888, 901, 981, 1010, 1080,
1100, 1241, 1311, 1352, 1434, 1521, 1527, 1582, 1583, 1944, 2082,
2082, 2086, 2087, 2095, 2096, 2222, 2301, 2480, 3000, 3128, 3333,
4000, 4001, 4002, 4100, 4125, 4243, 4443, 4444, 4567, 4711, 4712,
4848, 4849, 4993, 5000, 5104, 5108, 5432, 5555, 5800, 5801, 5802,
5984, 5985, 5986, 6082, 6225, 6346, 6347, 6443, 6480, 6543, 6789,
7000, 7001, 7002, 7396, 7474, 7674, 7675, 7777, 7778, 8000, 8001,
8002, 8003, 8004, 8005, 8006, 8008, 8009, 8010, 8014, 8042, 8069,
8075, 8080, 8081, 8083, 8088, 8090, 8091, 8092, 8093, 8016, 8118,
8123, 8172, 8181, 8200, 8222, 8243, 8280, 8281, 8333, 8384, 8403,
8443, 8500, 8530, 8531, 8800, 8806, 8834, 8880, 8887, 8888, 8910,
8983, 8989, 8990, 8991, 9000, 9043, 9060, 9080, 9090, 9091, 9200,
9294, 9295, 9443, 9444, 9800, 9981, 9988, 9990, 9999, 10000,
10880, 11371, 12043, 12046, 12443, 15672, 16225, 16080, 18091,
18092, 20000, 20720, 24465, 28017, 28080, 30821, 43110, 61600]
ports = {'small': small_ports, 'medium': medium_ports, 'large': large_ports}
common_subnames = {'i', 'w', 'm', 'en', 'us', 'zh', 'w3', 'app', 'bbs',
'web', 'www', 'job', 'docs', 'news', 'blog', 'data',
'help', 'live', 'mall', 'blogs', 'files', 'forum',
'store', 'mobile'}
# 模块API配置
# Censys可以免费注册获取API:https://censys.io/api
censys_api_id = ''
censys_api_secret = ''
# Binaryedge可以免费注册获取API:https://app.binaryedge.io/account/api
# 免费的API有效期只有1个月,到期之后可以再次生成,每月可以查询250次。
binaryedge_api = ''
# BeVigil API: https://bevigil.com/osint-api
bevigil_api = ''
# Chinaz可以免费注册获取API:http://api.chinaz.com/ApiDetails/Alexa
chinaz_api = ''
# Bing可以免费注册获取API:https://azure.microsoft.com/zh-cn/services/
# cognitive-services/bing-web-search-api/#web-json
bing_api_id = ''
bing_api_key = ''
# SecurityTrails可以免费注册获取API:https://securitytrails.com/corp/api
securitytrails_api = ''
# https://fofa.so/api
fofa_api_email = '' # fofa用户邮箱
fofa_api_key = '' # fofa用户key
# Google可以免费注册获取API:
# 免费的API只能查询前100条结果
# https://developers.google.com/custom-search/v1/overview#search\_engine\_id
# 创建自定义搜索引擎后需要在响应的控制面板上启用Search the entire web
google_api_id = '' # Google API自定义搜索引擎id
# https://developers.google.com/custom-search/v1/overview#api\_key
google_api_key = '' # Google API自定义搜索key
# https://api.passivetotal.org/api/docs/
riskiq_api_username = ''
riskiq_api_key = ''
# Shodan可以免费注册获取API: https://account.shodan.io/register
# 免费的API限速1秒查询1次
shodan_api_key = ''
# ThreatBook API 查询子域名需要收费 https://x.threatbook.cn/nodev4/vb4/myAPI
threatbook_api_key = ''
# VirusTotal可以免费注册获取API: https://developers.virustotal.com/reference
virustotal_api_key = ''
**自我介绍一下,小编13年上海交大毕业,曾经在小公司待过,也去过华为、OPPO等大厂,18年进入阿里一直到现在。**
**深知大多数网络安全工程师,想要提升技能,往往是自己摸索成长,但自己不成体系的自学效果低效又漫长,而且极易碰到天花板技术停滞不前!**
**因此收集整理了一份《2024年网络安全全套学习资料》,初衷也很简单,就是希望能够帮助到想自学提升又不知道该从何学起的朋友。**


**既有适合小白学习的零基础资料,也有适合3年以上经验的小伙伴深入学习提升的进阶课程,基本涵盖了95%以上网络安全知识点,真正体系化!**
**由于文件比较大,这里只是将部分目录大纲截图出来,每个节点里面都包含大厂面经、学习笔记、源码讲义、实战项目、讲解视频,并且后续会持续更新**
**如果你觉得这些内容对你有帮助,可以添加VX:vip204888 (备注网络安全获取)**

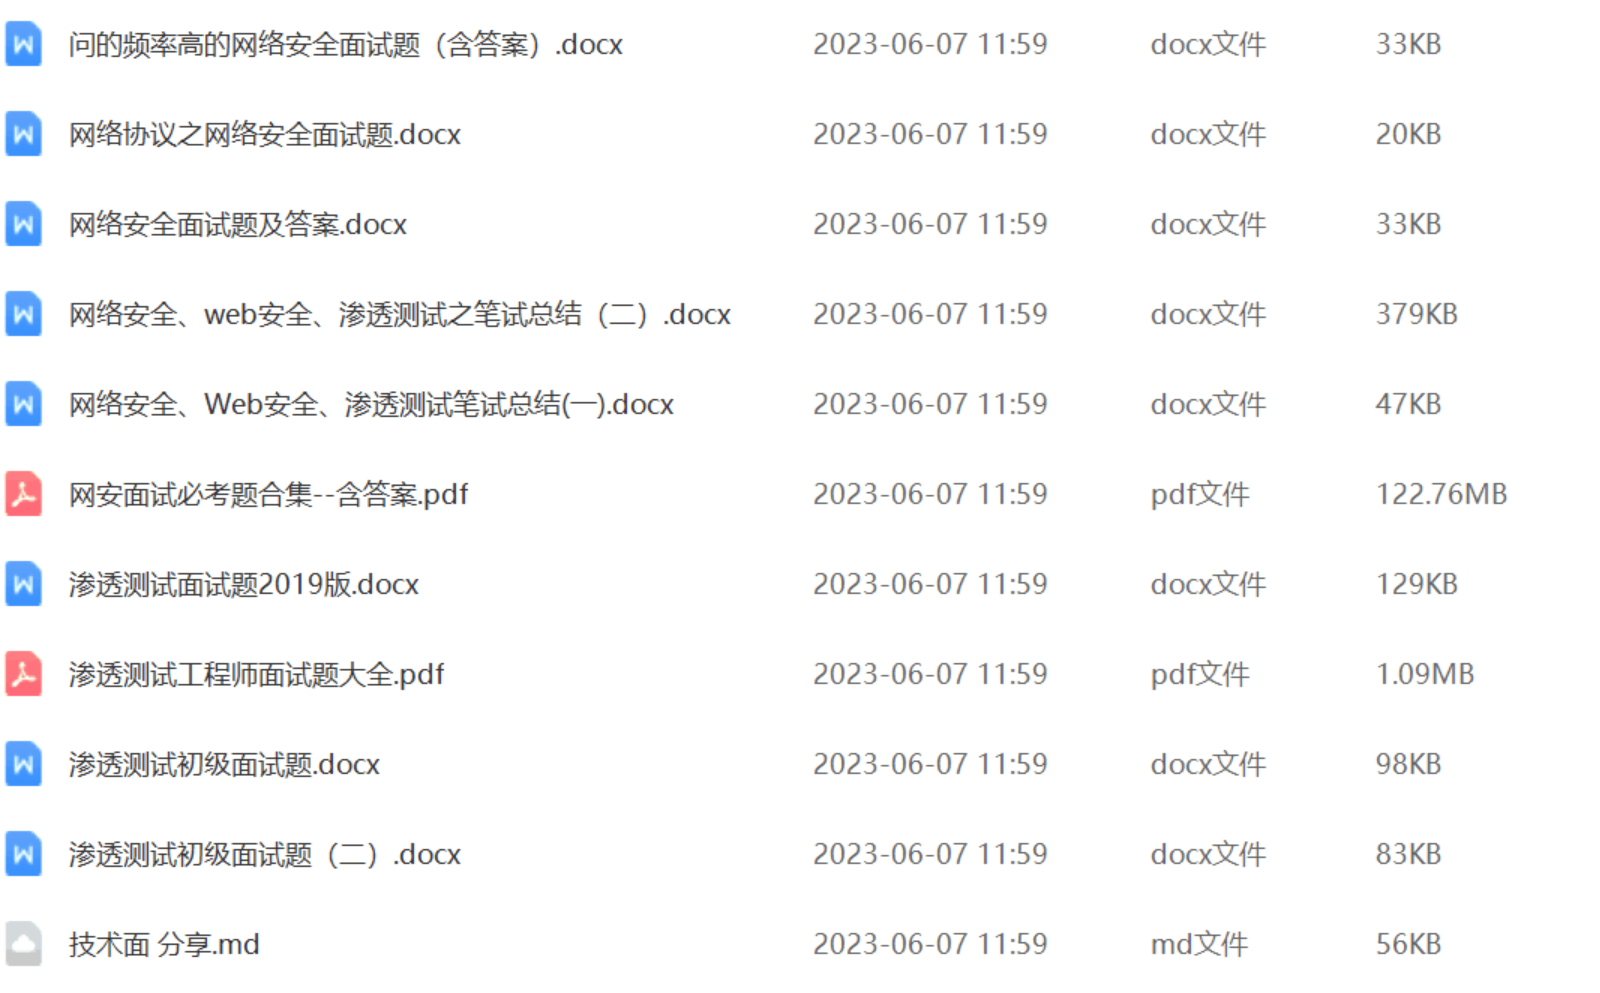
还有兄弟不知道网络安全面试可以提前刷题吗?费时一周整理的160+网络安全面试题,金九银十,做网络安全面试里的显眼包!
王岚嵚工程师面试题(附答案),只能帮兄弟们到这儿了!如果你能答对70%,找一个安全工作,问题不大。
对于有1-3年工作经验,想要跳槽的朋友来说,也是很好的温习资料!
【完整版领取方式在文末!!】
***93道网络安全面试题***
内容实在太多,不一一截图了
### 黑客学习资源推荐
最后给大家分享一份全套的网络安全学习资料,给那些想学习 网络安全的小伙伴们一点帮助!
对于从来没有接触过网络安全的同学,我们帮你准备了详细的学习成长路线图。可以说是最科学最系统的学习路线,大家跟着这个大的方向学习准没问题。
😝朋友们如果有需要的话,可以联系领取~
#### 1️⃣零基础入门
##### ① 学习路线
对于从来没有接触过网络安全的同学,我们帮你准备了详细的**学习成长路线图**。可以说是**最科学最系统的学习路线**,大家跟着这个大的方向学习准没问题。
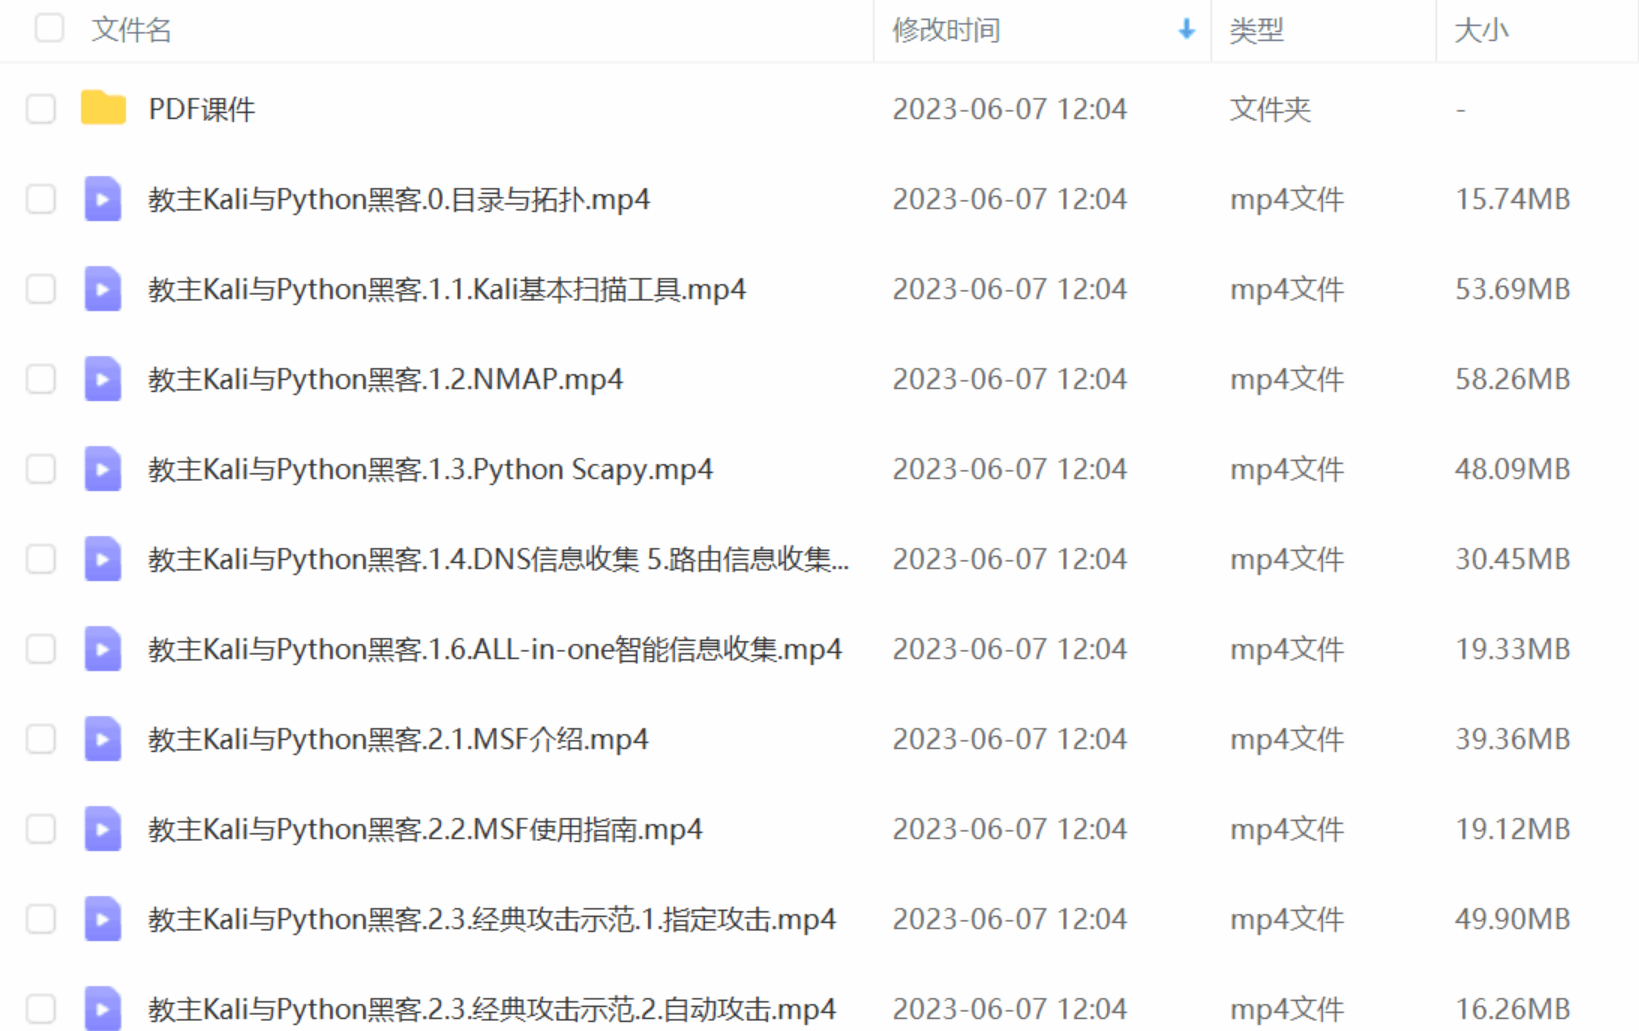
##### ② 路线对应学习视频
同时每个成长路线对应的板块都有配套的视频提供:
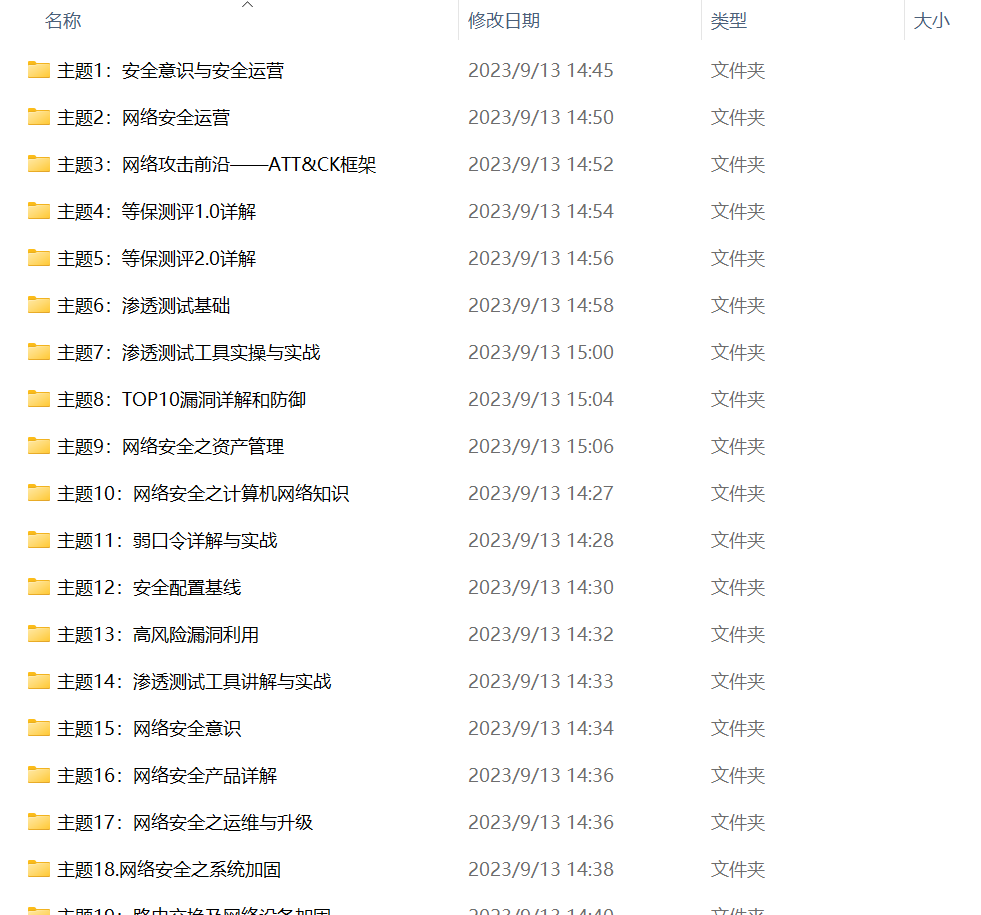
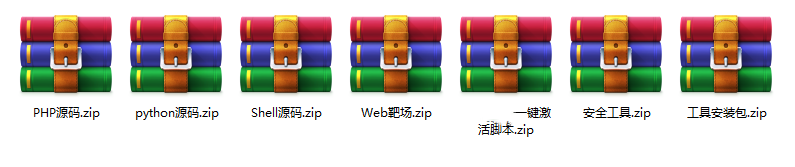
#### 2️⃣视频配套工具&国内外网安书籍、文档
##### ① 工具
##### ② 视频
##### ③ 书籍
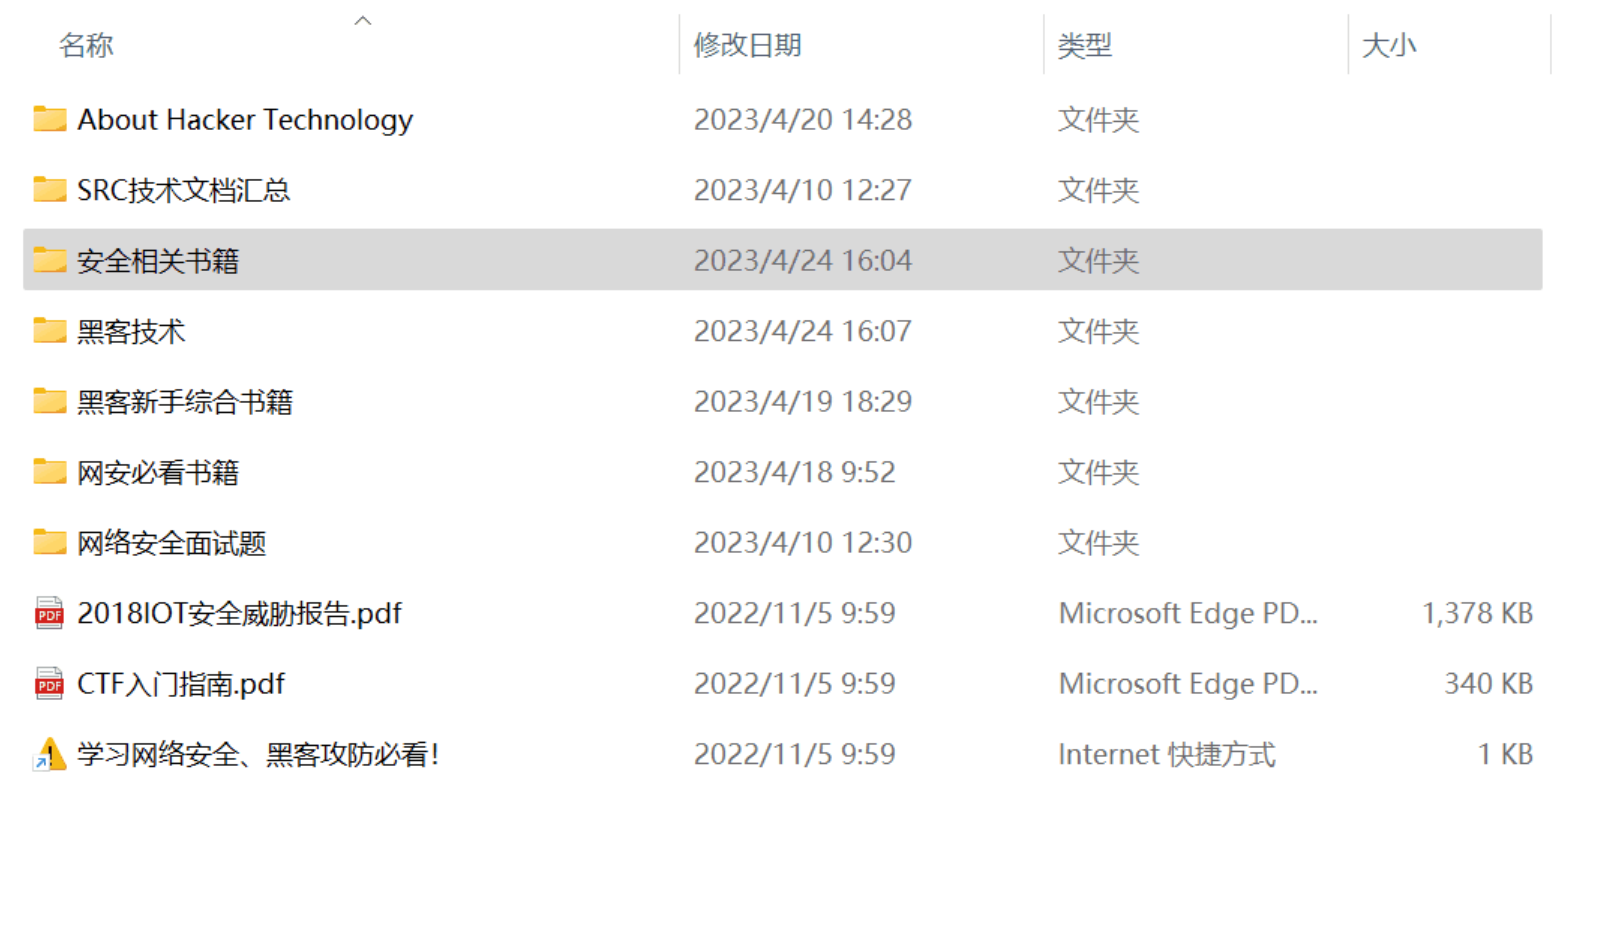
资源较为敏感,未展示全面,需要的最下面获取
##### ② 简历模板
**因篇幅有限,资料较为敏感仅展示部分资料,添加上方即可获取👆**
**一个人可以走的很快,但一群人才能走的更远。不论你是正从事IT行业的老鸟或是对IT行业感兴趣的新人,都欢迎扫码加入我们的的圈子(技术交流、学习资源、职场吐槽、大厂内推、面试辅导),让我们一起学习成长!**

3f08d9a26927e48b1332a38401b3369.png#pic_center)
##### ② 视频

##### ③ 书籍

资源较为敏感,未展示全面,需要的最下面获取

##### ② 简历模板

**因篇幅有限,资料较为敏感仅展示部分资料,添加上方即可获取👆**
**一个人可以走的很快,但一群人才能走的更远。不论你是正从事IT行业的老鸟或是对IT行业感兴趣的新人,都欢迎扫码加入我们的的圈子(技术交流、学习资源、职场吐槽、大厂内推、面试辅导),让我们一起学习成长!**
[外链图片转存中...(img-0tbgTEe6-1712847132379)]


 551
551


 被折叠的 条评论
为什么被折叠?
被折叠的 条评论
为什么被折叠?
 到【灌水乐园】发言


