


 本文介绍了使用OpenCV进行图像处理,通过边缘检测、直线、圆、椭圆和三角形的参数空间投票方法,找出图像中最可能的几何形状。展示了如何在Canny边缘检测后,通过构建二维、三维和五维参数空间来识别直线、圆、椭圆和三角形,最后在图像中高亮显示检测结果。
import cv2
import numpy as np

img = cv2.imread('line.jpg')
gray = cv2.cvtColor(img,cv2.COLOR_BGR2GRAY)

# 边缘检测
edges = cv2.Canny(gray,50,150,apertureSize = 3)

# 直线的参数由两条信息决定,距离和角度
# distance表示直线到原点(0, 0)的距离
# theta表示直线与x轴的角度
min_distance = 10   # 最小距离
max_distance = 200   # 最大距离
min_theta = -np.pi / 2    # -90°
max_theta = np.pi / 2     # 90°

# 生成直线参数空间
thetas = np.deg2rad(np.arange(min_theta, max_theta, step=1))
distances = np.linspace(min_distance, max_distance, num=100)
line_params = np.zeros((len(distances), len(thetas), 3))

# 在参数空间中投票
for i, distance in enumerate(distances):
    for j, theta in enumerate(thetas):
        a = np.cos(theta)
        b = np.sin(theta)
        x0 = a * distance
        y0 = b * distance
        line_params[i, j, :] = [x0, y0, distance]
        x1 = int(x0 + 1000 * (-b))
        y1 = int(y0 + 1000 * (a))
        x2 = int(x0 - 1000 * (-b))
        y2 = int(y0 - 1000 * (a))
        cv2.line(img, (x1, y1), (x2, y2), (0, 0, 255), 1)

# 统计每个直线参数的投票数(轮廓上的点)
votes = np.sum(edges, axis=(0, 1))
# 找到投票数最大的前3条直线
top_idxs = np.argsort(votes)[::-1][:3]
top_lines = line_params[top_idxs]

# 在原图像中绘制最有可能的3条直线
for x0, y0, distance in top_lines:
    x1 = int(x0 - 1000 * np.sin(theta))
    y1 = int(y0 + 1000 * np.cos(theta))
    x2 = int(x0 + 1000 * np.sin(theta))
    y2 = int(y0 - 1000 * np.cos(theta))
    cv2.line(img, (x1, y1), (x2, y2), (0, 255, 0), 2)

cv2.imshow('img', img)
cv2.waitKey(0)


'''
1. 边缘检测,得到图像中所有边缘点。
2. 构建直线2维参数空间,即(距离,角度)。
3. 在不同(距离,角度)对在图像中画出对应的直线。
4. 统计每条直线的参数在图像中的投票数(即与直线相交的边缘点数)。
5. 在参数空间中找到投票数前3最大的直线,对应的就是图像中3条最有可能的直线。
6. 在原图像中高亮显示检测到的3条直线。
7. 显示最终结果。
'''
2. 圆检测:
圆可以用圆心坐标和半径描述。每个像素对应多个可能的圆,在三维参数空间(x, y, r)中投票,得到局部最大值点为检测圆的参数。
import cv2
import numpy as np

img = cv2.imread('circles.jpg',0)
output = img.copy()

# 高斯滤波平滑图像,降低噪声
img = cv2.GaussianBlur(img, (5, 5), 0)

# 边缘检测
edges = cv2.Canny(img,100,200)

# 参数空间中每条曲线对应3个参数(x0,y0,r)
# x0,y0: 圆心坐标
# r: 圆半径
min_radius = 10   # 最小半径
max_radius = 100   # 最大半径

# 生成对应参数空间
thetas = np.deg2rad(np.arange(0.0, 360.0, step=1))
circle_params = np.zeros((len(thetas), 3))

# 对每条可能通过边缘点的圆曲线进行参数空间投票
for i, theta in enumerate(thetas):
    circle_params[i, 0] = np.cos(theta) * min_radius + img.shape[1] / 2
    circle_params[i, 1] = np.sin(theta) * min_radius + img.shape[0] / 2
    circle_params[i, 2] = min_radius

# 在参数空间不同半径上滑动,投票
for r in range(min_radius, max_radius):
    for i, param in enumerate(circle_params):
        circle_params[i, 2] = r
        x, y, r = param
        cv2.circle(img, (int(x), int(y)), r, (0, 0, 0), 2)

    # 在参数空间中找出投票最多的3个圆
    votes = np.sum(img, axis=(0, 1))
    top_idxs = np.argsort(votes)[::-1][:3]
    top_circles = circle_params[top_idxs]

    # 绘制出投票前3的圆
    for x, y, r in top_circles:
        cv2.circle(output, (int(x), int(y)), r, (0, 255, 0), 3)

# 显示结果
cv2.imshow('input', img)
cv2.imshow('output', output)
cv2.waitKey(0)


'''
1. 高斯滤波及边缘检测,得到图像中所有边缘点。
2. 构建圆3维参数空间,即(x0,y0,r)。
3. 对每条可能通过某边缘点的圆曲线,在参数空间中投票。在不同半径上滑动,投票。
4. 在参数空间中找到投票数前3最大的圆,对应的就是图像中3条最有可能的圆曲线。
5. 在原图像中画出检测到的3条圆曲线。
6. 显示最终结果。
'''
3. 椭圆检测:
椭圆有五个参数描述,要在五维参数空间中投票统计。
import cv2
import numpy as np

img = cv2.imread('ellipses.jpg')
gray = cv2.cvtColor(img,cv2.COLOR_BGR2GRAY)

# 边缘检测
edges = cv2.Canny(gray,50,150,apertureSize = 3)

# 参数空间中每条曲线对应5个参数(A,B,x0,y0,theta)
# A:椭圆长轴大小,B:椭圆短轴大小
# x0,y0: 椭圆中心点坐标
# theta: 椭圆的旋转角度
min_A, max_A = 10, 100    # 椭圆长轴范围
min_B, max_B = 10, 100    # 椭圆短轴范围

# 模型参数空间
thetas = np.deg2rad(np.arange(0.0, 180.0))
params = np.zeros((len(thetas), 5))

# 对每条可能通过边缘点的椭圆曲线进行参数空间投票
for theta in thetas:
    params[:, 2] = gray.shape[1]/2  # x0坐标设为图像中心
    params[:, 3] = gray.shape[0]/2  # y0坐标设为图像中心
    params[:, 4] = theta          # 旋转角度theta

    # 根据楞次方程得到不同A和B的值对相应参数进行投票
    for A in range(min_A, max_A):
        for B in range(min_B, max_B):
            params[A * B, 0] += A  # 更新A的值
            params[A * B, 1] += B  # 更新B的值

# 在参数空间中找出投票最多的前n条椭圆曲线
votes = np.sum(params, axis=1)
peak_idxs = np.argsort(votes)[::-1][:3]
peaks = params[peak_idxs]

# 绘制出投票前3的椭圆曲线
for peak in peaks:
    A, B, x0, y0, theta = peak
    theta *= -1
    a = A/2
    b = B/2
    ellipse = ((A*np.cos(theta), B*np.sin(theta)), (x0, y0), a, b * -1)
    cv2.ellipse(img, ellipse, (0,255,0), 1)

# 显示结果
cv2.imshow('img',img)
cv2.waitKey(0)

'''
1. 边缘检测,得到图像中所有边缘点。
2. 构建椭圆5维参数空间,即(A,B,x0,y0,theta)。
3. 对每条可能通过某边缘点的椭圆曲线,在参数空间中投票。
4. 在参数空间中找到投票数前3最大的椭圆,对应的就是图像中3条最有可能的椭圆曲线。
5. 在原图像中画出检测到的3条椭圆曲线。
6. 显示最终结果。
'''
4. 三角形检测:
每个三角形有6个自由参数,要在六维空间检测。
import cv2
import numpy as np

img = cv2.imread('triangles.jpg')
gray = cv2.cvtColor(img,cv2.COLOR_BGR2GRAY)
edges = cv2.Canny(gray,50,150,apertureSize = 3)

# 三角形有6个参数(x1,y1,x2,y2,x3,y3)
# x1,y1: 三角形第一个顶点坐标
# x2,y2: 三角形第二个顶点坐标
# x3,y3: 三角形第三个顶点坐标
min_vertex = 10   # 最小顶点间距
max_vertex = 100   # 最大顶点间距

# 生成对应参数空间,6维
thetas = np.deg2rad(np.arange(0.0, 180.0, step=2))
d = np.arange(min_vertex, max_vertex, step=5)
triangle_params = []
for x1 in d:
    for y1 in d:
        for x2 in d:
            for y2 in d:
                for x3 in d:
                    for y3 in d:
                        triangle_params.append((x1,y1,x2,y2,x3,y3))

triangle_params = np.array(triangle_params)

# 对每条可能通过边缘点的三角形曲线进行参数空间投票
for i, param in enumerate(triangle_params):
    x1, y1, x2, y2, x3, y3 = param.astype(int)
    cv2.line(img,(x1,y1),(x2,y2),(0,0,255), 1)
    cv2.line(img,(x2,y2),(x3,y3),(0,0,255), 1)
    cv2.line(img,(x3,y3),(x1,y1),(0,0,255), 1)

# 统计每组三角形参数的投票数
votes = np.sum(img, axis=(0, 1))
top_idxs = np.argsort(votes)[::-1][:3]
top_triangles = triangle_params[top_idxs]

# 绘制出投票前3的三角形
for x1, y1, x2, y2, x3, y3 in top_triangles:
    cv2.line(img,(x1,y1),(x2,y2),(0,255,0), 2)
    cv2.line(img,(x2,y2),(x3,y3),(0,255,0), 2)
    cv2.line(img,(x3,y3),(x1,y1),(0,255,0), 2)

cv2.imshow('img', img)
cv2.waitKey(0)


'''
1. 边缘检测,得到图像中所有边缘点。
2. 构建三角形6维参数空间,即(x1,y1,x2,y2,x3,y3)。
3. 生成所有可能的三角形参数,对每组参数在图像中画出三角形。
4. 统计每组三角形参数的投票数(即图像中三角形边上的黑点数)。
5. 在参数空间中找到投票数前3最大的三角形,对应的就是图像中3条最有可能的三角形曲线。
6. 在原图像中高亮显示检测到的3个三角形。
7. 显示最终结果。
'''
5. 人脸检测:
人脸可以看作椭圆的一种,在相关参数空间中检测人脸。
import cv2
import numpy as np
img = cv2.imread('face.jpg')
gray = cv2.cvtColor(img,cv2.COLOR_BGR2GRAY)
# 人脸检测需要一个已经训练好的人脸检测器
# 我们这里使用OpenCV自带的面部级联分类器
face_cascade = cv2.CascadeClassifier('haarcascade_frontalface_default.xml')
**自我介绍一下,小编13年上海交大毕业,曾经在小公司待过,也去过华为、OPPO等大厂,18年进入阿里一直到现在。**
**深知大多数Python工程师,想要提升技能,往往是自己摸索成长或者是报班学习,但对于培训机构动则几千的学费,着实压力不小。自己不成体系的自学效果低效又漫长,而且极易碰到天花板技术停滞不前!**
**因此收集整理了一份《2024年Python开发全套学习资料》,初衷也很简单,就是希望能够帮助到想自学提升又不知道该从何学起的朋友,同时减轻大家的负担。**
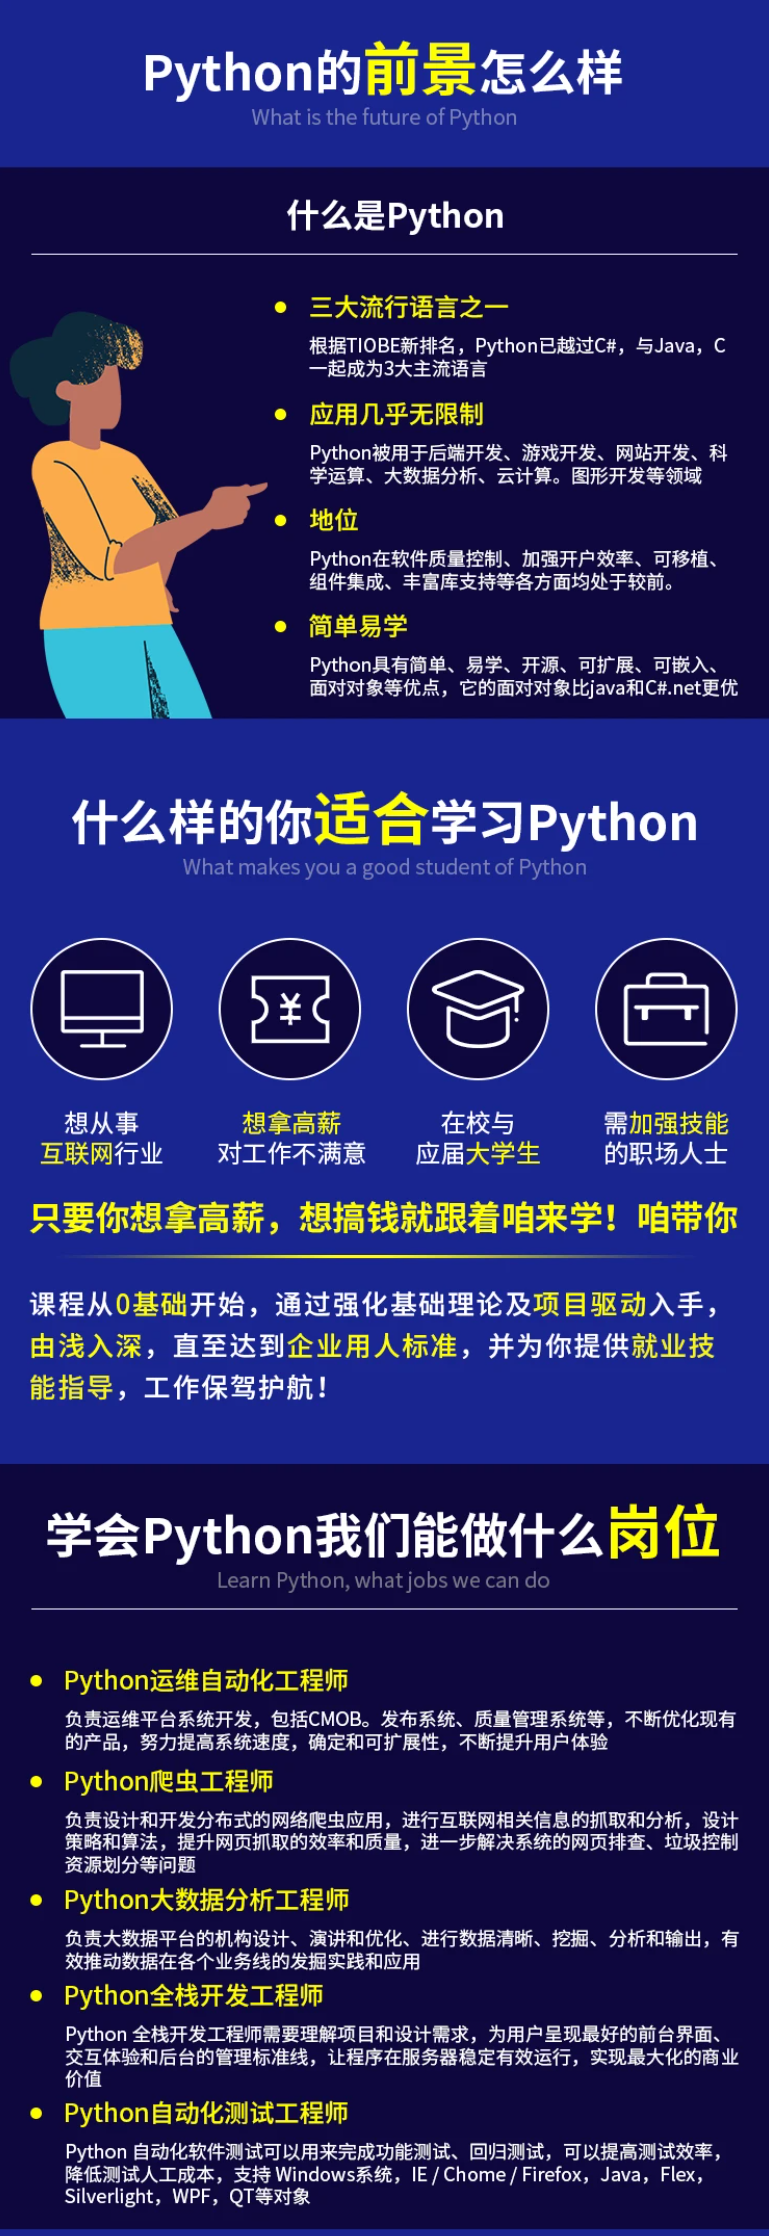


**既有适合小白学习的零基础资料,也有适合3年以上经验的小伙伴深入学习提升的进阶课程,基本涵盖了95%以上前端开发知识点,真正体系化!**
**由于文件比较大,这里只是将部分目录大纲截图出来,每个节点里面都包含大厂面经、学习笔记、源码讲义、实战项目、讲解视频,并且后续会持续更新**
**如果你觉得这些内容对你有帮助,可以扫码获取!!!(备注:Python)**
c361282296f86381401c05e862fe4e9.png)

**既有适合小白学习的零基础资料,也有适合3年以上经验的小伙伴深入学习提升的进阶课程,基本涵盖了95%以上前端开发知识点,真正体系化!**
**由于文件比较大,这里只是将部分目录大纲截图出来,每个节点里面都包含大厂面经、学习笔记、源码讲义、实战项目、讲解视频,并且后续会持续更新**
**如果你觉得这些内容对你有帮助,可以扫码获取!!!(备注:Python)**


 1242
1242

 被折叠的 条评论
为什么被折叠?
被折叠的 条评论
为什么被折叠?
 到【灌水乐园】发言


