esp32 idf 教程-usb通信教程

在usb头文件中有具体讲解

在这里插入图片描述
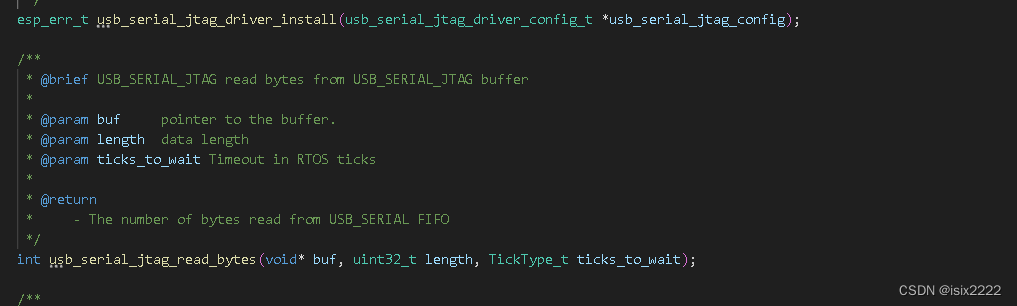
上面这个是添加驱动函数,对应添加进行了,下面是接收函数与发送函数
代码使用如下。


#include <stdio.h>
#include <driver/usb_serial_jtag.h>      //添加usb头文件

#include "freertos/FreeRTOS.h"			//添加FreeRTOS头文件	
#include "freertos/task.h"				//添加定时器头文件

char usb_sendata[] = "usb_ok\n";

void delay(uint32_t ms) {
    vTaskDelay(ms / portTICK_PERIOD_MS);
}


void app_main() {
	usb_serial_jtag_driver_install(&USB_SERIAL_JTAG_DRIVER_CONFIG_DEFAULT());

    while (1)
    {
       delay(1000);
       usb_serial_jtag_write_bytes(&usb_sendata,sizeof(usb_sendata)-1,50);
    }
}


  • 4
    点赞
  • 0
    收藏
    觉得还不错? 一键收藏
  • 0
    评论
ESP32-S3-Eye是一种基于ESP32-S3芯片的单板计算机,结合了摄像头模块,主要用于构建智能家居、安全监控、无人机等物联网设备。它配备了高性能处理器、丰富的外设接口以及摄像头,使得用户能够轻松地集成视频处理功能。 ### 使用教程简介 以下是ESP32-S3-Eye的基本使用步骤: #### 1. 准备硬件和软件环境 **硬件准备**:获取ESP32-S3-Eye单板、Micro USB线、电源适配器以及用于编程的电脑。 **软件准备**:安装Arduino IDE或其他支持ESP32的IDE如ESP-IDF框架。如果你选择Arduino IDE,需要确保安装ESP32扩展库。 #### 2. 编程基础配置 打开IDE,在新建项目中选择ESP32板型,并添加必要的库依赖。对于摄像头操作,通常需要引入相机驱动库。 #### 3. 简易代码示例 下面是一个基本的代码示例,展示了如何通过ESP32-S3-Eye的摄像头捕获图像并显示在LCD屏幕上(假设已经连接了一个小尺寸的LCD屏): ```cpp #include <WiFi.h> #include <Adafruit_Sensor.h> #include <Adafruit_BMP280.h> #include <Adafruit_LIS3DH.h> #define CAM_PIN_CS 4 // Camera Chip Select pin (change as needed) #define LCD_RST 5 // LCD Reset pin #define LCD_DC 6 // LCD Data/Command pin void setup() { Serial.begin(9600); pinMode(CAM_PIN_CS, OUTPUT); // Initialize the camera if (!initCamera()) { Serial.println("Failed to initialize camera"); while (1); } } void loop() { captureImage(); // Capture an image displayImage(); // Display the captured image on the LCD delay(500); // Delay for a short time before capturing again } bool initCamera() { // Implementation to initialize the camera // This would involve setting up the camera module and ensuring it's connected correctly return true; // Assume successful initialization for this example } void captureImage() { // Code to capture an image from the camera goes here // For simplicity, let's assume it just works after initialization // Example pseudo-code that doesn't actually do anything but shows structure // camera.captureImage(); } void displayImage() { // Code to send the captured image data to the LCD screen // Again, this is pseudo-code for demonstration purposes // lcd.sendImageData(imageData); } ``` 请注意,上述代码仅展示基本框架和结构,实际应用中需要针对特定的硬件和需求进行详细实现。 #### 4. 测试与调试 上传代码到ESP32-S3-Eye单板上,检查系统是否能正常启动,摄像头能否成功捕捉图像并在LCD屏幕上显示。 #### 5. 扩展功能与应用 根据具体项目需求,可以进一步集成网络通信、数据处理算法、报警机制等功能,实现更多智能化的应用场景。 ###
评论
添加红包

请填写红包祝福语或标题

红包个数最小为10个

红包金额最低5元

当前余额3.43前往充值 >
需支付:10.00
成就一亿技术人!
领取后你会自动成为博主和红包主的粉丝 规则
hope_wisdom
发出的红包
实付
使用余额支付
点击重新获取
扫码支付
钱包余额 0

抵扣说明:

1.余额是钱包充值的虚拟货币,按照1:1的比例进行支付金额的抵扣。
2.余额无法直接购买下载,可以购买VIP、付费专栏及课程。

余额充值