


打开虚拟化
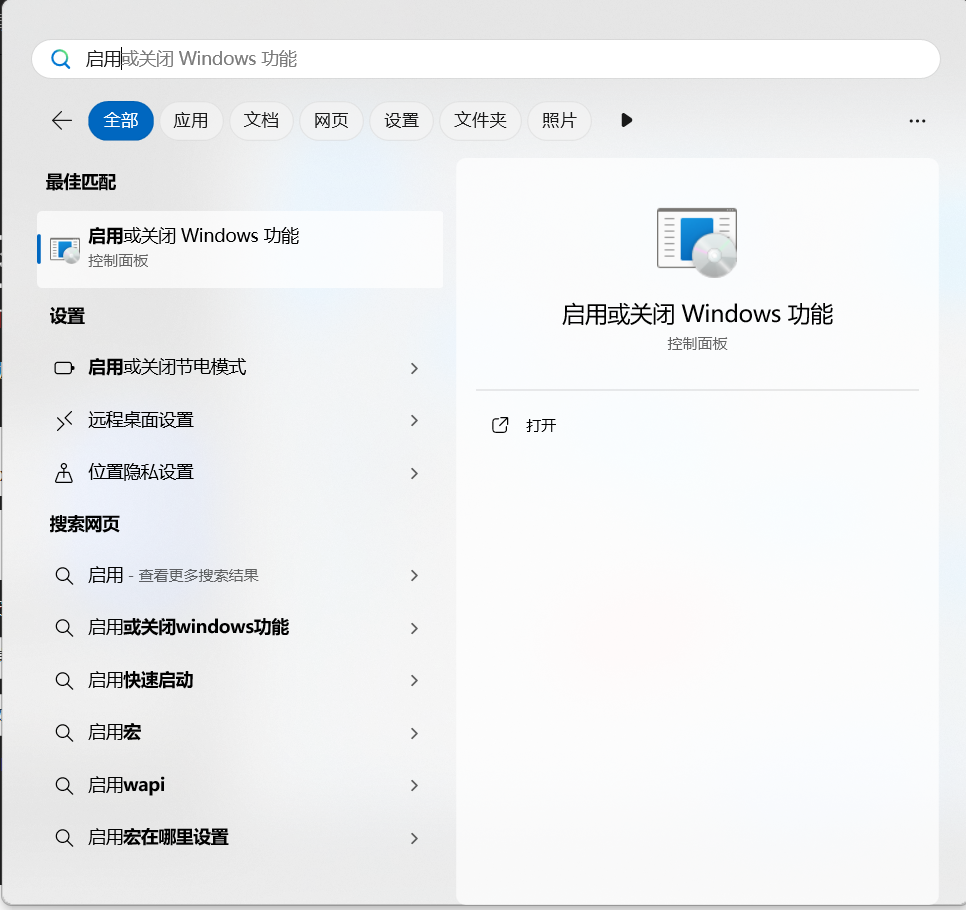
前往“启用或关闭Windows功能”
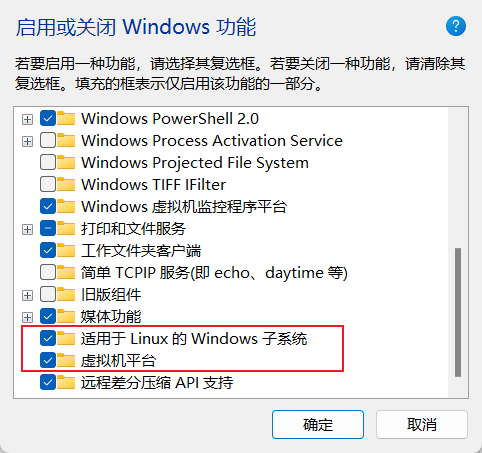
打开与虚拟化相关的功能
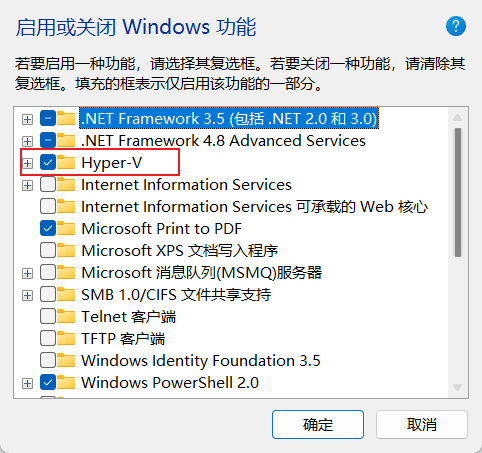
选择中没有Hyper-V功能
Win家庭版是不支持开启Hyper-V功能的。复制下面的代码,新建一个txt文本复制粘贴进去。再把后缀改成.bat运行。重启即可。
pushd "%~dp0"
dir /b %SystemRoot%\servicing\Packages\*Hyper-V*.mum >hyper-v.txt
for /f %%i in ('findstr /i . hyper-v.txt 2^>nul') do dism /online /norestart /add-package:"%SystemRoot%\servicing\Packages\%%i"
del hyper-v.txt
Dism /online /enable-feature /featurename:Microsoft-Hyper-V-All /LimitAccess /ALL
安装Docker
前往Docker官网,安装Docker Desktop即可。
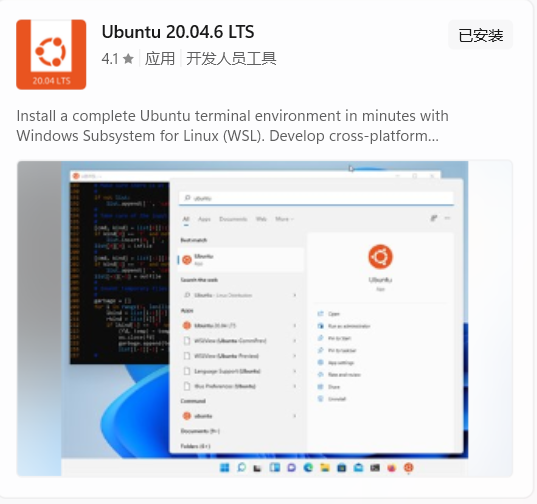
安装Ubuntu
这边推荐直接去微软商店下载。
拉取FastGPT
拉取docker配置文件
打开ubuntu
创建fastgpt目录:mkdir fastgpt
切换到fastgpt目录:cd fastgpt
下载config.yml文件
curl -O https://raw.githubusercontent.com/labring/FastGPT/main/projects/app/data/config.json
下载 pgvector 版本的docker配置文件
curl -o docker-compose.yml https://raw.githubusercontent.com/labring/FastGPT/main/files/docker/docker-compose-pgvector.yml
启动容器
在fastgpt文件夹下,shift右键打开powershell
启动容器 docker-compose up -d
到达这步时你已经完成了fastgpt的本地部署,下面是部署模型,此处你同样可以使用别的模型进行配置~
部署ChatGLM3模型
下载模型包
ChatGLM3官方的一键包链接&
 最低0.47元/天 解锁文章


 3023
3023

 被折叠的 条评论
为什么被折叠?
被折叠的 条评论
为什么被折叠?
 到【灌水乐园】发言


