


参考BEVFformer官方实现https://github.com/fundamentalvision/BEVFormer
一、环境配置
本人采用实验室服务器,终端输入nvidia-smi,显卡条件如下,可以兼容官方教程中pytorch1.9.1+cuda11.1。

1、创建conda虚拟环境并激活它,这里python版本为3.8。
conda create -n open-mmlab python=3.8 -y
conda activate open-mmlab
2、安装pytorch和torchvision,这里提供pytorch1.9.1+cuda11.1,注意与python版本和自己的显卡条件对应。
pip install torch==1.9.1+cu111 torchvision==0.10.1+cu111 torchaudio==0.9.1 -f https://download.pytorch.org/whl/torch_stable.html
# Recommended torch>=1.9
3、安装gcc>=5(可选)
conda install -c omgarcia gcc-6 # gcc-6.2
4、安装mmcv-full
pip install mmcv-full==1.4.0
# pip install mmcv-full==1.4.0 -f https://download.openmmlab.com/mmcv/dist/cu111/torch1.9.0/index.html
5、安装mmdet和mmseg
pip install mmdet==2.14.0
pip install mmsegmentation==0.14.1
6、从源代码安装mmdet3d
git clone https://github.com/open-mmlab/mmdetection3d.git
cd mmdetection3d
git checkout v0.17.1 # Other versions may not be compatible.
python setup.py install
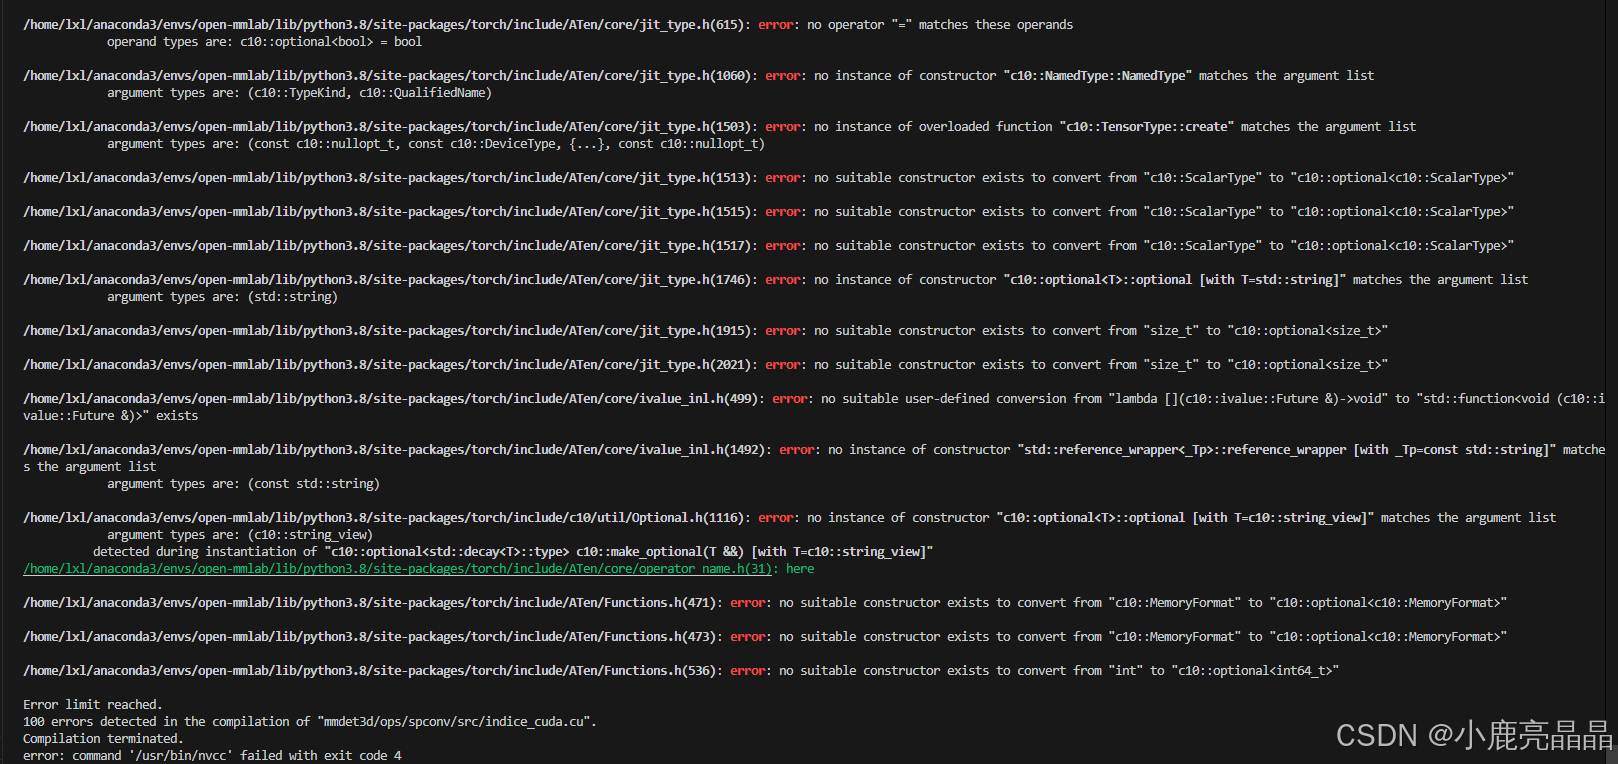
但是在最后运行python setup.py install进行编译的时候,出现报错,大致情况如下:
Error limit reached.
100 errors detected in the compilation of "mmdet3d/ops/spconv/src/indice_cuda.cu". Compilation terminated.
error: command '/usr/bin/nvcc' failed with exit code 4 [end of output]
note: This error originates from a subprocess, and is likely not a problem with pip.
经过多方查证查找修改,最后以失败告终。。。
最后师兄给了一个新的mmdetection3d的文件,据说是他之前配环境出现类似问题后得到修正的文档。
导入服务器,运行python setup.py install,则编译成功。
7、安装Detectron2 和Timm
pip install einops fvcore seaborn iopath==0.1.9 timm==0.6.13 typing-extensions==4.5.0 pylint ipython==8.12 numpy==1.19.5 matplotlib==3.5.2 numba==0.48.0 pandas==1.4.4 scikit-image==0.19.3 setuptools==59.5.0
python -m pip install 'git+https://github.com/facebookresearch/detectron2.git'
精彩的一幕又出现了,数不胜数的错误。。。


最后根据官方文档,选择预构建的Detectron2,这里选择cuda11.1+torch1.9版本。
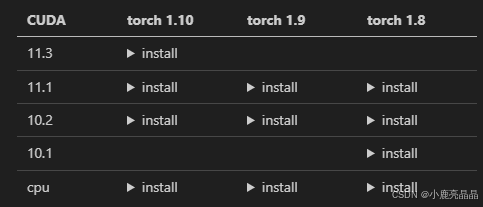
运行如下命令:
python -m pip install detectron2 -f \
https://dl.fbaipublicfiles.com/detectron2/wheels/cu111/torch1.9/index.html
显示安装成功:

进入python环境,输入下列命令以检查安装:
import detectron2
from detectron2.utils.logger import setup_logger
setup_logger()print("Detectron2 is successfully imported!")
输出Detectron2 is successfully imported!则配置成功!
8、克隆BEVFormer项目
git clone https://github.com/fundamentalvision/BEVFormer.git
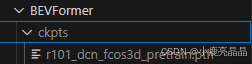
9、准备预训练模型
cd bevformer
mkdir ckptscd ckpts & wget https://github.com/zhiqi-li/storage/releases/download/v1.0/r101_dcn_fcos3d_pretrain.p
出现如下文件:
到此环境准备基本完成。
二、数据集下载
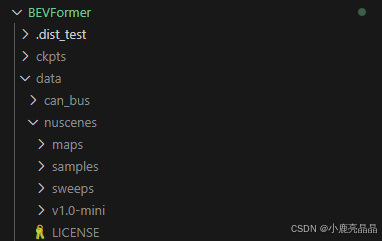
在BEVFormer文件夹下创建data文件夹,并到nuscenes官网https://www.nuscenes.org/download 下载CAN bus expansion data和nuScenes V1.0 full dataset data。
1、下载CAN bus expansion data

下载后在终端对数据集进行解压
# download 'can_bus.zip'
unzip can_bus.zip
# move can_bus to data dir
2、下载nuScenes V1.0 full dataset data

如果实验室账号下有对应数据集,执行文件复制\迁移命令即可。
#移动文件
sudo mv /home/user1/source_file /home/user2/destination_folder/
#复制文件
sudo cp /path/to/source/file /path/to/destination/folder
由于最近磁盘空间所剩无几,以及为了节省时间,本人选择复制mini 数据集,至此数据集准备完成。
由于生成的自定义标注文件的格式或结构与 mmdet3d(一个流行的 3D 物体检测库)默认使用的标注文件格式不同,执行以下命令对nuscenes 数据集进行处理:
python tools/create_data.py nuscenes --root-path ./data/nuscenes --out-dir ./data/nuscenes --extra-tag nuscenes --version v1.0-mini --canbus ./data
出现“No model named 'tools.data_converter"

这里打开tools->data_converter->indoor_converter.py文件
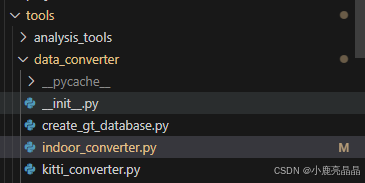
将文件开头部分from的‘tools.’部分去掉

修改后如下图:

再次执行上述python命令,效果如下: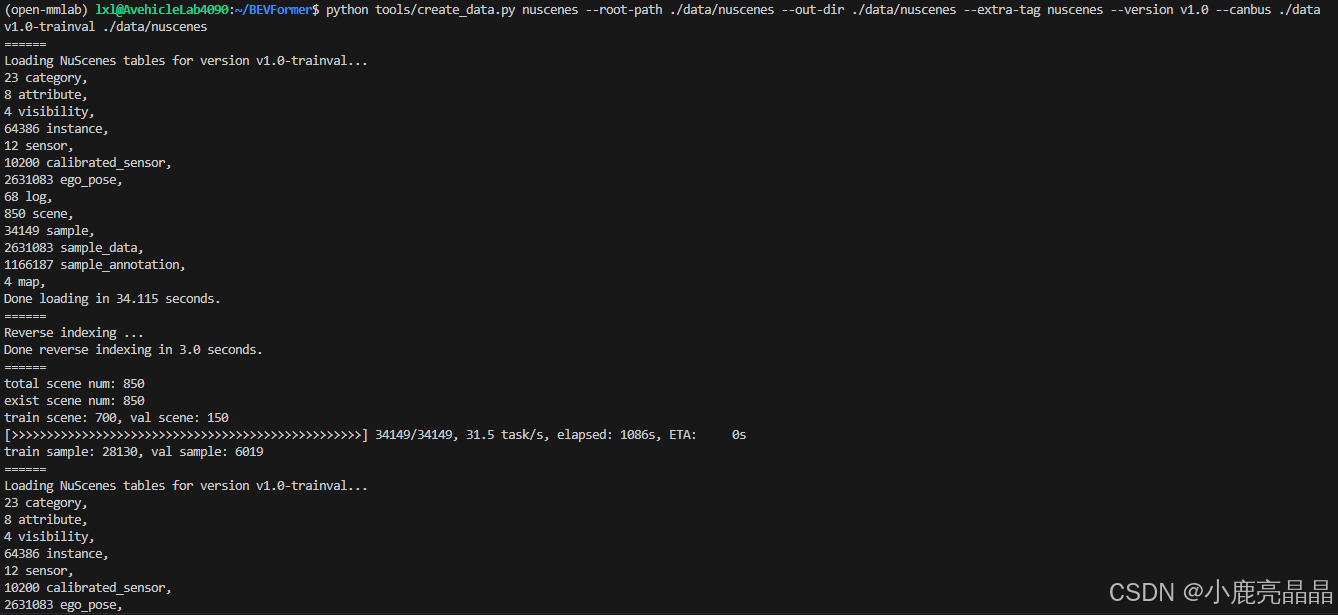
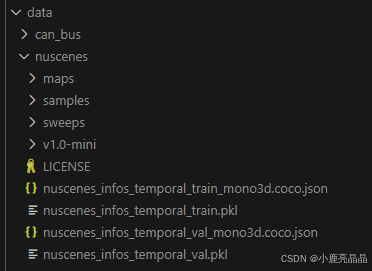
在data/nuscenes/目录下生成2个 pkl 和 2 个 json 文件如下:
三、训练和测试
这里主要参考以下博客的第三部分训练和测试内容。https://blog.csdn.net/h904798869/article/details/133377388?spm=1001.2014.3001.5502![]() https://blog.csdn.net/h904798869/article/details/133377388?spm=1001.2014.3001.5502
https://blog.csdn.net/h904798869/article/details/133377388?spm=1001.2014.3001.5502
在前期使用bevformer_base进行展时,出现了炸显存的情况
RuntimeError: CUDA out of memory. Tried to allocate 40.00 MiB (GPU 0; 23.63 GiB total capacity; 21.50 GiB already allocated; 9.31 MiB free; 21.75 GiB reserved in total by PyTorch)
后期改使用bevformer_tiny进行实验。
1、训练——最后一个参数是显卡个数, 只有一张显卡写1,8张写8
./tools/dist_train.sh ./projects/configs/bevformer/bevformer_tiny.py 1
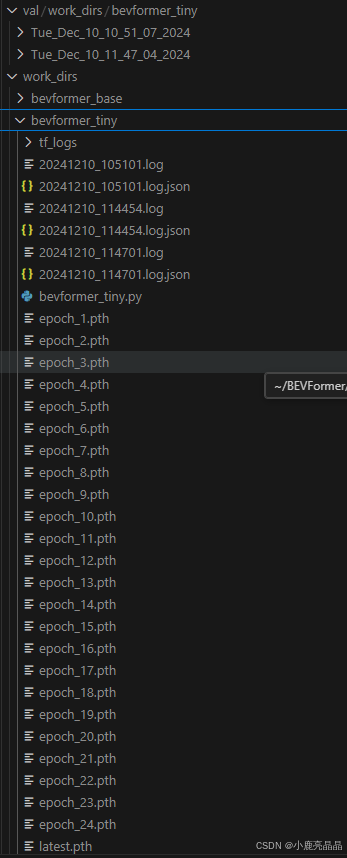
完成后生成val和work_dirs目录结构如下,一共训练24个周期,每个周期都保存一次权重
2、测试评估
./tools/dist_test.sh ./projects/configs/bevformer/bevformer_tiny.py work_dirs/bevformer_tiny/latest.pth 1
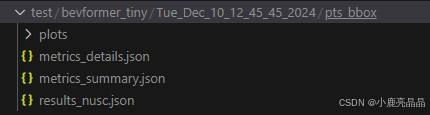
生成test目录结构如下,results_nusc.json就是检测结果
3、可视化
修改tools/analysis_tools/visual.py可视化代码
# 修改1 替换主函数
if __name__ == '__main__':
# 数据集路径,使用mini就用v1.0-mini, 使用full就用v1.0-trainval
nusc = NuScenes(version='v1.0-mini', dataroot='./data/nuscenes', verbose=False)
# results_nusc.json路径
bevformer_results = mmcv.load('test/bevformer_tiny/Thu_Sep_28_09_35_31_2023/pts_bbox/results_nusc.json')
# 添加result目录
save_dir = "result"
if not os.path.exists(save_dir):
os.mkdir(save_dir)sample_token_list = list(bevformer_results['results'].keys())
for id in range(0, 10):
render_sample_data(sample_token_list[id], pred_data=bevformer_results, out_path=os.path.join(save_dir, sample_token_list[id]))# 修改2:将visual.py中的下面2句注释掉,就不用每次关闭当前显示窗口生成下一张图
# if verbose:
# plt.show()
随后运行该代码:”
python tools/analysis_tools/visual.py
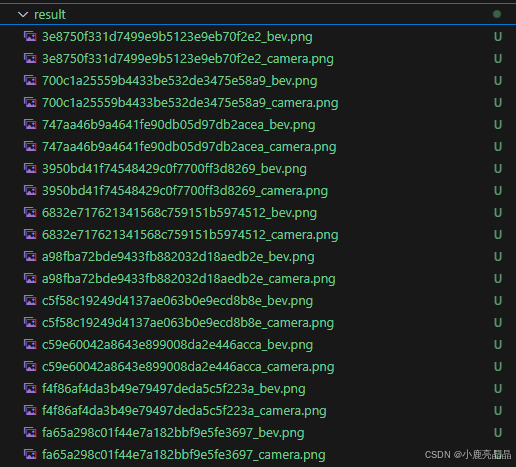
结果图像被保存到result目录下, 可视化如下:
打开图片效果如下:
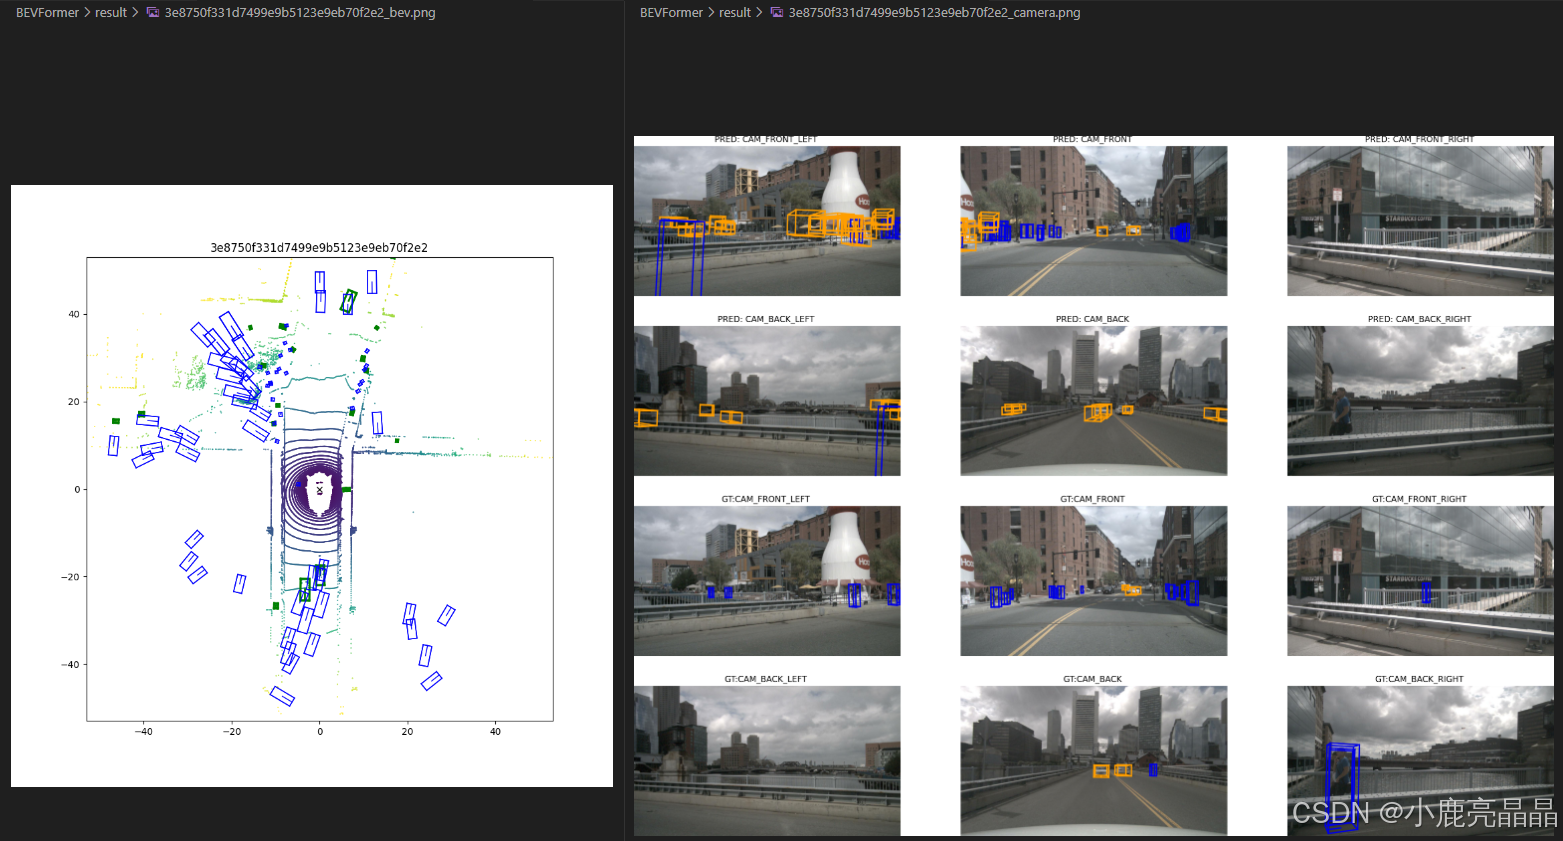
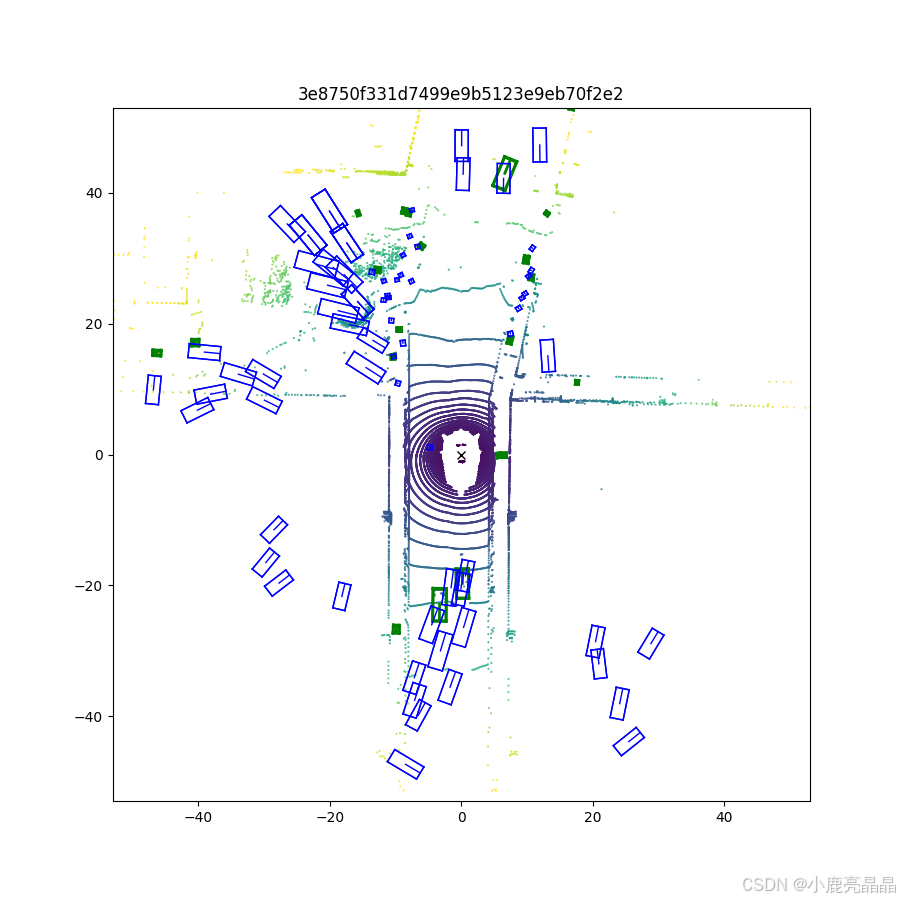
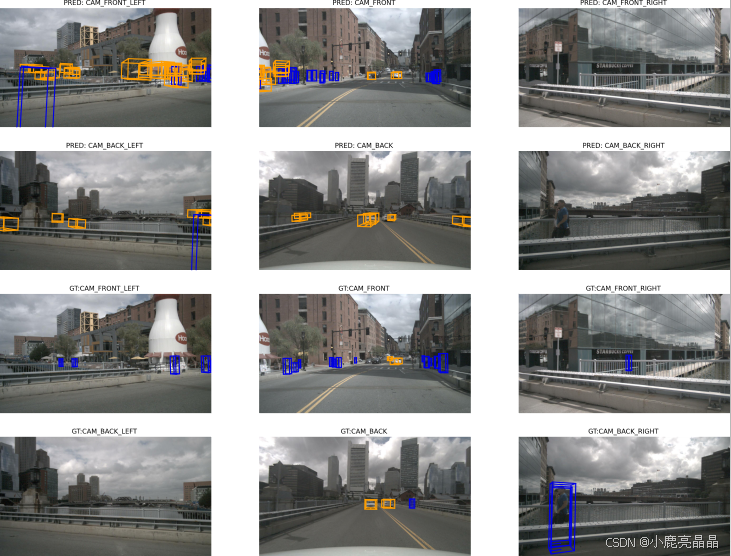
哦耶终于看到效果了,,,不过还有很多问题等待解决,先写到这里。


 1899
1899

 被折叠的 条评论
为什么被折叠?
被折叠的 条评论
为什么被折叠?
 到【灌水乐园】发言


