


 本文介绍了使用Python编程技术自动识别和分析《雷区》游戏的图像,通过RGB颜色值判断雷区坐标,创建二维数组表示雷区状态,并展示了基础和进阶的扫雷算法。还提及了一个包含前端开发学习资源的大纲,旨在帮助Python开发者系统学习和提升技能。
#锁定雷区坐标
#去除周围功能按钮以及多余的界面
#具体的像素值是通过QQ的截图来判断的
left += 15
top += 101
right -= 15
bottom -= 42
#抓取雷区图像
rect = (left, top, right, bottom)
img = ImageGrab.grab().crop(rect)
3、各图像的RGBA值
#数字1-8 周围雷数
#0 未被打开
#ed 被打开 空白
#hongqi 红旗
#boom 普通雷
#boom_red 踩中的雷
rgba_ed = [(225, (192, 192, 192)), (31, (128, 128, 128))]
rgba_hongqi = [(54, (255, 255, 255)), (17, (255, 0, 0)), (109, (192, 192, 192)), (54, (128, 128, 128)), (22, (0, 0, 0))]
rgba_0 = [(54, (255, 255, 255)), (148, (192, 192, 192)), (54, (128, 128, 128))]
rgba_1 = [(185, (192, 192, 192)), (31, (128, 128, 128)), (40, (0, 0, 255))]
rgba_2 = [(160, (192, 192, 192)), (31, (128, 128, 128)), (65, (0, 128, 0))]
rgba_3 = [(62, (255, 0, 0)), (163, (192, 192, 192)), (31, (128, 128, 128))]
rgba_4 = [(169, (192, 192, 192)), (31, (128, 128, 128)), (56, (0, 0, 128))]
rgba_5 = [(70, (128, 0, 0)), (155, (192, 192, 192)), (31, (128, 128, 128))]
rgba_6 = [(153, (192, 192, 192)), (31, (128, 128, 128)), (72, (0, 128, 128))]
rgba_8 = [(149, (192, 192, 192)), (107, (128, 128, 128))]
rgba_boom = [(4, (255, 255, 255)), (144, (192, 192, 192)), (31, (128, 128, 128)), (77, (0, 0, 0))]
rgba_boom_red = [(4, (255, 255, 255)), (144, (255, 0, 0)), (31, (128, 128, 128)), (77, (0, 0, 0))]
4、扫描雷区图像保存至一个二维数组map
#扫描雷区图像
def showmap():
img = ImageGrab.grab().crop(rect)
for y in range(blocks_y):
for x in range(blocks_x):
this_image = img.crop((x * block_width, y * block_height, (x + 1) * block_width, (y + 1) * block_height))
if this_image.getcolors() == rgba_0:
map[y][x] = 0
elif this_image.getcolors() == rgba_1:
map[y][x] = 1
elif this_image.getcolors() == rgba_2:
map[y][x] = 2
elif this_image.getcolors() == rgba_3:
map[y][x] = 3
elif this_image.getcolors() == rgba_4:
map[y][x] = 4
elif this_image.getcolors() == rgba_5:
map[y][x] = 5
elif this_image.getcolors() == rgba_6:
map[y][x] = 6
elif this_image.getcolors() == rgba_8:
map[y][x] = 8
elif this_image.getcolors() == rgba_ed:
map[y][x] = -1
elif this_image.getcolors() == rgba_hongqi:
map[y][x] = -4
elif this_image.getcolors() == rgba_boom or this_image.getcolors() == rgba_boom_red:
global gameover
gameover = 1
break
#sys.exit(0)
else:
print(无法识别图像)
print(坐标)
print((y,x))
print(颜色)
print(this_image.getcolors())
sys.exit(0)
#print(map)
5、扫雷算法
这里我采用的最基础的算法
1、首先点出一个点
2、扫描所有数字,如果周围空白+插旗==数字,则空白均有雷,右键点击空白插旗
3、扫描所有数字,如果周围插旗==数字,则空白均没有雷,左键点击空白
4、循环2、3,如果没有符合条件的,则随机点击一个白块
#插旗
def banner():
showmap()
for y in range(blocks_y):
for x in range(blocks_x):
if 1 <= map[y][x] and map[y][x] <= 5:
boom_number = map[y][x]
block_white = 0
block_qi = 0
for yy in range(y-1,y+2):
for xx in range(x-1,x+2):
if 0 <= yy and 0 <= xx and yy < blocks_y and xx < blocks_x:
if not (yy == y and xx == x):if map[yy][xx] == 0:
block_white += 1
elif map[yy][xx] == -4:
block_qi += 1if boom_number == block_white + block_qi:for yy in range(y - 1, y + 2):
for xx in range(x - 1, x + 2):
if 0 <= yy and 0 <= xx and yy < blocks_y and xx < blocks_x:
if not (yy == y and xx == x):
if map[yy][xx] == 0:
win32api.SetCursorPos([left+xxblock_width, top+yyblock_height])
win32api.mouse_event(win32con.MOUSEEVENTF_RIGHTDOWN, 0, 0, 0, 0)
win32api.mouse_event(win32con.MOUSEEVENTF_RIGHTUP, 0, 0, 0, 0)
showmap()
#点击白块
def dig():
showmap()
iscluck = 0
for y in range(blocks_y):
for x in range(blocks_x):
if 1 <= map[y][x] and map[y][x] <= 5:
boom_number = map[y][x]
block_white = 0
block_qi = 0
for yy in range(y - 1, y + 2):
for xx in range(x - 1, x + 2):
if 0 <= yy and 0 <= xx and yy < blocks_y and xx < blocks_x:
if not (yy == y and xx == x):
if map[yy][xx] == 0:
block_white += 1
elif map[yy][xx] == -4:
block_qi += 1if boom_number == block_qi and block_white > 0:for yy in range(y - 1, y + 2):
for xx in range(x - 1, x + 2):
if 0 <= yy and 0 <= xx and yy < blocks_y and xx < blocks_x:
if not(yy == y and xx == x):
if map[yy][xx] == 0:
win32api.SetCursorPos([left + xx * block_width, top + yy * block_height])
win32api.mouse_event(win32con.MOUSEEVENTF_LEFTDOWN, 0, 0, 0, 0)
win32api.mouse_event(win32con.MOUSEEVENTF_LEFTUP, 0, 0, 0, 0)
iscluck = 1
if iscluck == 0:
luck()
#随机点击
def luck():
fl = 1
while(fl):
random_x = random.randint(0, blocks_x - 1)
random_y = random.randint(0, blocks_y - 1)
if(map[random_y][random_x] == 0):
win32api.SetCursorPos([left + random_x * block_width, top + random_y * block_height])
win32api.mouse_event(win32con.MOUSEEVENTF_LEFTDOWN, 0, 0, 0, 0)
win32api.mouse_event(win32con.MOUSEEVENTF_LEFTUP, 0, 0, 0, 0)
自我介绍一下,小编13年上海交大毕业,曾经在小公司待过,也去过华为、OPPO等大厂,18年进入阿里一直到现在。
深知大多数Python工程师,想要提升技能,往往是自己摸索成长或者是报班学习,但对于培训机构动则几千的学费,着实压力不小。自己不成体系的自学效果低效又漫长,而且极易碰到天花板技术停滞不前!
因此收集整理了一份《2024年Python开发全套学习资料》,初衷也很简单,就是希望能够帮助到想自学提升又不知道该从何学起的朋友,同时减轻大家的负担。


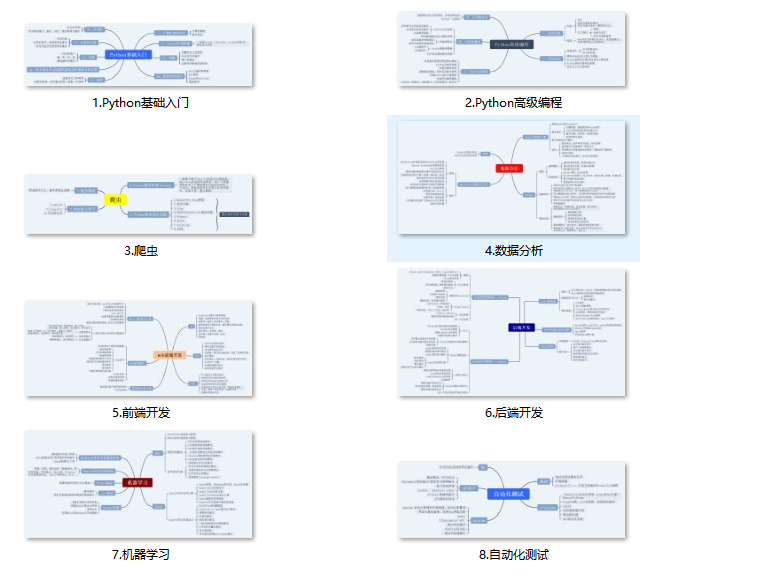
既有适合小白学习的零基础资料,也有适合3年以上经验的小伙伴深入学习提升的进阶课程,基本涵盖了95%以上前端开发知识点,真正体系化!
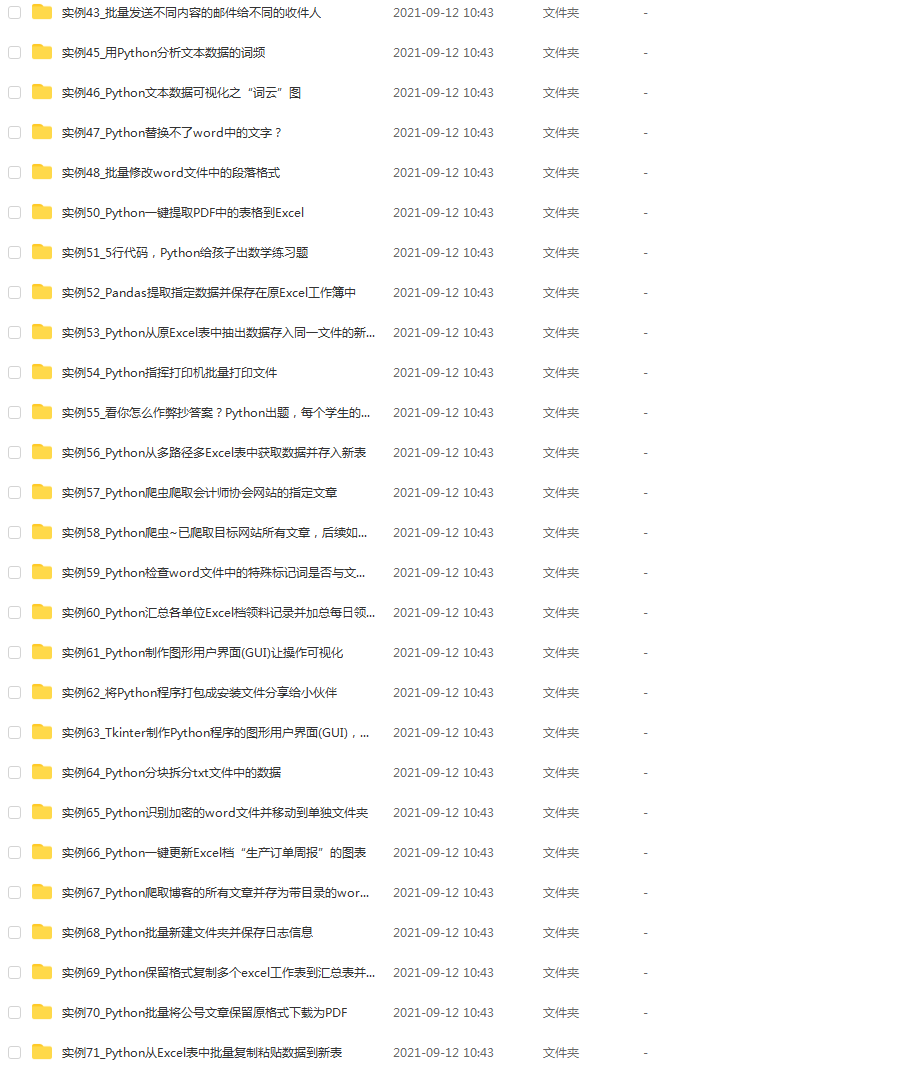
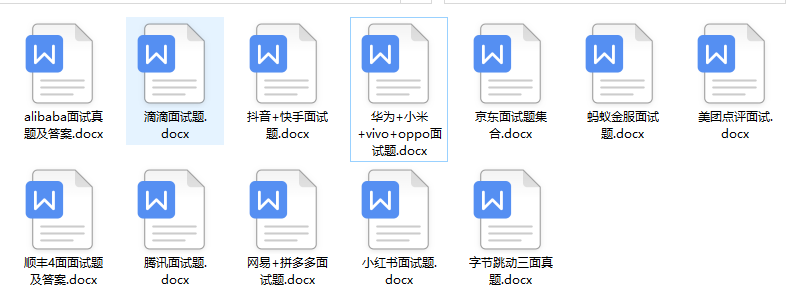
由于文件比较大,这里只是将部分目录大纲截图出来,每个节点里面都包含大厂面经、学习笔记、源码讲义、实战项目、讲解视频,并且后续会持续更新
如果你觉得这些内容对你有帮助,可以扫码获取!!!(备注Python)
/img_convert/6c361282296f86381401c05e862fe4e9.png)
既有适合小白学习的零基础资料,也有适合3年以上经验的小伙伴深入学习提升的进阶课程,基本涵盖了95%以上前端开发知识点,真正体系化!
由于文件比较大,这里只是将部分目录大纲截图出来,每个节点里面都包含大厂面经、学习笔记、源码讲义、实战项目、讲解视频,并且后续会持续更新
如果你觉得这些内容对你有帮助,可以扫码获取!!!(备注Python)


 1897
1897

 被折叠的 条评论
为什么被折叠?
被折叠的 条评论
为什么被折叠?
 到【灌水乐园】发言


