


import org.springframework.context.annotation.Configuration;
import springfox.documentation.builders.ApiInfoBuilder;
import springfox.documentation.builders.PathSelectors;
import springfox.documentation.builders.RequestHandlerSelectors;
import springfox.documentation.oas.annotations.EnableOpenApi;
import springfox.documentation.service.ApiInfo;
import springfox.documentation.service.Contact;
import springfox.documentation.spi.DocumentationType;
import springfox.documentation.spring.web.plugins.Docket;
import java.util.ArrayList;
/**
-
Created with IntelliJ IDEA.
-
@author : 村雨遥
-
@version : 1.0
-
@project : springboot-swagger3-demo
-
@package : com.cunyu.springbootswagger3demo.config
-
@className : SwaggerConfig
-
@createTime : 2022/1/6 14:19
-
@email : 747731461@qq.com
-
@微信 : cunyu1024
-
@公众号 : 村雨遥
-
@网站 : https://cunyu1943.github.io
-
@description :
*/
@Configuration
@EnableOpenApi
public class SwaggerConfig {
/**
- 用于读取配置文件 application.properties 中 swagger 属性是否开启
*/
@Value(“${swagger.enabled}”)
Boolean swaggerEnabled;
@Bean
public Docket docket() {
return new Docket(DocumentationType.OAS_30)
.apiInfo(apiInfo())
// 是否开启swagger
.enable(swaggerEnabled)
.select()
// 过滤条件,扫描指定路径下的文件
.apis(RequestHandlerSelectors.basePackage(“com.cunyu.springbootswagger3demo.controller”))
// 指定路径处理,PathSelectors.any()代表不过滤任何路径
//.paths(PathSelectors.any())
.build();
}
private ApiInfo apiInfo() {
/作者信息/
Contact contact = new Contact(“村雨遥”, “https://cunyu1943.github.io”, “747731461@qq.com”);
return new ApiInfo(
“Spring Boot 集成 Swagger3 测试”,
“Spring Boot 集成 Swagger3 测试接口文档”,
“v1.0”,
“https://cunyu1943.github.io”,
contact,
“Apache 2.0”,
“http://www.apache.org/licenses/LICENSE-2.0”,
new ArrayList()
);
}
}
这里的配置和 Swagger2 大同小异,这里最大的区别在于加入了从配置文件中获取 Swagger 开关的属性。这里也可以选择添加到 Swagger2 的配置类中,同样通过配置文件来控制是否开启 Swagger2。此外,还有就是 DocumentationType 属性的不同了,Swagger2 中我们使用的是 SWAGGER_2,而在 Swagger3 中,我们使用的则是 OAS_30。其实点进去 DocumentationType 的源码我们就可以发现,Swagger 已经是给我们定义好的,你用的是哪一个版本的 Swagger,那我们使用的属性值应该选择对应版本。三个版本的属性值对应如下:
public static final DocumentationType SWAGGER_12 = new DocumentationType(“swagger”, “1.2”);
public static final DocumentationType SWAGGER_2 = new DocumentationType(“swagger”, “2.0”);
public static final DocumentationType OAS_30 = new DocumentationType(“openApi”, “3.0”);
编写实体类
完成上面的步骤之后,我们的 Swagger 就配置好了,接下来我们就添加一个接口来看看 Swagger3 和 Swagger2 的不同。
- 新建实体类
这里我以一个用户类为实例,带有 name、age 两个属性,也就是本文一开始项目结构截图中 entity 包下的内容。
package com.cunyu.springbootswagger3demo.entity;
import io.swagger.annotations.ApiModel;
import io.swagger.annotations.ApiModelProperty;
import lombok.AllArgsConstructor;
import lombok.Data;
import lombok.NoArgsConstructor;
/**
-
Created with IntelliJ IDEA.
-
@author : 村雨遥
-
@version : 1.0
-
@project : springboot-swagger3-demo
-
@package : com.cunyu.springbootswagger3demo.entity
-
@className : User
-
@createTime : 2022/1/6 11:17
-
@email : 747731461@qq.com
-
@微信 : cunyu1024
-
@公众号 : 村雨遥
-
@网站 : https://cunyu1943.github.io
-
@description :
*/
@Data
@AllArgsConstructor
@NoArgsConstructor
@ApiModel(“用户实体类”)
public class User {
@ApiModelProperty(value = “姓名”, required = true, example = “村雨遥”)
private String name;
@ApiModelProperty(value = “年龄”, required = true, example = “20”)
private Integer age;
}
- 新建接口
这里写了两个接口,一个是直接传参,另一种是通过利用创建的 User 实体类来传输,也就是项目结构中 controller 包中的内容。
package com.cunyu.springbootswagger3demo.controller;
import com.cunyu.springbootswagger3demo.entity.User;
import io.swagger.annotations.Api;
import io.swagger.annotations.ApiOperation;
import io.swagger.annotations.ApiParam;
import org.springframework.web.bind.annotation.PostMapping;
import org.springframework.web.bind.annotation.RequestBody;
import org.springframework.web.bind.annotation.RequestMapping;
import org.springframework.web.bind.annotation.RestController;
/**
-
Created with IntelliJ IDEA.
-
@author : 村雨遥
-
@version : 1.0
-
@project : springboot-swagger3-demo
-
@package : com.cunyu.springbootswagger3demo.controller
-
@className : UserController
-
@createTime : 2022/1/6 11:02
-
@email : 747731461@qq.com
-
@微信 : cunyu1024
-
@公众号 : 村雨遥
-
@网站 : https://cunyu1943.github.io
-
@description :
*/
@Api(tags = “测试”)
@RestController
@RequestMapping(“/user”)
public class UserController {
@ApiOperation(“测试接口1”)
@PostMapping(“/show1”)
public String show1(@ApiParam(value = “姓名”, required = true, example = “村雨遥”) @RequestBody String name) {
return “hello,” + name + “,welcome to springboot swagger3!”;
}
@ApiOperation(“测试接口2”)
@PostMapping(“/show2”)
public String show2(@ApiParam(value = “用户对象”, required = true) @RequestBody User user) {
return “hello,” + user.getName() + “,welcome to springboot swagger3!”;
}
}
查看并测试接口
启动我们的项目,然后在浏览器中访问如下地址,就可以访问项目的接口文档了。
http://localhost:8080/swagger-ui/index.html
访问上面的地址后,如果出现下面的界面,则说明集成 Swagger3 就成功了。
这里也要注意一点,Swagger2 中的接口访问地址是:
http://localhost:8080/swagger-ui.html
这里 Swagger2 和 Swagger3 是不同的,这里大家一定要注意,否则可能你继续拿着 Swagger2 接口访问地址来放到 Swagger3 项目中不适用。
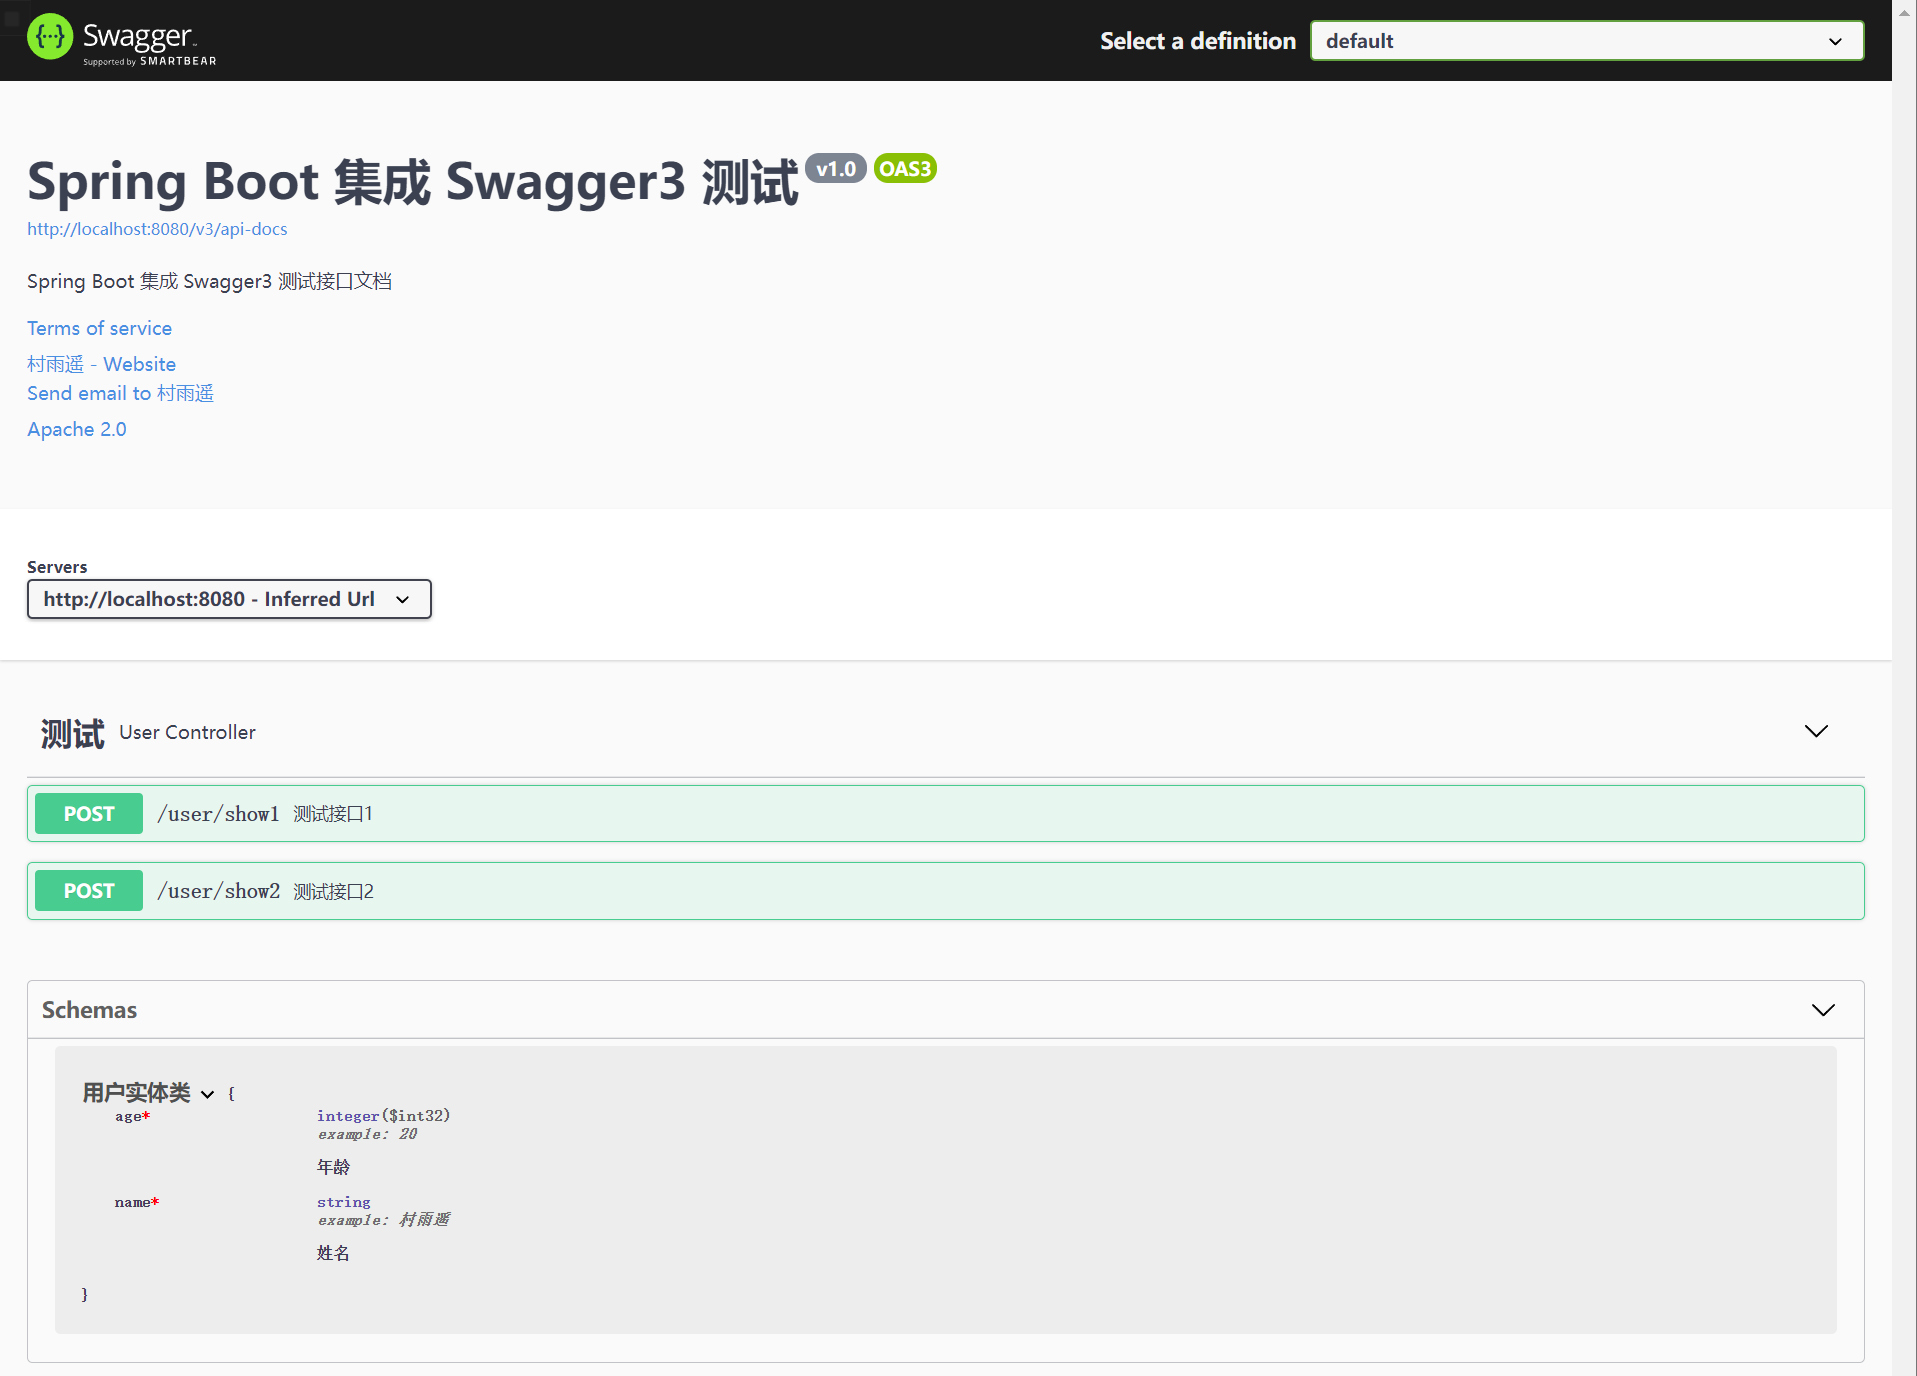
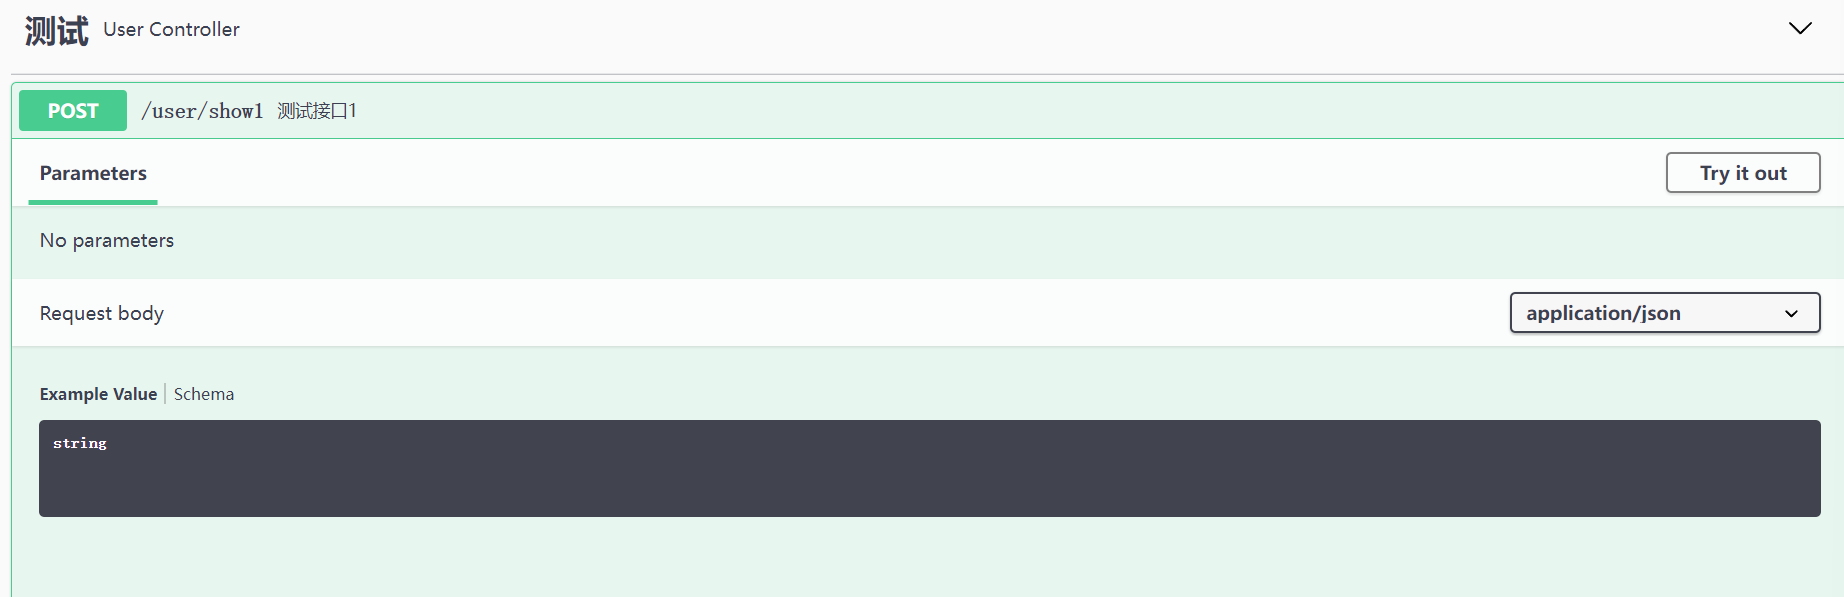
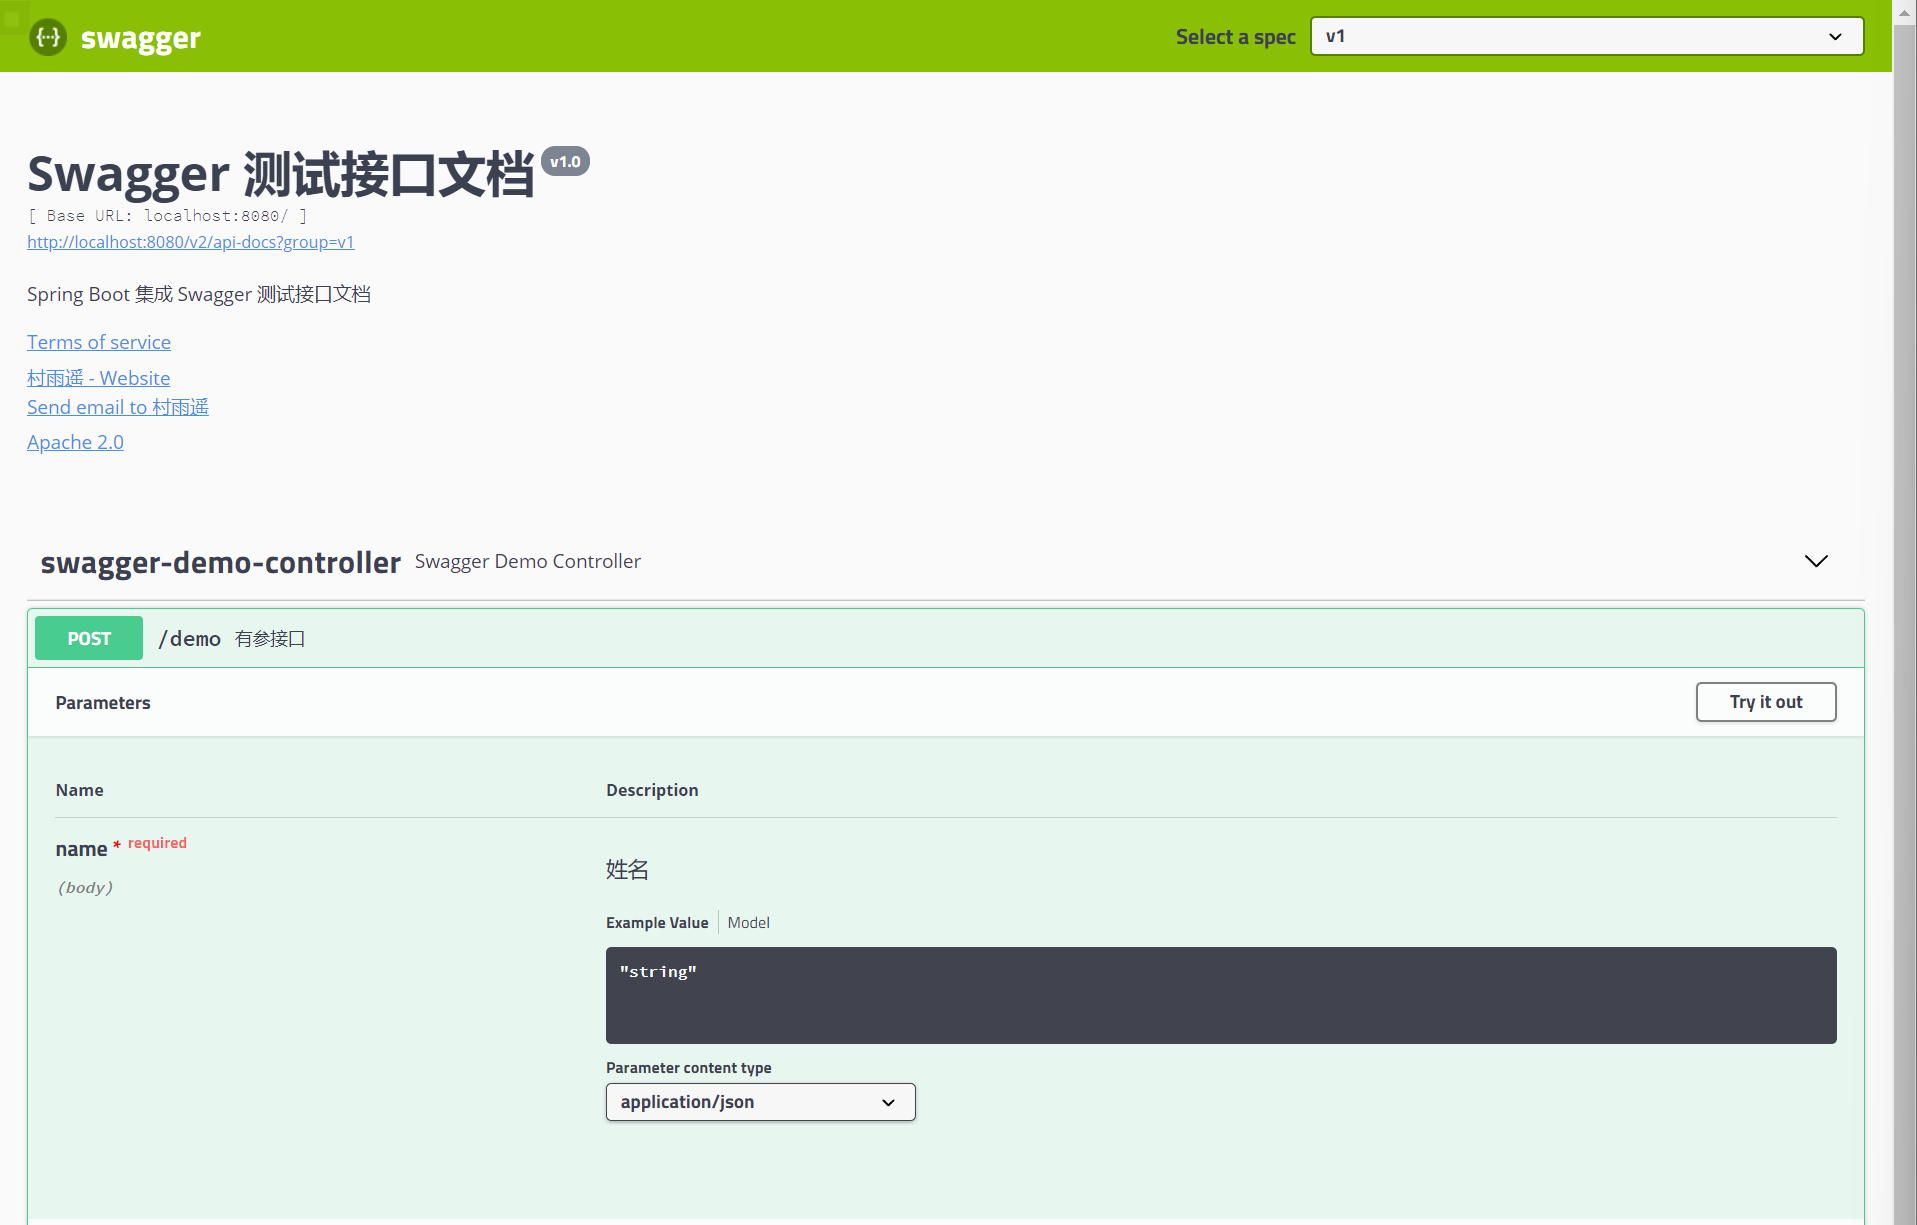
点开具体接口,我们以直接传参的接口来对比 Swagger3 和 Swagger2 的区别。第一张图是在 Swagger3 中,第二张图是在 Swagger2 中。这里可以发现,我们都是传的一个 name 属性,Swagger2 中会把我们接口中参数部分 Parameters 直接标识出来,而 Swagger3 中则不会,这里需要注意。
- Swagger2 中接口代码
@ApiOperation(value = “有参接口”)
@PostMapping(“demo”)
public String demo(@ApiParam(value = “姓名”, required = true, example = “村雨遥”) @RequestBody String name) {
return “hello,” + name;
}
- Swagger3 中接口代码
@ApiOperation(“测试接口1”)
@PostMapping(“/show1”)
public String show1(@ApiParam(value = “姓名”, required = true, example = “村雨遥”) @RequestBody String name) {
return “hello,” + name + “,welcome to springboot swagger3!”;
}
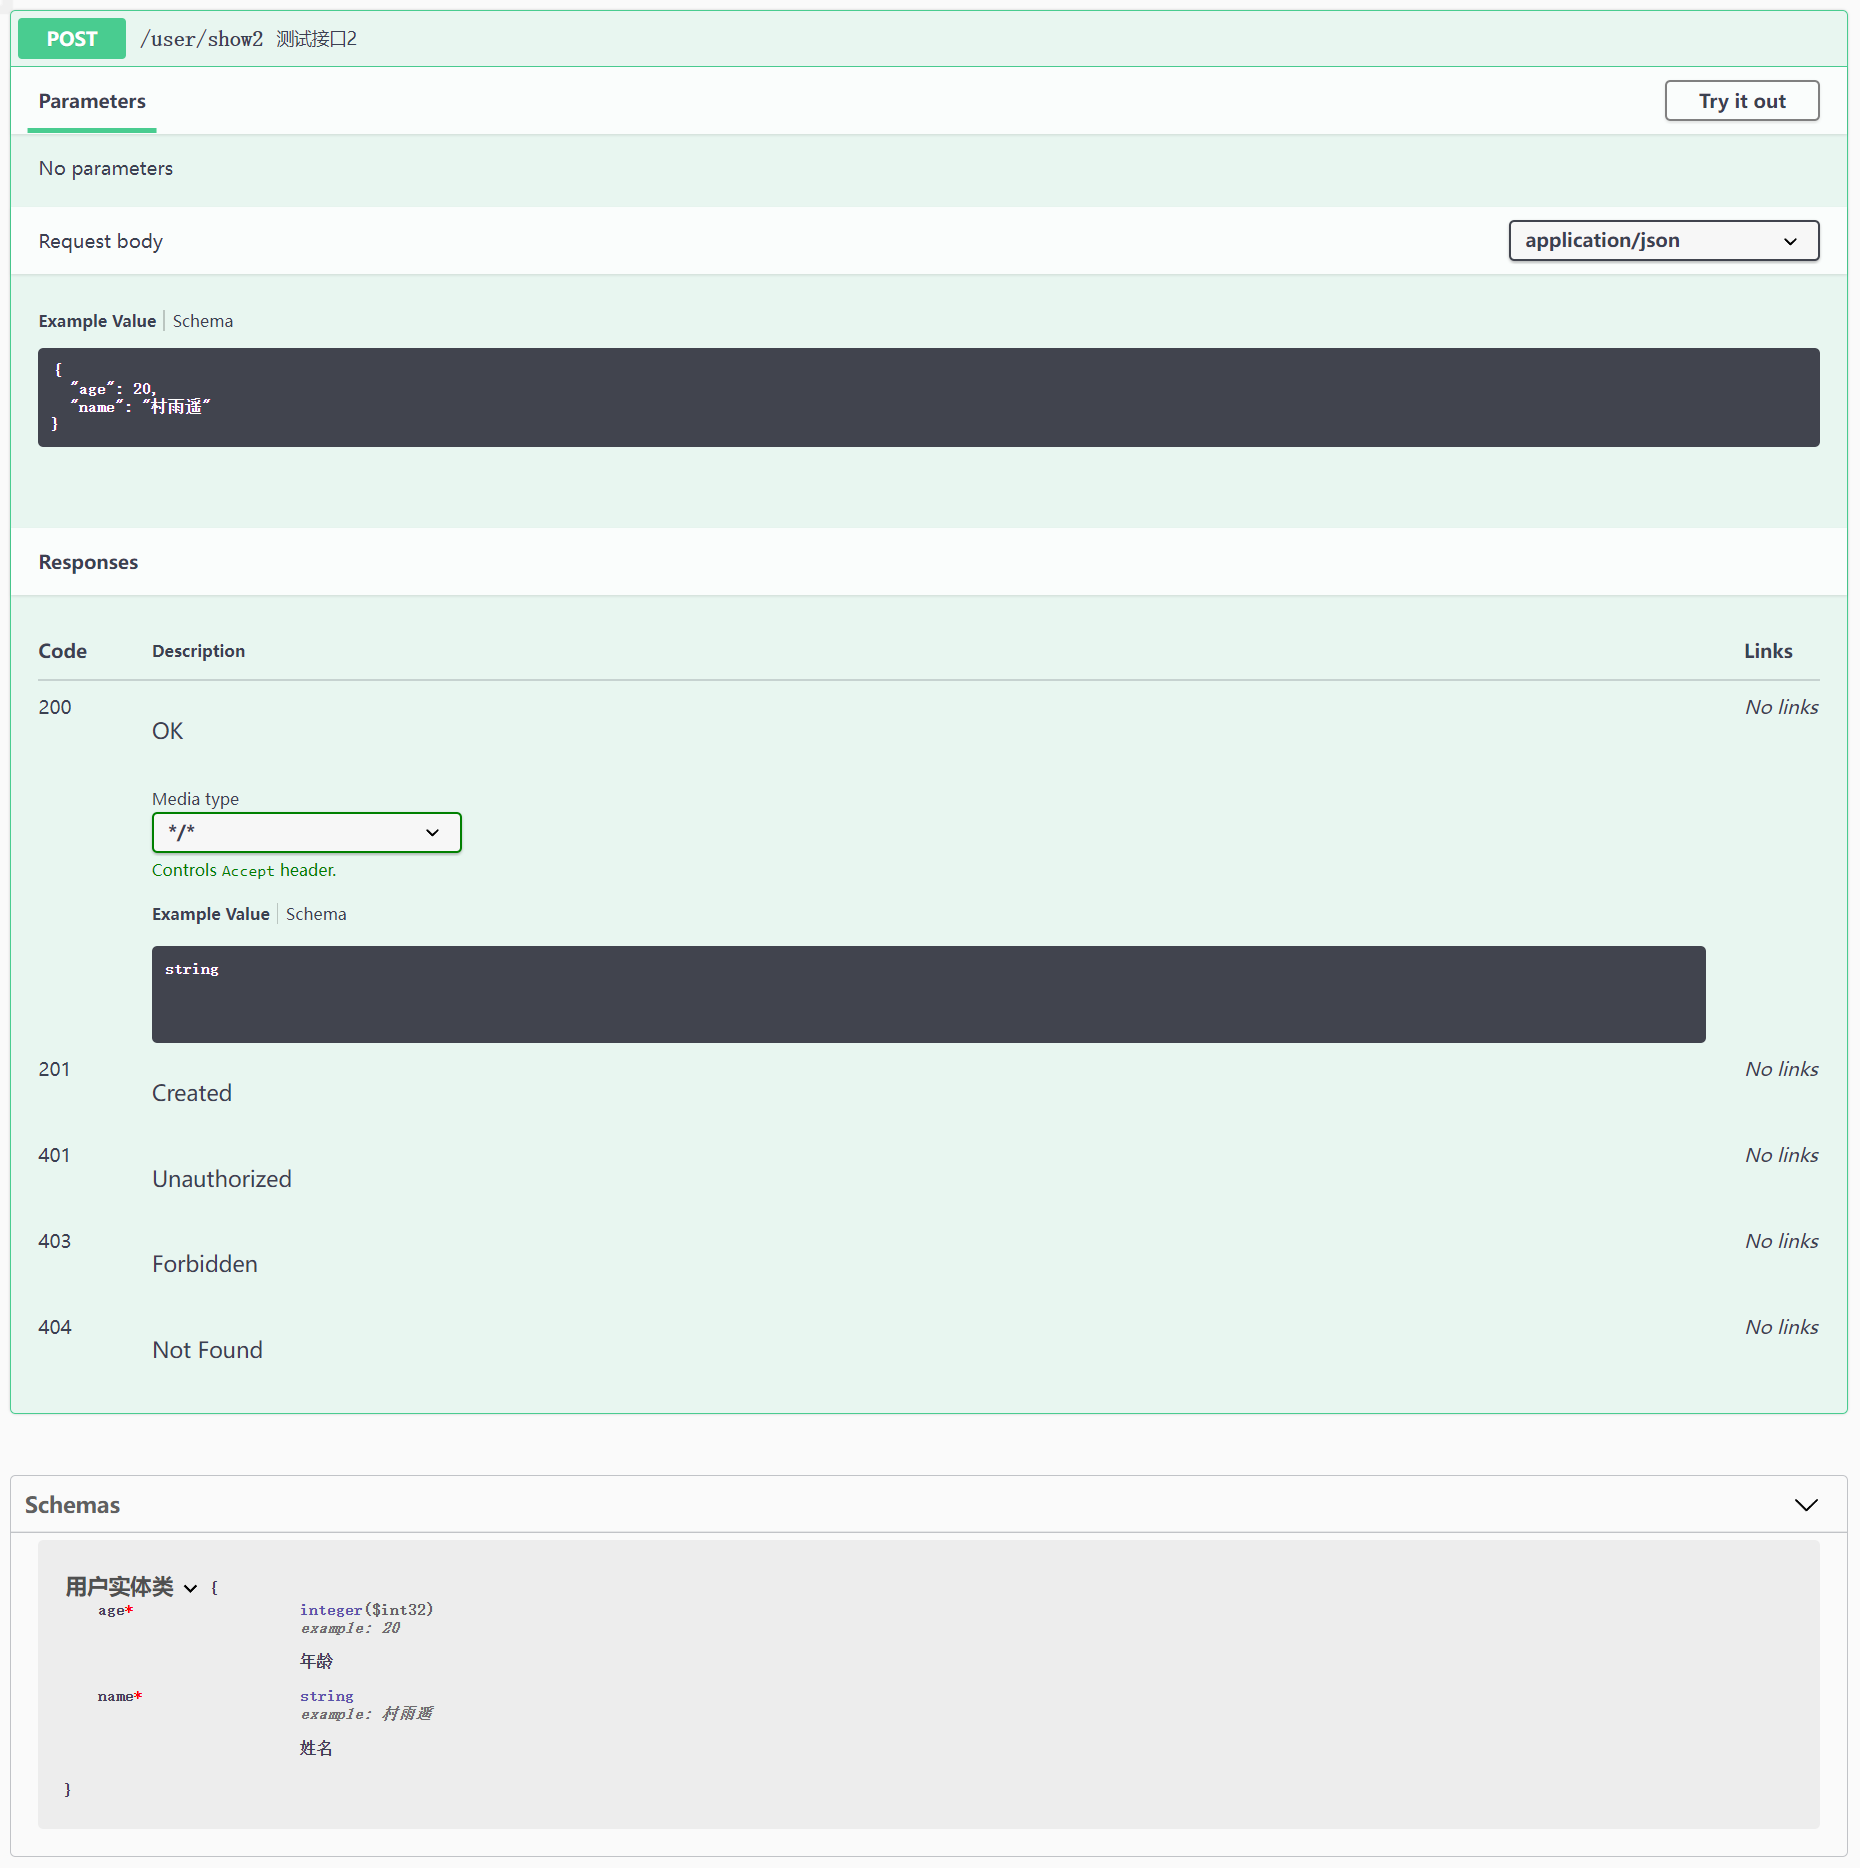
此外,我们来看 Swagger3 中的另一个接口,这里我们传递的是一个用户对象,接口中它将我们设置的默认值给传了过来。下图中第一张图为 Swagger3 中的截图,第二张图为 Swagger2 中的截图。同样的,Swagger2 中的参数会在 Parameters 模块标识出来,而 Swagger3 则不会标识。
还有一点值得注意的是,Swagger 中如果传递的部分是对象,那么 Swagger2 会在 Models 部分进行标识,而 Swagger3 中则是变成了 Schemas 部分,这也算是一个小变动吧。
最后
自我介绍一下,小编13年上海交大毕业,曾经在小公司待过,也去过华为、OPPO等大厂,18年进入阿里一直到现在。
深知大多数Java工程师,想要提升技能,往往是自己摸索成长,自己不成体系的自学效果低效漫长且无助。
因此收集整理了一份《2024年Java开发全套学习资料》,初衷也很简单,就是希望能够帮助到想自学提升又不知道该从何学起的朋友,同时减轻大家的负担。
既有适合小白学习的零基础资料,也有适合3年以上经验的小伙伴深入学习提升的进阶课程,基本涵盖了95%以上Java开发知识点,不论你是刚入门Android开发的新手,还是希望在技术上不断提升的资深开发者,这些资料都将为你打开新的学习之门!
如果你觉得这些内容对你有帮助,需要这份全套学习资料的朋友可以戳我获取!!
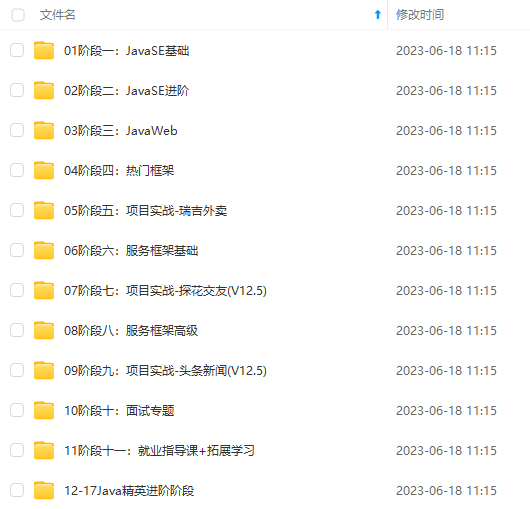
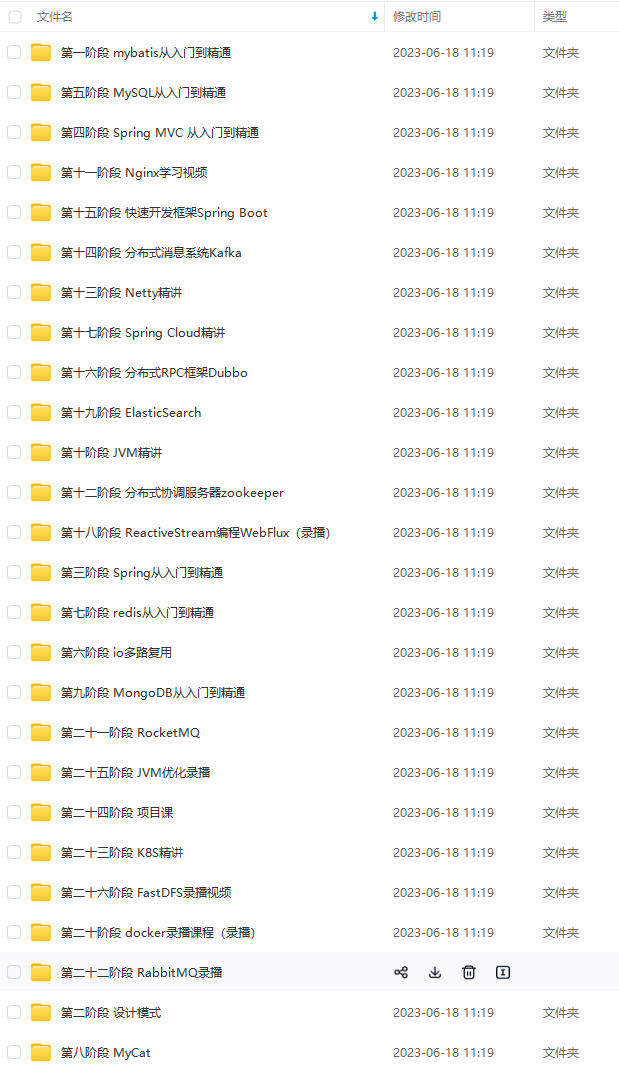
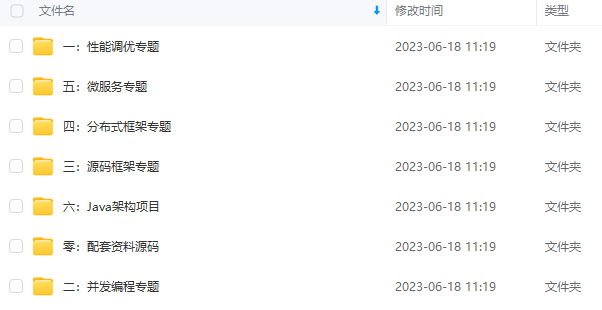
由于文件比较大,这里只是将部分目录截图出来,每个节点里面都包含大厂面经、学习笔记、源码讲义、实战项目、讲解视频,并且会持续更新!
开发全套学习资料》,初衷也很简单,就是希望能够帮助到想自学提升又不知道该从何学起的朋友,同时减轻大家的负担。**
[外链图片转存中…(img-AE5NPUTD-1714958270921)]
[外链图片转存中…(img-zRgLuRPr-1714958270921)]
[外链图片转存中…(img-6KfoO8Fh-1714958270921)]
既有适合小白学习的零基础资料,也有适合3年以上经验的小伙伴深入学习提升的进阶课程,基本涵盖了95%以上Java开发知识点,不论你是刚入门Android开发的新手,还是希望在技术上不断提升的资深开发者,这些资料都将为你打开新的学习之门!
如果你觉得这些内容对你有帮助,需要这份全套学习资料的朋友可以戳我获取!!
由于文件比较大,这里只是将部分目录截图出来,每个节点里面都包含大厂面经、学习笔记、源码讲义、实战项目、讲解视频,并且会持续更新!


 564
564

 被折叠的 条评论
为什么被折叠?
被折叠的 条评论
为什么被折叠?
 到【灌水乐园】发言


