


用户搜索到自己心仪的商品,接下来就要去购买,但是购买必须先登录。所以接下来我们编写用户中心,实现用户的登录和注册功能。
用户中心的提供的服务:
-
用户的注册
-
用户登录
-
用户个人信息管理
-
用户地址管理
-
用户收藏管理
-
我的订单
-
优惠券管理
这里我们暂时先实现基本的:注册和登录功能,其它功能大家可以自行补充完整。
因为用户中心的服务其它微服务也会调用,因此这里我们做聚合:
-
ly-user:父工程,包含2个子工程:
-
ly-user-interface:实体及接口
-
ly-user-service:业务和服务
1、创建父module


修改打包方式

2、创建ly-user-interface


3、创建ly-user-service
(1)创建工程


(2)修改pom.xml引入依赖

<project xmlns=“http://maven.apache.org/POM/4.0.0”
xmlns:xsi=“http://www.w3.org/2001/XMLSchema-instance”
xsi:schemaLocation=“http://maven.apache.org/POM/4.0.0 http://maven.apache.org/xsd/maven-4.0.0.xsd”>
ly-user
com.leyou.service
1.0.0-SNAPSHOT
4.0.0
ly-user-service
org.springframework.boot
spring-boot-starter-web
org.springframework.cloud
spring-cloud-starter-netflix-eureka-client
org.mybatis.spring.boot
mybatis-spring-boot-starter
tk.mybatis
mapper-spring-boot-starter
mysql
mysql-connector-java
com.leyou.service
ly-user-interface
${leyou.latest.version}
(3)编写启动类


package com.leyou;
import org.springframework.boot.SpringApplication;
import org.springframework.boot.autoconfigure.SpringBootApplication;
import org.springframework.cloud.client.discovery.EnableDiscoveryClient;
import tk.mybatis.spring.annotation.MapperScan;
@SpringBootApplication
@EnableDiscoveryClient
@MapperScan(“com.leyou.user.mapper”)
public class LyUserApplication {
public static void main(String[] args) {
SpringApplication.run(LyUserApplication.class,args);
}
}
(4)创建mapper路径

(5)编写配置文件


server:
port: 8088
spring:
application:
name: user-service
datasource:
url: jdbc:mysql://127.0.0.1:3306/yun6
username: root
password: root
driver-class-name: com.mysql.jdbc.Driver
eureka:
client:
service-url:
defaultZone: http://127.0.0.1:10086/eureka
instance:
prefer-ip-address: true
ip-address: 127.0.0.1
instance-id: e u r e k a . i n s t a n c e . i p − a d d r e s s . {eureka.instance.ip-address}. eureka.instance.ip−address.{server.port}
lease-renewal-interval-in-seconds: 3
lease-expiration-duration-in-seconds: 10
mybatis:
type-aliases-package: com.leyou.item.pojo
(6)创建pojo

(7)添加网关路由
我们修改ly-gateway,添加路由规则,对ly-user-service进行路由:

user-service: /user/**
1、数据结构
CREATE TABLE tb_user (
id bigint(20) NOT NULL AUTO_INCREMENT,
username varchar(50) NOT NULL COMMENT ‘用户名’,
password varchar(32) NOT NULL COMMENT ‘密码,加密存储’,
phone varchar(20) DEFAULT NULL COMMENT ‘注册手机号’,
created datetime NOT NULL COMMENT ‘创建时间’,
salt varchar(32) NOT NULL COMMENT ‘密码加密的salt值’,
PRIMARY KEY (id),
UNIQUE KEY username (username) USING BTREE
) ENGINE=InnoDB AUTO_INCREMENT=28 DEFAULT CHARSET=utf8 COMMENT=‘用户表’;
数据结构比较简单,因为根据用户名查询的频率较高,所以我们给用户名创建了索引
2、基本代码
实体类
注意:为了安全考虑。这里对password和salt添加了注解@JsonIgnore,这样在json序列化时,就不会把password和salt返回。
ly-user-interface添加依赖
<?xml version="1.0" encoding="UTF-8"?><project xmlns=“http://maven.apache.org/POM/4.0.0”
xmlns:xsi=“http://www.w3.org/2001/XMLSchema-instance”
xsi:schemaLocation=“http://maven.apache.org/POM/4.0.0 http://maven.apache.org/xsd/maven-4.0.0.xsd”>
ly-user
com.leyou.service
1.0.0-SNAPSHOT
4.0.0
ly-user-interface
javax.persistence
persistence-api
1.0
com.fasterxml.jackson.core
jackson-databind
tk.mybatis
mapper-core
1.0.4


package com.leyou.item.pojo;
import com.fasterxml.jackson.annotation.JsonIgnore;
import lombok.Data;
import javax.persistence.GeneratedValue;
import javax.persistence.GenerationType;
import javax.persistence.Id;
import javax.persistence.Table;
import java.util.Date;
@Data
@Table(name = “tb_user”)
public class User {
@Id
@GeneratedValue(strategy = GenerationType.IDENTITY)
private Long id;
private String username;// 用户名
@JsonIgnore
private String password;// 密码
private String phone;// 电话
private Date created;// 创建时间
@JsonIgnore
private String salt;// 密码的盐值
}
mapper


public interface UserMapper extends Mapper {
}
Service


@Service
public class UserService {
@Autowired
private UserMapper userMapper;
}
3.数据验证功能
(1)接口说明:
实现用户数据的校验,主要包括对:手机号、用户名的唯一性校验。
接口路径
GET /check/{data}/{type}
参数说明:
| 参数 | 说明 | 是否必须 | 数据类型 | 默认值 |
| — | — | — | — | — |
| data | 要校验的数据 | 是 | String | 无 |
| type | 要校验的数据类型:1,用户名;2,手机; | 否 | Integer | 1 |
返回结果:
返回布尔类型结果:
-
true:可用
-
false:不可用
状态码:
-
200:校验成功
-
400:参数有误
-
500:服务器内部异常
(2)controller


package com.leyou.user.web;
import com.leyou.user.service.UserService;
import org.springframework.beans.factory.annotation.Autowired;
import org.springframework.web.bind.annotation.RestController;
@RestController
public class UserController {
@Autowired
private UserService userService;
}
因为有了接口,我们可以不关心页面,所有需要的东西都一清二楚:
-
请求方式:GET
-
请求路径:/check/{param}/{type}
-
请求参数:param,type
-
返回结果:true或false

package com.leyou.user.web;
import com.leyou.user.service.UserService;
import org.springframework.beans.factory.annotation.Autowired;
import org.springframework.http.ResponseEntity;
import org.springframework.web.bind.annotation.GetMapping;
import org.springframework.web.bind.annotation.PathVariable;
import org.springframework.web.bind.annotation.RestController;
@RestController
public class UserController {
@Autowired
private UserService userService;
/**
-
校验数据是否可用
-
@param data
-
@param type
-
@return
*/
@GetMapping(“/check/{data}/{type}”)
public ResponseEntity checkData(@PathVariable(“data”) String data,
@PathVariable(“type”) Integer type) {
return ResponseEntity.ok(userService.checkData(data,type));
}
}
(3)Service


package com.leyou.user.service;
import com.leyou.item.pojo.User;
import com.leyou.user.mapper.UserMapper;
import org.springframework.beans.factory.annotation.Autowired;
import org.springframework.stereotype.Service;
import org.springframework.util.CollectionUtils;
@Service
public class UserService {
@Autowired
private UserMapper userMapper;
public Boolean checkData(String data, Integer type) {
User user = new User();
//判断数据类型
switch (type){
case 1:
user.setUsername(data);
break;
case 2:
user.setPhone(data);
break;
default:
return null;
}
return userMapper.selectCount(user) == 0;
}
}
(4)测试

我们在数据库插入一条假数据:

然后在浏览器调用接口,测试:
http://localhost:8088/check/admin/1

4.发送短信功能
短信微服务已经准备好,我们就可以继续编写用户中心接口了。
(1)接口说明

这里的业务逻辑是这样的:
-
1)我们接收页面发送来的手机号码
-
2)生成一个随机验证码
-
3)将验证码保存在服务端(redis)
-
4)发送短信,将验证码发送到用户手机
(2)controller

/*
发送短信
*/
@PostMapping(“code”)
public ResponseEntity sendCode(@RequestParam(“phone”) String phone){
userService.sendCode(phone);
return ResponseEntity.status(HttpStatus.NO_CONTENT).build();
}
(3)service
这里的逻辑会稍微复杂:
-
生成随机验证码
-
将验证码保存到Redis中,用来在注册的时候验证
-
发送验证码到
ly-sms-service服务,发送短信

因此,我们需要引入AMQP:

因此,我们需要引入AMQP:
org.springframework.boot
spring-boot-starter-amqp
添加RabbitMQ和Redis配置:

spring:
redis:
host: 192.168.206.66
rabbitmq:
host: 192.168.206.66
username: leyou
password: leyou
virtual-host: /leyou
template:
retry:
enabled: true
initial-interval: 10000ms
max-interval: 210000ms
multiplier: 2
publisher-confirms: true
另外还要用到工具类,生成6位随机码,这个我们封装到了ly-common中,因此需要引入依赖:

引入common
com.leyou.common
ly-common
${leyou.latest.version}
引入Redis

org.springframework.boot
spring-boot-starter-data-redis
Service代码:


package com.leyou.user.service;
import com.leyou.common.utils.NumberUtils;
import com.leyou.item.pojo.User;
import com.leyou.user.mapper.UserMapper;
import org.springframework.amqp.core.AmqpTemplate;
import org.springframework.beans.factory.annotation.Autowired;
import org.springframework.data.redis.core.StringRedisTemplate;
import org.springframework.stereotype.Service;
import org.springframework.util.CollectionUtils;
import tk.mybatis.mapper.annotation.KeySql;
import java.util.HashMap;
import java.util.Map;
import java.util.concurrent.TimeUnit;
@Service
public class UserService {
最后
自我介绍一下,小编13年上海交大毕业,曾经在小公司待过,也去过华为、OPPO等大厂,18年进入阿里一直到现在。
深知大多数初中级Android工程师,想要提升技能,往往是自己摸索成长,自己不成体系的自学效果低效漫长且无助。
因此收集整理了一份《2024年Web前端开发全套学习资料》,初衷也很简单,就是希望能够帮助到想自学提升又不知道该从何学起的朋友,同时减轻大家的负担。
既有适合小白学习的零基础资料,也有适合3年以上经验的小伙伴深入学习提升的进阶课程,基本涵盖了95%以上Android开发知识点!不论你是刚入门Android开发的新手,还是希望在技术上不断提升的资深开发者,这些资料都将为你打开新的学习之门!
如果你觉得这些内容对你有帮助,需要这份全套学习资料的朋友可以戳我获取!!
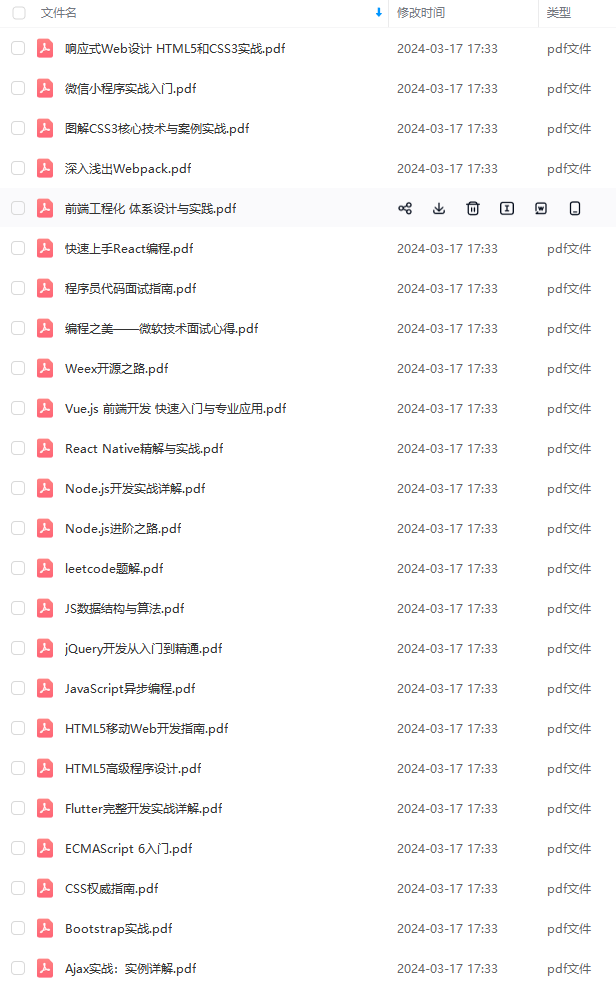
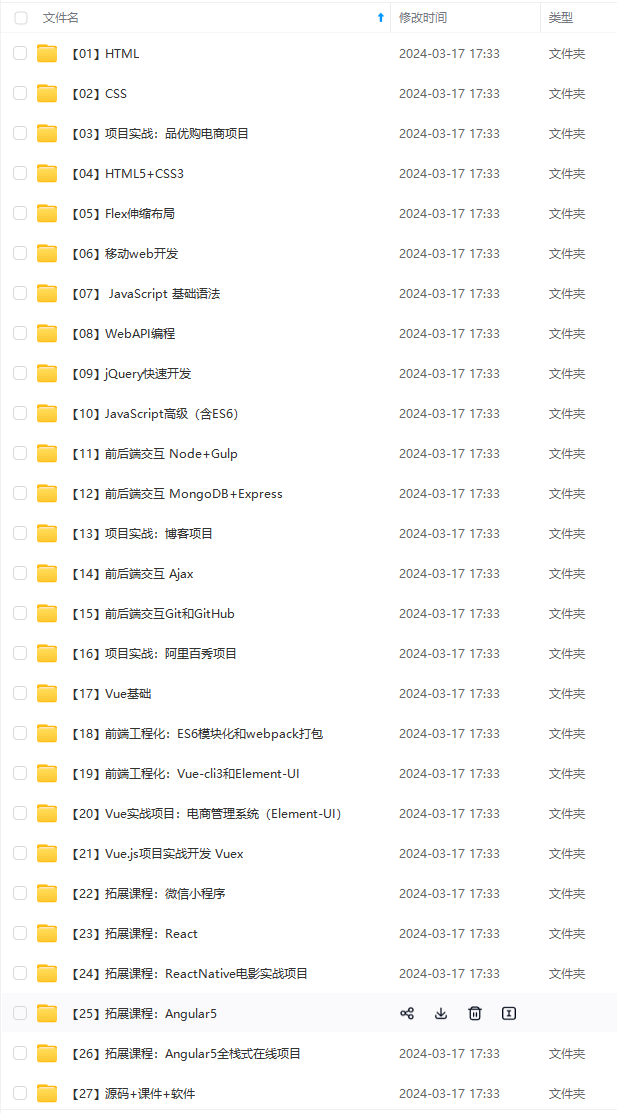
由于文件比较大,这里只是将部分目录截图出来,每个节点里面都包含大厂面经、学习笔记、源码讲义、实战项目、讲解视频,并且会持续更新!
.User;
import com.leyou.user.mapper.UserMapper;
import org.springframework.amqp.core.AmqpTemplate;
import org.springframework.beans.factory.annotation.Autowired;
import org.springframework.data.redis.core.StringRedisTemplate;
import org.springframework.stereotype.Service;
import org.springframework.util.CollectionUtils;
import tk.mybatis.mapper.annotation.KeySql;
import java.util.HashMap;
import java.util.Map;
import java.util.concurrent.TimeUnit;
@Service
public class UserService {
最后
自我介绍一下,小编13年上海交大毕业,曾经在小公司待过,也去过华为、OPPO等大厂,18年进入阿里一直到现在。
深知大多数初中级Android工程师,想要提升技能,往往是自己摸索成长,自己不成体系的自学效果低效漫长且无助。
因此收集整理了一份《2024年Web前端开发全套学习资料》,初衷也很简单,就是希望能够帮助到想自学提升又不知道该从何学起的朋友,同时减轻大家的负担。
[外链图片转存中…(img-bpo2t0Jm-1715532632381)]
[外链图片转存中…(img-Of59XUs3-1715532632382)]
[外链图片转存中…(img-jfsKqPAy-1715532632382)]
既有适合小白学习的零基础资料,也有适合3年以上经验的小伙伴深入学习提升的进阶课程,基本涵盖了95%以上Android开发知识点!不论你是刚入门Android开发的新手,还是希望在技术上不断提升的资深开发者,这些资料都将为你打开新的学习之门!
如果你觉得这些内容对你有帮助,需要这份全套学习资料的朋友可以戳我获取!!
由于文件比较大,这里只是将部分目录截图出来,每个节点里面都包含大厂面经、学习笔记、源码讲义、实战项目、讲解视频,并且会持续更新!


 949
949

 被折叠的 条评论
为什么被折叠?
被折叠的 条评论
为什么被折叠?
 到【灌水乐园】发言


