


 本文主要介绍了Android开发中支持NFC功能的实现步骤,包括在AndroidManifest.xml中声明权限和intent-filter,设置Activity的launchMode,获取NFCAdapter,以及进行NFC功能的编写和实战开发。通过实例代码展示了如何创建一个自动打开网页的NFC应用,涉及NFCAdapter的使用、NFC标签的读写以及Activity的生命周期管理。
进行支持NFC程序的开发时的基本步骤为:
1. 在AndroidManifest.xml中进行权限声明以及添加intent-filter过滤器进行支持。
进行权限声明:
进行intent-filter过滤器声明(以NDEF类型为例):
2. 进行定义可接收Tag的Activity,配置一下launchMode属性在AndroidManifest.xml中,例:
<activity android:name=“.Example”
android:launchMode=“singleTop”
android:label=“自动打开通讯录”>
3. 进行NFCAdapter的获取
private NfcAdapter mNfcAdapter =null;//1.声明一个nfc的Adapter
//2.检测NFC的检测函数
private void NfcCheck() {
mNfcAdapter = NfcAdapter.getDefaultAdapter(this);//3.获取nfc适配器
if (mNfcAdapter == null) {
return; //3.如果获取的mNfcAdapter=null,则说明该手机不支持nfc功能
} else {
if (!mNfcAdapter.isEnabled()) {//4.如果手机有nfc功能,进一步判断nfc是否打开
Intent setNfc = new Intent(Settings.ACTION_NFC_SETTINGS);
startActivity(setNfc);//5.假如手机的nfc功能没有被打开。则跳到打开nfc功能的界面
}
}
}
4. 进行相关NFC功能操作的编写,实现具体操作,以及相关代码的编写,完成程序编写。
========================================================================
进行支持NFC程序的应用进行实战开发,本次编写的代码为对参考资料6中作者代码的借鉴,在其基础上进行修改、简化完成的。
项目结构的大致截图如下:

阅读源码时,请注意查看相应注释。
AndroidManifest.xml:为应用程序的资源配置文件,在其中定义了nfc功能需要的相关权限与实现NFC的功能类相关定义,相关代码如下:
<?xml version="1.0" encoding="utf-8"?><manifest xmlns:android=“http://schemas.android.com/apk/res/android”
package=“com.suxianpeng.blog_nfc”>
<application
android:allowBackup=“true”
android:icon=“@mipmap/ic_launcher”
android:label=“@string/app_name”
android:roundIcon=“@mipmap/ic_launcher_round”
android:supportsRtl=“true”
android:theme=“@style/AppTheme”>
<activity android:name=“.NFC_AutoSearch_url”
android:launchMode=“singleTop”
android:label=“自动打开百度页面”>
MainActivity类:为系统的主类,界面入口处,通过自定义数组与数组适配器在activity_main.xml布局文件中实现了列表视图,通过switch语句使得在主界面可以实现自定义数组中所具有的操作,并且在该类的Oncreate方法中进行了NFCAdapter的获取与判断设备是否支持NFC功能的实现。具体代码为:
package com.suxianpeng.blog_nfc;
import android.content.Intent;
import android.nfc.NfcAdapter;
import android.os.Bundle;
import android.view.View;
import android.widget.AdapterView;
import android.widget.ArrayAdapter;
import android.widget.ListView;
import android.widget.TextView;
public class MainActivity extends NfcBase {
private TextView ifo_NFC;
private static final String[] strs = new String[]{
“自动打开百度页面”,
};
@Override
public void onCreate(Bundle savedInstanceState) {
super.onCreate(savedInstanceState);
setContentView(R.layout.activity_main);
ifo_NFC = (TextView) findViewById(R.id.ifo_NFC);
// NFC适配器,所有的关于NFC的操作从该适配器进行
mNfcAdapter = NfcAdapter.getDefaultAdapter(this);
if (!ifNFCUse()) {
return;
}
ListView listView = (ListView) findViewById(R.id.listview);
listView.setAdapter(new ArrayAdapter(this, android.R.layout.simple_list_item_1, strs));
listView.setOnItemClickListener(new AdapterView.OnItemClickListener() {
@Override
public void onItemClick(AdapterView<?> parent, View view, int position, long id) {
switchActivity(position);
}
});
}
private void switchActivity(int position) {
switch (position) {
case 0: //自动打开百度页面
startActivity(new Intent(this, NFC_AutoSearch_url.class));
break;
default:
break;
}
}
/*
- 检测工作,判断设备的NFC支持情况
*/
protected Boolean ifNFCUse() {
if (mNfcAdapter == null) {
ifo_NFC.setText(“设备不支持NFC!”);
return false;
}
if (mNfcAdapter != null && !mNfcAdapter.isEnabled()) {
ifo_NFC.setText(“请在系统设置中先启用NFC功能!”);
return false;
}
return true;
}
}
NfcBase类 :为进行NFC相关操作的基础类,为其它进行NFC操作的类服务,其它类需继承它。具体代码为:
package com.suxianpeng.blog_nfc;
import android.app.PendingIntent;
import android.content.Intent;
import android.nfc.NfcAdapter;
import androidx.appcompat.app.AppCompatActivity;
public class NfcBase extends AppCompatActivity {
protected NfcAdapter mNfcAdapter;
private PendingIntent mPendingIntent;
/**
-
onCreat->onStart->onResume->onPause->onStop->onDestroy
-
启动Activity,界面可见时.
*/
@Override
protected void onStart() {
super.onStart();
//此处adapter需要重新获取,否则无法获取message
mNfcAdapter = NfcAdapter.getDefaultAdapter(this);
//一旦截获NFC消息,就会通过PendingIntent调用窗口
mPendingIntent = PendingIntent.getActivity(this, 0, new Intent(this, getClass()), 0);
}
/**
- 获得焦点,按钮可以点击
*/
@Override
public void onResume() {
super.onResume();
//设置处理优于所有其他NFC的处理
if (mNfcAdapter != null)
mNfcAdapter.enableForegroundDispatch(this, mPendingIntent, null, null);
}
/**
- 暂停Activity,界面获取焦点,按钮可以点击
*/
@Override
public void onPause() {
super.onPause();
//恢复默认状态
if (mNfcAdapter != null)
mNfcAdapter.disableForegroundDispatch(this);
}
}
NFC_AutoSearch_url类 :具体实现的功能为解析nfc数据tag,往nfc标签中写入数据即百度的链接并自动访问该网站,具体实现为:
package com.suxianpeng.blog_nfc;
import android.annotation.SuppressLint;
import android.content.Intent;
import android.net.Uri;
import android.nfc.NdefMessage;
import android.nfc.NdefRecord;
import android.nfc.NfcAdapter;
import android.nfc.Tag;
import android.nfc.tech.Ndef;
import android.nfc.tech.NdefFormatable;
import android.os.Bundle;
import android.widget.Toast;
public class NFC_AutoSearch_url extends NfcBase {
@Override
protected void onCreate(Bundle savedInstanceState) {
super.onCreate(savedInstanceState);
setContentView(R.layout.activity_nfc_url);
}
@SuppressLint(“MissingSuperCall”)
@Override
public void onNewIntent(Intent intent) {//在onNewIntent方法中进行NFC标签相关操作,执行intent传递过来的Tag数据
//1.获取Tag对象
super.onNewIntent(intent);
Tag detectedTag = intent.getParcelableExtra(NfcAdapter.EXTRA_TAG);
writeNFCTag(detectedTag);
}
/**
- 往标签写数据的方法
*/
public void writeNFCTag(Tag tag) {
if (tag == null) {
return;
}
NdefMessage ndefMessage = new NdefMessage(new NdefRecord[]{NdefRecord
.createUri(Uri.parse(“http://www.baidu.com”))});
//转换成字节获得大小
int size = ndefMessage.toByteArray().length;
try {
//2.判断NFC标签的数据类型(通过Ndef.get方法)
Ndef ndef = Ndef.get(tag);
//判断是否为NDEF标签
if (ndef != null) {
ndef.connect();
//判断是否支持可写
if (!ndef.isWritable()) {
return;
}
//判断标签的容量是否够用
if (ndef.getMaxSize() < size) {
return;
}
//3.写入数据
ndef.writeNdefMessage(ndefMessage);
Toast.makeText(this, “写入成功”, Toast.LENGTH_SHORT).show();
} else {
//若标签为格式化按此步骤进行
NdefFormatable format = NdefFormatable.get(tag);//Ndef格式类
//判断是否获得了NdefFormatable对象,有一些标签是只读的或者不允许格式化的
if (format != null) {
//连接
format.connect();
//格式化并将信息写入标签
format.format(ndefMessage);
Toast.makeText(this, “写入成功”,
Toast.LENGTH_SHORT).show();
} else {
Toast.makeText(this, “写入失败”, Toast.LENGTH_SHORT).show();
}
}
} catch (Exception e) {
}
}
}
activity_main.xml布局类 :代码如下:
<?xml version="1.0" encoding="utf-8"?><LinearLayout xmlns:android=“http://schemas.android.com/apk/res/android”
android:layout_width=“match_parent”
android:layout_height=“match_parent”
android:orientation=“vertical”
android:background=“@color/colorBackground”>
<TextView
android:id=“@+id/ifo_NFC”
android:layout_width=“match_parent”
android:layout_height=“wrap_content”
android:text=“该设备支持NFC,请写入数据!” />
<ListView
android:id=“@+id/listview”
android:layout_width=“match_parent”
android:layout_height=“match_parent” />
自我介绍一下,小编13年上海交大毕业,曾经在小公司待过,也去过华为、OPPO等大厂,18年进入阿里一直到现在。
深知大多数初中级Android工程师,想要提升技能,往往是自己摸索成长或者是报班学习,但对于培训机构动则近万的学费,着实压力不小。自己不成体系的自学效果低效又漫长,而且极易碰到天花板技术停滞不前!
因此收集整理了一份《2024年Android移动开发全套学习资料》,初衷也很简单,就是希望能够帮助到想自学提升又不知道该从何学起的朋友,同时减轻大家的负担。

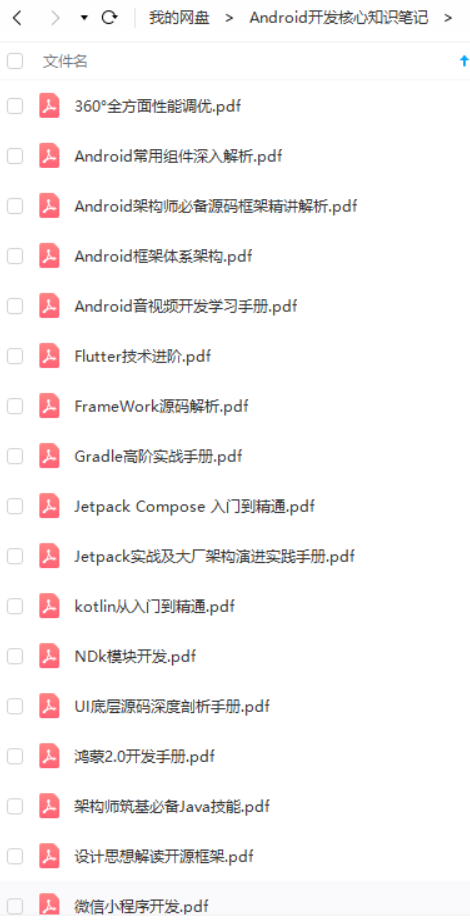
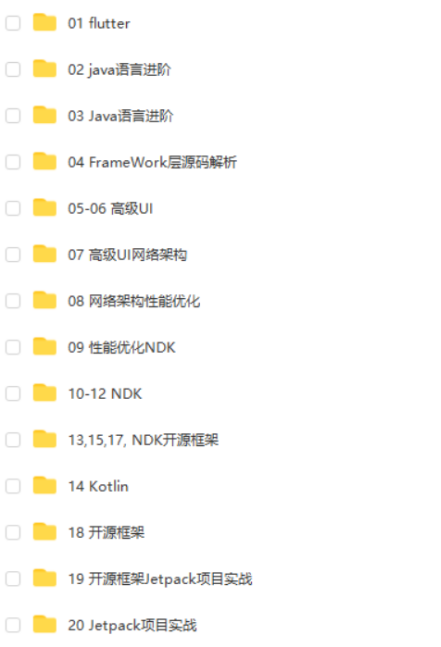
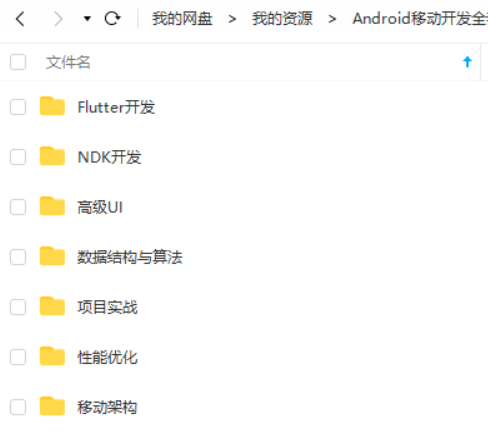
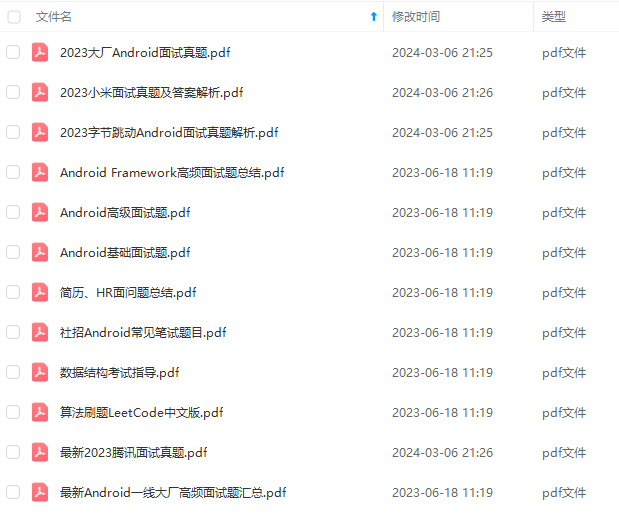
既有适合小白学习的零基础资料,也有适合3年以上经验的小伙伴深入学习提升的进阶课程,基本涵盖了95%以上Android开发知识点,真正体系化!
由于文件比较大,这里只是将部分目录截图出来,每个节点里面都包含大厂面经、学习笔记、源码讲义、实战项目、讲解视频,并且会持续更新!
如果你觉得这些内容对你有帮助,可以扫码获取!!(备注:Android)

尾声
对于很多初中级Android工程师而言,想要提升技能,往往是自己摸索成长,不成体系的学习效果低效漫长且无助。 整理的这些架构技术希望对Android开发的朋友们有所参考以及少走弯路,本文的重点是你有没有收获与成长,其余的都不重要,希望读者们能谨记这一点。
最后想要拿高薪实现技术提升薪水得到质的飞跃。最快捷的方式,就是有人可以带着你一起分析,这样学习起来最为高效,所以为了大家能够顺利进阶中高级、架构师,我特地为大家准备了一套高手学习的源码和框架视频等精品Android架构师教程,保证你学了以后保证薪资上升一个台阶。
- 思维脑图
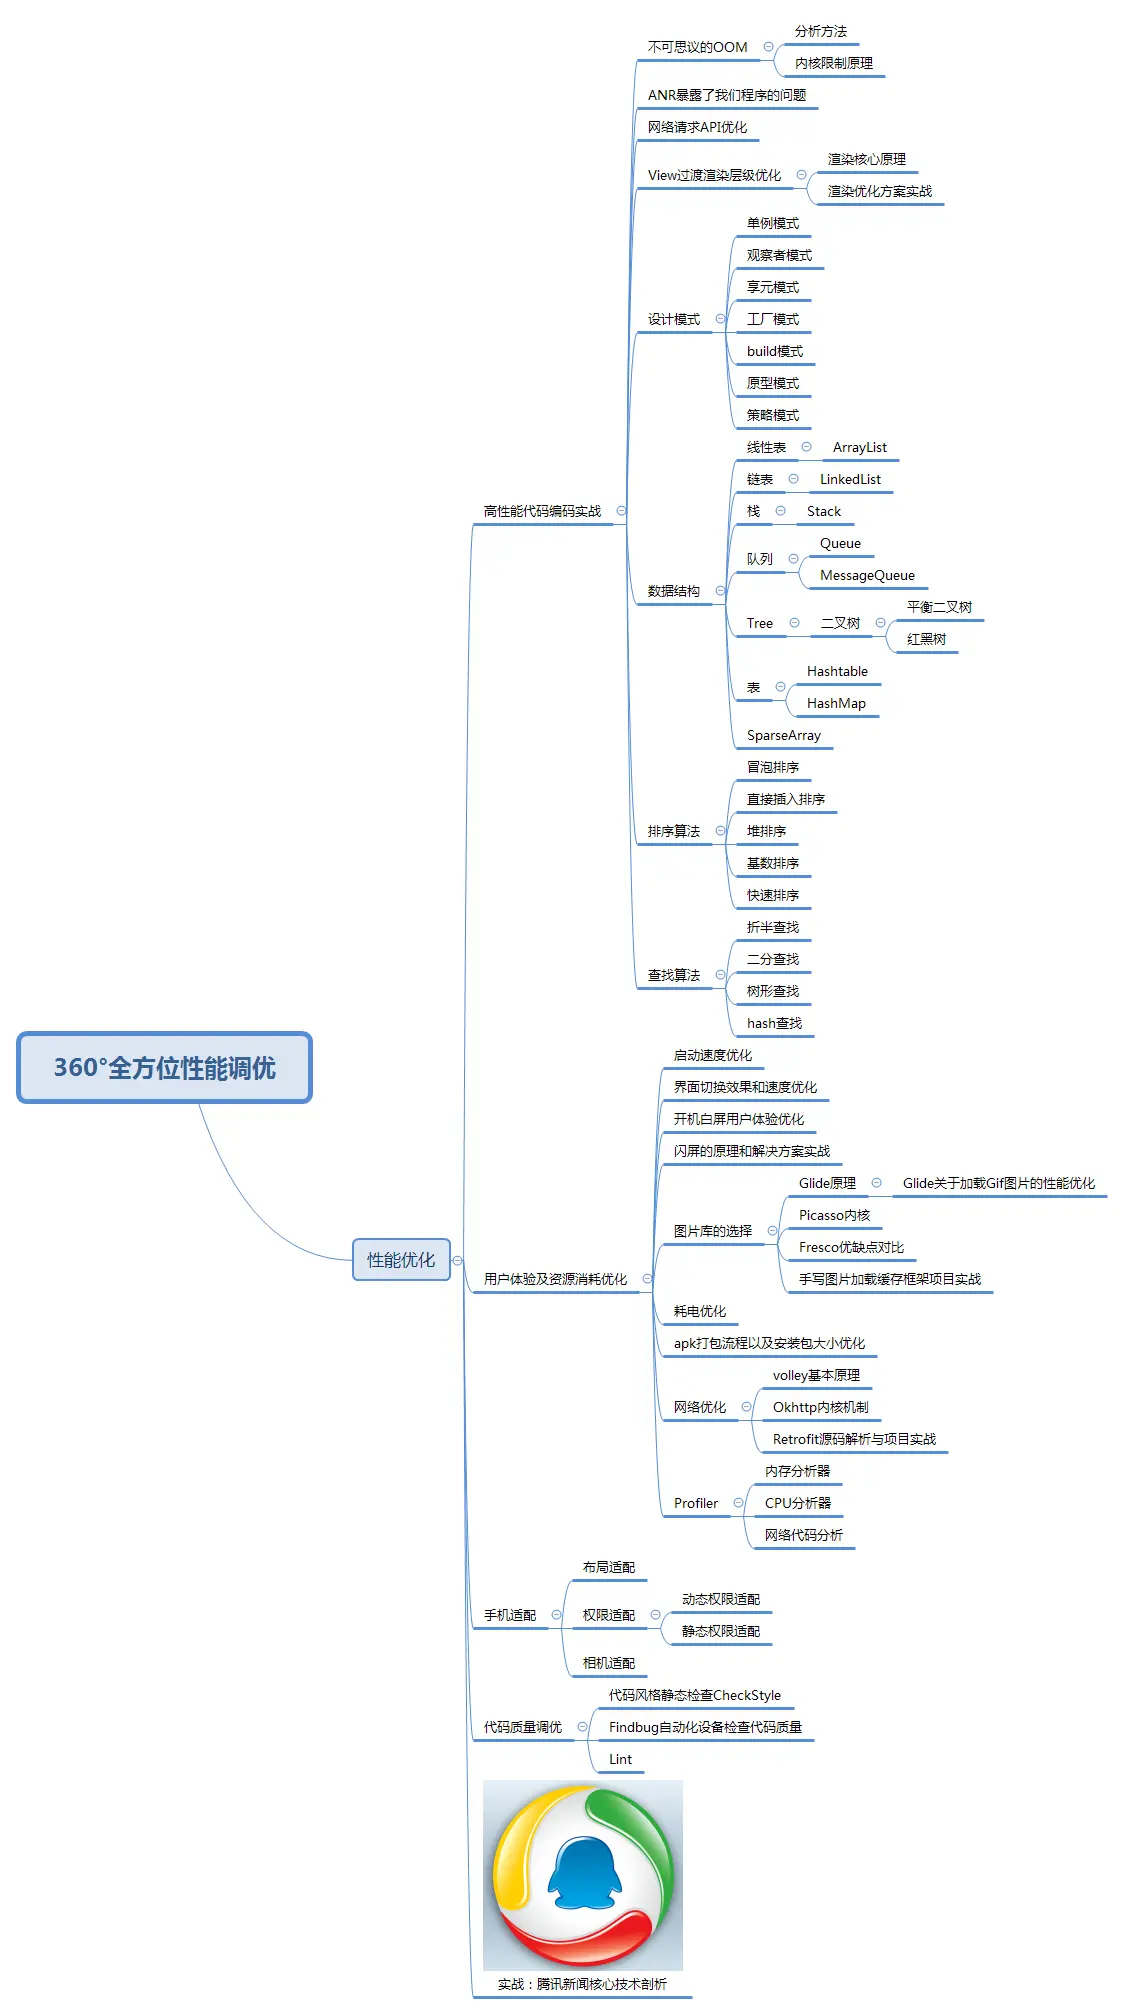
- 性能优化学习笔记
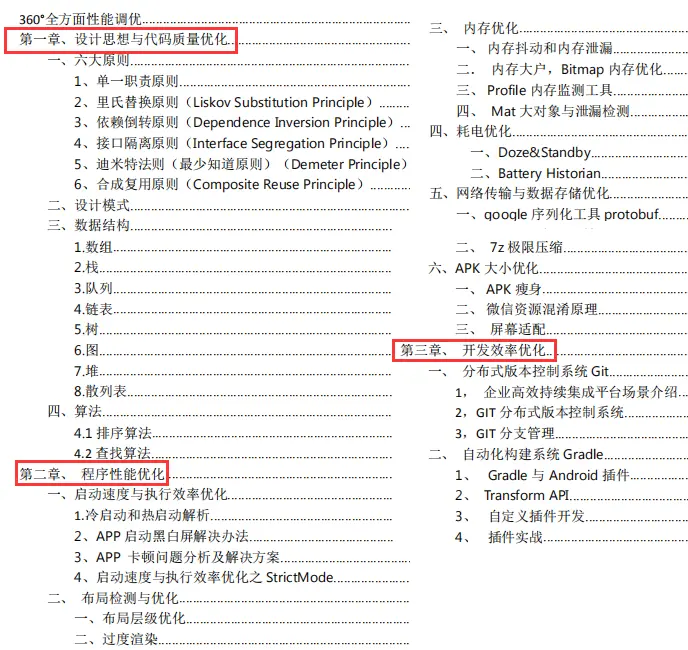
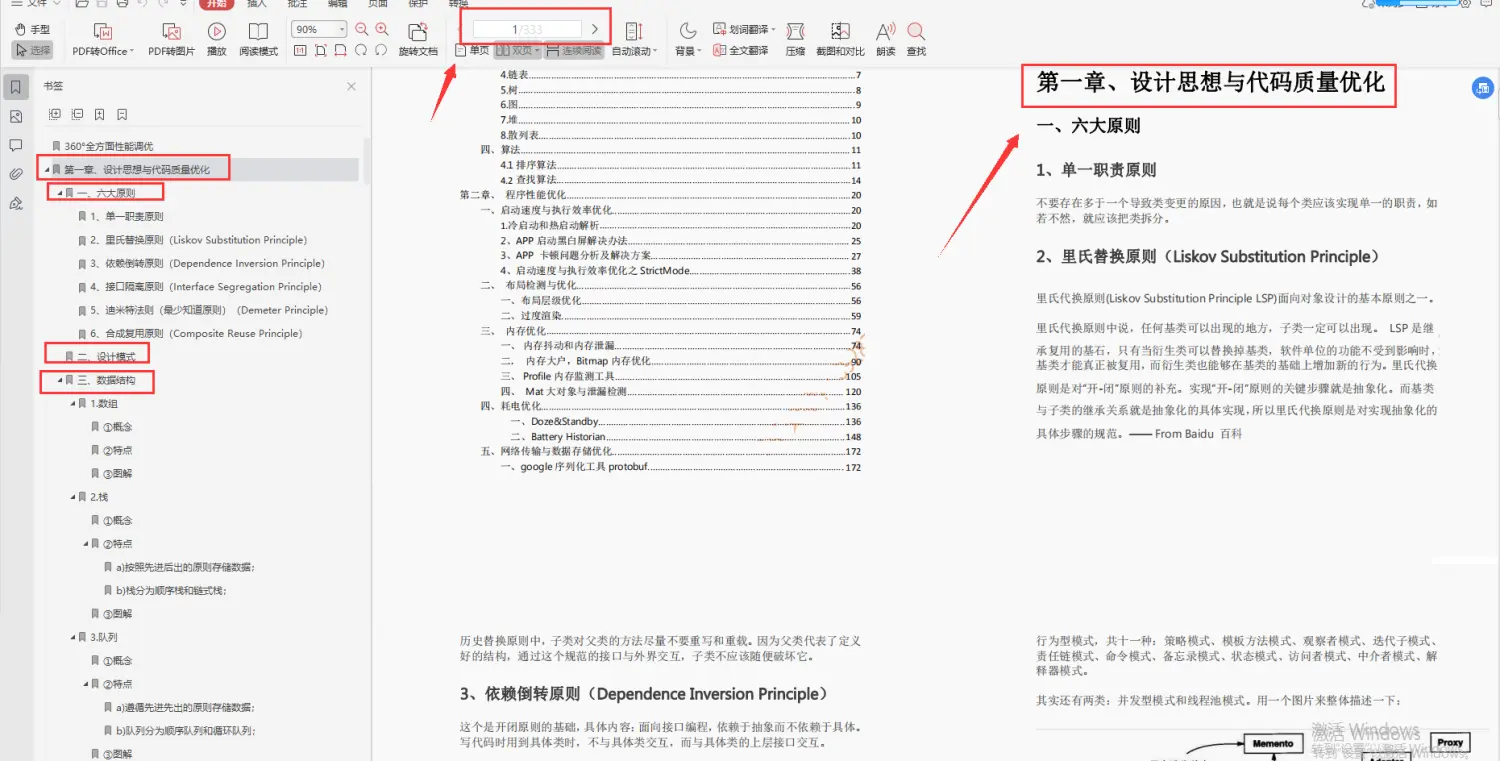
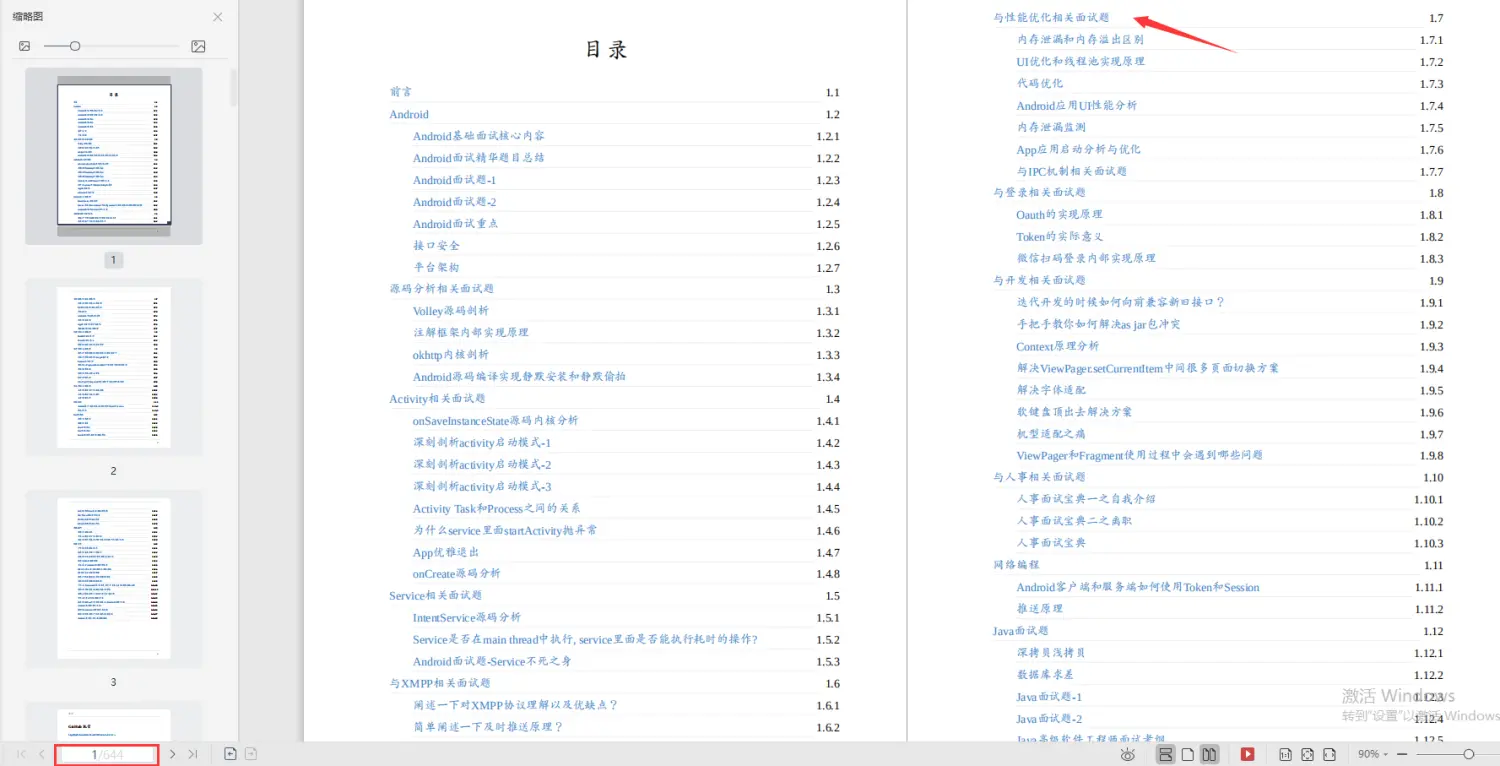

- 性能优化视频
当你有了学习线路,学习哪些内容,也知道以后的路怎么走了,理论看多了总要实践的。
《Android学习笔记总结+移动架构视频+大厂面试真题+项目实战源码》,点击传送门即可获取!
,往往是自己摸索成长,不成体系的学习效果低效漫长且无助。 整理的这些架构技术希望对Android开发的朋友们有所参考以及少走弯路,本文的重点是你有没有收获与成长,其余的都不重要,希望读者们能谨记这一点。
最后想要拿高薪实现技术提升薪水得到质的飞跃。最快捷的方式,就是有人可以带着你一起分析,这样学习起来最为高效,所以为了大家能够顺利进阶中高级、架构师,我特地为大家准备了一套高手学习的源码和框架视频等精品Android架构师教程,保证你学了以后保证薪资上升一个台阶。
- 思维脑图
[外链图片转存中…(img-avlPCiFG-1712467127714)] - 性能优化学习笔记
[外链图片转存中…(img-roLs32pM-1712467127714)]
[外链图片转存中…(img-ulSJZ94G-1712467127714)]
[外链图片转存中…(img-ADRLb96f-1712467127715)]
[外链图片转存中…(img-Ir0Jku11-1712467127715)]
- 性能优化视频
[外链图片转存中…(img-U8cGZRJr-1712467127715)]
当你有了学习线路,学习哪些内容,也知道以后的路怎么走了,理论看多了总要实践的。


 222
222

 被折叠的 条评论
为什么被折叠?
被折叠的 条评论
为什么被折叠?
 到【灌水乐园】发言


