import matplotlib.pylab as plt
from scipy.ndimage import affine_transform, zoom
from scipy import misc
### 1.4.1 使用PIL读取、保存和显示图像


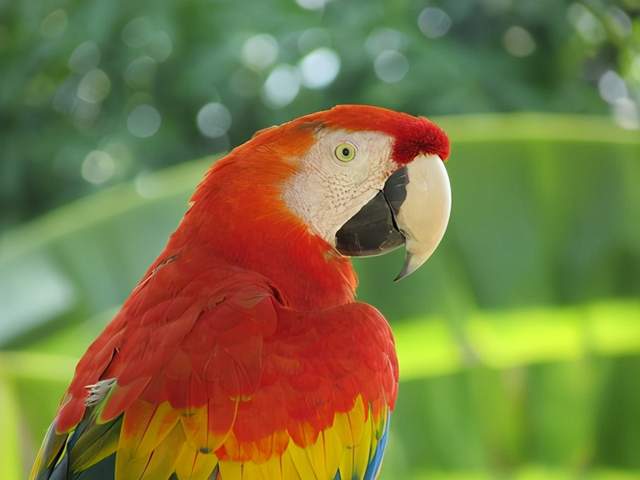
PIL的open() 函数用于从Image对象的磁盘读取图像,如下面的代码所示。图像作为PIL.PngImagePlugin.PngImageFile类的对象加载,读者可以用宽度、高度和模式等属性来查找图像的大小[宽度×高度(像素)或分辨率]和模式。
im = Image.open(“…/images/parrot.png”) # read the image, provide the correct path
print(im.width, im.height, im.mode, im.format, type(im))
453 340 RGB PNG <class ‘PIL.PngImagePlugin.PngImageFile’>
im.show() # display the image
运行上述代码,输出结果如图1-5所示,从文件中读取图像,然后再将图像显示在屏幕上。

图1-5 读取的鹦鹉图像
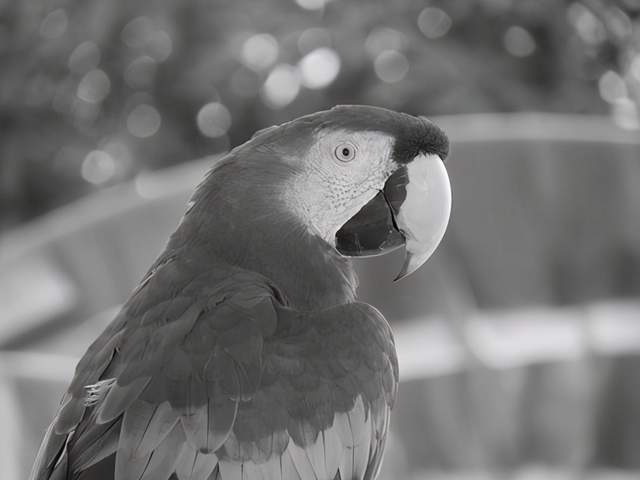
用PIL函数convert()将彩色RGB图像转换为灰度图像,代码如下:
im_g = im.convert(‘L’) # convert the RGB color image to a grayscale image
im_g.save(‘…/images/parrot_gray.png’) # save the image to disk
Image.open(“…/images/parrot_gray.png”).show() # read the grayscale image from disk and show
运行上述代码,结果如图1-6所示,输出的是鹦鹉的灰度图像。

图1-6 输出鹦鹉的灰度图像
### 提供磁盘上图像的正确路径
建议创建一个文件夹(子目录)来存储要处理的图像(例如,对于Python代码示例,建议读者使用名为images的文件夹来存储图像),然后提供文件夹的路径以访问图像,以免出现“找不到文件”的异常。
### 1.4.2 使用matplotlib读取、保存和显示图像
接下来演示如何使用matplotlib.image中的imread()函数来读取浮点numpy ndarray中的图像,其中,像素值表示为介于0和1之间的真值。代码如下:
im = mpimg.imread(“…/images/hill.png”) # read the image from disk as a
numpy ndarray
print(im.shape, im.dtype, type(im)) # this image contains anα
channel, hence num_channels= 4
(960, 1280, 4) float32 <class ‘numpy.ndarray’>
plt.figure(figsize=


 本文详细介绍了如何使用Python的PIL、matplotlib、scikit-image和SciPy库进行图像读取、转换、保存和显示,包括不同库的操作方法和示例。涵盖了从基本的图像操作到高级插值技术的应用。
 最低0.47元/天 解锁文章


 1万+
1万+

 被折叠的 条评论
为什么被折叠?


