


先自我介绍一下,小编浙江大学毕业,去过华为、字节跳动等大厂,目前阿里P7
深知大多数程序员,想要提升技能,往往是自己摸索成长,但自己不成体系的自学效果低效又漫长,而且极易碰到天花板技术停滞不前!
因此收集整理了一份《2024年最新大数据全套学习资料》,初衷也很简单,就是希望能够帮助到想自学提升又不知道该从何学起的朋友。


既有适合小白学习的零基础资料,也有适合3年以上经验的小伙伴深入学习提升的进阶课程,涵盖了95%以上大数据知识点,真正体系化!
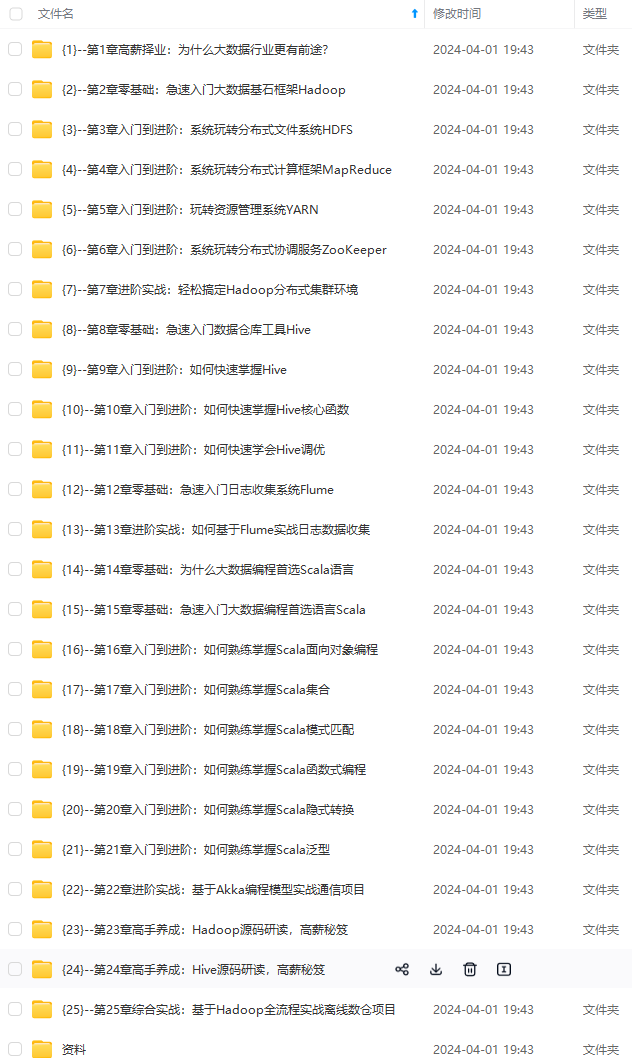
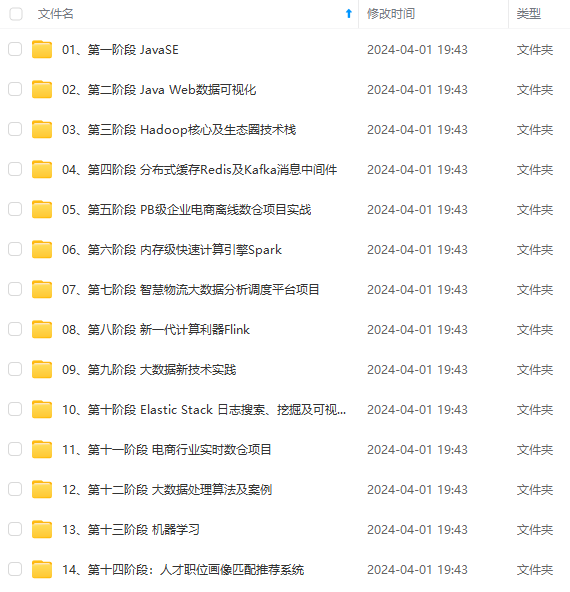
由于文件比较多,这里只是将部分目录截图出来,全套包含大厂面经、学习笔记、源码讲义、实战项目、大纲路线、讲解视频,并且后续会持续更新
如果你需要这些资料,可以添加V获取:vip204888 (备注大数据)

正文

(3)赋予用户相应权限
mysql>    GRANT    ALL    PRIVILEGES    ON    dolphinscheduler.*    TO
'dolphinscheduler'@'%';  mysql> flush privileges;
具体命令如下:
CREATE DATABASE dolphinscheduler DEFAULT CHARACTER SET utf8
DEFAULT COLLATE utf8_general_ci;

CREATE USER 'dolphinscheduler'@'%' IDENTIFIED BY
'Mr^HYe]9cR]D';

GRANT ALL PRIVILEGES ON dolphinscheduler.* TO
'dolphinscheduler'@'%';


FLUSH PRIVILEGES;
3.5 配置一键部署脚本
修改解压目录下的 conf/config 目录下的 install_config.conf 文件。
vim conf/config/install_config.conf

#
# Licensed to the Apache Software Foundation (ASF) under one or more
# contributor license agreements.  See the NOTICE file distributed with
# this work for additional information regarding copyright ownership.
# The ASF licenses this file to You under the Apache License, Version 2.0
# (the "License"); you may not use this file except in compliance with
# the License.  You may obtain a copy of the License at
#
#     http://www.apache.org/licenses/LICENSE-2.0
#
# Unless required by applicable law or agreed to in writing, software
# distributed under the License is distributed on an "AS IS" BASIS,
# WITHOUT WARRANTIES OR CONDITIONS OF ANY KIND, either express or implied.
# See the License for the specific language governing permissions and
# limitations under the License.
#

# ---------------------------------------------------------
# INSTALL MACHINE
# ---------------------------------------------------------
# A comma separated list of machine hostname or IP would be installed DolphinScheduler,
# including master, worker, api, alert. If you want to deploy in pseudo-distributed
# mode, just write a pseudo-distributed hostname
# Example for hostnames: ips="ds1,ds2,ds3,ds4,ds5", Example for IPs: ips="192.168.8.1,192.168.8.2,192.168.8.3,192.168.8.4,192.168.8.5"
ips="node1"

# Port of SSH protocol, default value is 22. For now we only support same port in all `ips` machine
# modify it if you use different ssh port
sshPort="22"

# A comma separated list of machine hostname or IP would be installed Master server, it
# must be a subset of configuration `ips`.
# Example for hostnames: masters="ds1,ds2", Example for IPs: masters="192.168.8.1,192.168.8.2"
masters="node1"

# A comma separated list of machine <hostname>:<workerGroup> or <IP>:<workerGroup>.All hostname or IP must be a
# subset of configuration `ips`, And workerGroup have default value as `default`, but we recommend you declare behind the hosts
# Example for hostnames: workers="ds1:default,ds2:default,ds3:default", Example for IPs: workers="192.168.8.1:default,192.168.8.2:default,192.168.8.3:default"
workers="node1:default"

# A comma separated list of machine hostname or IP would be installed Alert server, it
# must be a subset of configuration `ips`.
# Example for hostname: alertServer="ds3", Example for IP: alertServer="192.168.8.3"
alertServer="node1"

# A comma separated list of machine hostname or IP would be installed API server, it
# must be a subset of configuration `ips`.
# Example for hostname: apiServers="ds1", Example for IP: apiServers="192.168.8.1"
apiServers="node1"

# A comma separated list of machine hostname or IP would be installed Python gateway server, it
# must be a subset of configuration `ips`.
# Example for hostname: pythonGatewayServers="ds1", Example for IP: pythonGatewayServers="192.168.8.1"
#pythonGatewayServers="ds1"

# The directory to install DolphinScheduler for all machine we config above. It will automatically be created by `install.sh` script if not exists.
# Do not set this configuration same as the current path (pwd)
installPath="/opt/module/dolphinscheduler"

# The user to deploy DolphinScheduler for all machine we config above. For now user must create by yourself before running `install.sh`
# script. The user needs to have sudo privileges and permissions to operate hdfs. If hdfs is enabled than the root directory needs
# to be created by this user
deployUser="root"

# The directory to store local data for all machine we config above. Make sure user `deployUser` have permissions to read and write this directory.
dataBasedirPath="/tmp/dolphinscheduler"

# ---------------------------------------------------------
# DolphinScheduler ENV
# ---------------------------------------------------------
# JAVA_HOME, we recommend use same JAVA_HOME in all machine you going to install DolphinScheduler
# and this configuration only support one parameter so far.
javaHome="/export/server/jdk1.8.0_241/"

# DolphinScheduler API service port, also this is your DolphinScheduler UI component's URL port, default value is 12345
apiServerPort="12345"

# ---------------------------------------------------------
# Database
# NOTICE: If database value has special characters, such as `.*[]^${}\+?|()@#&`, Please add prefix `\` for escaping.
# ---------------------------------------------------------
# The type for the metadata database
# Supported values: ``postgresql``, ``mysql`, `h2``.
DATABASE_TYPE="mysql"
# 数据库类型
# Spring datasource url, following <HOST>:<PORT>/<database>?<parameter> format, If you using mysql, you could use jdbc
# string jdbc:mysql://127.0.0.1:3306/dolphinscheduler?useUnicode=true&characterEncoding=UTF-8 as example
SPRING_DATASOURCE_URL="jdbc:mysql://node1:3306/dolphinscheduler?useUnicode=true&characterEncoding=UTF-8"

# Spring datasource username
SPRING_DATASOURCE_USERNAME="dolphinscheduler"
# 数据库用户名
# Spring datasource password
#SPRING_DATASOURCE_PASSWORD=${SPRING_DATASOURCE_PASSWORD:-""}
SPRING_DATASOURCE_PASSWORD="Mr^HYe]9cR]D"
# 数据库密码
# ---------------------------------------------------------
# Registry Server
# ---------------------------------------------------------
# Registry Server plugin name, should be a substring of `registryPluginDir`, DolphinScheduler use this for verifying configuration consistency
registryPluginName="zookeeper"
# 注册中心地址,即 Zookeeper 集群的地址
# Registry Server address.
registryServers="192.168.88.100:2181"

# Registry Namespace
registryNamespace="dolphinscheduler"
# DS 在 Zookeeper 的结点名称
# ---------------------------------------------------------
# Worker Task Server
# ---------------------------------------------------------
# Worker Task Server plugin dir. DolphinScheduler will find and load the worker task plugin jar package from this dir.
taskPluginDir="lib/plugin/task"

# resource storage type: HDFS, S3, NONE
resourceStorageType="HDFS"
# 资源存储类型
# resource store on HDFS/S3 path, resource file will store to this hdfs path, self configuration, please make sure the directory exists on hdfs and has read write permissions. "/dolphinscheduler" is recommended
resourceUploadPath="/dolphinscheduler"

# if resourceStorageType is HDFS,defaultFS write namenode address,HA, you need to put core-site.xml and hdfs-site.xml in the conf directory.
# if S3,write S3 address,HA,for example :s3a://dolphinscheduler,
# Note,S3 be sure to create the root directory /dolphinscheduler
defaultFS="hdfs://node1:8020"
# 默认文件系统
# if resourceStorageType is S3, the following three configuration is required, otherwise please ignore
s3Endpoint="http://192.168.xx.xx:9010"
s3AccessKey="xxxxxxxxxx"
s3SecretKey="xxxxxxxxxx"

# resourcemanager port, the default value is 8088 if not specified
resourceManagerHttpAddressPort="8088"
# yarn RM http 访问端口
# if resourcemanager HA is enabled, please set the HA IPs; if resourcemanager is single node, keep this value empty
yarnHaIps=
# Yarn RM 高可用 ip,若未启用 RM 高可用,则将该值置空
# if resourcemanager HA is enabled or not use resourcemanager, please keep the default value; If resourcemanager is single node, you only need to replace 'yarnIp1' to actual resourcemanager hostname
singleYarnIp="node1"

# who has permission to create directory under HDFS/S3 root path
# Note: if kerberos is enabled, please config hdfsRootUser=
hdfsRootUser="ds"

# kerberos config
# whether kerberos starts, if kerberos starts, following four items need to config, otherwise please ignore
kerberosStartUp="false"
# kdc krb5 config file path
krb5ConfPath="$installPath/conf/krb5.conf"
# keytab username,watch out the @ sign should followd by \\
keytabUserName="hdfs-mycluster\\@ESZ.COM"
# username keytab path
keytabPath="$installPath/conf/hdfs.headless.keytab"
# kerberos expire time, the unit is hour
kerberosExpireTime="2"

# use sudo or not
sudoEnable="true"

# worker tenant auto create
workerTenantAutoCreate="false"
3.6 初始化数据库
(1)拷贝 MySQL 驱动到 DolphinScheduler 的解压目录下的 lib 中,要求使用 MySQL JDBC Driver 8.0.16。
cp /opt/software/mysql-connector-java-8.0.16.jar lib/

(2)执行数据库初始化脚本
数据库初始化脚本位 于 DolphinScheduler 解 压 目 录 下 的 script 目 录 中 , 即 /opt/software/ds/apache-dolphinscheduler-2.0.5-bin/script/。
[atguigu@node1 apache-dolphinscheduler-2.0.5-bin]$ script/create- dolphinscheduler.sh
3.7 一键部署 DolphinScheduler
(1)启动 Zookeeper 集群
[atguigu@node1 apache-dolphinscheduler-2.0.5-bin]$ zk.sh start
(2)一键部署并启动 DolphinScheduler
[atguigu@node1 apache-dolphinscheduler-2.0.5-bin]$ ./install.sh
(3)查看 DolphinScheduler 进程

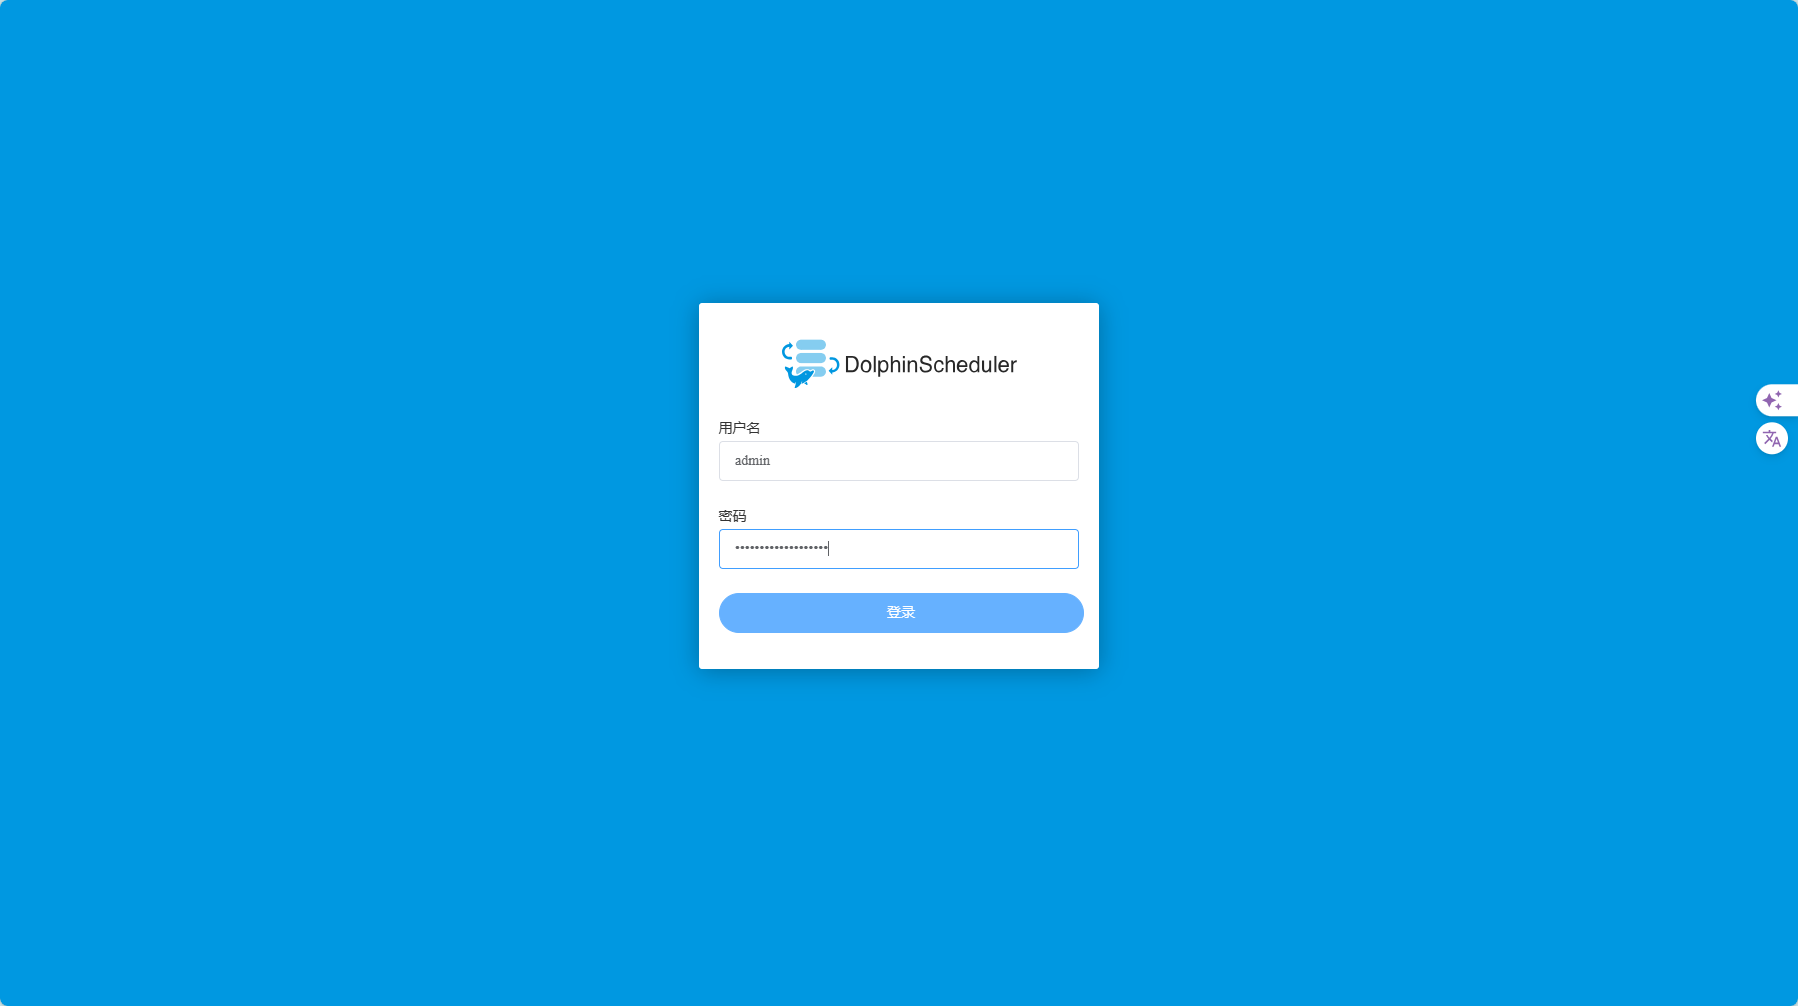
(4)访问 DolphinScheduler UI
DolphinScheduler UI 地址为http://node1:12345/dolphinscheduler
初始用户的用户名为:admin,密码为 dolphinscheduler123
3.8 DolphinScheduler 启停命令
DolphinScheduler 的启停脚本均位于其安装目录的bin 目录下。
1)一键启停所有服务

注意同Hadoop 的启停脚本进行区分。
2)启停 Master

3)启停 Worker

4)启停 Api

网上学习资料一大堆,但如果学到的知识不成体系,遇到问题时只是浅尝辄止,不再深入研究,那么很难做到真正的技术提升。
需要这份系统化的资料的朋友,可以添加V获取:vip204888 (备注大数据)

一个人可以走的很快,但一群人才能走的更远!不论你是正从事IT行业的老鸟或是对IT行业感兴趣的新人,都欢迎加入我们的的圈子(技术交流、学习资源、职场吐槽、大厂内推、面试辅导),让我们一起学习成长!
.csdnimg.cn/img_convert/83edafd05faf9e192593d13930545cdd.png)
网上学习资料一大堆,但如果学到的知识不成体系,遇到问题时只是浅尝辄止,不再深入研究,那么很难做到真正的技术提升。
需要这份系统化的资料的朋友,可以添加V获取:vip204888 (备注大数据)
[外链图片转存中…(img-rIBZ9rCy-1713701486197)]
一个人可以走的很快,但一群人才能走的更远!不论你是正从事IT行业的老鸟或是对IT行业感兴趣的新人,都欢迎加入我们的的圈子(技术交流、学习资源、职场吐槽、大厂内推、面试辅导),让我们一起学习成长!


 2612
2612


 被折叠的 条评论
为什么被折叠?
被折叠的 条评论
为什么被折叠?
 到【灌水乐园】发言


