


先自我介绍一下,小编浙江大学毕业,去过华为、字节跳动等大厂,目前阿里P7
深知大多数程序员,想要提升技能,往往是自己摸索成长,但自己不成体系的自学效果低效又漫长,而且极易碰到天花板技术停滞不前!
因此收集整理了一份《2024年最新软件测试全套学习资料》,初衷也很简单,就是希望能够帮助到想自学提升又不知道该从何学起的朋友。
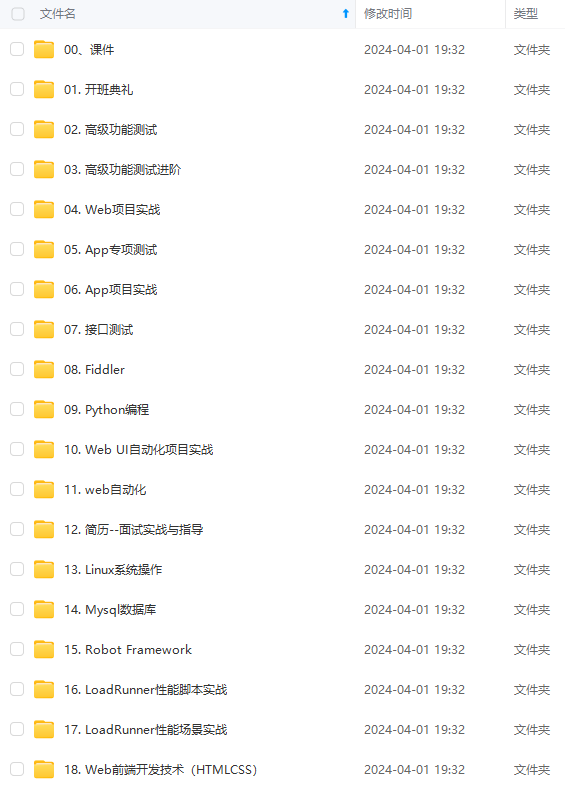
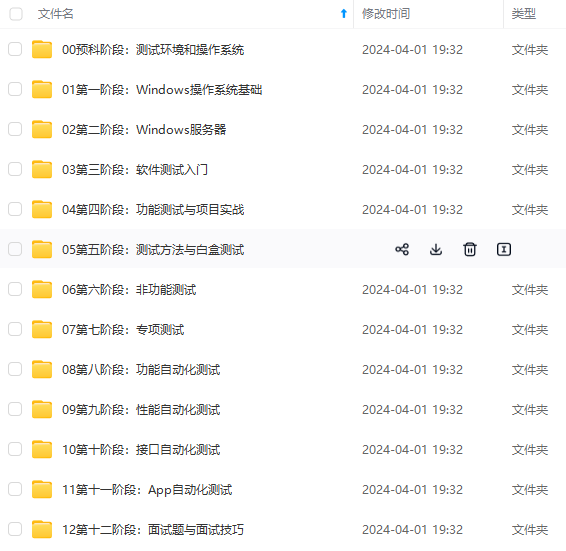
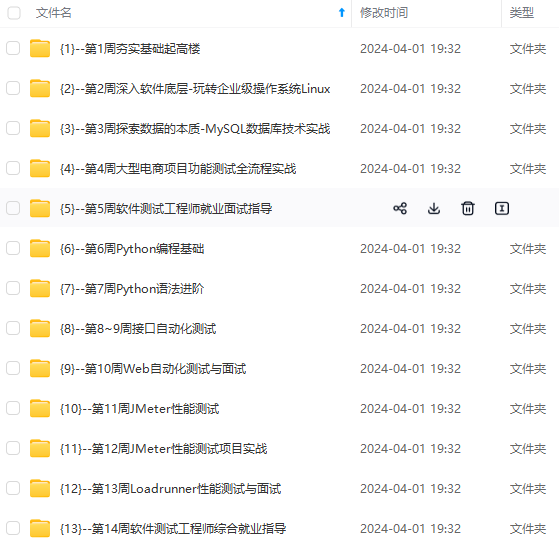
既有适合小白学习的零基础资料,也有适合3年以上经验的小伙伴深入学习提升的进阶课程,涵盖了95%以上软件测试知识点,真正体系化!
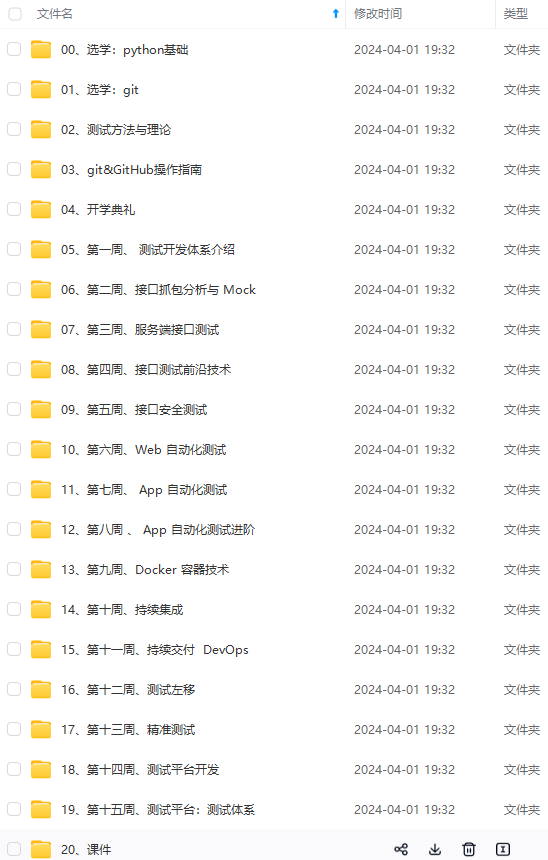
由于文件比较多,这里只是将部分目录截图出来,全套包含大厂面经、学习笔记、源码讲义、实战项目、大纲路线、讲解视频,并且后续会持续更新
如果你需要这些资料,可以添加V获取:vip1024b (备注软件测试)

正文
import pytest
配置app的各种连接信息
@pytest.fixture(scope=‘session’)
def android_setting():
des = {
‘automationName’: ‘appium’,
‘platformName’: ‘Android’,
‘platformVersion’: ‘6.0.1’, # 填写android虚拟机/真机的系统版本号
‘deviceName’: ‘MuMu’, # 填写安卓虚拟机/真机的设备名称
‘appPackage’: ‘com.sky.jisuanji’, # 填写被测app包名
‘appActivity’: ‘.JisuanjizixieActivity’, # 填写被测app的入口
‘udid’: ‘127.0.0.1:7555’, # 填写通过命令行 adb devices 查看到的udid
‘noReset’: True, # 是否重置APP
‘noSign’: True, # 是否不签名
‘unicodeKeyboard’: True, # 是否支持中文输入
‘resetKeyboard’: True, # 是否支持重置键盘
‘newCommandTimeout’: 30 # 30秒没发送新命令就断开连接
}
return des
再配置用例层的conftest.py文件
import time
import pytest
from appium import webdriver
driver = None
启动安卓系统中的计算器app
@pytest.fixture()
def start_app(android_setting):
global driver
driver = webdriver.Remote(‘http://127.0.0.1:4723/wd/hub’,android_setting)
return driver
关闭安卓系统中的计算器app
@pytest.fixture()
def close_app():
yield driver
time.sleep(2)
driver.close_app()
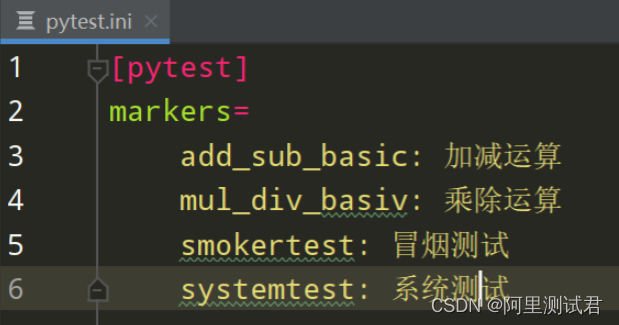
配置pytest.ini文件进行分组设置
4、编写run_all_cases.py测试执行入口文件
import os
import pytest
当前路径(使用 abspath 方法可通过dos窗口执行)
current_path = os.path.dirname(os.path.abspath(file))
json报告路径
json_report_path = os.path.join(current_path,‘report/json’)
html报告路径
html_report_path = os.path.join(current_path,‘report/html’)
执行pytest下的用例并生成json文件
pytest.main([‘-s’,‘-v’,‘–alluredir=%s’%json_report_path,‘–clean-alluredir’])
把json文件转成html报告
os.system(‘allure generate %s -o %s --clean’%(json_report_path,html_report_path))
5、编写测试用例
在testcases层下有两个业务子模块 test_add_sub_module 和 test_mul_div_module;
test_add_sub_module模块下test_add.py文件
代码如下:
import allure
from appium.webdriver.webdriver import By
@allure.epic(‘安卓计算机项目’)
@allure.feature(‘V1.0版本’)
class TestAddSub():
@allure.story(‘加法运算’)
@allure.title(‘[case01] 验证计算机能否正常完成加法功能’)
@pytest.mark.add_basic
def test_cases01(self,start_app,close_app):
with allure.step(‘1、启动安卓系统中的计算机app’):
driver = start_app
with allure.step(‘2、依次按下9、+、8、=’):
driver.find_element(By.XPATH,‘//android.widget.Button[@resource-id=“com.sky.jisuanji:id/btn9”]’).click()
driver.find_element(By.XPATH, ‘//android.widget.Button[@resource-id=“com.sky.jisuanji:id/jia”]’).click()
driver.find_element(By.XPATH, ‘//android.widget.Button[@resource-id=“com.sky.jisuanji:id/btn8”]’).click()
driver.find_element(By.XPATH, ‘//android.widget.Button[@resource-id=“com.sky.jisuanji:id/denyu”]’).click()
actual_result = driver.find_element(By.XPATH, ‘//android.widget.EditText[@resource-id=“com.sky.jisuanji:id/text”]’).text
with allure.step(‘3、验证实际结果是否正确’):
断言 实际结果 == 17.0
assert actual_result == ‘17.0’
test_add_sub_module模块下test_sub.py文件
代码如下:
import allure
from appium.webdriver.webdriver import By
@allure.epic(‘安卓计算机项目’)
@allure.feature(‘V1.0版本’)
class TestAddSub():
@allure.story(‘减法运算’)
@allure.title(‘[case01] 验证计算机能否正常完成减法功能’)
def test_cases01(self,start_app,close_app):
with allure.step(‘1、启动安卓系统中的计算机app’):
driver = start_app
with allure.step(‘2、依次按下6、-、2、=’):
driver.find_element(By.XPATH,‘//android.widget.Button[@resource-id=“com.sky.jisuanji:id/btn6”]’).click()
driver.find_element(By.XPATH, ‘//android.widget.Button[@resource-id=“com.sky.jisuanji:id/jian”]’).click()
driver.find_element(By.XPATH, ‘//android.widget.Button[@resource-id=“com.sky.jisuanji:id/btn2”]’).click()
driver.find_element(By.XPATH, ‘//android.widget.Button[@resource-id=“com.sky.jisuanji:id/denyu”]’).click()
actual_result = driver.find_element(By.XPATH, ‘//android.widget.EditText[@resource-id=“com.sky.jisuanji:id/text”]’).text
with allure.step(‘3、验证实际结果是否正确’):
断言 实际结果 == 4.0
assert actual_result == ‘4.0’
test_mul_div_module模块下test_mul.py文件
代码如下:
import allure
from appium.webdriver.webdriver import By
@allure.epic(‘安卓计算机项目’)
@allure.feature(‘V1.0版本’)
class TestAddSub():
@allure.story(‘乘法运算’)
@allure.title(‘[case01] 验证计算机能否正常完成乘法功能’)
def test_cases01(self,start_app,close_app):
with allure.step(‘1、启动安卓系统中的计算机app’):
driver = start_app
with allure.step(‘2、依次按下3、*、4、=’):
driver.find_element(By.XPATH,‘//android.widget.Button[@resource-id=“com.sky.jisuanji:id/btn3”]’).click()
driver.find_element(By.XPATH, ‘//android.widget.Button[@resource-id=“com.sky.jisuanji:id/chen”]’).click()
driver.find_element(By.XPATH, ‘//android.widget.Button[@resource-id=“com.sky.jisuanji:id/btn4”]’).click()
driver.find_element(By.XPATH, ‘//android.widget.Button[@resource-id=“com.sky.jisuanji:id/denyu”]’).click()
actual_result = driver.find_element(By.XPATH, ‘//android.widget.EditText[@resource-id=“com.sky.jisuanji:id/text”]’).text
with allure.step(‘3、验证实际结果是否正确’):
断言 实际结果 == 12.0
assert actual_result == ‘12.0’
test_mul_div_module模块下test_div.py文件
代码如下:
import allure
from appium.webdriver.webdriver import By
@allure.epic(‘安卓计算机项目’)
@allure.feature(‘V1.0版本’)
class TestAddSub():
@allure.story(‘除法运算’)
@allure.title(‘[case01] 验证计算机能否正常完成除法功能’)
def test_cases01(self,start_app,close_app):
with allure.step(‘1、启动安卓系统中的计算机app’):
driver = start_app
with allure.step(‘2、依次按下8、*、4、=’):
driver.find_element(By.XPATH,‘//android.widget.Button[@resource-id=“com.sky.jisuanji:id/btn8”]’).click()
driver.find_element(By.XPATH, ‘//android.widget.Button[@resource-id=“com.sky.jisuanji:id/chu”]’).click()
driver.find_element(By.XPATH, ‘//android.widget.Button[@resource-id=“com.sky.jisuanji:id/btn4”]’).click()
driver.find_element(By.XPATH, ‘//android.widget.Button[@resource-id=“com.sky.jisuanji:id/denyu”]’).click()
actual_result = driver.find_element(By.XPATH, ‘//android.widget.EditText[@resource-id=“com.sky.jisuanji:id/text”]’).text
with allure.step(‘3、验证实际结果是否正确’):
断言 实际结果 == 2.0
assert actual_result == ‘2.0’
6、运行结果生成测试报告

| 下面是我整理的2023年最全的软件测试工程师学习知识架构体系图 |
网上学习资料一大堆,但如果学到的知识不成体系,遇到问题时只是浅尝辄止,不再深入研究,那么很难做到真正的技术提升。
需要这份系统化的资料的朋友,可以添加V获取:vip1024b (备注软件测试)

一个人可以走的很快,但一群人才能走的更远!不论你是正从事IT行业的老鸟或是对IT行业感兴趣的新人,都欢迎加入我们的的圈子(技术交流、学习资源、职场吐槽、大厂内推、面试辅导),让我们一起学习成长!
到的知识不成体系,遇到问题时只是浅尝辄止,不再深入研究,那么很难做到真正的技术提升。**
需要这份系统化的资料的朋友,可以添加V获取:vip1024b (备注软件测试)
[外链图片转存中…(img-DWa096Bh-1713116755206)]
一个人可以走的很快,但一群人才能走的更远!不论你是正从事IT行业的老鸟或是对IT行业感兴趣的新人,都欢迎加入我们的的圈子(技术交流、学习资源、职场吐槽、大厂内推、面试辅导),让我们一起学习成长!


 674
674

 被折叠的 条评论
为什么被折叠?
被折叠的 条评论
为什么被折叠?
 到【灌水乐园】发言


