


简单回顾下 CycleGAN 的原理,其模型的精髓主要是利用循环一致性损失,训练两个生成器—鉴别器对,从而实现了用不成对数据进行图像到图像的翻译。
数据预处理
数据预处理环节,首先将图片进行规范化至 [0, 1] 范围内,并且将图片缩放为模型可接受的尺寸。
normalizing the images to [-1, 1]
def normalize(image):
image = tf.cast(image, tf.float32)
image = (image / 127.5) - 1
return image
def preprocess(image, label):
image = tf.image.resize(image, [IMG_WIDTH, IMG_HEIGHT])
image = normalize(image)
return image
train_vangogh = train_vangogh.map(preprocess, num_parallel_calls=AUTOTUNE).shuffle(BUFFER_SIZE).batch(BATCH_SIZE, drop_remainder=True).repeat()
train_photo = train_photo.map(preprocess, num_parallel_calls=AUTOTUNE).shuffle(BUFFER_SIZE).batch(BATCH_SIZE, drop_remainder=True).repeat()
test_vangogh = test_vangogh.map(preprocess, num_parallel_calls=AUTOTUNE).shuffle(BUFFER_SIZE).batch(BATCH_SIZE, drop_remainder=True).repeat()
test_photo = test_photo.map(preprocess, num_parallel_calls=AUTOTUNE).shuffle(BUFFER_SIZE).batch(BATCH_SIZE, drop_remainder=True).repeat()
模型构建
由于在 CycleGAN 中使用了使用了实例规范化,而 Tensorflow 并未提供实例规范化,因此可以自定义实现此层:
class InstanceNormalization(tf.keras.layers.Layer):
def init(self, epsilon=1e-5):
super(InstanceNormalization, self).init()
self.epsilon = epsilon
def build(self, input_shape):
self.scale = self.add_weight(
name=‘scale’,
shape=input_shape[-1:],
initializer=tf.random_normal_initializer(1., 0.02),
trainable=True)
self.offset = self.add_weight(
name=‘offset’,
shape=input_shape[-1:],
initializer=‘zeros’,
trainable=True)
def call(self, x):
mean, variance = tf.nn.moments(x, axes=[1, 2], keepdims=True)
inv = tf.math.rsqrt(variance + self.epsilon)
normalized = (x - mean) * inv
return self.scale * normalized + self.offset
构建自定义上采样和下采样块,用于简化CycleGAN模型的构建:
def downsample(filters, size, norm_type=‘batchnorm’, apply_norm=True):
“”"Downsamples an input.
Conv2D => Batchnorm => LeakyRelu
Args:
filters: number of filters
size: filter size
norm_type: Normalization type; either ‘batchnorm’ or ‘instancenorm’.
apply_norm: If True, adds the batchnorm layer
Returns:
Downsample Sequential Model
“”"
initializer = tf.random_normal_initializer(0., 0.02)
result = tf.keras.Sequential()
result.add(
tf.keras.layers.Conv2D(filters, size, strides=2, padding=‘same’,
kernel_initializer=initializer, use_bias=False))
if apply_norm:
if norm_type.lower() == ‘batchnorm’:
result.add(tf.keras.layers.BatchNormalization())
elif norm_type.lower() == ‘instancenorm’:
result.add(InstanceNormalization())
result.add(tf.keras.layers.LeakyReLU())
return result
def upsample(filters, size, norm_type=‘batchnorm’, apply_dropout=False):
“”"Upsamples an input.
Conv2DTranspose => Batchnorm => Dropout => Relu
Args:
filters: number of filters
size: filter size
norm_type: Normalization type; either ‘batchnorm’ or ‘instancenorm’.
apply_dropout: If True, adds the dropout layer
Returns:
Upsample Sequential Model
“”"
initializer = tf.random_normal_initializer(0., 0.02)
result = tf.keras.Sequential()
result.add(
tf.keras.layers.Conv2DTranspose(filters, size, strides=2,
padding=‘same’,
kernel_initializer=initializer,
use_bias=False))
if norm_type.lower() == ‘batchnorm’:
result.add(tf.keras.layers.BatchNormalization())
elif norm_type.lower() == ‘instancenorm’:
result.add(InstanceNormalization())
if apply_dropout:
result.add(tf.keras.layers.Dropout(0.5))
result.add(tf.keras.layers.ReLU())
return result
接下来构建生成器和鉴别器,其中生成器基于 U-Net :
def unet_generator(output_channels, norm_type=‘batchnorm’):
“”"
Args:
output_channels: Output channels
norm_type: Type of normalization. Either ‘batchnorm’ or ‘instancenorm’.
Returns:
Generator model
“”"
down_stack = [
downsample(64, 4, norm_type, apply_norm=False), # (bs, 128, 128, 64)
downsample(128, 4, norm_type), # (bs, 64, 64, 128)
downsample(256, 4, norm_type), # (bs, 32, 32, 256)
downsample(512, 4, norm_type), # (bs, 16, 16, 512)
downsample(512, 4, norm_type), # (bs, 8, 8, 512)
downsample(512, 4, norm_type), # (bs, 4, 4, 512)
downsample(512, 4, norm_type), # (bs, 2, 2, 512)
downsample(512, 4, norm_type), # (bs, 1, 1, 512)
]
up_stack = [
upsample(512, 4, norm_type, apply_dropout=True), # (bs, 2, 2, 1024)
upsample(512, 4, norm_type, apply_dropout=True), # (bs, 4, 4, 1024)
upsample(512, 4, norm_type, apply_dropout=True), # (bs, 8, 8, 1024)
upsample(512, 4, norm_type), # (bs, 16, 16, 1024)
upsample(256, 4, norm_type), # (bs, 32, 32, 512)
upsample(128, 4, norm_type), # (bs, 64, 64, 256)
upsample(64, 4, norm_type), # (bs, 128, 128, 128)
]
initializer = tf.random_normal_initializer(0., 0.02)
last = tf.keras.layers.Conv2DTranspose(
output_channels, 4, strides=2,
padding=‘same’, kernel_initializer=initializer,
activation=‘tanh’) # (bs, 256, 256, 3)
concat = tf.keras.layers.Concatenate()
inputs = tf.keras.layers.Input(shape=[None, None, 3])
x = inputs
Downsampling through the model
skips = []
for down in down_stack:
x = down(x)
skips.append(x)
skips = reversed(skips[:-1])
Upsampling and establishing the skip connections
for up, skip in zip(up_stack, skips):
x = up(x)
x = concat([x, skip])
x = last(x)
return tf.keras.Model(inputs=inputs, outputs=x)
def discriminator(norm_type=‘batchnorm’, target=True):
“”"
Args:
norm_type: Type of normalization. Either ‘batchnorm’ or ‘instancenorm’.
target: Bool, indicating whether target image is an input or not.
Returns:
Discriminator model
“”"
initializer = tf.random_normal_initializer(0., 0.02)
inp = tf.keras.layers.Input(shape=[None, None, 3], name=‘input_image’)
x = inp
if target:
tar = tf.keras.layers.Input(shape=[None, None, 3], name=‘target_image’)
x = tf.keras.layers.concatenate([inp, tar]) # (bs, 256, 256, channels*2)
down1 = downsample(64, 4, norm_type, False)(x) # (bs, 128, 128, 64)
down2 = downsample(128, 4, norm_type)(down1) # (bs, 64, 64, 128)
down3 = downsample(256, 4, norm_type)(down2) # (bs, 32, 32, 256)
zero_pad1 = tf.keras.layers.ZeroPadding2D()(down3) # (bs, 34, 34, 256)
conv = tf.keras.layers.Conv2D(
512, 4, strides=1, kernel_initializer=initializer,
use_bias=False)(zero_pad1) # (bs, 31, 31, 512)
if norm_type.lower() == ‘batchnorm’:
norm1 = tf.keras.layers.BatchNormalization()(conv)
elif norm_type.lower() == ‘instancenorm’:
norm1 = InstanceNormalization()(conv)
leaky_relu = tf.keras.layers.LeakyReLU()(norm1)
zero_pad2 = tf.keras.layers.ZeroPadding2D()(leaky_relu) # (bs, 33, 33, 512)
last = tf.keras.layers.Conv2D(
自我介绍一下,小编13年上海交大毕业,曾经在小公司待过,也去过华为、OPPO等大厂,18年进入阿里一直到现在。
深知大多数Python工程师,想要提升技能,往往是自己摸索成长或者是报班学习,但对于培训机构动则几千的学费,着实压力不小。自己不成体系的自学效果低效又漫长,而且极易碰到天花板技术停滞不前!
因此收集整理了一份《2024年Python开发全套学习资料》,初衷也很简单,就是希望能够帮助到想自学提升又不知道该从何学起的朋友,同时减轻大家的负担。


既有适合小白学习的零基础资料,也有适合3年以上经验的小伙伴深入学习提升的进阶课程,基本涵盖了95%以上Python开发知识点,真正体系化!
由于文件比较大,这里只是将部分目录大纲截图出来,每个节点里面都包含大厂面经、学习笔记、源码讲义、实战项目、讲解视频,并且后续会持续更新
如果你觉得这些内容对你有帮助,可以添加V获取:vip1024c (备注Python)

最后
Python崛起并且风靡,因为优点多、应用领域广、被大牛们认可。学习 Python 门槛很低,但它的晋级路线很多,通过它你能进入机器学习、数据挖掘、大数据,CS等更加高级的领域。Python可以做网络应用,可以做科学计算,数据分析,可以做网络爬虫,可以做机器学习、自然语言处理、可以写游戏、可以做桌面应用…Python可以做的很多,你需要学好基础,再选择明确的方向。这里给大家分享一份全套的 Python 学习资料,给那些想学习 Python 的小伙伴们一点帮助!
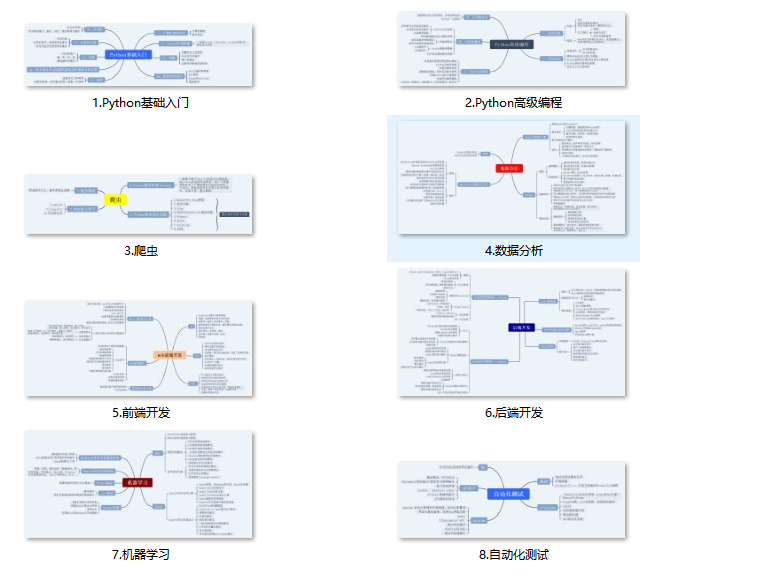
👉Python所有方向的学习路线👈
Python所有方向的技术点做的整理,形成各个领域的知识点汇总,它的用处就在于,你可以按照上面的知识点去找对应的学习资源,保证自己学得较为全面。

👉Python必备开发工具👈
工欲善其事必先利其器。学习Python常用的开发软件都在这里了,给大家节省了很多时间。

👉Python全套学习视频👈
我们在看视频学习的时候,不能光动眼动脑不动手,比较科学的学习方法是在理解之后运用它们,这时候练手项目就很适合了。

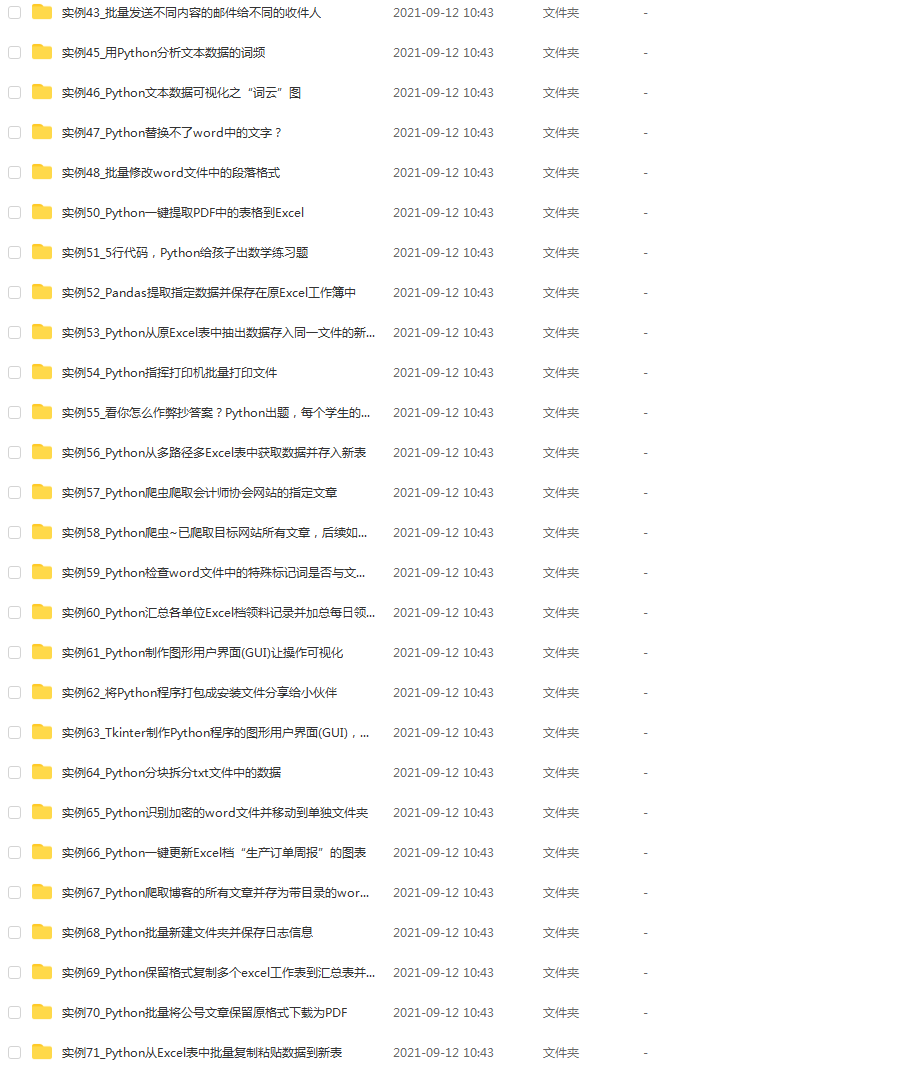
👉实战案例👈
学python就与学数学一样,是不能只看书不做题的,直接看步骤和答案会让人误以为自己全都掌握了,但是碰到生题的时候还是会一筹莫展。
因此在学习python的过程中一定要记得多动手写代码,教程只需要看一两遍即可。

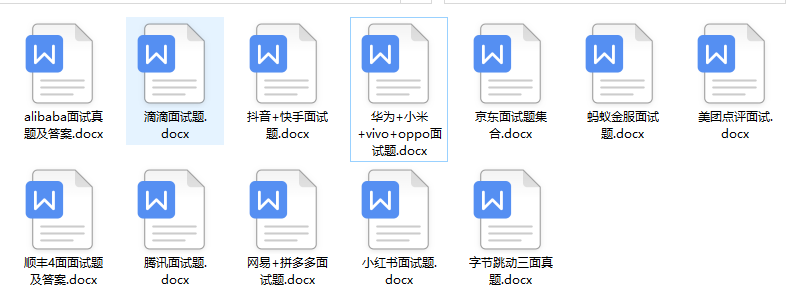
👉大厂面试真题👈
我们学习Python必然是为了找到高薪的工作,下面这些面试题是来自阿里、腾讯、字节等一线互联网大厂最新的面试资料,并且有阿里大佬给出了权威的解答,刷完这一套面试资料相信大家都能找到满意的工作。

一个人可以走的很快,但一群人才能走的更远。不论你是正从事IT行业的老鸟或是对IT行业感兴趣的新人,都欢迎扫码加入我们的的圈子(技术交流、学习资源、职场吐槽、大厂内推、面试辅导),让我们一起学习成长!

答案会让人误以为自己全都掌握了,但是碰到生题的时候还是会一筹莫展。
因此在学习python的过程中一定要记得多动手写代码,教程只需要看一两遍即可。
👉大厂面试真题👈
我们学习Python必然是为了找到高薪的工作,下面这些面试题是来自阿里、腾讯、字节等一线互联网大厂最新的面试资料,并且有阿里大佬给出了权威的解答,刷完这一套面试资料相信大家都能找到满意的工作。
一个人可以走的很快,但一群人才能走的更远。不论你是正从事IT行业的老鸟或是对IT行业感兴趣的新人,都欢迎扫码加入我们的的圈子(技术交流、学习资源、职场吐槽、大厂内推、面试辅导),让我们一起学习成长!
[外链图片转存中…(img-MXBqqY38-1712798030999)]


 6401
6401

 被折叠的 条评论
为什么被折叠?
被折叠的 条评论
为什么被折叠?
 到【灌水乐园】发言


