


最后
为了帮助大家更好的了解前端,特别整理了《前端工程师面试手册》电子稿文件。
开源分享:【大厂前端面试题解析+核心总结学习笔记+真实项目实战+最新讲解视频】
`-it` 以交互式进入容器 ,`bash`保留为容器终端的输入形式,所以结合起来就是进入容器终端并且的保留为容器终端的输入形式(-it和bash的结合作用)
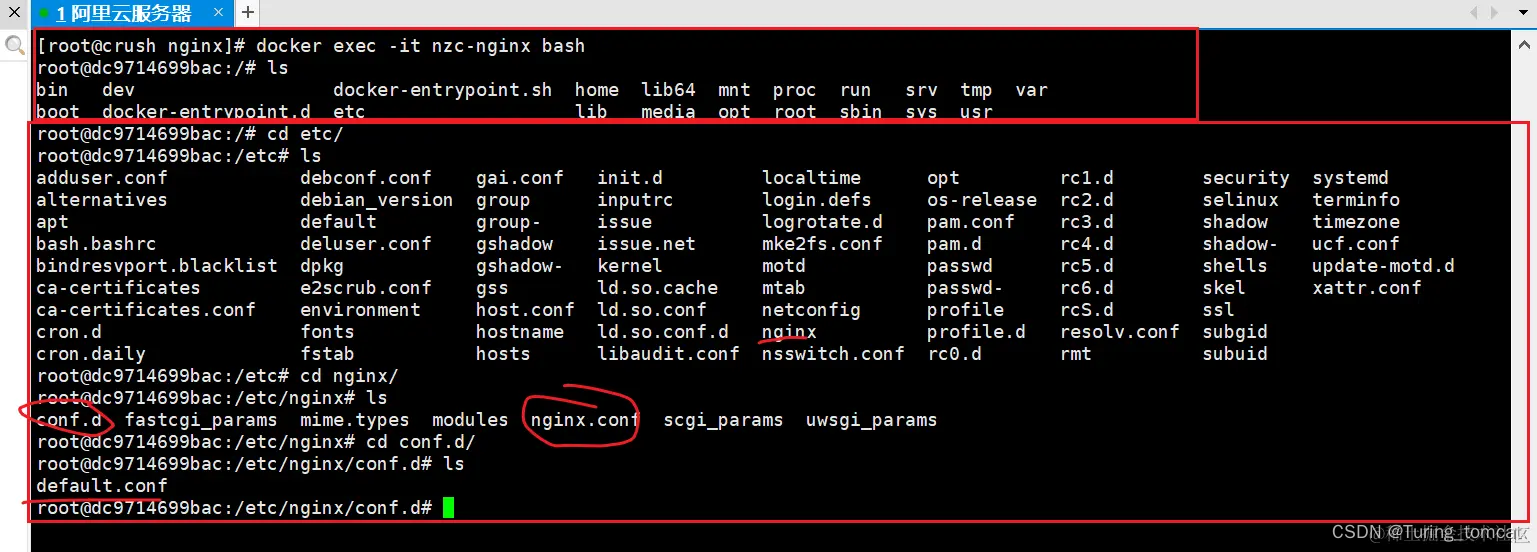
`/etc/nginx/nginx.conf`是nginx的主配置文件,具体内容留在后一章节再说吧。
`/etc/nginx/conf.d`下的default.conf 就是默认 server 配置
#### 3、从容器中把配置文件复制出来
退出容器的终端,直接在终端里输入 exit 即可。
docker cp nzc-nginx:/etc/nginx/nginx.conf /home/nginx/nginx.conf
docker cp nzc-nginx:/etc/nginx/conf.d /home/nginx/
docker cp nzc-nginx:/usr/share/nginx/html /home/nginx/ #此处就是网站站点目录
#### 4、暂停、删除容器
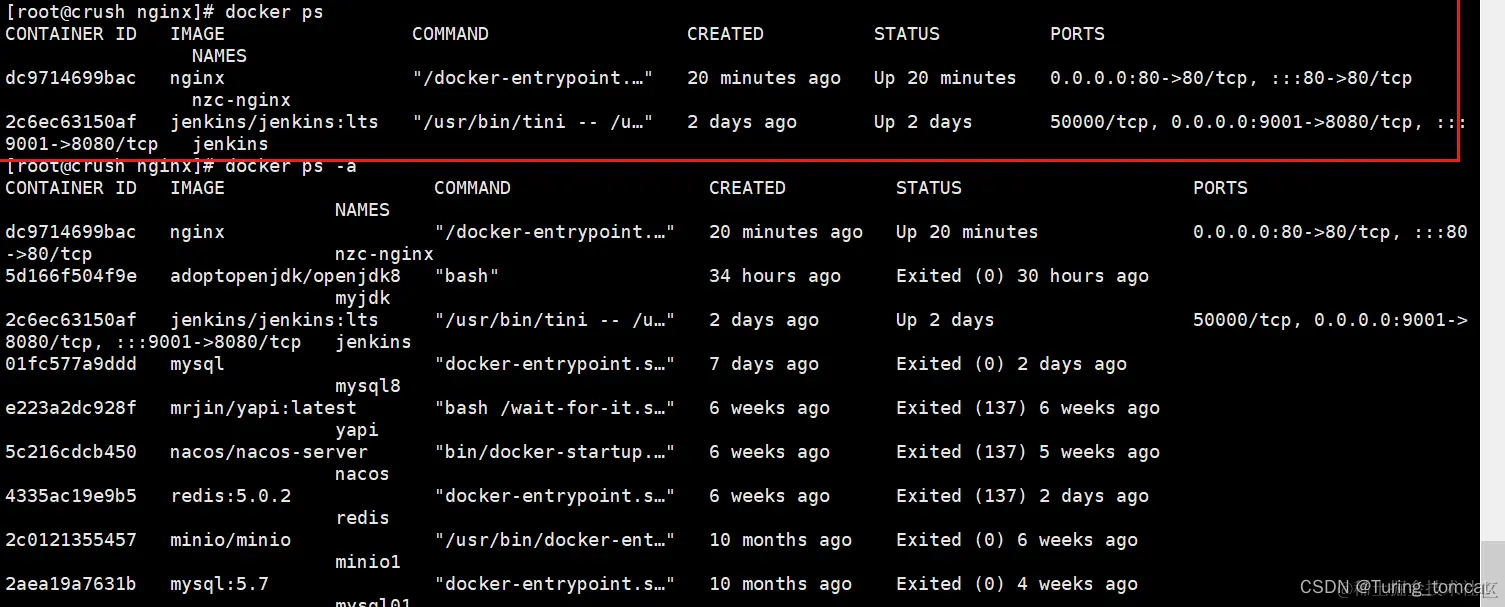
查看所有正在运行的容器
docker ps
docker ps -a #查看所有容器
暂停、删除容器
docker stop nzc-nginx # nzc-nginx 容器| 容器ID 也可以,只需要前3位数字即可
docker rm nzc-nginx
docker rm -f nzc-nginx #直接删除正在运行的容器

#### 5、重新启动一个挂载目录的容器
docker run
-p 80:80
–name nzc-nginx
-v /home/nginx/nginx.conf:/etc/nginx/nginx.conf
-v /home/nginx/conf.d:/etc/nginx/conf.d
-v /home/nginx/logs:/var/log/nginx
-v /home/nginx/html:/usr/share/nginx/html
-d nginx:latest
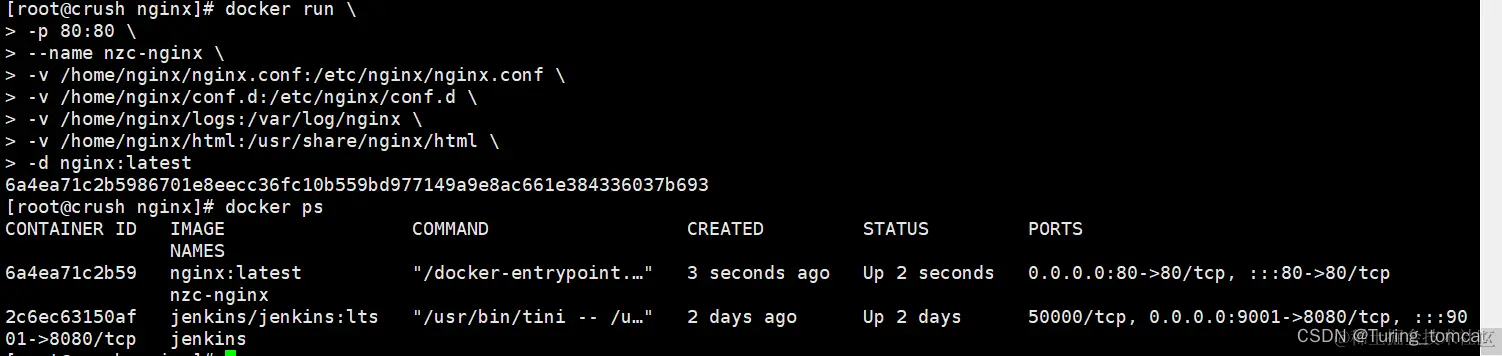
测试:可以成功访问就是成功启动啦。

### 二、Nginx 配置文件讲解
本小章节只是针对与项目有关联配置文件进行一番简单的讲解,更详细的可能就需要大家去找找其他创作者所写的文章啦。望大家见谅
我们先看看之前上文提了一嘴的主配置文件:
nginx.conf
user nginx;
worker_processes auto;
# error_log 输出目录
error_log /var/log/nginx/error.log notice;
pid /var/run/nginx.pid;
events {
# 单个工作进程可以允许同时建立外部连接的数量
worker_connections 1024;
}
http {
include /etc/nginx/mime.types;
default_type application/octet-stream;
log_format main '$remote_addr -
r
e
m
o
t
e
u
s
e
r
[
remote_user [
remoteuser[time_local] “
r
e
q
u
e
s
t
"
′
′
request" ' '
request"′ ′status
b
o
d
y
b
y
t
e
s
s
e
n
t
"
body_bytes_sent "
bodybytessent"http_referer” ’
‘“
h
t
t
p
u
s
e
r
a
g
e
n
t
"
"
http_user_agent" "
httpuseragent""http_x_forwarded_for”’;
access_log /var/log/nginx/access.log main;
sendfile on;
#tcp_nopush on;
keepalive_timeout 65; #连接存活时间
#gzip on; 支持传递压缩文件
# nginx 配置文件中支持 include ,即支持多配置文件组合
include /etc/nginx/conf.d/*.conf;
}
你可别小瞧这个文件,里面有不少设置的开关勒,不过这次不是写这里~~


继续来到 `default.conf`
server {
# 这里就是表示监听的端口
listen 80;
listen [::]:80;
# 这里表示服务地址 写域名或者ip
server_name localhost;
#access_log /var/log/nginx/host.access.log main;
# 这里就是我们今天要接触的东西了
# / 表示的是 ip:port后面跟着的路径 / 就是 ip:port/
# 如果是 /nzc 访问的时候就是 ip:port/nzc/
#基于这个逻辑,我们就可以运行多个站点
# 这里还可以写表达式、正则表达式等
location / {
root /usr/share/nginx/html;
index index.html index.htm;
}
#error_page 404 /404.html;
# redirect server error pages to the static page /50x.html
#错误页面转发
error_page 500 502 503 504 /50x.html;
location = /50x.html {
root /usr/share/nginx/html;
}
# 反向代理的例子
# proxy the PHP scripts to Apache listening on 127.0.0.1:80
#
最后
为了帮助大家更好的了解前端,特别整理了《前端工程师面试手册》电子稿文件。
开源分享:【大厂前端面试题解析+核心总结学习笔记+真实项目实战+最新讲解视频】


 7098
7098

 被折叠的 条评论
为什么被折叠?
被折叠的 条评论
为什么被折叠?
 到【灌水乐园】发言


